Nolly from PERIPHERY dials in a bass tone

Wanna know the dirty secret of mixing metal? Here it is: 75% of “guitar tone” = bass tone

Guitar tone is obviously a huge part of part of mixing metal, and you’ve probably spent many, many hours chasing “that” tone. What’s not so obvious to many beginning mixers is that a huge part of what you think is “guitar tone” is actually bass tone. When you think of the punch, thickness and attack of a great guitar tone, that’s probably coming from the bass. And it’s not just the low end– the right bass tone usually has some distortion in it that fills in some areas where the guitars are weak.

But as you probably know, getting that bass tone is easier said than done. It’s very, very easy to go overboard with the low end, turning your mix into a soupy mess. And while distortion adds the presence and grit that’s key to a good bass tone, it will also kill the low end. So, how do you get both low end and distortion, since these two things don’t want to get along?

The solution is that most metal mixers use two layers of bass: one clean layer for low end (high passed), and a distorted layer for grit (low passed)– some people even add a third layer for sub-bass.

Nolly from Periphery dials in a bass tone – Nail The Mix preview

In this clip from his Nail The Mix class, Adam Nolly Getgood from Periphery and GetGood Drums mixes his bass tone from “Periphery III: Select Difficulty” in Cubase using a DI track, FF Saturn and Slate VMR. Get the Periphery multi-tracks and Adam Nolly Getgood’s full mixing session ► https://goo.gl/25BAK3

In the below video, Nolly from Periphery shows a really elegant alternative to the above, recreated the amazing bass tone on their most recent album “Select Difficulty” using a DI track, Fabfilter’s Saturn and Slate VMR. If you’re like most of us, you were wowed by the incredible bass tone Nolly got on the album, so you probably want to take notes on this (and try to find a bassist who plays as well as Nolly… good luck with that).

Pay special attention to the multi-band saturation trick at around 4:30, which uses Saturn as an alternative to splitting your bass track into clean + distorted layers– very slick solution that we haven’t seen too often!


Nail The Mix

Nail The Mix is our online mixing school that gives you REAL multi-tracks from REAL bands, plus a mixing class from the producer who recorded it. Past guests include Periphery, Gojira, Chelsea Grin, Papa Roach, Machine Head and State Champs. Join now for instant access!

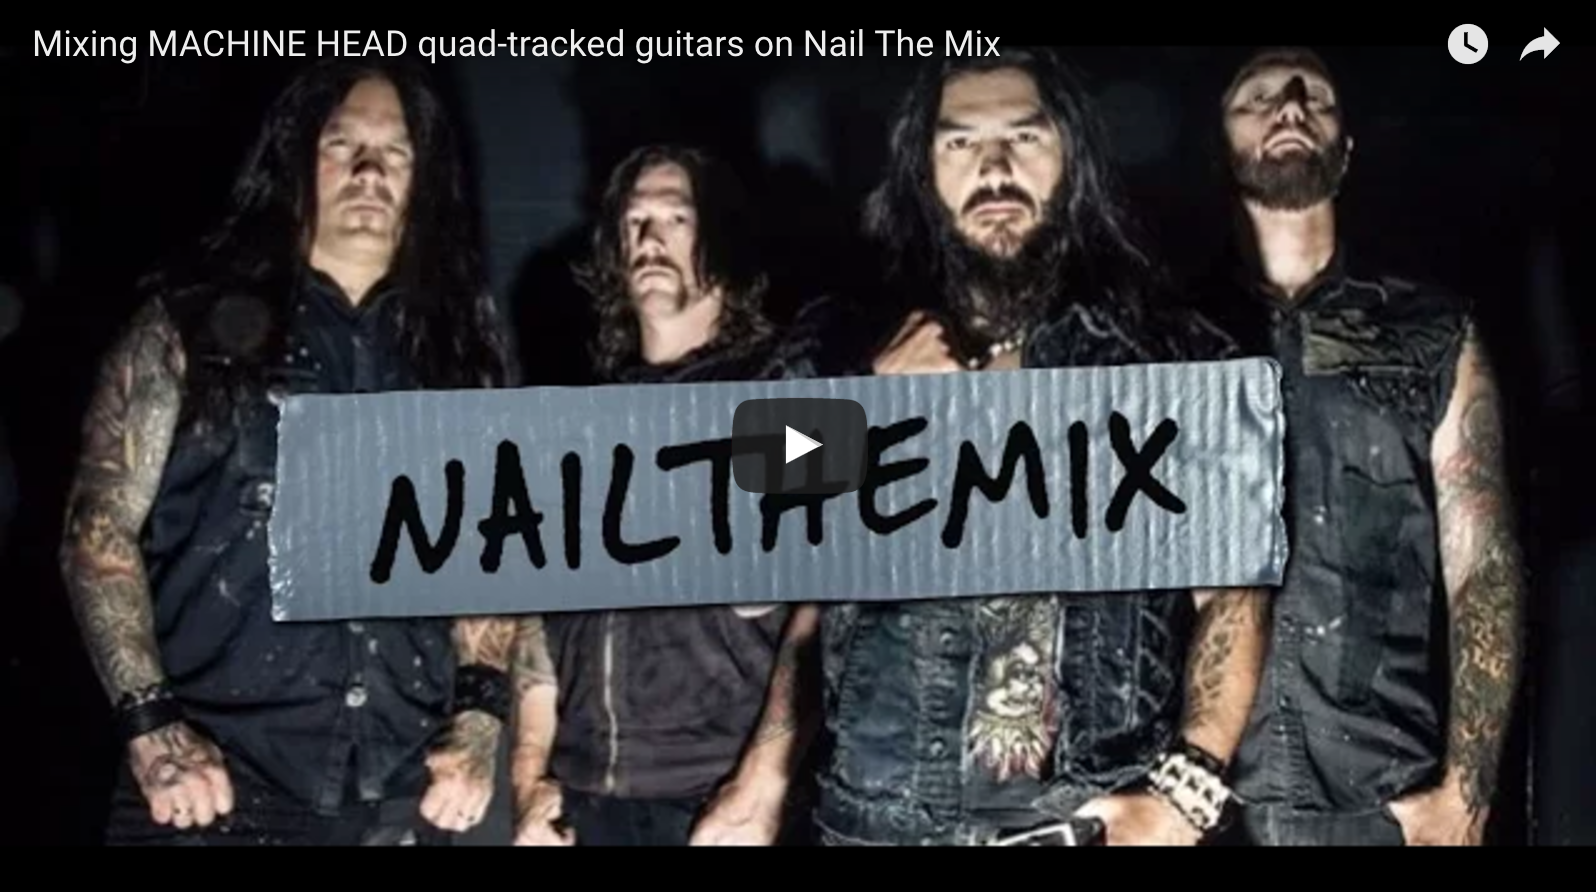
Mixing MACHINE HEAD Quad Guitars

If you’ve ever tried quad-tracking your guitars, you know that they present some challenges. No matter how tightly you track them, you’ll always be dealing with some phase issues in addition to the challenge of keeping their thickness and depth.

In this clip from our September 2016 Nail The Mix session featuring the Machine Head song “Is There Anybody Out There,” Joel discusses the pros and cons of quad guitars and works to balance them against the bass and drums. Note that if you’re hearing some nastiness in the cymbals, that gets EQ’d out later.

This entire session (including the full mixing class and the multi-tracks) is available exclusively to Nail The Mix members.

Mixing MACHINE HEAD quad-tracked guitars on Nail The Mix

In this clip from NAIL THE MIX, Joel Wanasek works with quad-tracked guitars in a Machine Head session, using some smart EQ moves and a little limiting to balance them against the bass and drums while retaining the thickness and depth of the guitars.


Nail The MixNail The Mix is our online mixing school that gives you REAL multi-tracks from REAL bands, plus a mixing class from the producer who recorded it. Past guests include Periphery, Chelsea Grin, Machine Head and State Champs. Join now for instant access!

Make Your Recording 50% Better With These 5 Tips (Part 1)

Make Your Recording 50% Better With These 5 Tips (Part 1) 
| By Thomas Brett |

Read Part 2 Here

There are so many different elements that go into making a good recording that we can often forget the importance of getting the fundamentals right. Here are 5 important back-to-basics things to consider before you dive head-first into your next recording session.

1 – Headphone Monitoring Tips While Recording:

1-headphone-mix-issues

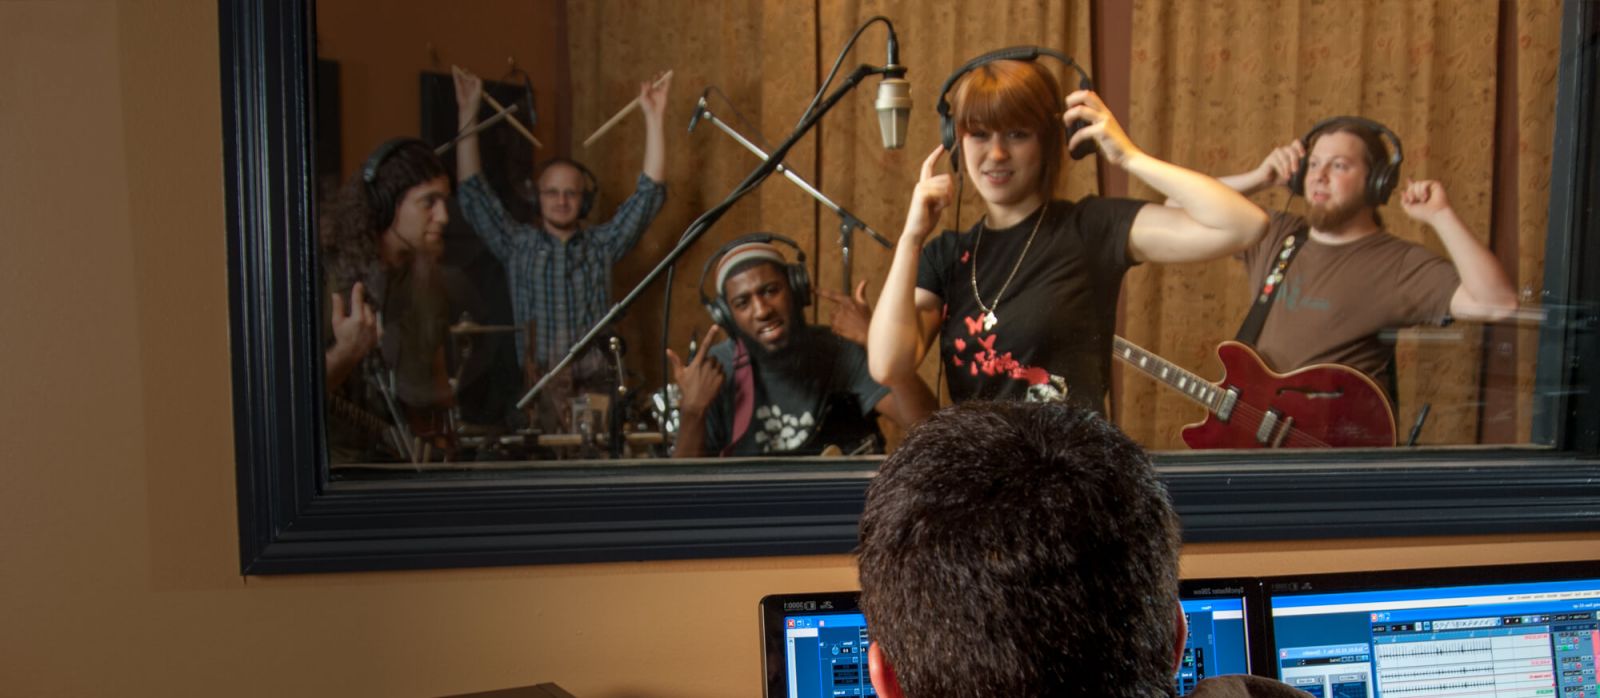
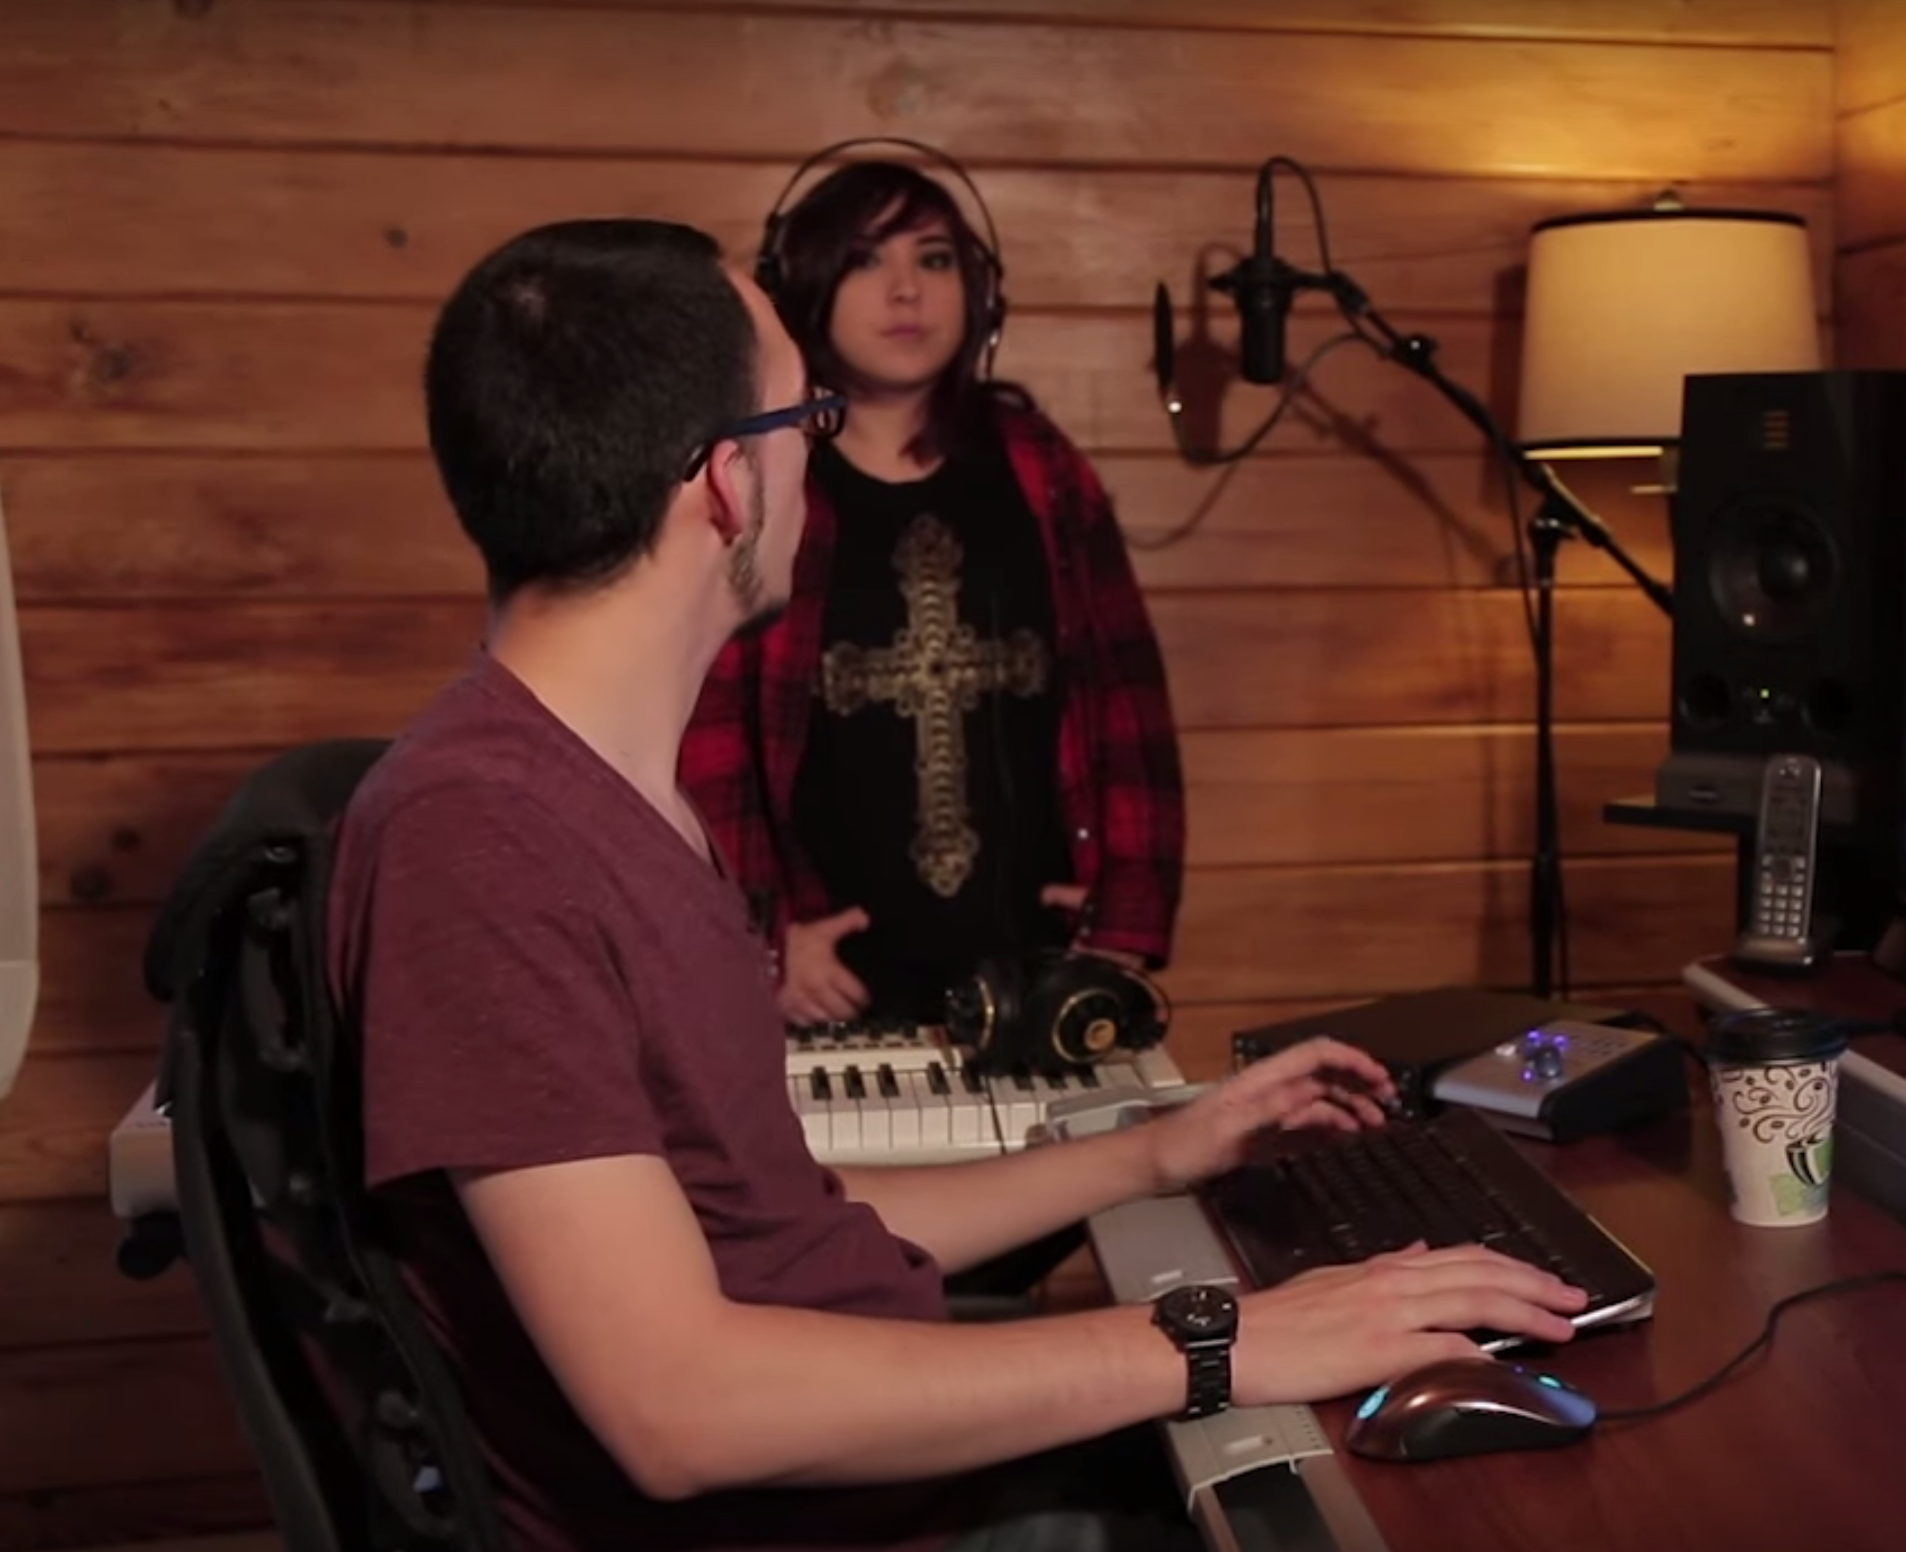
Capturing a great performance isn’t just about having the best gear, microphone placement, room or musicians… it’s also about enabling an environment in which the musician being recorded can perform comfortably and to their full potential.

An important factor in supplying this level of comfort is the headphone mix:

During a session, we often get so caught up in the sexier technical aspects of the process that we neglect to really nail the basics. Because of this, something as simple as setting up the headphone mix for a vocal recording session can end up getting skimmed over. In certain cases, this can lead to problems during the recording process.

Things To Consider When Setting Up A Headphone Mix:

Unfortunately there isn’t really a cure-all headphone setup that’ll work perfectly every time for every musician. However, here are a few scenarios that you might encounter and some methods you can use to get around them:

  • Issue 1 – Vocals Too Loud/Too Low: If the singer’s voice is too loud in their headphones, they can often end up giving a softer (and often less-in-tune) performance to try and compensate. On the other hand, if the singer’s voice isn’t loud enough, they might end up straining their voice while struggling to hear themselves. They will end up compromising their pitching ability or fatiguing themselves too quickly in the process.
  • FIX: Neither of these situations are ideal, as they can lead to a loss of confidence and a certain level of discomfort from the get go. It’s important to be able to detect and address these issues early on in the recording session in order to ensure the best takes.
  • Issue 2 – Headphone Pitching: Some inexperienced singers will find it difficult to pitch accurately while wearing closed-back headphones. The main reason for this is that they are simply used to hearing their voice naturally without amplification.
  • FIX: In this situation, getting the singer to record with one side of the headphones on and one side off can help them to maintain a certain level of comfort and in return aid their ability to pitch correctly. Using open-back headphones can also help resolve this pitching issue, as they allow for more of the natural vocal sound in the room to reach the singer’s ears unobstructed.
NOTE: It’s important to take the amount of bleed being introduced into consideration before using either of these methods. After all, this is the main reason why closed-back headphones are usually preferable for recording in the first place.
  • Issue 3 – Click Tracks: Certain musicians will find it difficult to record with a quarter note click track and end up pushing and pulling too far in their performances.
  • FIX: If I feel the musician is having a hard time keeping the beat, I’ll write in a simple 8th-16th note drum groove or shaker pattern for them to vibe off of alongside the click. This usually does the trick, and will tend to result in instantly tighter performances.
  • Issue 4 – General Headphone Balance: Often the person you’re recording will want to hear every single instrument and tiny detail in their phones while recording. This isn’t always the best idea, as it can end up hindering their ability to hear themselves clearly and pitch accurately.
  • FIX: This is a tricky one, as the ideal headphone mix will change from musician to musician. By all means, if they “desperately need” a particular element in order to deliver a great performance, then try and cater to their needs. It’s often a better idea to simply give them what is really necessary for them to perform at their best. In the example of a vocalist’s headphone mix, I find that the most important thing is making sure they have a clear and accurate timing element to follow and a perfect point of pitch reference to work with at all times. Anything else is ear candy and should be added as needed.

Obviously this list could go on for ages… but the main point which I’m trying to get across with this topic, is the importance of really paying attention and being aware of what’s going on the during recording process. Don’t just sit back and go through the motions.

2 – Utilising Microphone Polar Patterns & The Proximity Effect:

2-utilising-microphones

Most sound engineers and producers own multiple microphones, but do they really understand some of the key features they have to offer?

The room being used and the microphone placement within that room both have a huge impact on the quality of recordings a microphone will produce. Knowing how to make the most of your microphones by utilizing the proximity effect and thie polar pattern adjustments will go a long way towards improving the raw tones you manage to get out of them.

What is the proximity effect?

While using a directional microphone of any kind, the bass response of the capsule will be altered depending on it’s distance to the sound source. As the microphone is moved closer to the sound source, the level of bass the microphone picks up will increase disproportionately to the rest of the frequency spectrum. This is called “The Proximity Effect”.

NOTE: Don’t think of the proximity effect as a good thing or a bad thing, simply think of it as a tool which you can use to get closer to the sounds you’re after.

Microphone Polar Patterns:

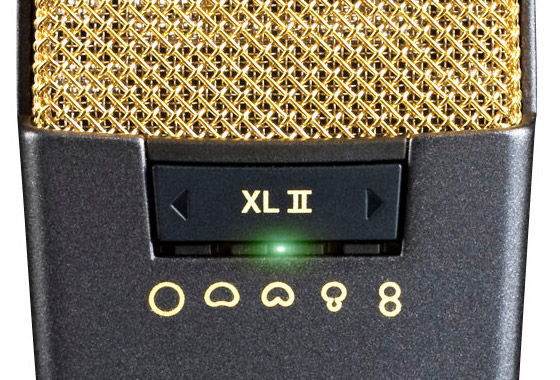
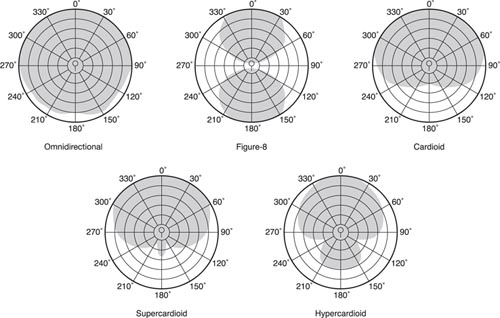
3-mic-polar-patterns

A lot of engineers start out with a vague, surface-level understanding of polar patterns at the beginning of their engineering careers, and tend to stick to using a certain setting for a while from that point onwards. Understanding when to use a specific polar pattern for it’s creative and tone-shaping benefits can really help in capturing more mix-ready sounds from the beginning. This will reduce the amount of additional processing needed later on.

Meet The Polar Patterns:

Omni: An omni-directional microphone will pick up sound information at equal strength from all directions. NOTE: Since microphones set to Omni are no longer directional, they are completely unaffected by the proximity effect.

Figure 8: Probably the least used microphone polarity option of them all. As it’s name suggests, this pattern will capture audio in a figure of eight pattern with the capsule being the center point of the eight. This pattern can be useful when extreme side-rejection is required. NOTE: The Figure 8 pattern has the strongest proximity effect of the polar patterns.

Cardioid, Super-Cardiod & Hyper-Cardioid: These polarity patterns are the go-to “standard” which get used the most for Studio and Live applications. The main reason for this is that they offer great room & feedback rejection due to their front-only pickup radius. The severity of the “focus” and rejection characteristics for each pattern can be seen in the diagram above.

Example Uses for Each Polarity Pattern:
  • Try using the Omni setting on a close mic’ed instrument such as an acoustic guitar in order to reduce the low-end boominess caused by the proximity effect.
  • Try using two Figure 8 microphones while recording a singer/songwriter who’s playing guitar and singing simultaneously. Aim their null sides accordingly to gain maximum instrument separation and minimal bleed in each microphone.
  • Try using an Omni setting when recording an instrument or performance which covers a large/wide space within a room. EX: A choir or orchestral quartet.
  • Try using the Figure 8 Pattern to benefit from the added proximity effect on an instrument or singer which sounds too thin.
  • When trying to capture a really dry and direct sound you’re probably best off sticking to one of the Cardioid pattern options, as they do a great job of partly removing the room out of the equation.

NOTE: It’s important to take into account the quality of room you’re working in before opting for any of these techniques. It will have a huge impact on how well they work. Using omni or figure 8 in a poorly treated room can cause for some nasty reflections and frequency build-ups. You’re probably better off just sticking to a narrower polar pattern in such an environment.

To sum this section up in one sentence: “Experimentation and comparison in your own room is the key to making the most of your microphones”.

3 – Don’t Set & Forget; Focus & Fix!

4-dont-set-and-forget

As young engineers starting out, we all tend to fall into the same trap of searching for “the best settings” for everything. Although there are definitely better and worse ways of doing things, somebody else’s “best” setting is very relative to the source material they are working with, and often too subjective to their tastes to be the “right” setting for YOUR recordings…

It’s easy to get into a habit of doing the exact same thing for every recording session, even when the source material and gear being used in a particular session is completely different than the one that came before it! Although research into the best methods of doing things can take you quite far, paying attention to every detail and adjusting your setup on a project by project basis in a more proactive manner is the real key to getting your raw tracks as close to a finished product as possible.

Here are a few brief examples of some common “Focus & Fix” issues I’ve encountered in the past:
  • Issue 1: Less experienced vocalists will often move around too much while singing, and in return leave you with a tonally inconsistent performance to work with. If you notice that this is the case during recording, try and take some counteractive measures to combat the problem at the source.
  • The Fix: These measures can be as simple as moving the lyrics sheet, telling the vocalist to sing up-close to the pop shield, or in some extreme cases, getting them to record into a handheld microphone instead (Randy Blythe from Lamb of God is known for recording with a handheld Shure Sm7B).
  • Issue 2: Sometimes various riffs or parts played on an electric guitar can cause unpleasant high-frequency ringing noises from behind the bridge or after the nut. When using high-gain tones these sounds can get amplified in volume to a point where they are quite obvious and annoying in the mix. If you notice that this is the case, there is a simple trick which you can use to eliminate the problem quickly.
  • The Fix: As lame as it sounds, squeezing a small piece of soft foam or fabric between the strings and the wood of the guitar at each of the points I mentioned above can do wonders in deadening these ringing sounds and cleaning up the riff nicely.

These are just a bucket full of examples in a sea full of possible issues you might encounter during recording, but you get the point… Having a “Focus & Fix”, “attention to detail” attitude at the beginning of a project, rather than a “Set & Forget” or “Fix it in the Mix” attitude is one of the main reasons why guys like Adam “Nolly” Getgood manage to capture such amazing raw tracks for their productions.

“Start paying more attention, and you’ll be well on your way towards becoming an audio recording powerhouse”

4 – Vibe vs Technical Perfection:

5-vibe-vs-technical-perfection

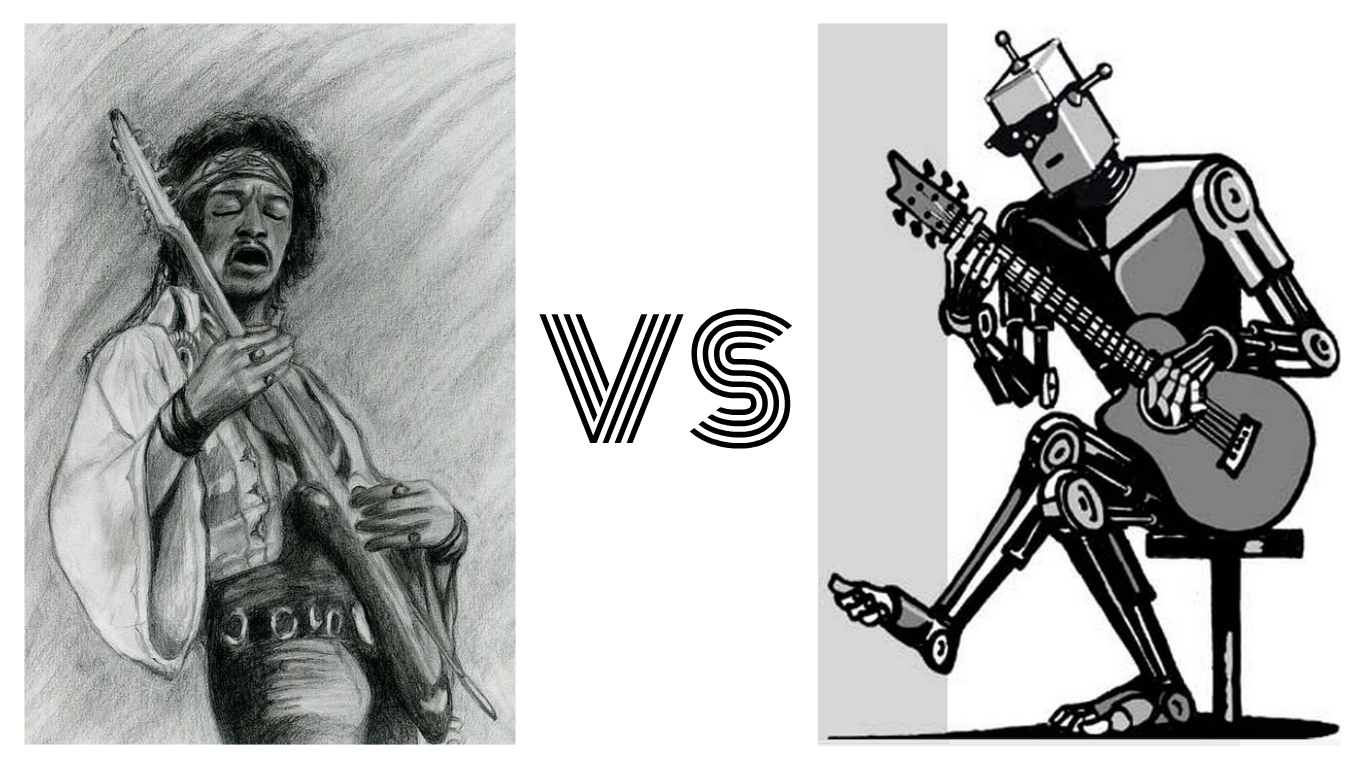
There’s a fine line between “musical” sounding perfection and “robotic” sounding perfection.

I’ll admit that I’m often guilty of scrutinizing over, and trying to fix performances to the point that they start to lose all of the life and feel they once had. Don’t get me wrong, of course there’s huge value in tight playing and tuning awareness, but it’s important to be able to differentiate between capturing a well-played performance which accurately portrays the unique qualities of the musician, and neutering it to a point where it begins to sound like a collection of lifeless notes and chords strung together.

Here are a few short tips towards maintaining the vibe and realism in a recording:
  • Try and determine the Unique selling point of the musician you’re recording and preserve the things that make them recognisable. In other words: “Be careful not to edit out all of the character!”.
  • If a musician comes to you with “their sound” don’t automatically try and convert them towards “your sound”. Instead, try and figure out what it is they like about that particular sound, and work together with them to improve or adapt it to fit better in a mix.
  • Some bands are built for the stage, and perform at their best when vibing off of each other in a live environment. In a situation like this, it might be worth considering tracking them live in order to preserve that certain “magic”. (If they’re good enough to pull it off of course…)

NOTE: For the perfect example of a band which can pull of amazing album-ready live recordings in the studio, look no further than the new Meshuggah album. Also, check out this awesome video which Sound on Sound did with grammy-award-winning engineer Vance Powell, where he mixes an awesome rock band which he recorded live. https://www.youtube.com/watch?v=qsAGtM9YaG8

The truth is, a lot of our favourite classics from the 60s, 70s, and 80s are full of “mistakes”. I’d argue that these “human imperfections” are part of what makes the songs memorable or accessible to a broad range of listeners. I’m sure that a lot of the most successful producers who worked on them also knew that this is the case.

Keep this knowledge in mind the next time you begin recording a project with an artist, and remember:

“Knowing when to leave things alone is just as valuable as knowing when to fix things.”

5 – The Importance of Communication in the Studio:

6-communication

How you choose to communicate with the musicians you’re working with in the studio can make or break their performance.

Doing hundreds of takes of the same thing and using sentences like “let’s do it again” or “just a few more tries” between each one doesn’t really give the musician any clues as to why their performances aren’t good enough, and can often lead to frustration and a loss of confidence as a result.

I’m not saying that you should lie and tell them what they’re doing is amazing when it isn’t… I’m simply pointing out that there are multiple ways of telling somebody that they need to change something in order to improve, and some of these ways are more helpful and constructive than others.

Here are some basic examples of choosing the right words in order to coax the best performance out of a musician:
  • If a certain section isn’t working, instead of bluntly saying “this isn’t working”, try saying something in the lines of “let’s try giving this other idea a go”.
  • Instead of making damning statements about the musician’s ability like “your timing is off” or “your pitch isn’t great”, try and point out the particular words and notes you think could be better and give them some constructive pointers on how they can be improved.
  • There’s also a lot of value in letting the musician know when they’ve done an awesome job. Simple words of encouragement such as “that take was awesome” or “I love that *insert action here* you’re doing” can go a long way towards building their confidence, and often produce instant practical results on-the-spot.

I know that some of these tips might seem obvious, but I find it intriguing how something as simple as the language you use while communicating with the person you’re recording can set the course for the quality of the entire project. In conclusion:

“Pay close attention to the language you use in the recording studio and consider the effect your words are having on people’s performances!”

FINAL WORDS:

This concludes  5 Tips & Tricks to Try Out in Your Next Recording Session”. I hope that this article has given you some new ideas to try out during your next project. Be sure to let me know in the comment section below if any of this information has helped you out, or if you have any further questions regarding anything I’ve talked about here.

Stay tuned for more production and mixing related articles in the not-so-distant future!


Thomas Brett is a producer, mixing engineer and songwriter at Brett Brothers recording studio in the UK. Check out the Brett Brothers studio website for more information and articles on all things mixing www.brettbrothersstudio.com

Want mix tips from Thomas Brett? Read them here!

Nail The MixNail The Mix is our online mixing school that gives you REAL multi-tracks from REAL bands, plus a mixing class from the producer who recorded it. Past guests include Periphery, Chelsea Grin, Machine Head and State Champs. Join now for instant access!

Making Digital Sound Analog – The Best Of Both Worlds

Making Digital Sound Analog – The Best Of Both Worlds | By Thomas Brett | 

Ever since the transition to Digital Audio, engineers have been trying to replicate the classic sounds of Analog in the DAW environment. Thanks to some very smart people who’ve put in a lot of tedious work, we’re finally at a point where analog-simulation technology is almost indistinguishable from the real deal.

A – WHAT’S SO GOOD ABOUT ANALOG ANYWAY?
2-analog-gear-collage

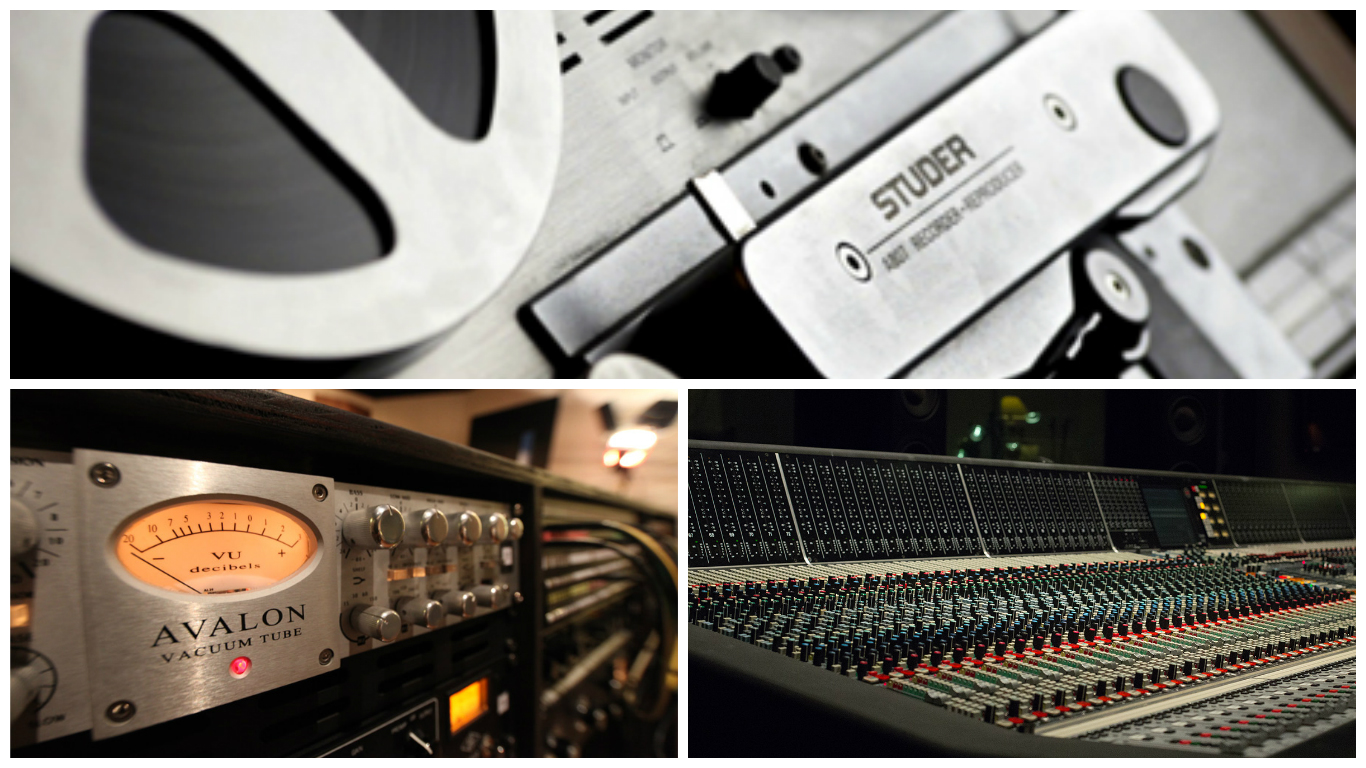
A lot of “old-school” producers and engineers like to look back at the old days of recording and fondly reminisce about the sound of vintage tube mics, preamps, mixing desks and tape machines. You’ll often hear these old-timers talk about the “warmth” and “character” this kind of gear added to the sound. How the transition to digital has “sterilized” music…  it’s become “too clean”, “harsh” and “perfect”.

It’s true that these old pieces of vintage gear have a unique sound and often impart some pleasant characteristics onto the raw material. However, it’s important not to forget the amount of hassle involved in the upkeep and operation of said gear.

Sure, plugging directly into the “neutral” sounding preamps on your digital audio interface and straight into your DAW will result in a much cleaner and more “sterile” sounding raw track. The main reason Analog sounds the way it does is in the first place, is because the signal is having to go through multiple stages of analog saturation to get to an equivalent place.

Just think of how much time, effort, and money you can save in comparison nowadays days with the workflow benefits of a DAW…

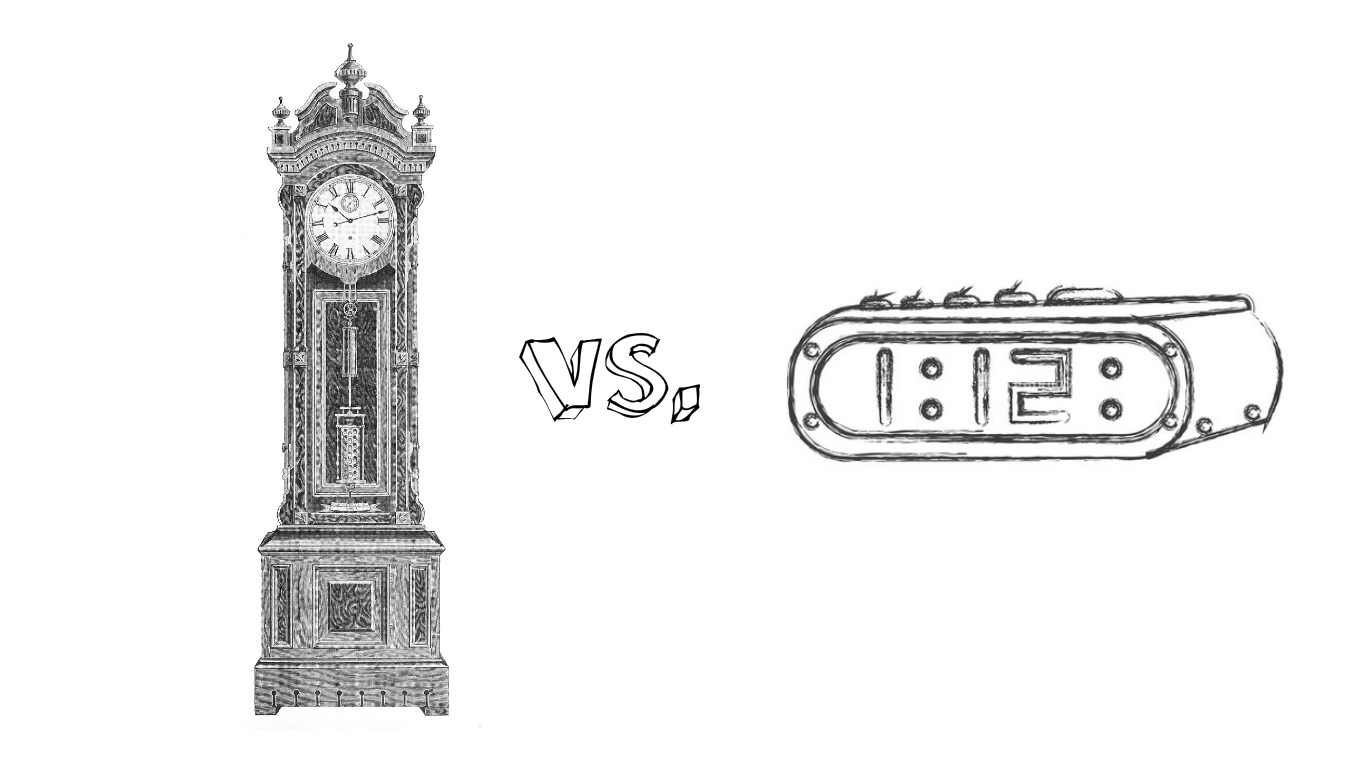
B – ANALOG VS DIGITAL
3-analog-vs-digital

Before we go any further, let’s take a look at some of the pros and cons for each of these recording/mixing mediums:

ANALOG
  1. The Pros of Analog:
  • Adds some pleasant saturation, warmth and often-beneficial tonal “color”.
  • The limitations of Analog encouraged and cultivated a culture of great musicianship and inspired performances – Less editing and “correction” was required from the get-go.
  • Mixing engineers and Producers had to perform their craft (manual-automation).
  • Less “pokey” sounding transients due to the softening effect of saturation/distortion.
  • Smoother high-end due to the high-end roll-off caused by various analog gear and tape types/settings.
  • Having faders, buttons and pots to interact with is far superior to using a mouse.


     2.  The Often-Overlooked Cons of Analog:

  • Editing is extremely time consuming and inaccurate.
  • Limited Channel Count.
  • Limited pieces of gear available – You can’t put a single piece of gear across 7 different channels simultaneously…
  • Patching/routing is a pain, too many cables involved.
  • Recallability is terrible.
  • High upkeep costs – Reels of tape, tubes and analog components are expensive to purchase and the gear is expensive get serviced.
  • A lot of noise and hiss – Each piece of analog gear ads and/or amplifies hiss, eventually getting pretty noticeable.
DIGITAL
  1. The Pros of Digital:
  • Infinite routing possibilities, no cables required in a DAW!
  • Automation available for every parameter – No need to memorize hundreds of fader movements and changes.
  • Limitless channel count.
  • The ability to use presets and templates – Amazing recallability!
  • Less noise from the get-go, removing noise is also easy and painless.
  • Editing is extremely fast and accurate.

     2. The Cons of Digital:

  • Can encourage lazy musicians with the advent of pitch correction and quantizing.
  • Very clean recordings, mixes can sound lifeless as a result.
  • Transients sound brittle and “pokey” due to the lack of saturation/softening.
  • Converters play an important role in the sound quality, good converters are expensive.
  • The interfacing between the engineer and sound is somewhat obstructed by a mouse.

These lists could go on forever, and I’m sure I’ve probably missed off a few things. Long story short, If I were to sum all of these points down into a single sentence on the Analog vs Digital Argument:

“The sound of Analog is more pleasing to the ear, but the workflow of Digital is far more practical and accurate.”

Now that we’ve got that out of the way, let’s have a look at how we can go about trying to recreate the sonic characteristics of Analog in the Digital domain.

C – INTRODUCTION TO ANALOG SIMULATION PLUGINS:
4-analog-sim-collage

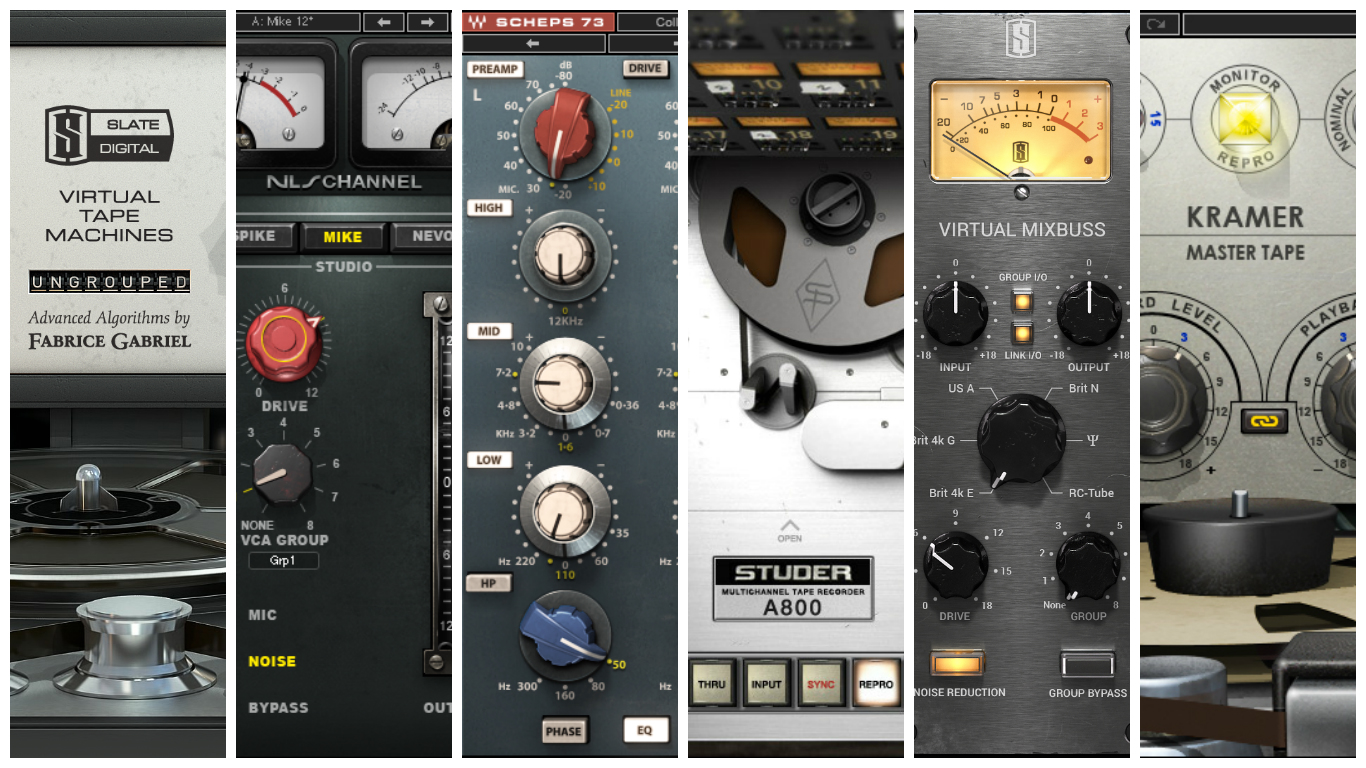
The new simulation options available to us for use in our DAWs offer a very accurate representation of the classic Analog sound, but without any of the drawbacks involved in using the vintage gear.

These plugins give us a means of fusing the positive elements of each world into a new “hybrid” work environment.  We can retain all of the great parts about Digital, but bring back some of what’s missing from the good ol’ days.

To make the most of these simulations and learn how to use them correctly, it’s important to understand the signal flow and characteristics of Analog gear. Let’s take a look at what a typical signal chain looks like in the analog world and break down some of the individual components involved in creating it’s sound.

D – ANALYSIS OF ANALOG SIGNAL FLOW AND GEAR CHARACTERISTICS:
Analog Signal Flow
5-analog-signal-flow

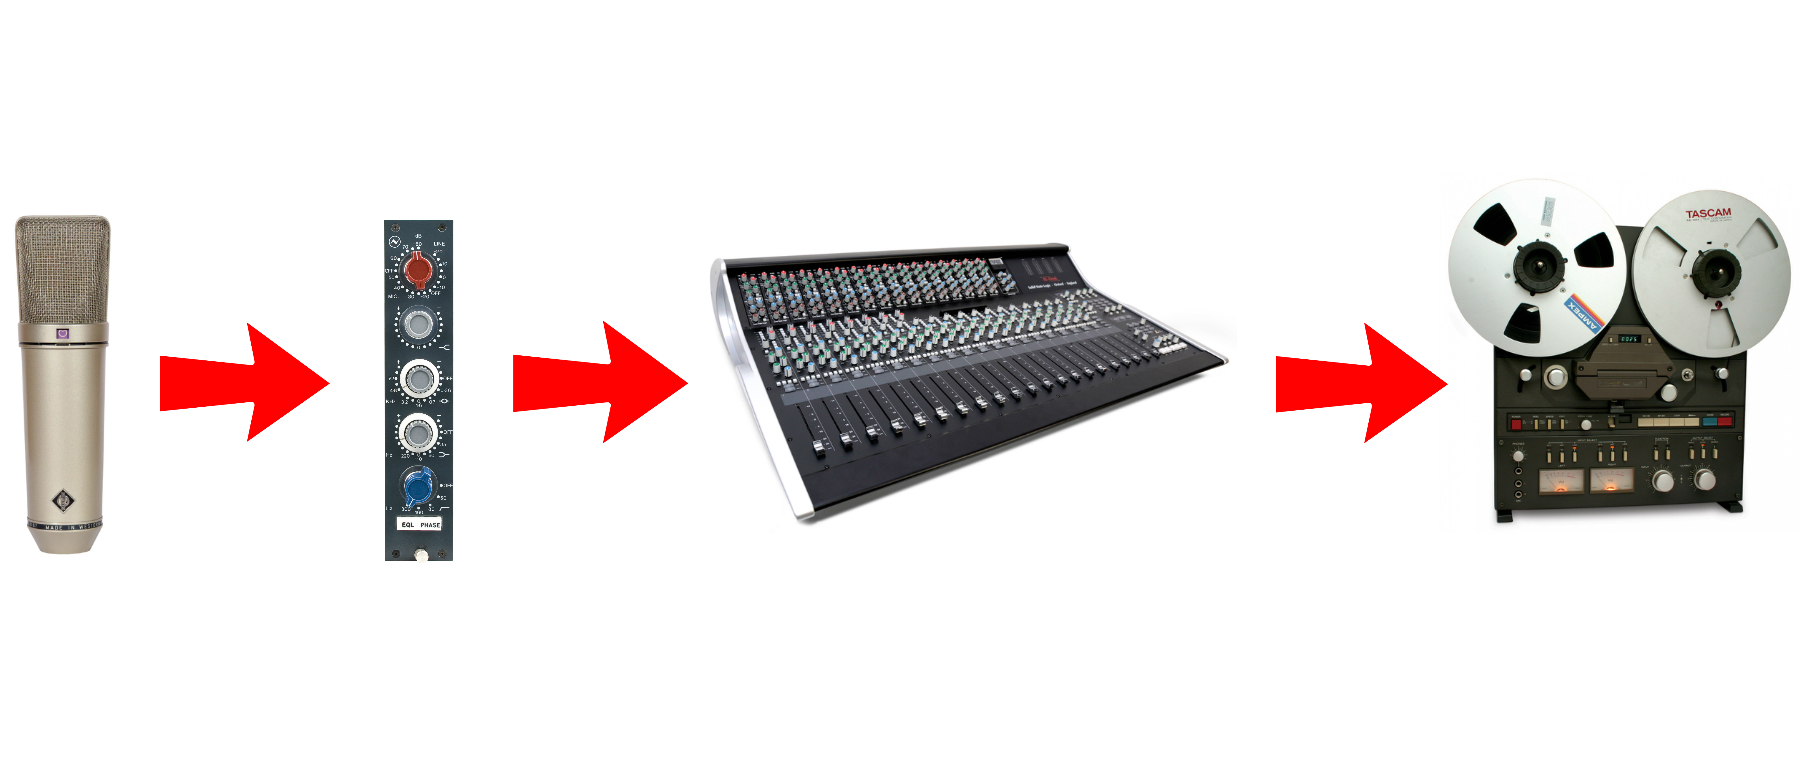
The classic sound of analog which we are used to hearing on countless albums is the result of multiple stages of saturation. Each piece of gear used throughout the recording and mixing process introduces it’s own degree of tonal shaping. 

Let’s Take a Look at An Example Analog Recording/Mixing Chain:

RECORDING: Mic > Preamp > Channel on Mixing Console > Tape Machine

MIXDOWN: Channel on Mixing Console > Outboard Processing (Compressors, FX, etc.) > Mix Buss > Master Tape

As you can see in the example above, there are at least 5-6 or more stages of saturation taking place between the microphone and the master tape stage.

If you compare the fact that there’s virtually no saturation or tonal imprint being imparted by the recording interfaces and DAW’s used in modern day digital recording, to the several stages of “warming up” and “shaping” going on in the past, it’s easy to see why there’s such a difference in sound and character between the two approaches.

Analog Gear Characteristics

NOTE ON GAIN STAGING: Before you begin using any particular Analog-Simulation plugin I’d highly suggest doing some research on the recommended gain-staging guidelines in it’s respective manual. As easy as it is to improve a mix with this sort of processing, It’s just as easy to screw it up by using it incorrectly and overdoing it!

Tape Machines
6-tape-machines-collage

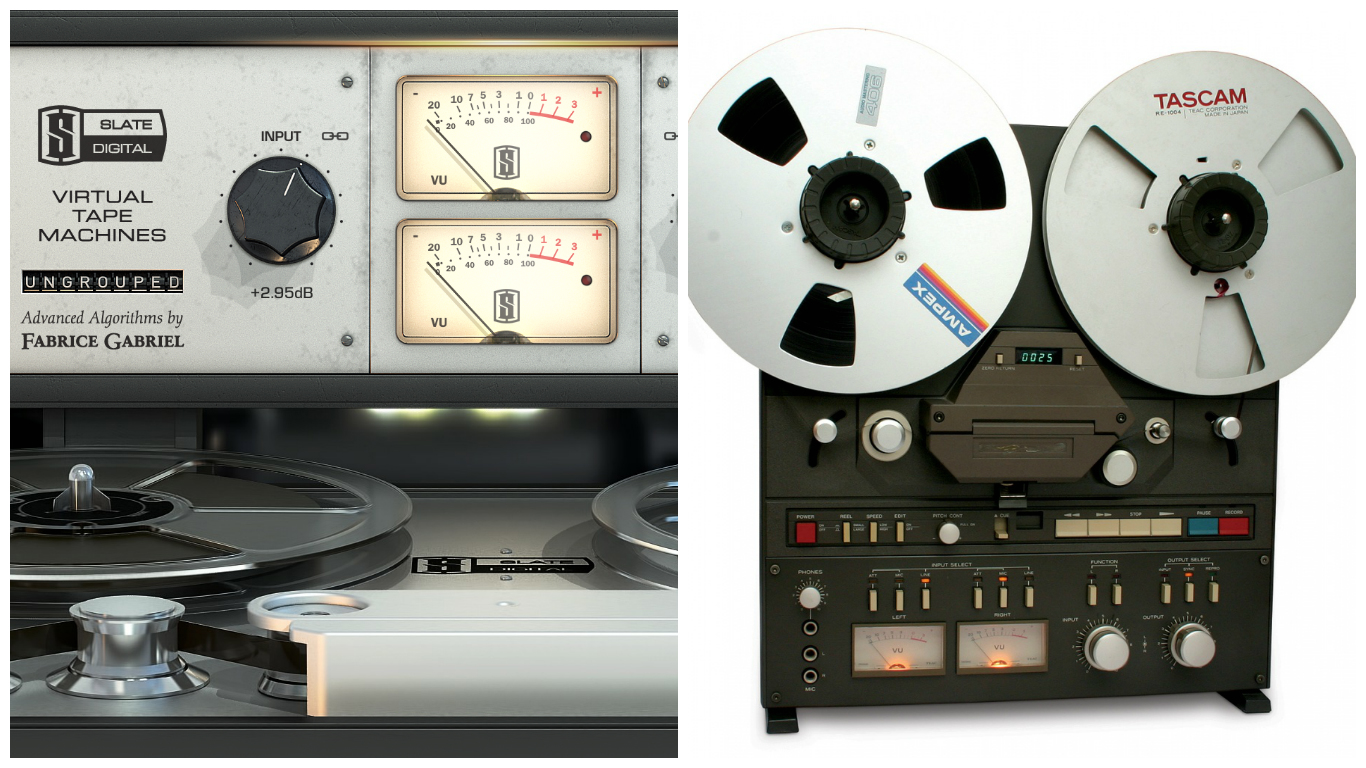
Tape machines are probably the first thing that come to mind for most people when somebody mentions Analog, and for good reason. The sound of tape had a huge impact on defining the recorded music we’ve been listening to for the past 50 years or so!

The Characteristics of Tape:

  • A gentle high frequency roll-off with varying severity depending on input level, tape-speed and brand of tape used.
  • A smooth low-end boost, also varying in level depending on input level, tape-speed and brand of tape used.
  • Saturation which adds warmth, depth, presence, smoothness, punch and a subtle compression to the signal it’s fed.

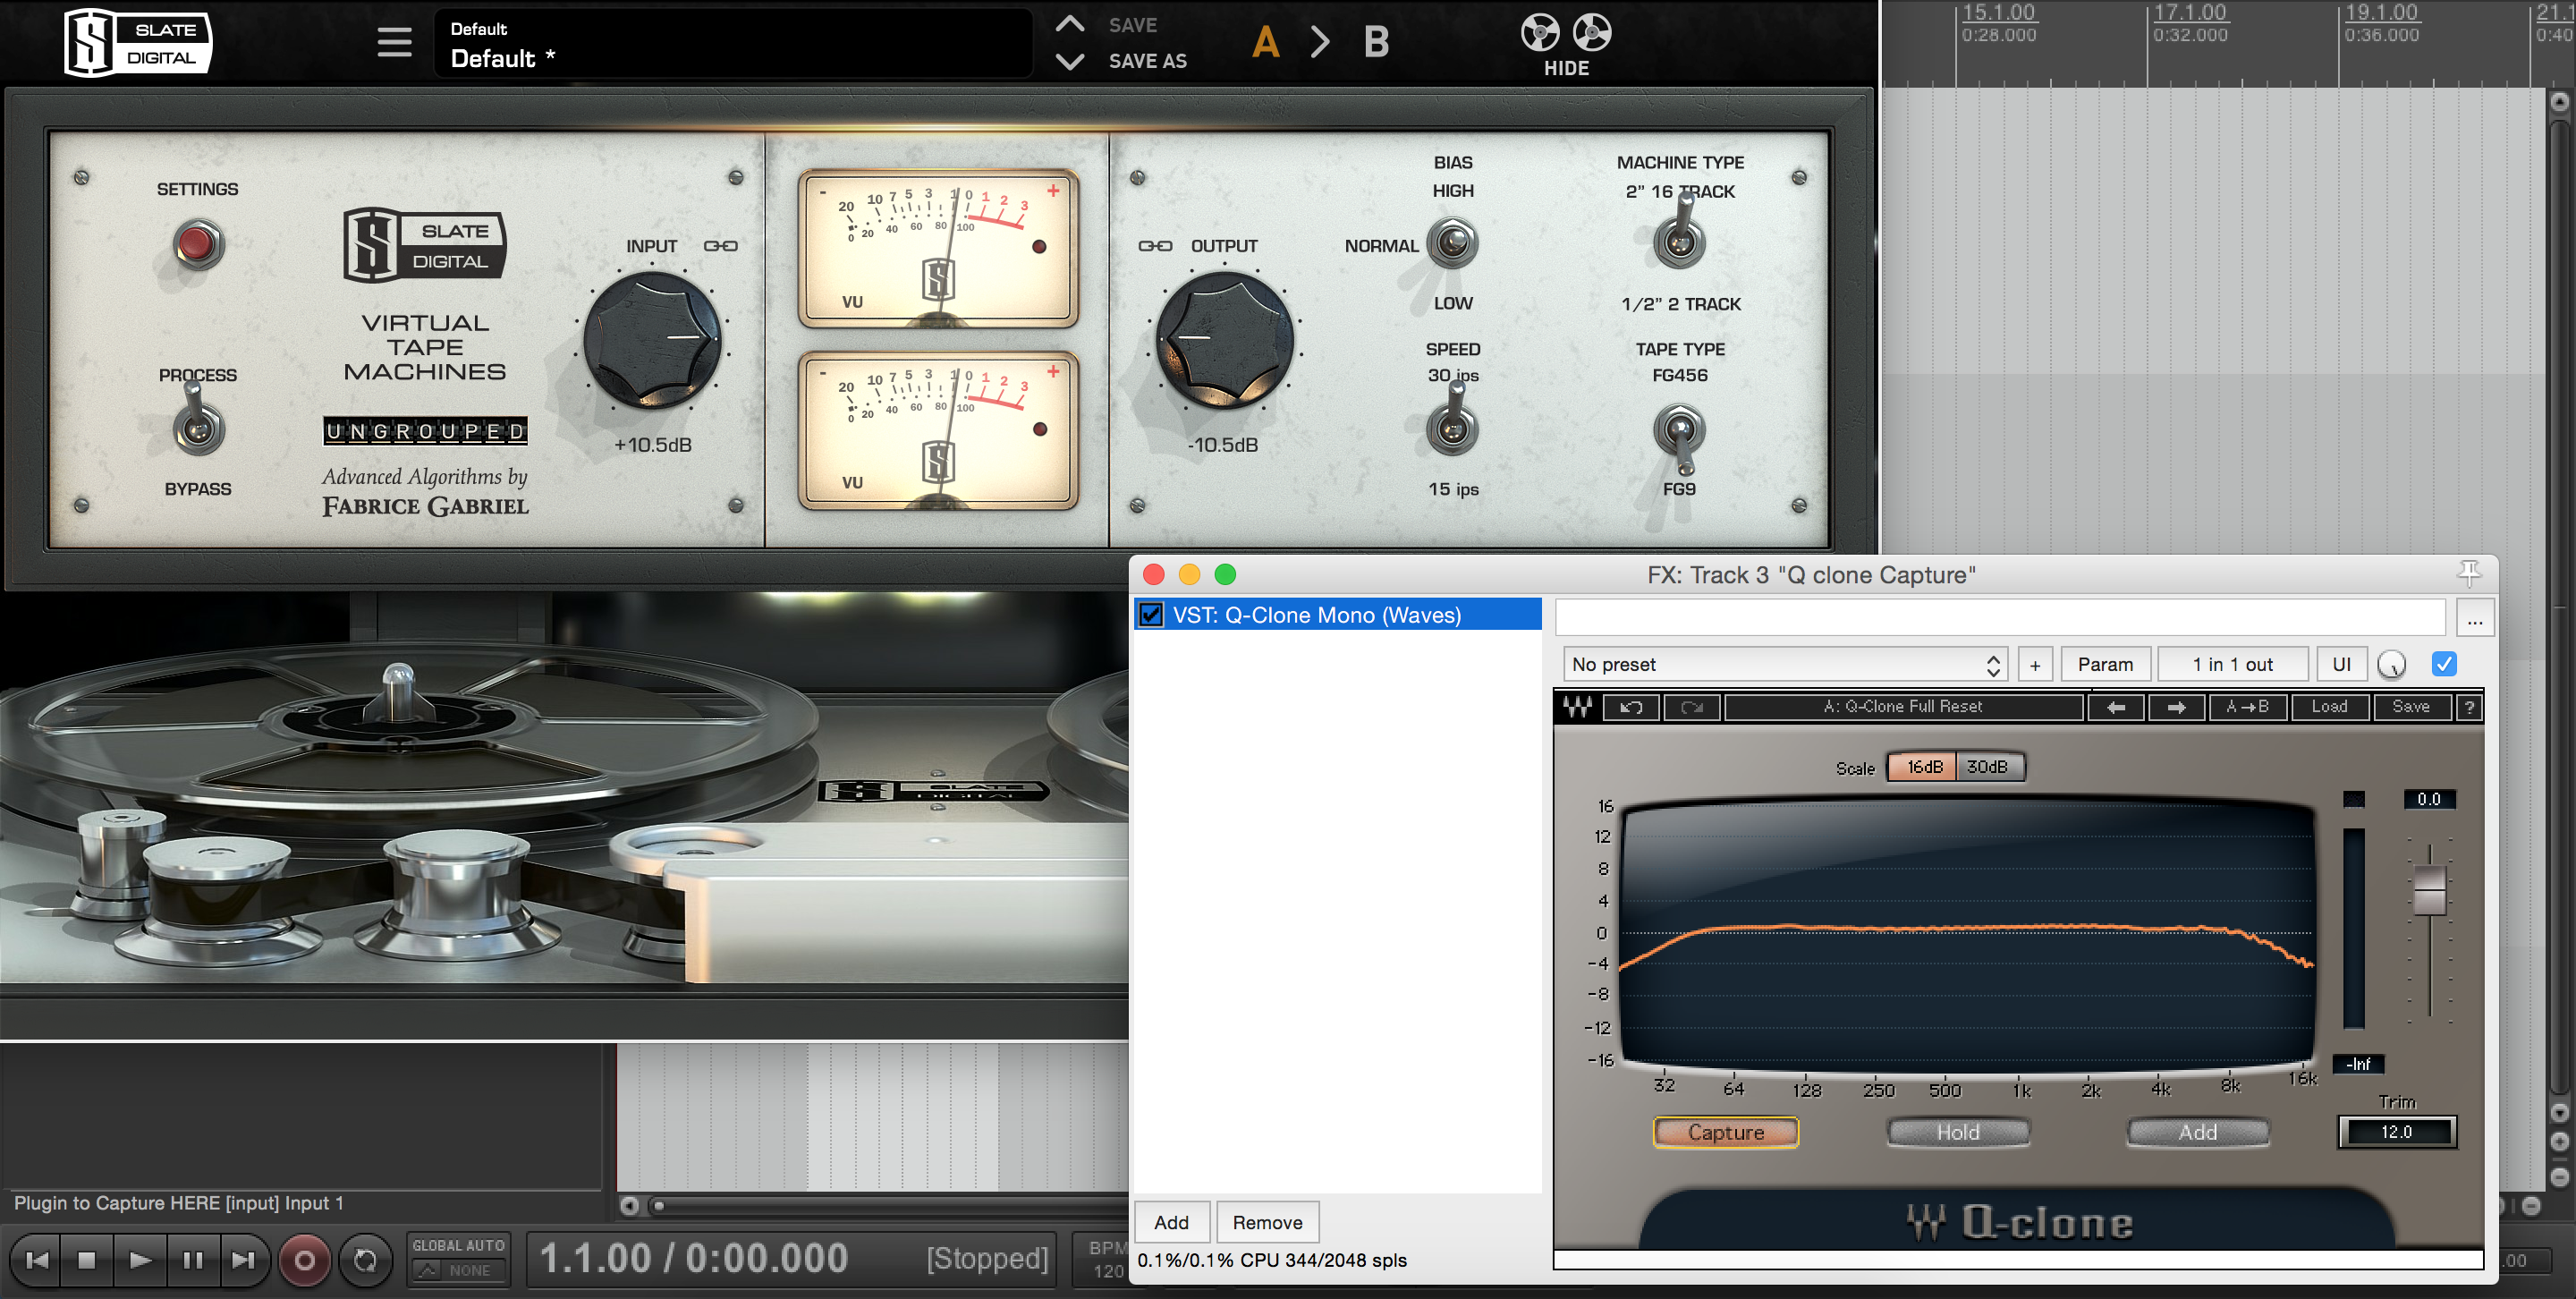
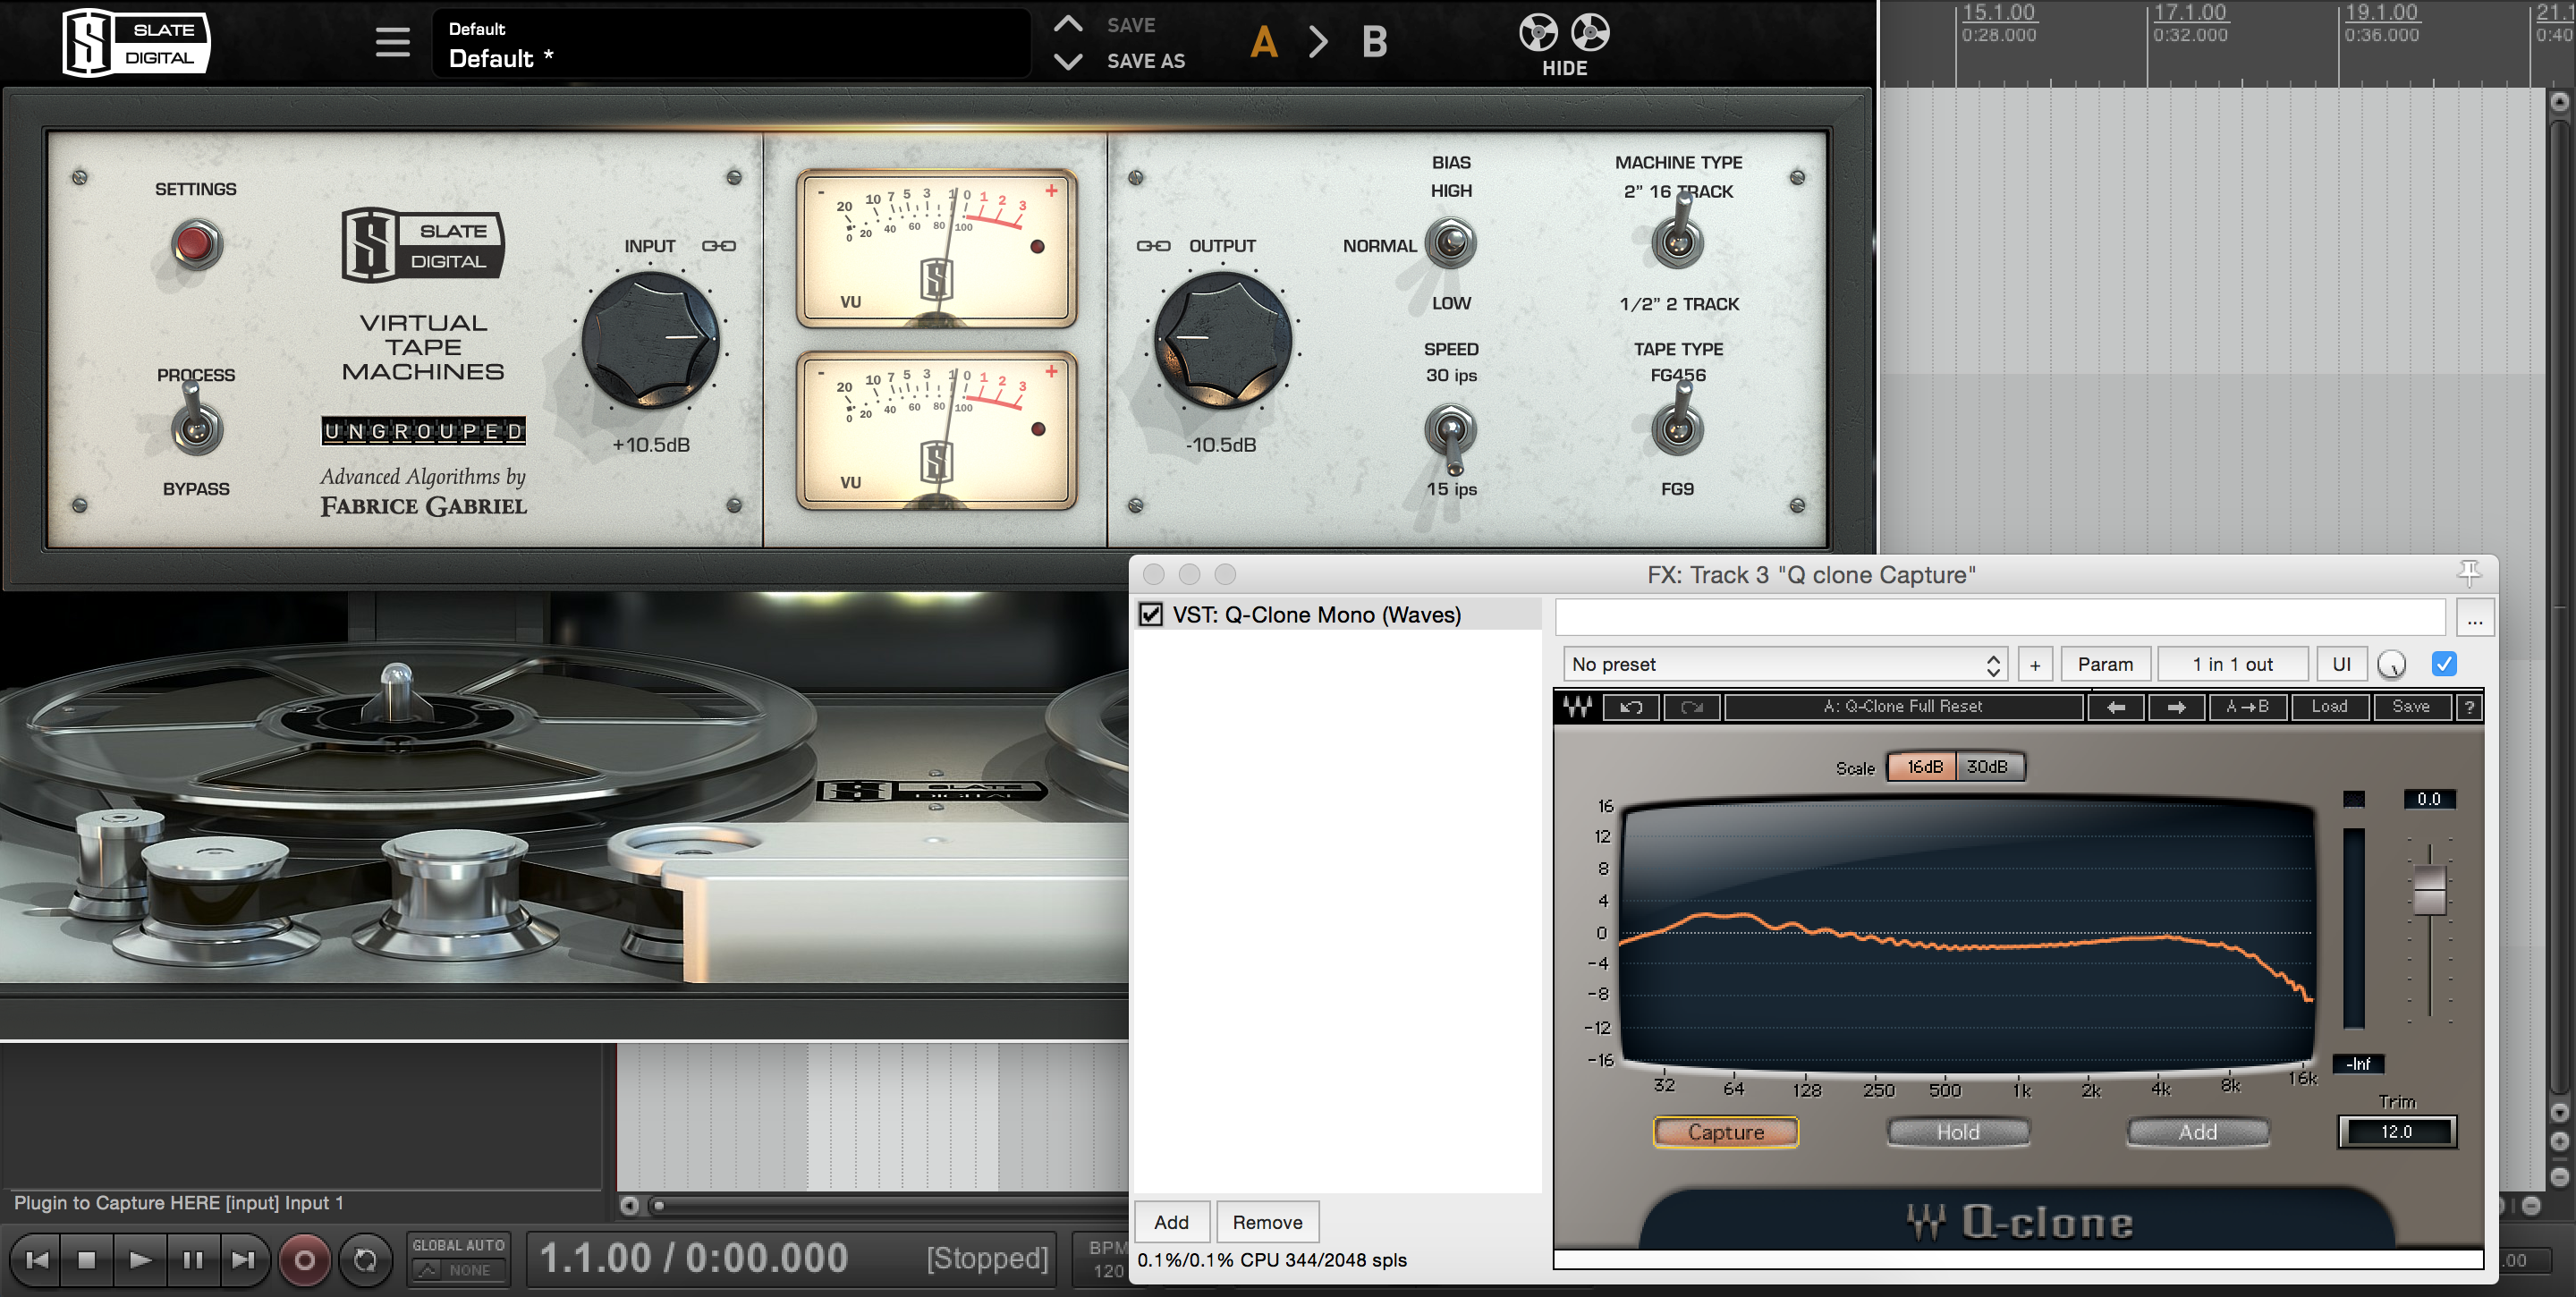
To get a better understanding of the tonal imprint that tape is imparting on your material, check out these frequency analysis on specific tape settings. I conducted these using the Waves Q-Clone & Q-Capture Plugins:

456 Tape at 15ips:
7-vtm-456-15ips

FG9 (GP9) Tape at 30ips:

8-fg9-30ips

Notice how the Low-End bump and high-end roll-off are much more significant while using the more-vintage 456 tape type with a slower tape speed of 15ips, while the frequency response is much smoother using the more-modern FG9 tape type at a higher tape speed of 30ips.

Learning the characteristics and differences between each setting and tape type is the key to getting the most out of this type of processing. It can help unlock several less conventional solutions to everyday mixing problems that we’d usually attempt to resolve using a tool like an EQ.

Here are some places to try out a Tape Simulation Plugin:
  • Smooth out abrasive high frequency content. For example: An overhead mic with a harsh high-end or a distorted guitar with too much fizz.
  • Give a kick drum or bass guitar a nice low-end bump.
  • Give an acoustic guitar a vintage tape-pushed-hard sound.
  • Saturate your vocals (and anything else really…) and help them cut through the mix.

TAPE-TIP: A general rule of thumb to go by while using tape is: The lower the tape speed, the more of the classic characteristics of tape. The higher the tape speed, the cleaner the sound.

Mixing Consoles:
9-mixing-desks-collage

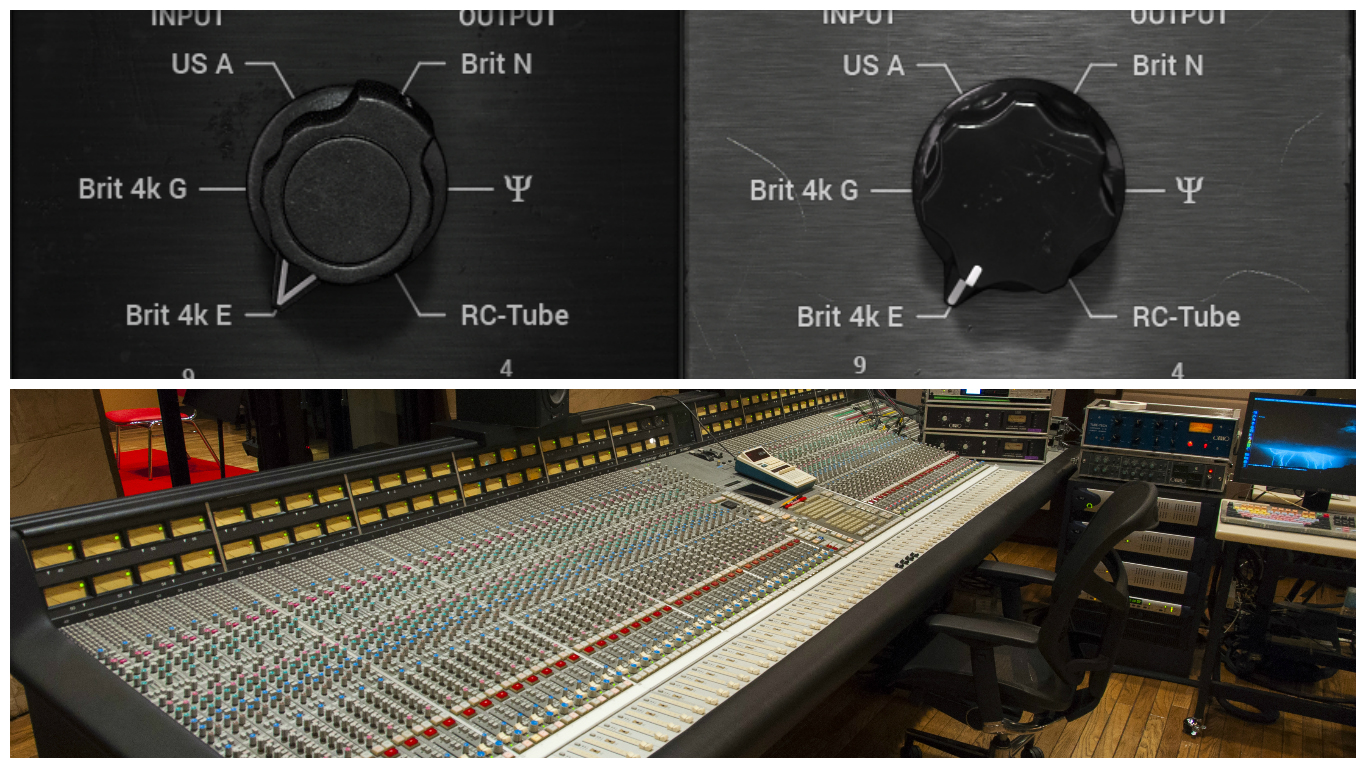
Much like tape machines, the mixing consoles being used to capture and mix audio in the past played a huge part in adding to the classic vibe of the sound.

The Characteristics of Certain Mixing Consoles:
  • Neve style consoles: Thick, Saturated and Vibey. The sound of the 70s: Fleetwood Mac, Cheap Trick and Tom Petty. Great on vocals, vintage drums and driven guitars.
  • SSL style consoles: A more modern and aggressive sound, quite clean and punchy – The sound of hard hitting rock. Think Bob Clearmountain (Bryan Adams, Bruce Springsteen) & CLA (Green Day, My Chemical Romance).  Excellent on drums and heavy guitars. 

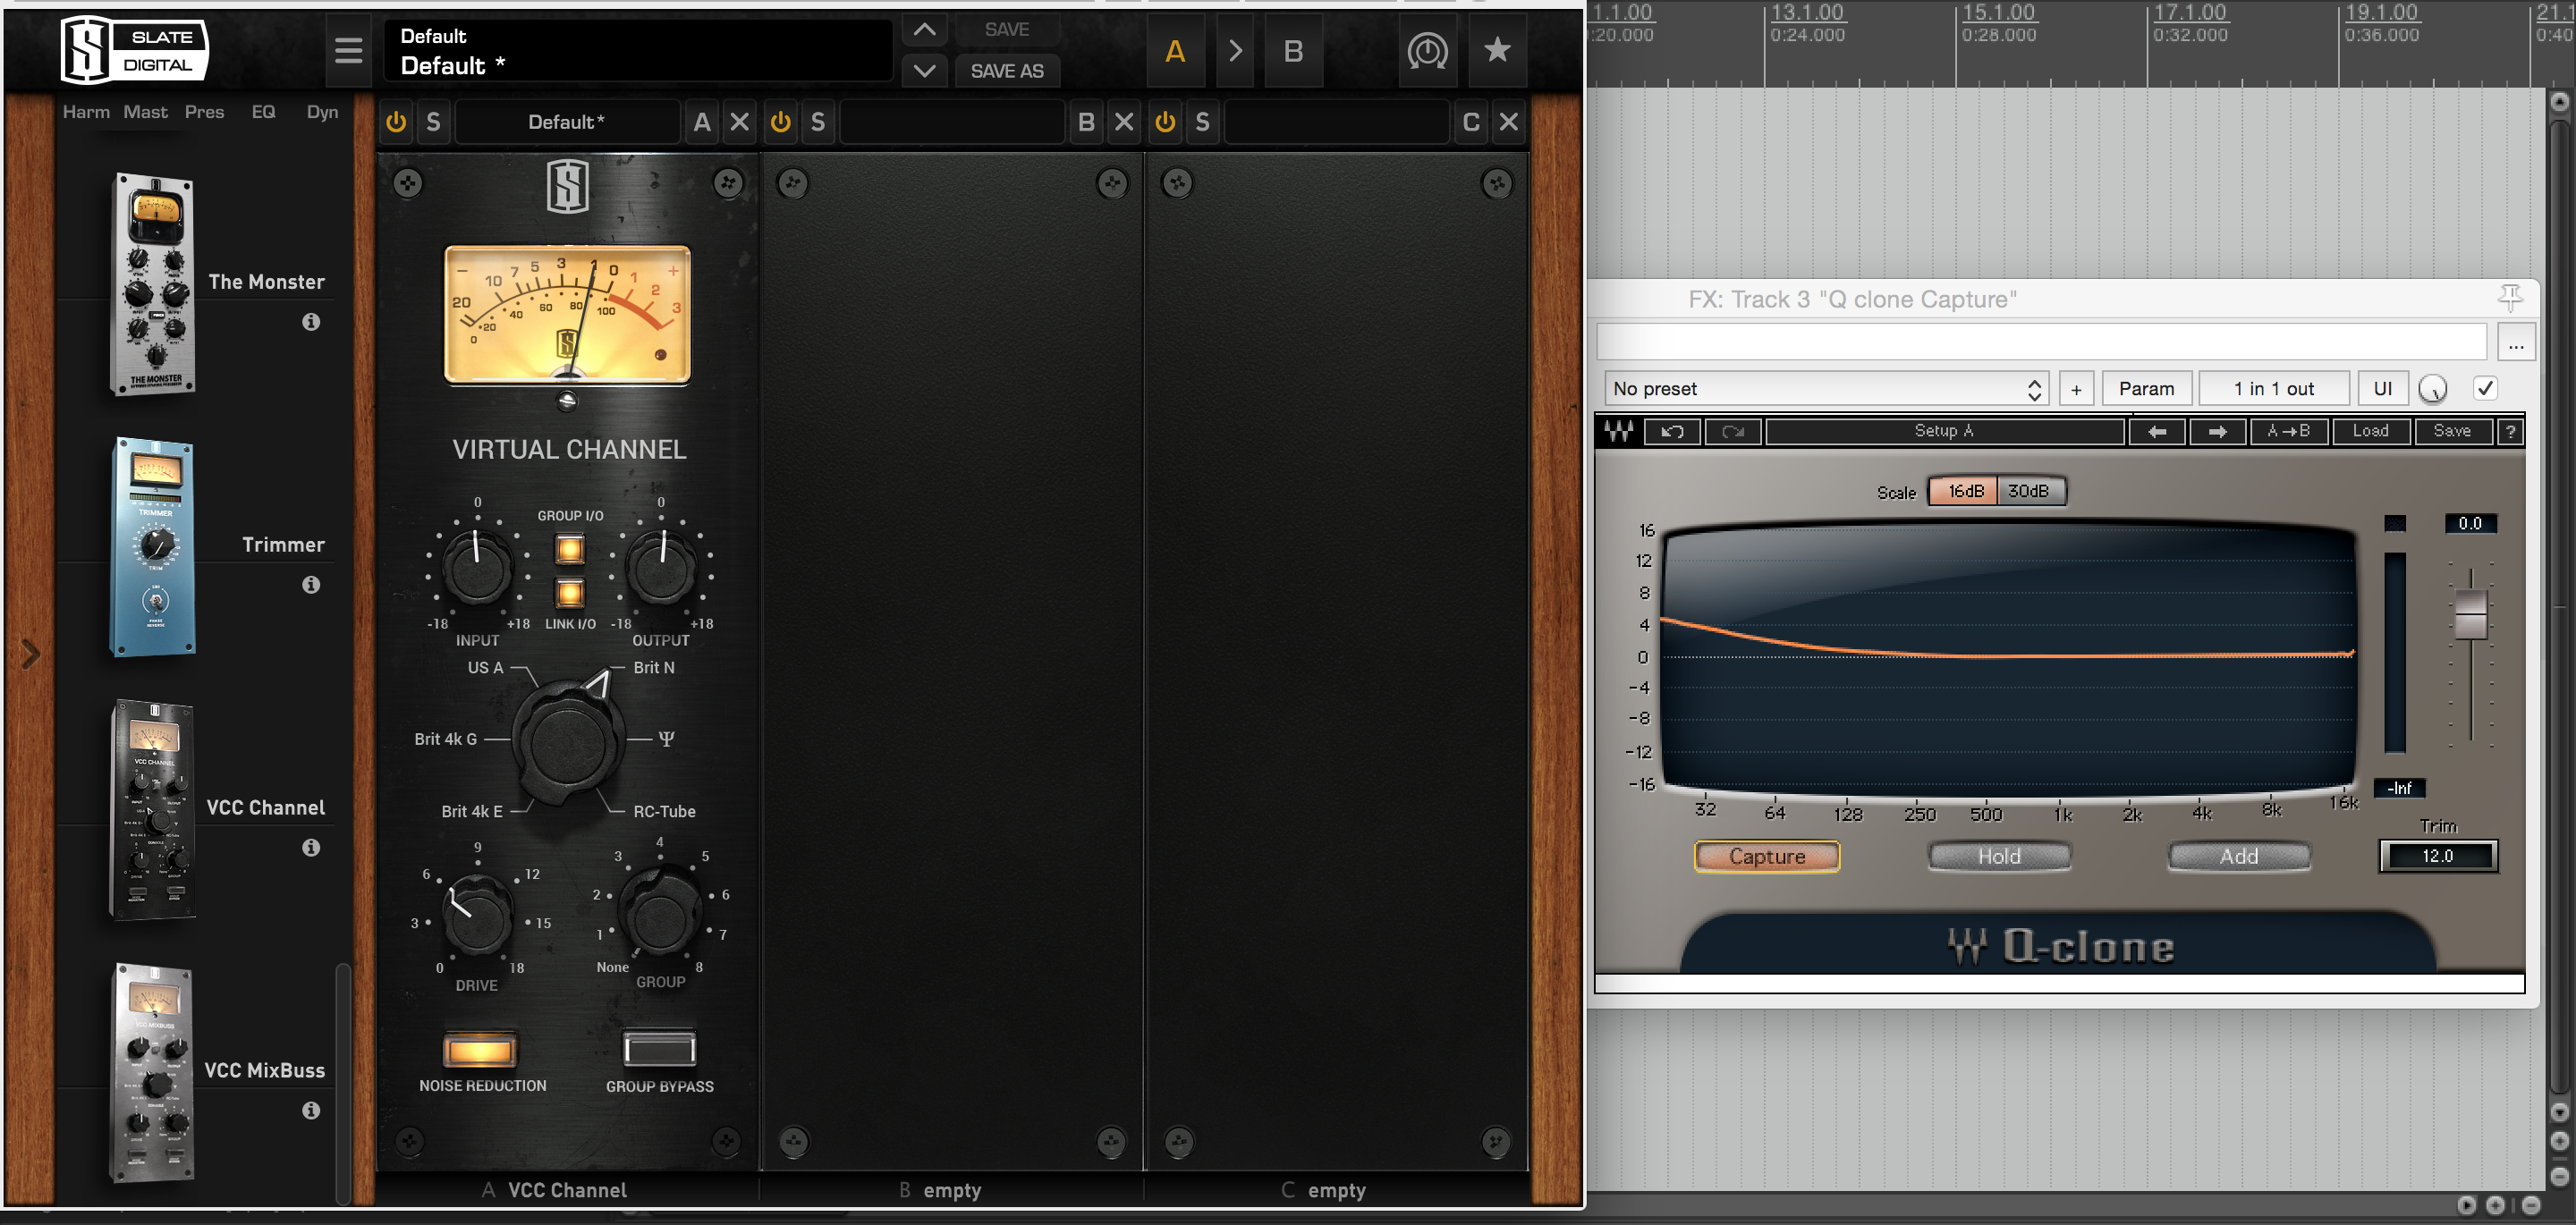
You’ll often see and hear people talking about the “warm” sound of the classic Neve consoles. Just by running a simple frequency-sweep test we can get a pretty good idea of the actual tonal effect this kind of processing is having on our source material:

Slate Digital VCC2 On the Neve Setting:
10-steven-slate-neve-console

Note: It goes without saying that every desk has a unique sound of it’s own, so I won’t go into the details of every single option. To summarize the general effect that a mixing console has on the sound:

“An increase in punch, depth and warmth, added life and excitement.”

Here are some places to try out a Console Simulation Plugin:
  • The cool thing about having access to so many different flavors of console is that you can mix and match different sounds depending on the source material. For example: An API on the guitars, A Neve on the Vocals and an SSL on the Drums.
  • Steven Slate VCC comes with regular channel version of the plugin, as well as a MixBuss version of the plugin. Try using the channel version of VCC on your individual inputs and bussing them together into groups for further Console saturation.
  • The VCC MixBuss plugin is also an excellent tool for mastering. It is a quick way to add a bit of extra glue, punch and harmonic excitement to a full mix.
Microphone Preamps:
11-preamps-collage

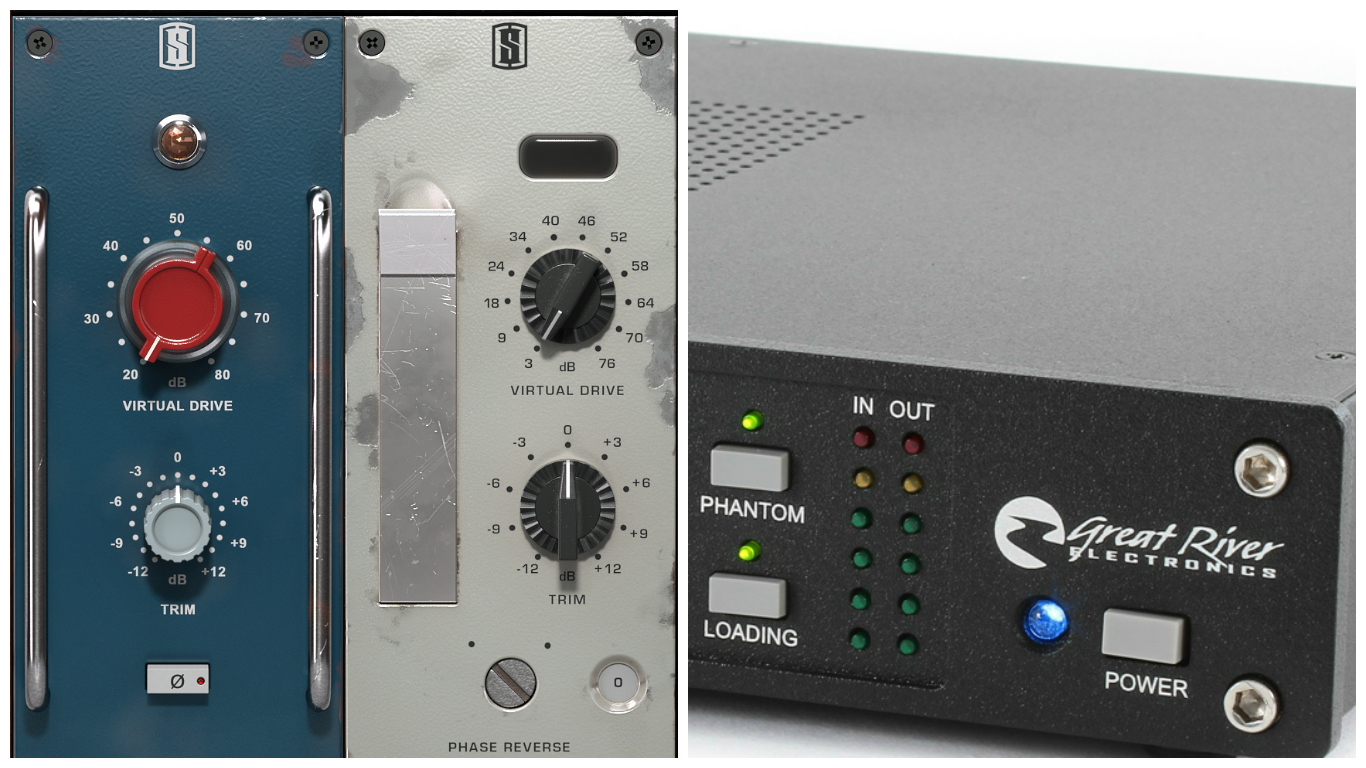
Generally speaking, the microphone preamps built-into modern day audio interfaces are very neutral eq-wise and very clean saturation-wise. These pre’s are great for capturing an accurate digital representation of a sound, but don’t really lend themselves well to producing sounds which will cut through and sit well in a dense mix.

My usual advice to people asking about which low-budget microphone preamp to buy is simple. They should just stick with the built-in options on their interface until they are in a position to actually afford a more expensive, high-quality option. The simple truth is: Owning a good microphone preamp won’t drastically improve your mixes.

Don’t get me wrong… of course a good interface will help improve the raw tones you are capturing from the get go, just not to the extent that some of the gear snobs around the audio forums would try to have you believe.

The Characteristics of Vintage Microphone Preamps:
  • Added warmth, depth, punch and presence.
  • Subtle saturation (or not-so-subtle, depending on usage).
  • Varying tonal accentuation depending on brand, price range,  etc. Ex: Neve preamps are fat and silky, API preamps are quite mid-focused and transient.

NOTE: I know that I’m beginning to sound a bit like a broken record at this point. This is simply because the characteristics I’ve listed above are the main characteristics that most high-quality pieces of Analog gear have in common.

Digital Preamp Simulation:
12-virtual-preamp

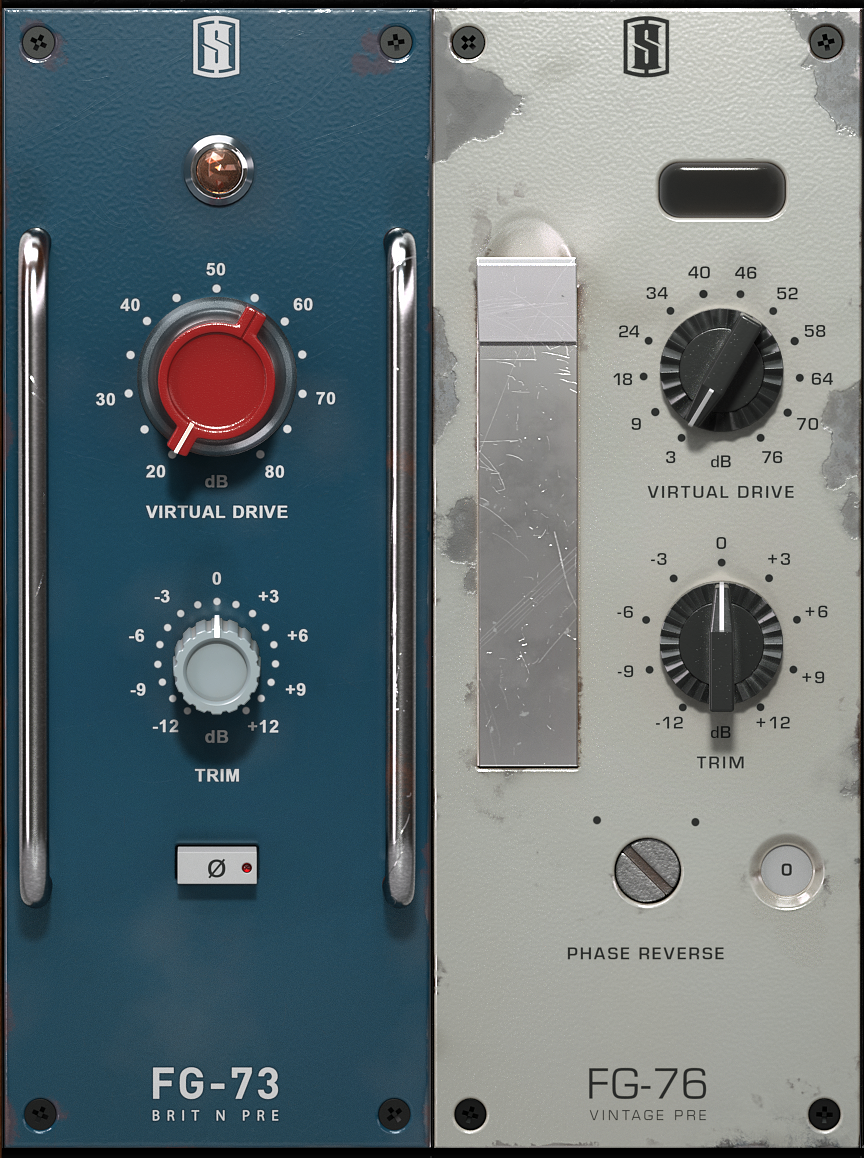
A fairly recent addition to Slate Digital’s already-amazing back catalog of amazing Analog modeling plugins is the new “Virtual Preamp Collection”.

This plugin was designed to be used in conjunction with their new “Virtual Microphone System.” Due to the fact that a lot of modern day digital audio interfaces are so clean and transparent, it also serves as an amazing tool for spicing up some otherwise very-clean sounding “straight into the interface” recordings during the mixing process.

Ever since I got my hands on this plugin last year I find myself wondering “Why do I need to spend thousands on tons of external preamps again???” I’m sure a lot of other people are also thinking the same thing. It’s truly a testament to the quality of product which the guys at Slate are delivering recently.

NOTE: I’d highly recommend giving VPC, as well as the other Slate Digital plugins a go. They are extremely affordable and provide what I believe to be the best analog simulation options available on the market today.

Some Final Words on Analog/Digital:

The truth is, Analog was never perfect and neither is Digital… It’s our job as engineers to research, experiment, learn and do whatever it takes to figure out and develop methods of reaching the sounds we envision in our heads.

As I’ve mentioned before in my previous Blogs, and is mentioned frequently by the awesome guys at URM and their guests: It’s not about the gear you use, it’s about the way you use it.

CONCLUSION:

This concludes my article on “Making Digital Sound Analog”.

I hope you’ve enjoyed this article and possibly gained something through reading it. Make sure to share this with your friends and feel free to leave comments or questions in the section below. 

Stay tuned for more Thomas Brett Production and Mixing Blogs in the near future!


Thomas Brett is a producer, mixing engineer and songwriter at Brett Brothers recording studio in the UK. Check out the Brett Brothers studio website for more information and articles on all things mixing www.brettbrothersstudio.com

Want mix tips from Thomas Brett? Read them here!

Nail The MixNail The Mix is our online mixing school that gives you REAL multi-tracks from REAL bands, plus a mixing class from the producer who recorded it. Past guests include Periphery, Chelsea Grin, Machine Head and State Champs. Join now for instant access!

Recording Guitars – Silent Recording Options (Part 2)

Recording Electric Guitars – Silent Recording Options: Part 2 | By Thomas Brett | 

In the current age of digital recording technology, we have more options available to us than ever before. When it comes to capturing great guitar tones within a home studio environment/budget, we’ve never had it better.

Here is an overview of what I consider to be some of the best silent-recording options available today:

Recording Option #2: Hybrid Setup – Real Amp + Reactive Load Box + Speaker Simulation

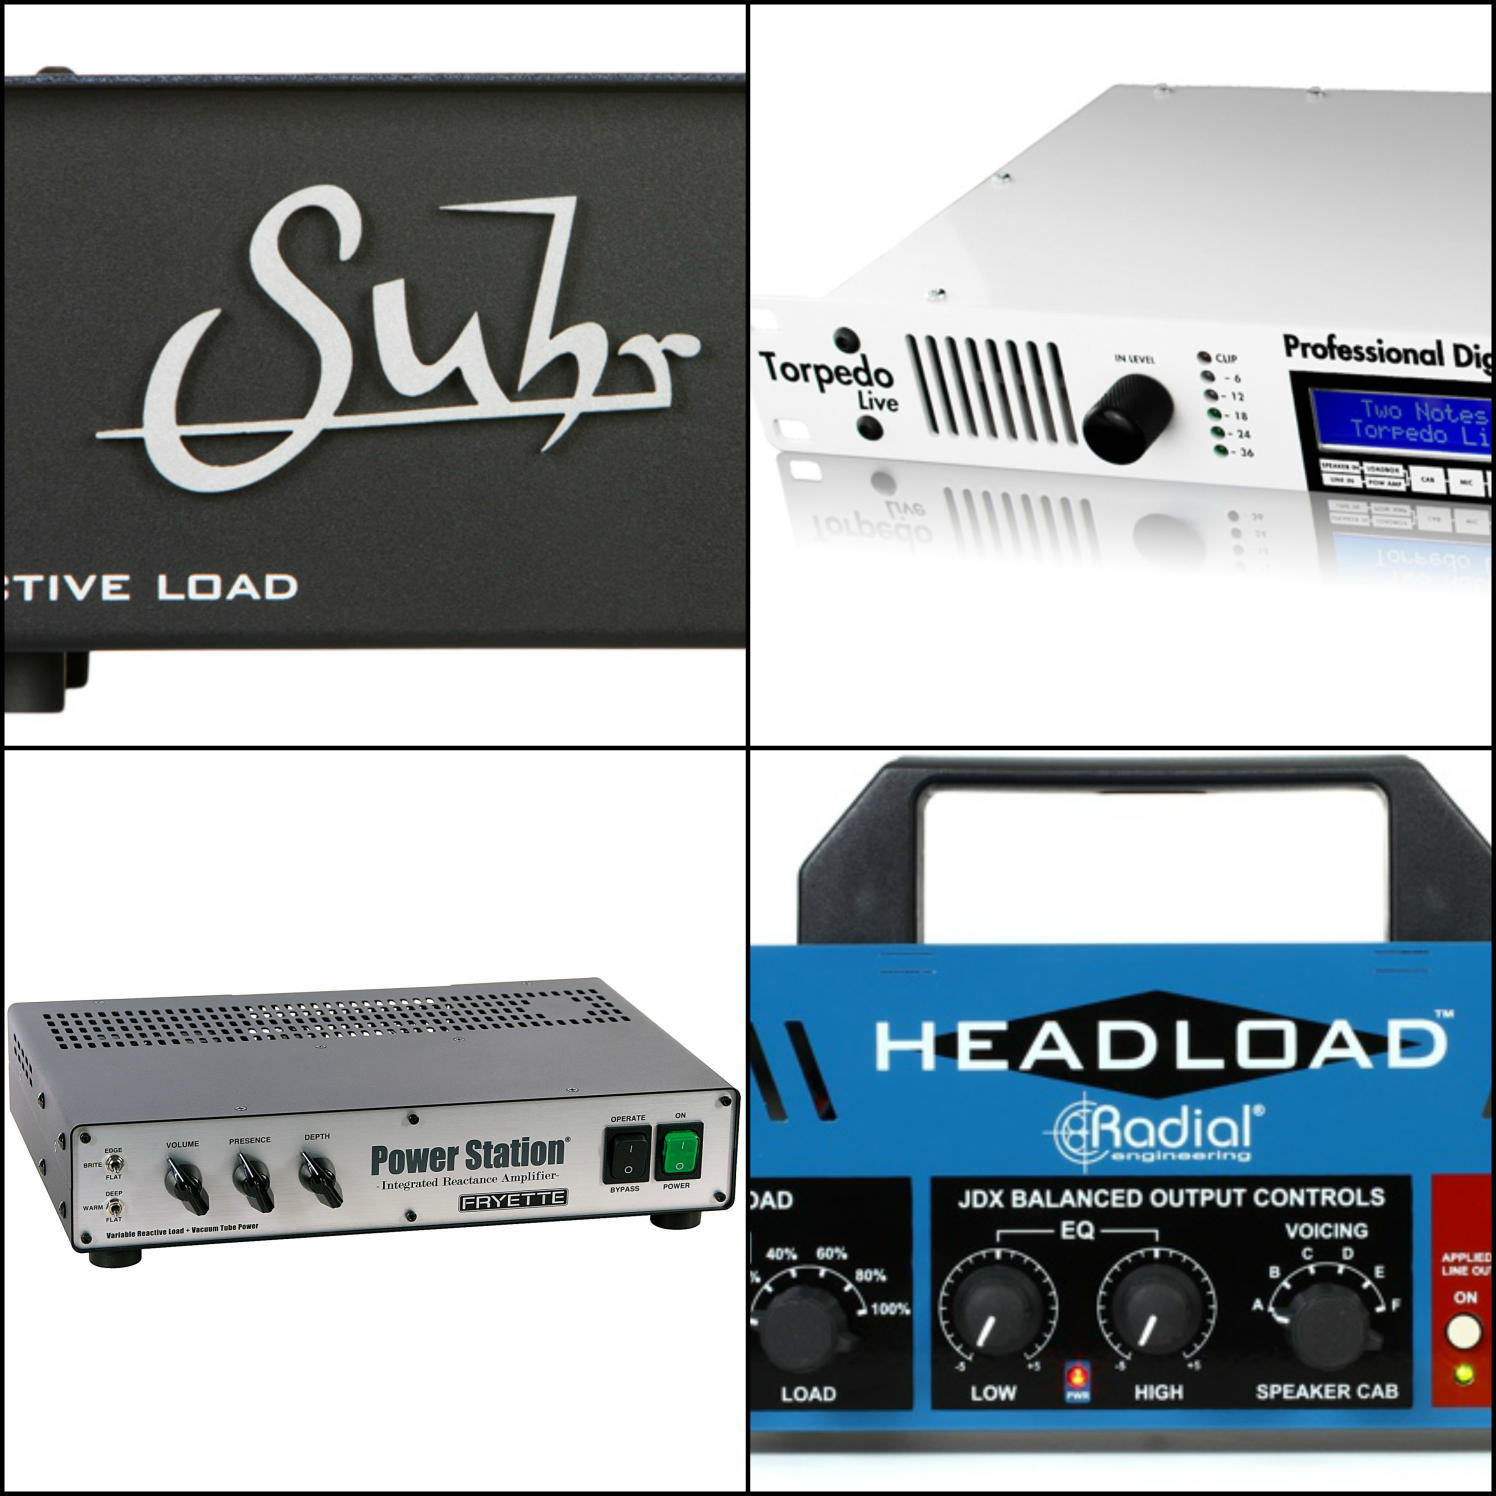
1-load-boxes-collage

Using a Load-Box is my  favorite way to record guitars silently. This method is the most accurate way to capture the sound and feel of an analog amplifier, while retaining most of the benefits of silent recording.

Introduction to Load Boxes

To use this method you’ll need to purchase a Load-Box. More specifically, a Load-Box with a line output option. A Load-Box is a piece of gear which can be used to replace a speaker cabinet. It loads your amp’s speaker output down to a line level signal, so that you can safely connect it up to your audio interface without damaging it.

Load-Boxes come in a few technical variations
  • Reactive Load-Boxes
  • Resistive Load-Boxes
  • Load-Boxes With or Without Built-In Speaker Emulation
What’s the difference between Reactive and Resistive?

Think of it this way: When an amplifier is plugged into a speaker cabinet, the signal flow relationship between the head and the cab isn’t exactly linear. It’s more of a push/pull, “interactive” relationship. This has a huge influence on the way that the gear sounds, how it reacts, and how it feels to play through as a guitarist.

NOTE: In more technical terms, this relationship between the amp and the speaker cabinet is called the “impedance curve” of the gear.

Reactive Load-Boxes

As it’s name suggests, a reactive Load-Box will preserve this Impedance Curve. It allows your gear to “react” with the guitar player, thus retaining the benefits of playing through a real speaker cabinet.

Resistive Load-Boxes

A resistive Load-Box on the other hand, will get rid of the Impedance Curve. It loses the relational benefits gained from playing through a real cab.

Load-Boxes With or Without Built-In Speaker Emulation

2-cabs-collage

While using a Load-Box you’ll still need to use speaker simulation on the back-end of your chain.

Some Load-Boxes come with built-in speaker emulation. Others simply serve the sole purpose of converting your amp’s speaker output into a line level signal and don’t really do anything else.

Which one to go for mainly comes down to where and how you’re planning to use the unit. If you’re planning on using the Load-Box for live performance as well as studio recording, you might be better off going with an option with built-in speaker simulation. You can save yourself from having to buy an additional speaker simulation unit in the future.

Whichever option you go for, you’re bound to find a speaker simulation setup that works well. There’s a plethora of accurately captured 3rd party speaker impulse-response packs available from companies like Ownhammer, Two-Notes, JST, Fat Lazy Cabs, etc. (Check out Part 1 of my “Silent Recording Options” Blog for a longer list of speaker simulation software and IR packs)

Which Load-Box Should I Buy?

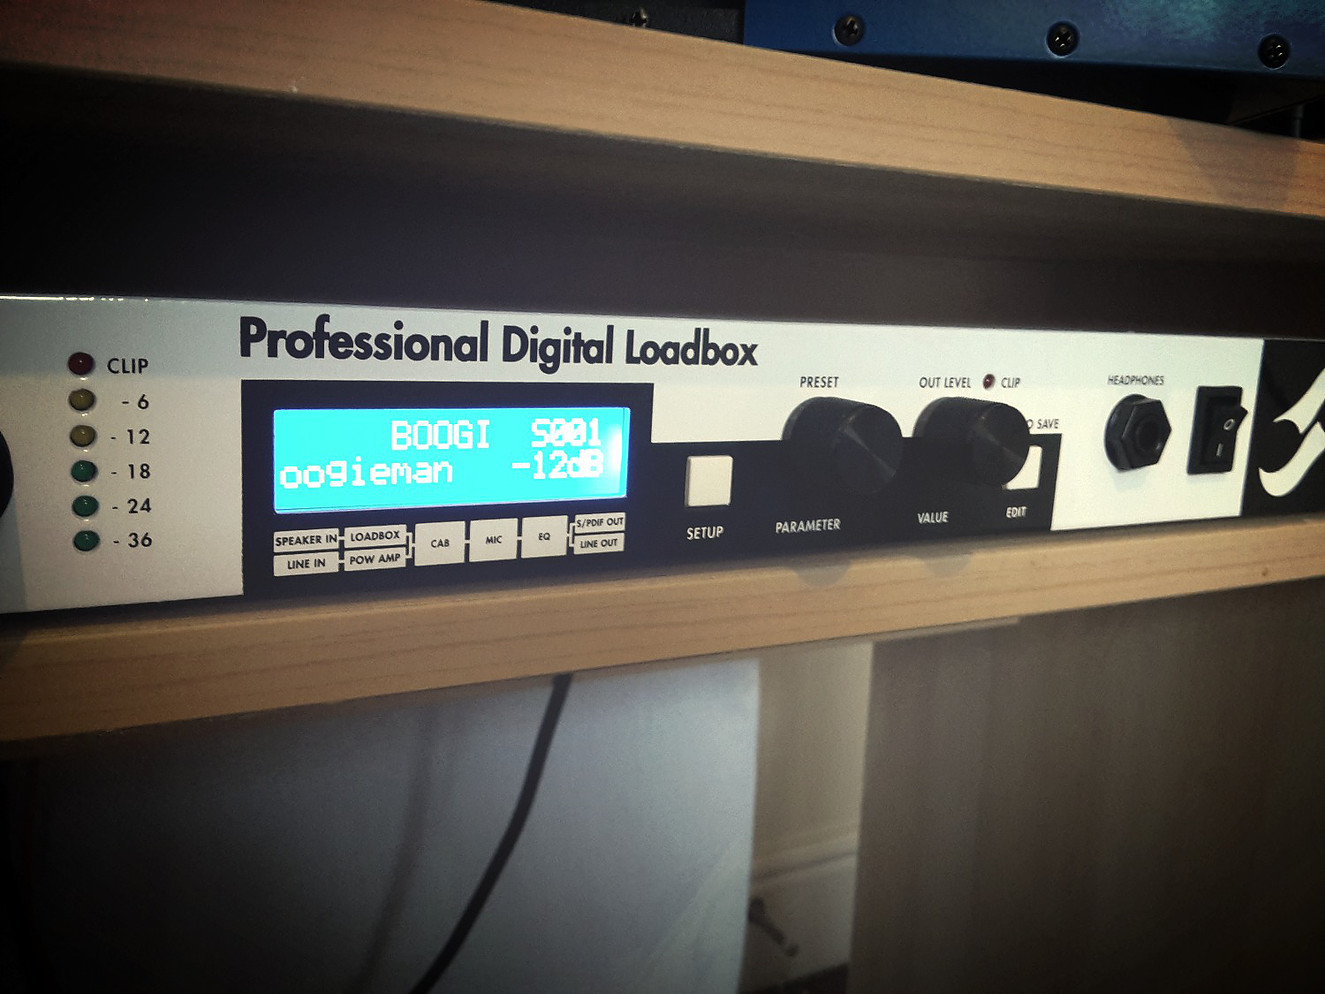
3-brett-brothers-torpedo

The Torpedo Live Digital Load-Box which I use at Brett Brothers Recording Studio.

Good Load-Boxes aren’t a cheap purchase by any means… but they make up for it by providing an excellent way to capture the sound and feel of a real amp in complete silence. They also retain the user-friendly functionality of having analog knobs and switches to tweak in real-time.

There are quite a few great reactive load boxes to choose from available on the market at the moment. Most of these products serve the same purpose. They mainly differ in connectivity options and extra features (such as built-in speaker simulation).

Here’s a list of a few excellent Load-Box options to consider

NOTE: I won’t go into too much detail about the individual products in these lists. They each offer a different set of features and functionality and would require a whole blog post for each of them in order to cover everything. I’d highly recommend checking out some sound demos and doing your own research before you make a decision on which unit to buy.

Example Load-Box With Built-In Speaker Emulation

4-torpedo-live-close-up

Two Notes Engineering Products – Torpedo-Live, Torpedo Studio

Reactive, Built-In Speaker Simulation, Additional Functionality

  • Built-in, High-Quality Two-Notes speaker simulation included within each unit. The built in simulation is extremely tweakable, with parameters such as microphone choice, microphone placement, speaker choice and power-tube simulation.
  • Extremely versatile when used alongside the “Torpedo Wall of Sound III” plugin within your DAW.
  • Supplies a Reactive Load for your amp, which helps to maintain the warmth, dynamics and feel of playing through a real speaker cabinet.
  • Great for Live-Use. You can load your favorite IR’s into the units and keep a consistent tone every night without the need for any extra speaker simulation gear.
Example Load-Box Without Built-In Speaker Emulation

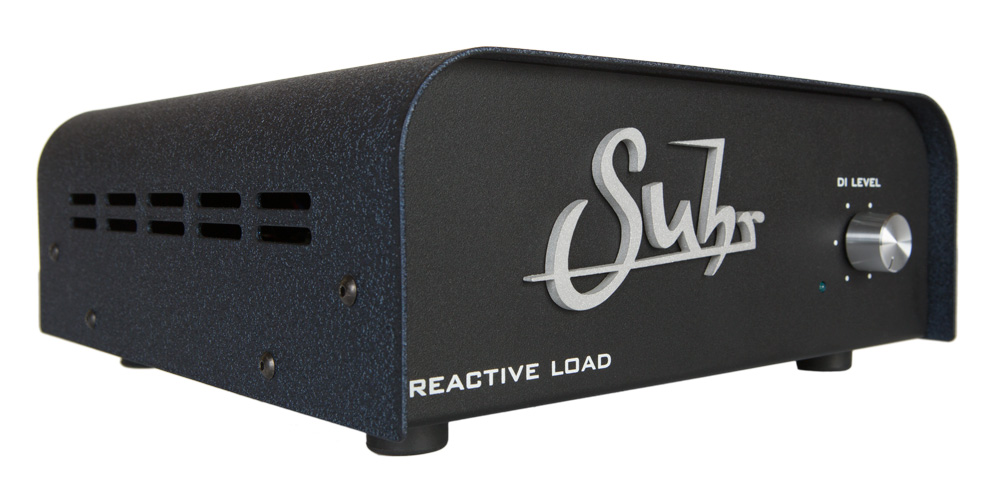
5-suhr-reactive-load

Suhr Reactive Load

Reactive, No Built-In Speaker Simulation or Extra Functionality

  • Supplies a Reactive Load for your amp, which helps to maintain the warmth, dynamics and feel of playing through a real speaker cabinet.
  • A more affordable option than the high-end Two-Notes products. However, the lower price point is reflected in the fact that the unit is a bit of a one-trick-pony (Albeit a very high-quality pony!). There’s no built in speaker-simulation or extra bells and whistles.
  • Mainly designed for studio use. You’ll have to pair the unit with some additional speaker simulation (such as a Two-Notes Cab unit) if you want to use it live.
Other High-End Load-Boxes to Check Out
  • Fryette Power Station
  • Radial HeadLoad

NOTE: There are many more brands and models to choose from when it comes to Load Boxes. These are just some of the more popular high-quality options available at the moment. Whatever you decide to go for, make sure to check out reviews and do some thorough research before you pull the trigger on anything!

Here’s a brief step-by-step guide on how to record using a real amplifier alongside a Load-Box and some speaker simulation software in your DAW

IMPORTANT NOTE ON USING AMPLIFIERS: Always make sure to have a speaker cabinet or Load-Box connected while using a guitar/bass amplifier! (Unless the amp has an in-built load-box, such as the Laney IRT Studio). Using an amplifier without connecting it to a suitable load can damage the amp and cost a ton to repair!

How to do it
  1. Buy a Load Box. (Check out my list above)
  2. Make sure that the speaker output of your amplifier is connected to the correct speaker input on your Load-Box depending on the impedance of the amp. Always make sure the Load-Box is turned on before you switch on your amp. (This is very important, as you can fry the output transformer on the amp if you use it without connecting it to a proper load!)
  3. Set the gain and EQ settings on your amp similar to where you’d usually set them. Make sure to set the amp volume at a level close to what you’d usually use, as if you were playing through a speaker cabinet in a room. Just because you can crank the volume on the amp to 10 in a silent recording scenario doesn’t mean you should… Running your amp volume too high runs the risk of damaging it in the long run, and it probably won’t sound it’s best at stupid levels anyway…
  4. Connect the line output of your Load-Box to your audio interface and set the input gain on the interface appropriately. (So that it’s loud enough, but not clipping when the guitar is strummed hard)
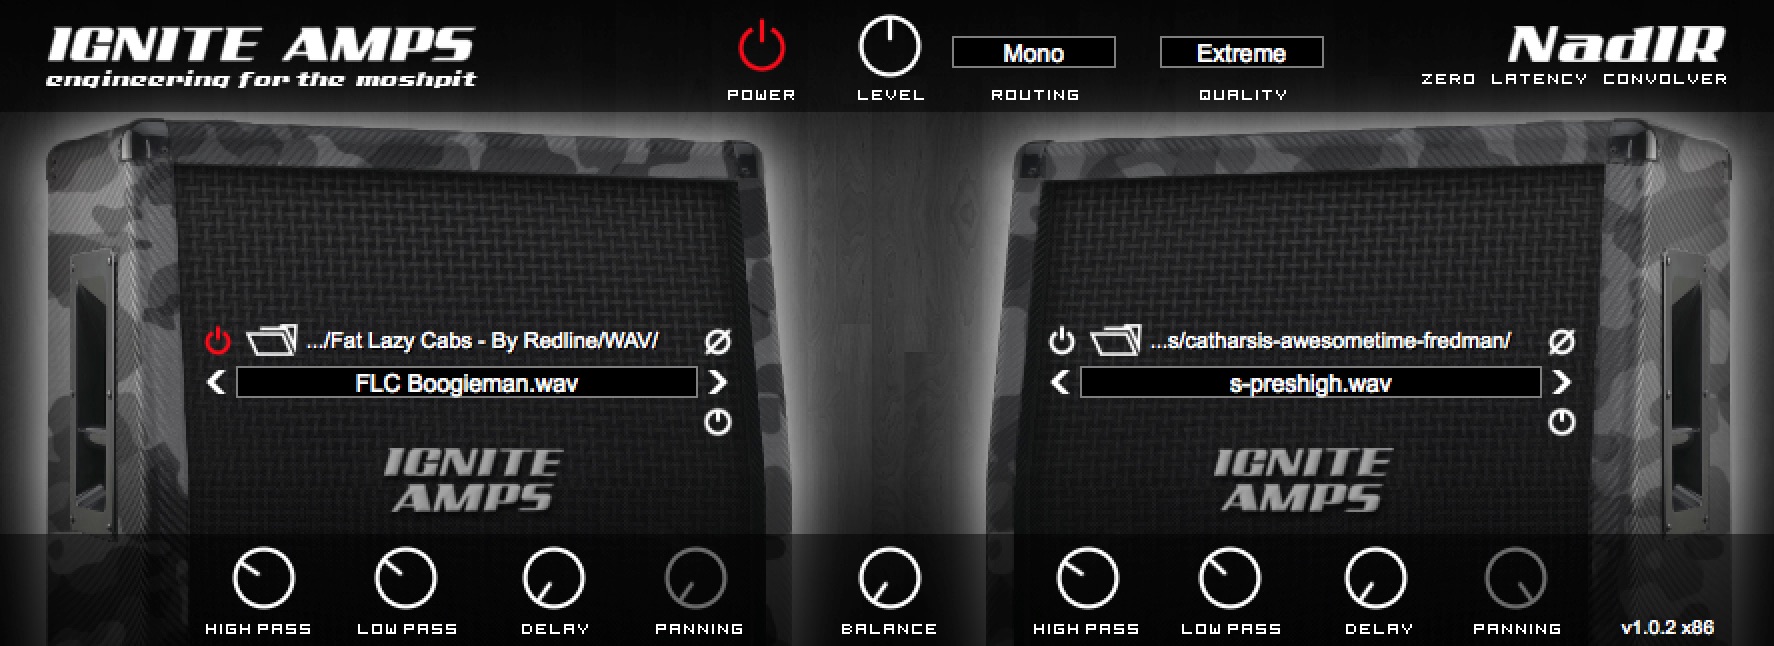
  5. Load up a speaker simulator as the first plugin in the chain in your DAW (Check out Part 1 of my “Silent Guitar Recording” Blog for a list of speaker simulation plugins and IR packs)6-speaker-sim-example
  6. Choose the speaker IR that fits your tone and song the best.
  7. You are now ready to play/record!
Recording Option #3: Hybrid Setup – Real Amp + Power-Amp Simulation + Speaker Simulation

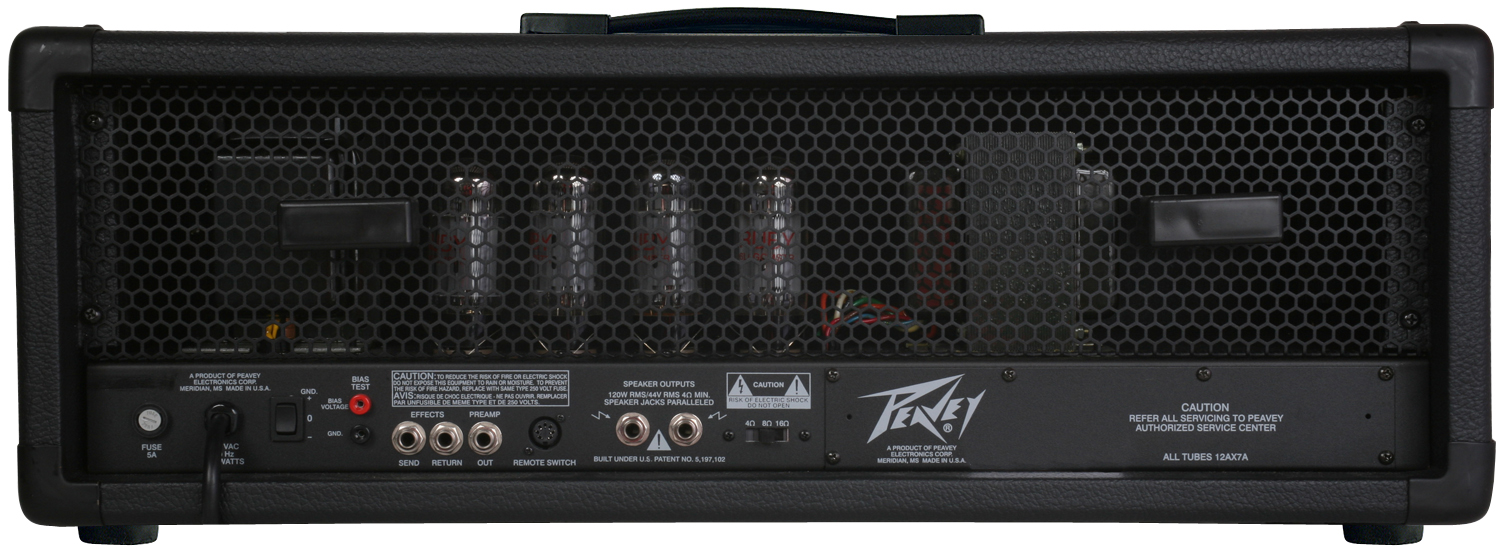
7-fx-output-method

This is another interesting option, as it allows you to record directly from the preamp section of any real amplifier which has an FX loop or DI output.

The main benefits of this method include utilizing the pre-amp section of a real guitar amplifier to record, while also being able to run real FX units and stomp-boxes. The main downside of this method is that you’ll still need to hook your amp up to a suitable load, as not to damage any of the components.

IMPORTANT NOTE ON USING AMPLIFIERS: Always make sure to have a speaker cabinet or Load-Box connected while using a guitar/bass amplifier! (Unless the amp has an in-built load-box, such as the Laney IRT Studio). Using an amplifier without connecting it to a suitable load can damage the amp and cost a ton to repair!

How to do it
  1. Make sure that the speaker output of your amplifier is connected to the correct speaker input on your Load-Box depending on the impedance of the amp. Always make sure that the Load-Box is turned on before you switch on your amp. (This is very important, as you can fry the output transformer on the amp if you use it without connecting it to a proper load!)
  2. Turn the master volume of the amp down and leave it there for the entire process. The power section of the amp is unused in this method.
  3. Run a regular TS cable between the FX send of the amp and into an instrument input on your recording interface or into a DI box (some amps have a separate “Preamp” or “DI” output). (Check out Part 1 of my “Silent Guitar Recording” Blog for an in-depth explanation of DI boxes)
  4. Run another TS cable into the FX return of the amplifier, but don’t plug the other end of it into anything.
  5. Set the gain and EQ on the amp where you usually would (depending on the tone you’re after). Adjust the input gain on your interface so that it’s loud enough, but doesn’t peak when you strum hard.
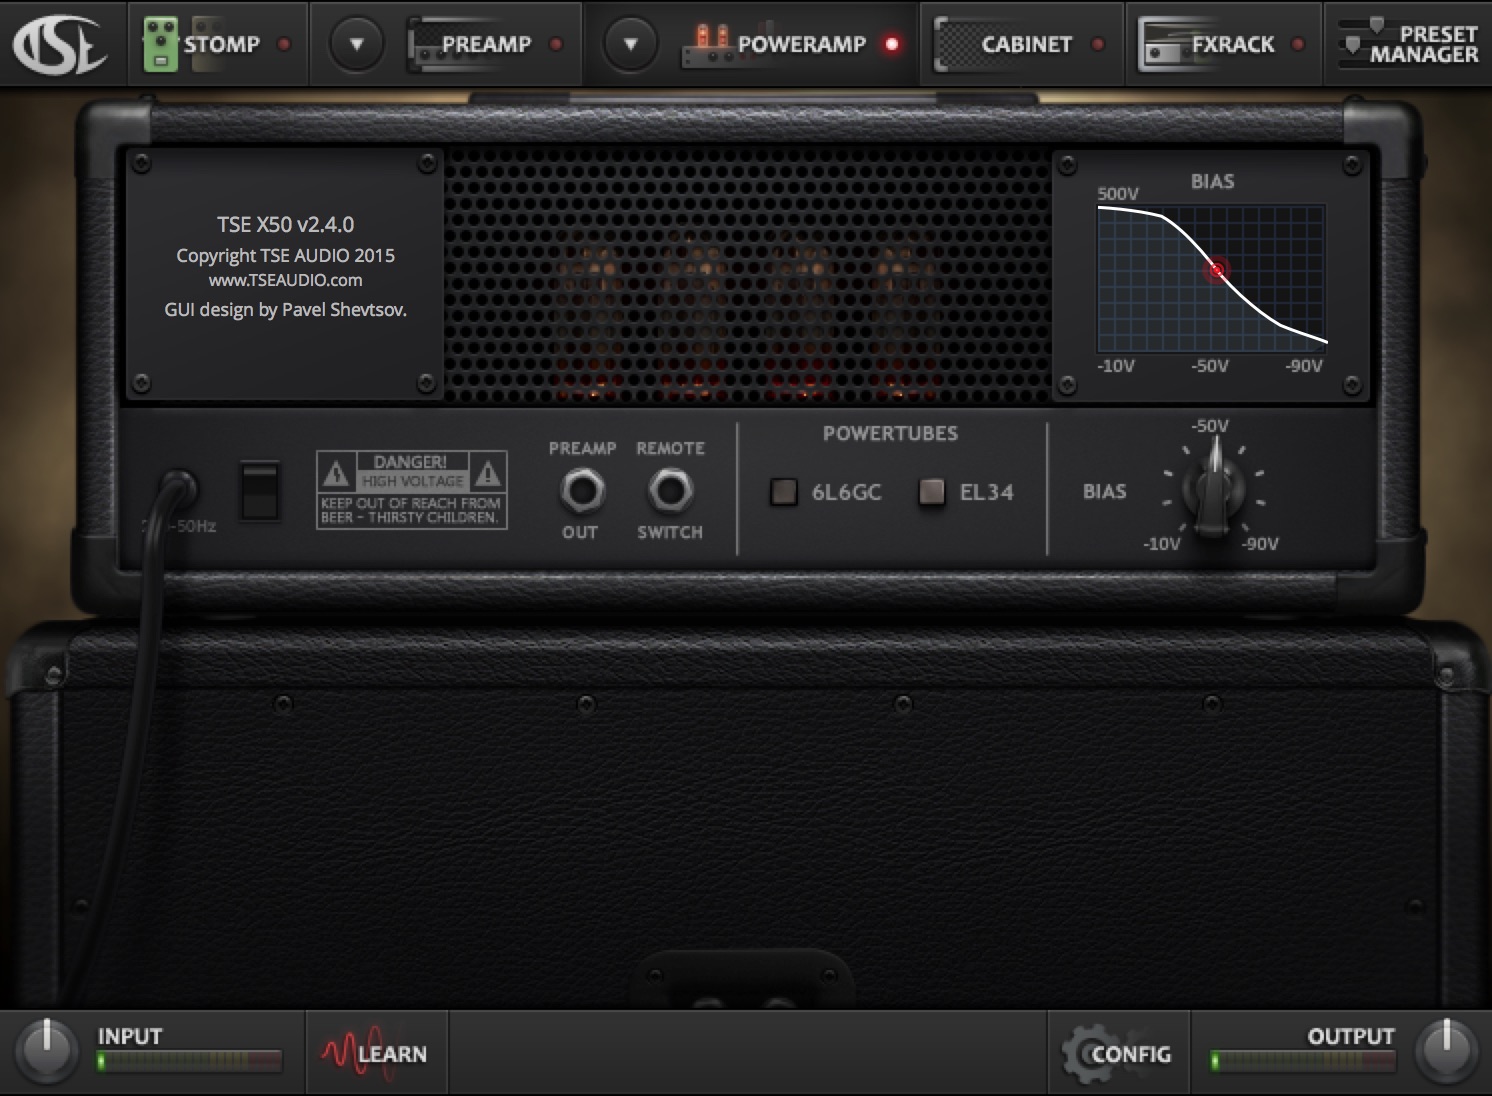
  6. Place your power-amp simulation of choice as the first plugin in your chain within your DAW. Most amp simulation plugins have built-in power amp simulation. Just turn off the pre-amp simulation and FX within the plugin so that it is only acting as a power amp simulator. (see the TSE X50V2 example below)8-power-amp-sim-example
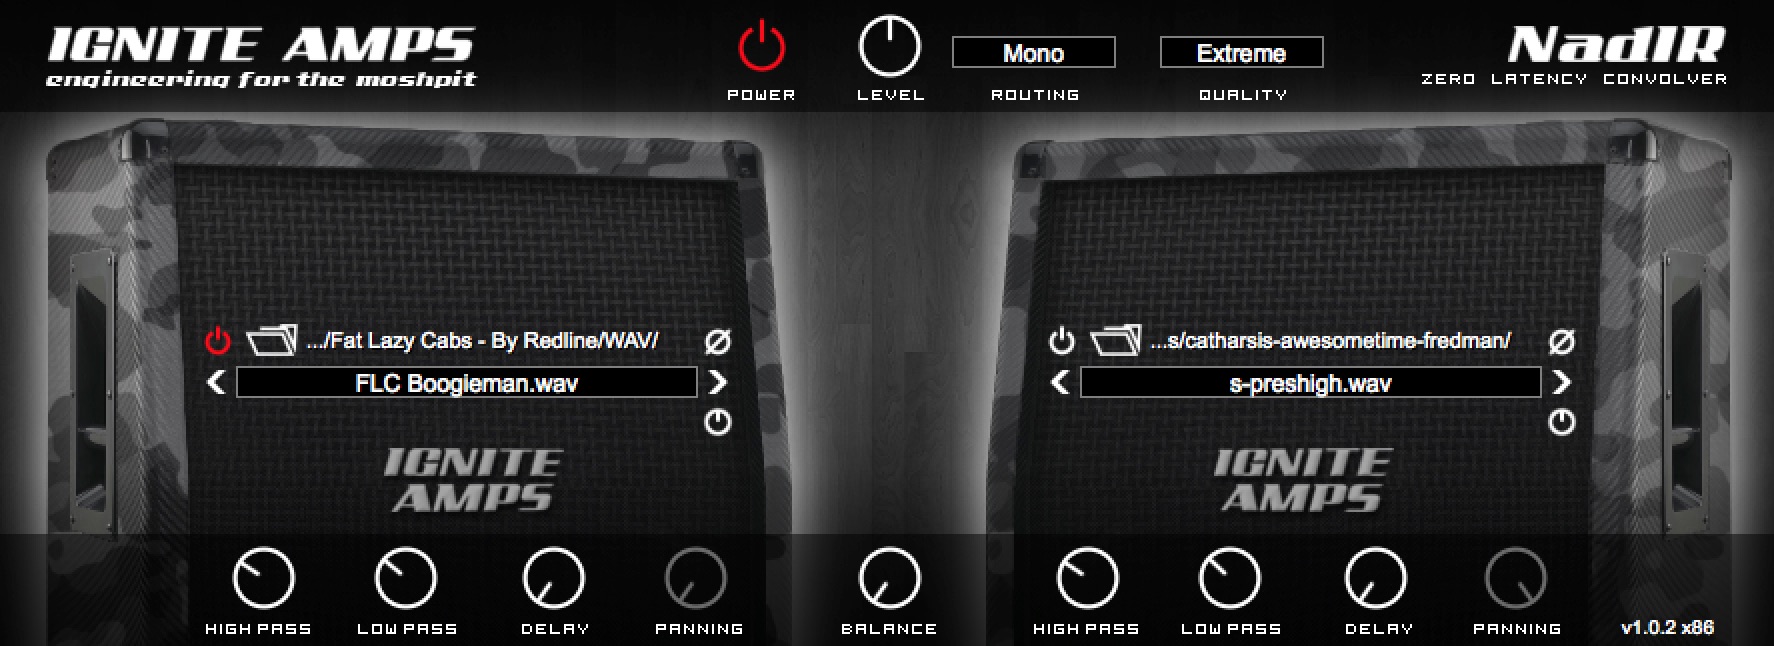
  7. Place your speaker simulation plugin as the 2nd plugin in your chain in your DAW. You can either use 3rd party cab IR’s such as the Ownhammer libraries with an impulse loader (NadIR by Ignite Audio is my favorite) or simply use the built-in speaker simulation suites in amp-sims such as Guitar Rig or Amplitube.9-speaker-sim-example

BONUS TIP: Some impulse responses are initially captured through neutral solid-state power amps with a very flat EQ response. Others are captured through tube power amps with a more colored response. Depending on which speaker impulse response you choose to use, you might not need any power amp simulation beforehand. The impulse will already have been captured through one.

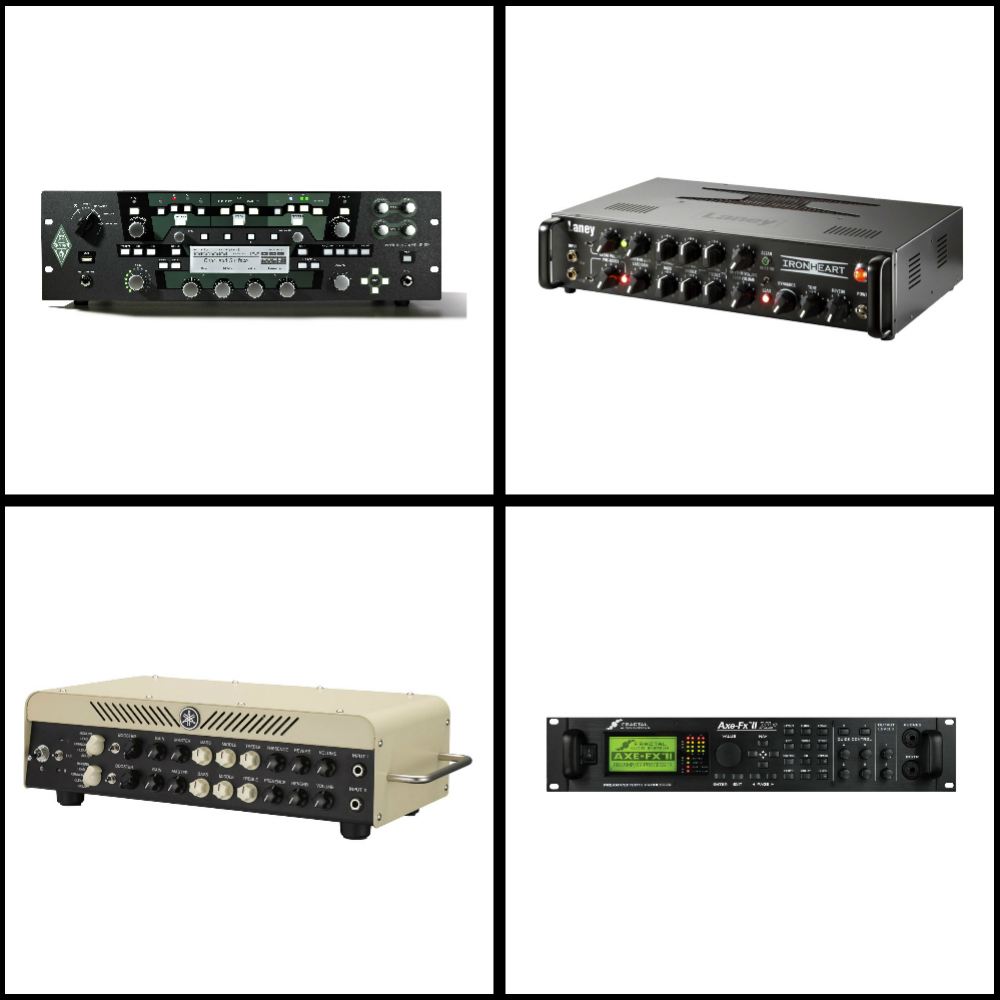
Recording Option #4: Modeling/Profiling Amps + “Studio” Amps

10-modeling-amps-collage

Modeling/Profiling Amplifiers

One of the most popular and arguably most revolutionary developments in guitar tone of the past decade, is the rise of thedigital modeling amplifier”.

The ability to capture or model a specific tone, which can then be recalled instantly at any desired moment, with nothing more than the simple click of a button, offers countless practical and workflow-related benefits which weren’t really available until fairly recently.

When this type of digital amp simulation technology first started to come about, many people, including myself, remained unimpressed when shown side-by-side comparisons between the real deal and the “imitation”. Fast forward a few years later, and the technology used in high-end modeling and amp profiling has been improved to the point that most of these “non-believers” have been converted to the cause. Even the most trained ears would be hard-pressed to tell the difference between the two in a blind shootout.

NOTE: As I briefly mentioned in my previous Blog entry, this isn’t a question of digital being better than analog, or visa versa. However, I do strongly believe that anybody who is still clinging on to the ancient mindset of “digital is inferior to analog” is bound to miss out on an amazing opportunity to access an incredibly versatile array of tonal options, at an extremely affordable price-point. As I said in my previous Blog: If the end product is good, the gear used to get there is irrelevant!

A List of Great Modeling/Profiling Amplifiers For You to Check Out
  • Kemper Profiling Amplifier
  • Axe FX
  • Line 6 Helix
  • Bias Head
  • Atomic Amplifire
  • Yamaha THR100H/HD
“Studio” Amplifiers

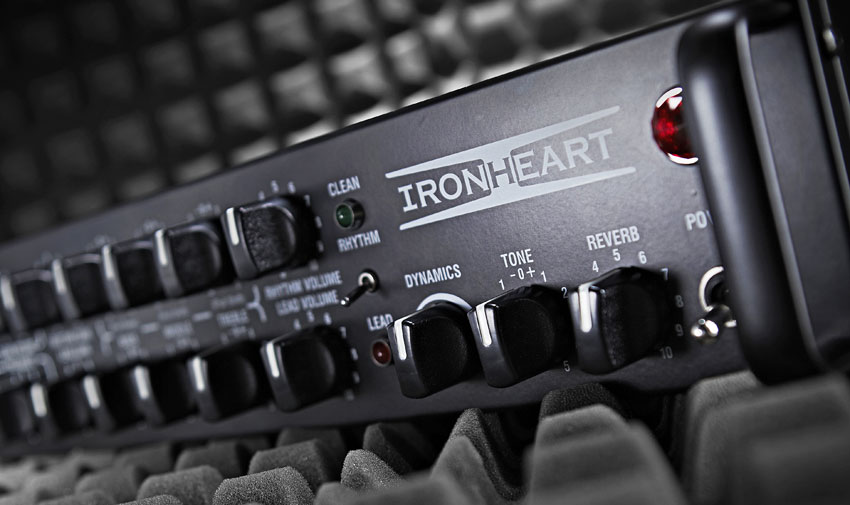
11-laney-ironheart-close-up

Studio amplifiers are a rather new hybrid guitar recording option. They aim to combine the sound and user-friendly interface of using an analog amplifier, with the functional benefits of having built-in Load-Boxes and speaker emulation.

These amps are usually available at a very reasonable price point. They offer a great alternative to some of the more expensive and extravagant modeling options. Unfortunately there aren’t too many options in this category available on the market just yet. However I have no doubt that more and more companies will start releasing some really strong contenders in this area pretty soon.

Personally, I’m huge fan of simplicity when it comes to guitar tone. Despite being one of the least expensive pieces of gear in my studio, I often opt for using my Laney Ironheart Studio over some of my other amp and speaker options simply because of how effortless it is to set up and dial in a good tone with.

Final Words

This concludes Part 2 of my “Recording Electric Guitars – Silent Recording Options” series. I hope that this article has given you some new ideas and plugins to try out during your next project.

Be sure to let me know in the comment section below if any of this information has helped you out, or if you have any further questions regarding anything I’ve talked about here.

Stay tuned for future articles on all things Recording and Production related!


Thomas Brett is a producer, mixing engineer and songwriter at Brett Brothers recording studio in the UK. Check out the Brett Brothers studio website for more information and articles on all things mixing www.brettbrothersstudio.com

Want mix tips from Thomas Brett? Read them here!

Nail The MixNail The Mix is our online mixing school that gives you REAL multi-tracks from REAL bands, plus a mixing class from the producer who recorded it. Past guests include Periphery, Chelsea Grin, Machine Head and State Champs. Join now for instant access!