Recording Guitars – Silent Recording Options (Part 1)
urmadmin
Recording Guitars – Silent Recording Options (Part 1)
In our current age of digital recording technology, we now have more options available to us than ever before when it comes to capturing great guitar tones within a home studio environment/budget.
Here is an overview of what I consider to be some of the best silent-recording options available today:
Option #1: Digital Setup – Amp & Speaker Simulation Software + DI Boxes
The easiest and cheapest way to get into silent guitar recording is by using digital amp and speaker simulation plugins within your DAW.
A little backstory:
During my first few years of engineering, I couldn’t afford to buy multiple expensive tube-amps and speaker cabinets, and wouldn’t have had the space to crank them even if I could… All I owned at the time was a tiny Marshall combo, which was OK for practice purposes, but extremely limited when it came to recording and trying to get different tones out of it.
Discovering amp sims was a real game changer for me. It meant I could finally achieve results close to the sounds I had in my head, without annoying the neighbors, and with nothing more than a basic home studio setup.
Fast Forward to Today:
I thought that my old amp sims sounded pretty darn good back when I started out, but the technology used in amp and speaker simulation has improved leaps and bounds since those days. We have basically come to a point where the simulations are almost indistinguishable from the real deal.
Why Try Digital?

Here are some of the practical, and workflow related benefits of using amp-sims instead of analog amplifiers and cabinets:
- Silent Recording: The ability to record silently at any time of day is amazing. I’ve had issues with neighbors complaining about noise in the past. Using amp sims solves this problem when you don’t have an alternative to recording your loud amps at home.
- Consistency and Recall-Ability: There are lots of variables that go into creating a specific guitar tone: Mic choice, Mic placement, Speaker choice, Cabinet choice, Room placement, Amp settings, Tube choices… the list goes on! It’s difficult to maintain a specific signal chain throughout the duration of a whole album. It’s a real pain to replicate the tone if settings are changed, or something goes wrong with the gear for whatever reason. Amp simulation software gives you the ability to save your tones as presets. This means you have instant recall-ability and perfect consistency of tone across different songs within an album.
- Variety and Comparison: Amp sims give you the ability to scroll through and compare between a huge variety of different amp and speaker choices with only a few clicks of your mouse. This means that you can find the right tone to fit the song or riff quickly. You can save hours of setting up gear in a room, or spending too much time wondering “what if?”
- Repairs and Upkeep: Real amps are awesome! We all love the feeling of cranking a brutal tube amp through a loud 4×12 and feeling the room shake. However, things can go wrong at the most inconvenient of times and cost a ton to repair, and even then… There are no guarantees that the amp will even sound the same after an incident like this!
A few words on the Analog vs Digital Argument:
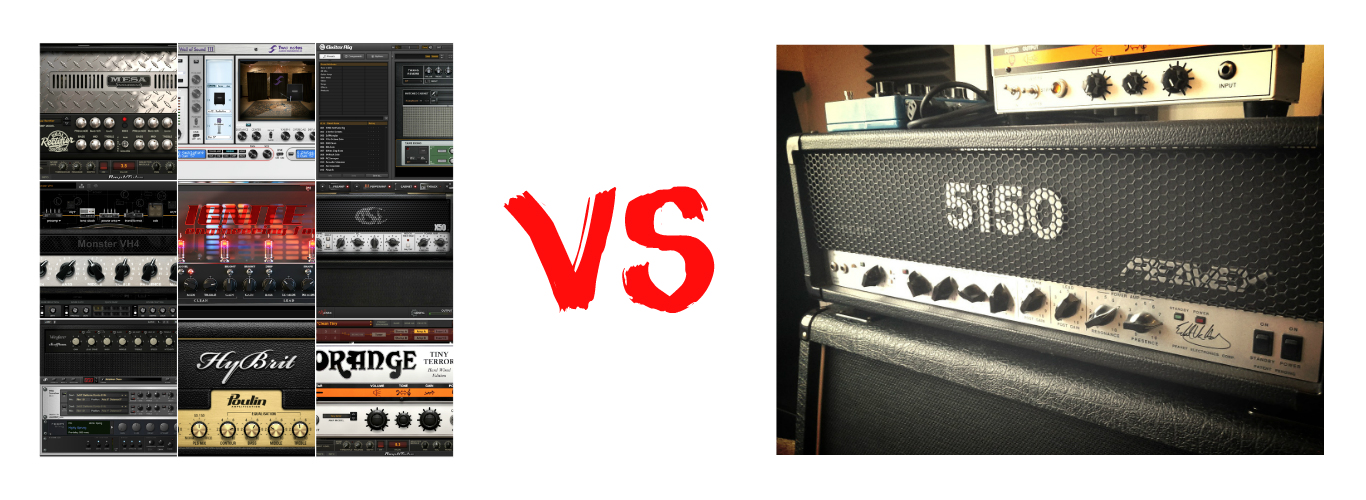
I bet some of the “digital amp-sims suck…” analog fan-boys are starting to lose it right about now… The truth is; I’m not comparing digital to analog, or saying one is better than the other, they are both great! This blog is all about giving people options that can possibly cater to their current situations. At this point in Audio, the analog vs. digital argument is a huge waste of time… If it sounds good and offers a great workflow FOR YOU, then that’s all that matters! The methods you use to get to those results are irrelevant…
Going Digital – What do I need in order to get started?
An audio interface with an instrument input, amp simulator software, and a DI box (optional).
1 – Audio Interface:
Any audio interface with an instrument input (also known as a HI-Z input) should work just fine for recording the raw DI signal out of your guitar, and into your DAW. There are differences in quality between the HI-Z inputs on different Audio Interfaces depending on their price point. Don’t worry about that too much if you’re just getting into audio, or on a tight budget.
If anything, just make sure that the interface you use has enough input headroom to accommodate the instrument you’re going to be using. (EX: Some interfaces will clip even at the lowest input gain setting when used with active pickups)
2 – Amp/Speaker Simulation Software:
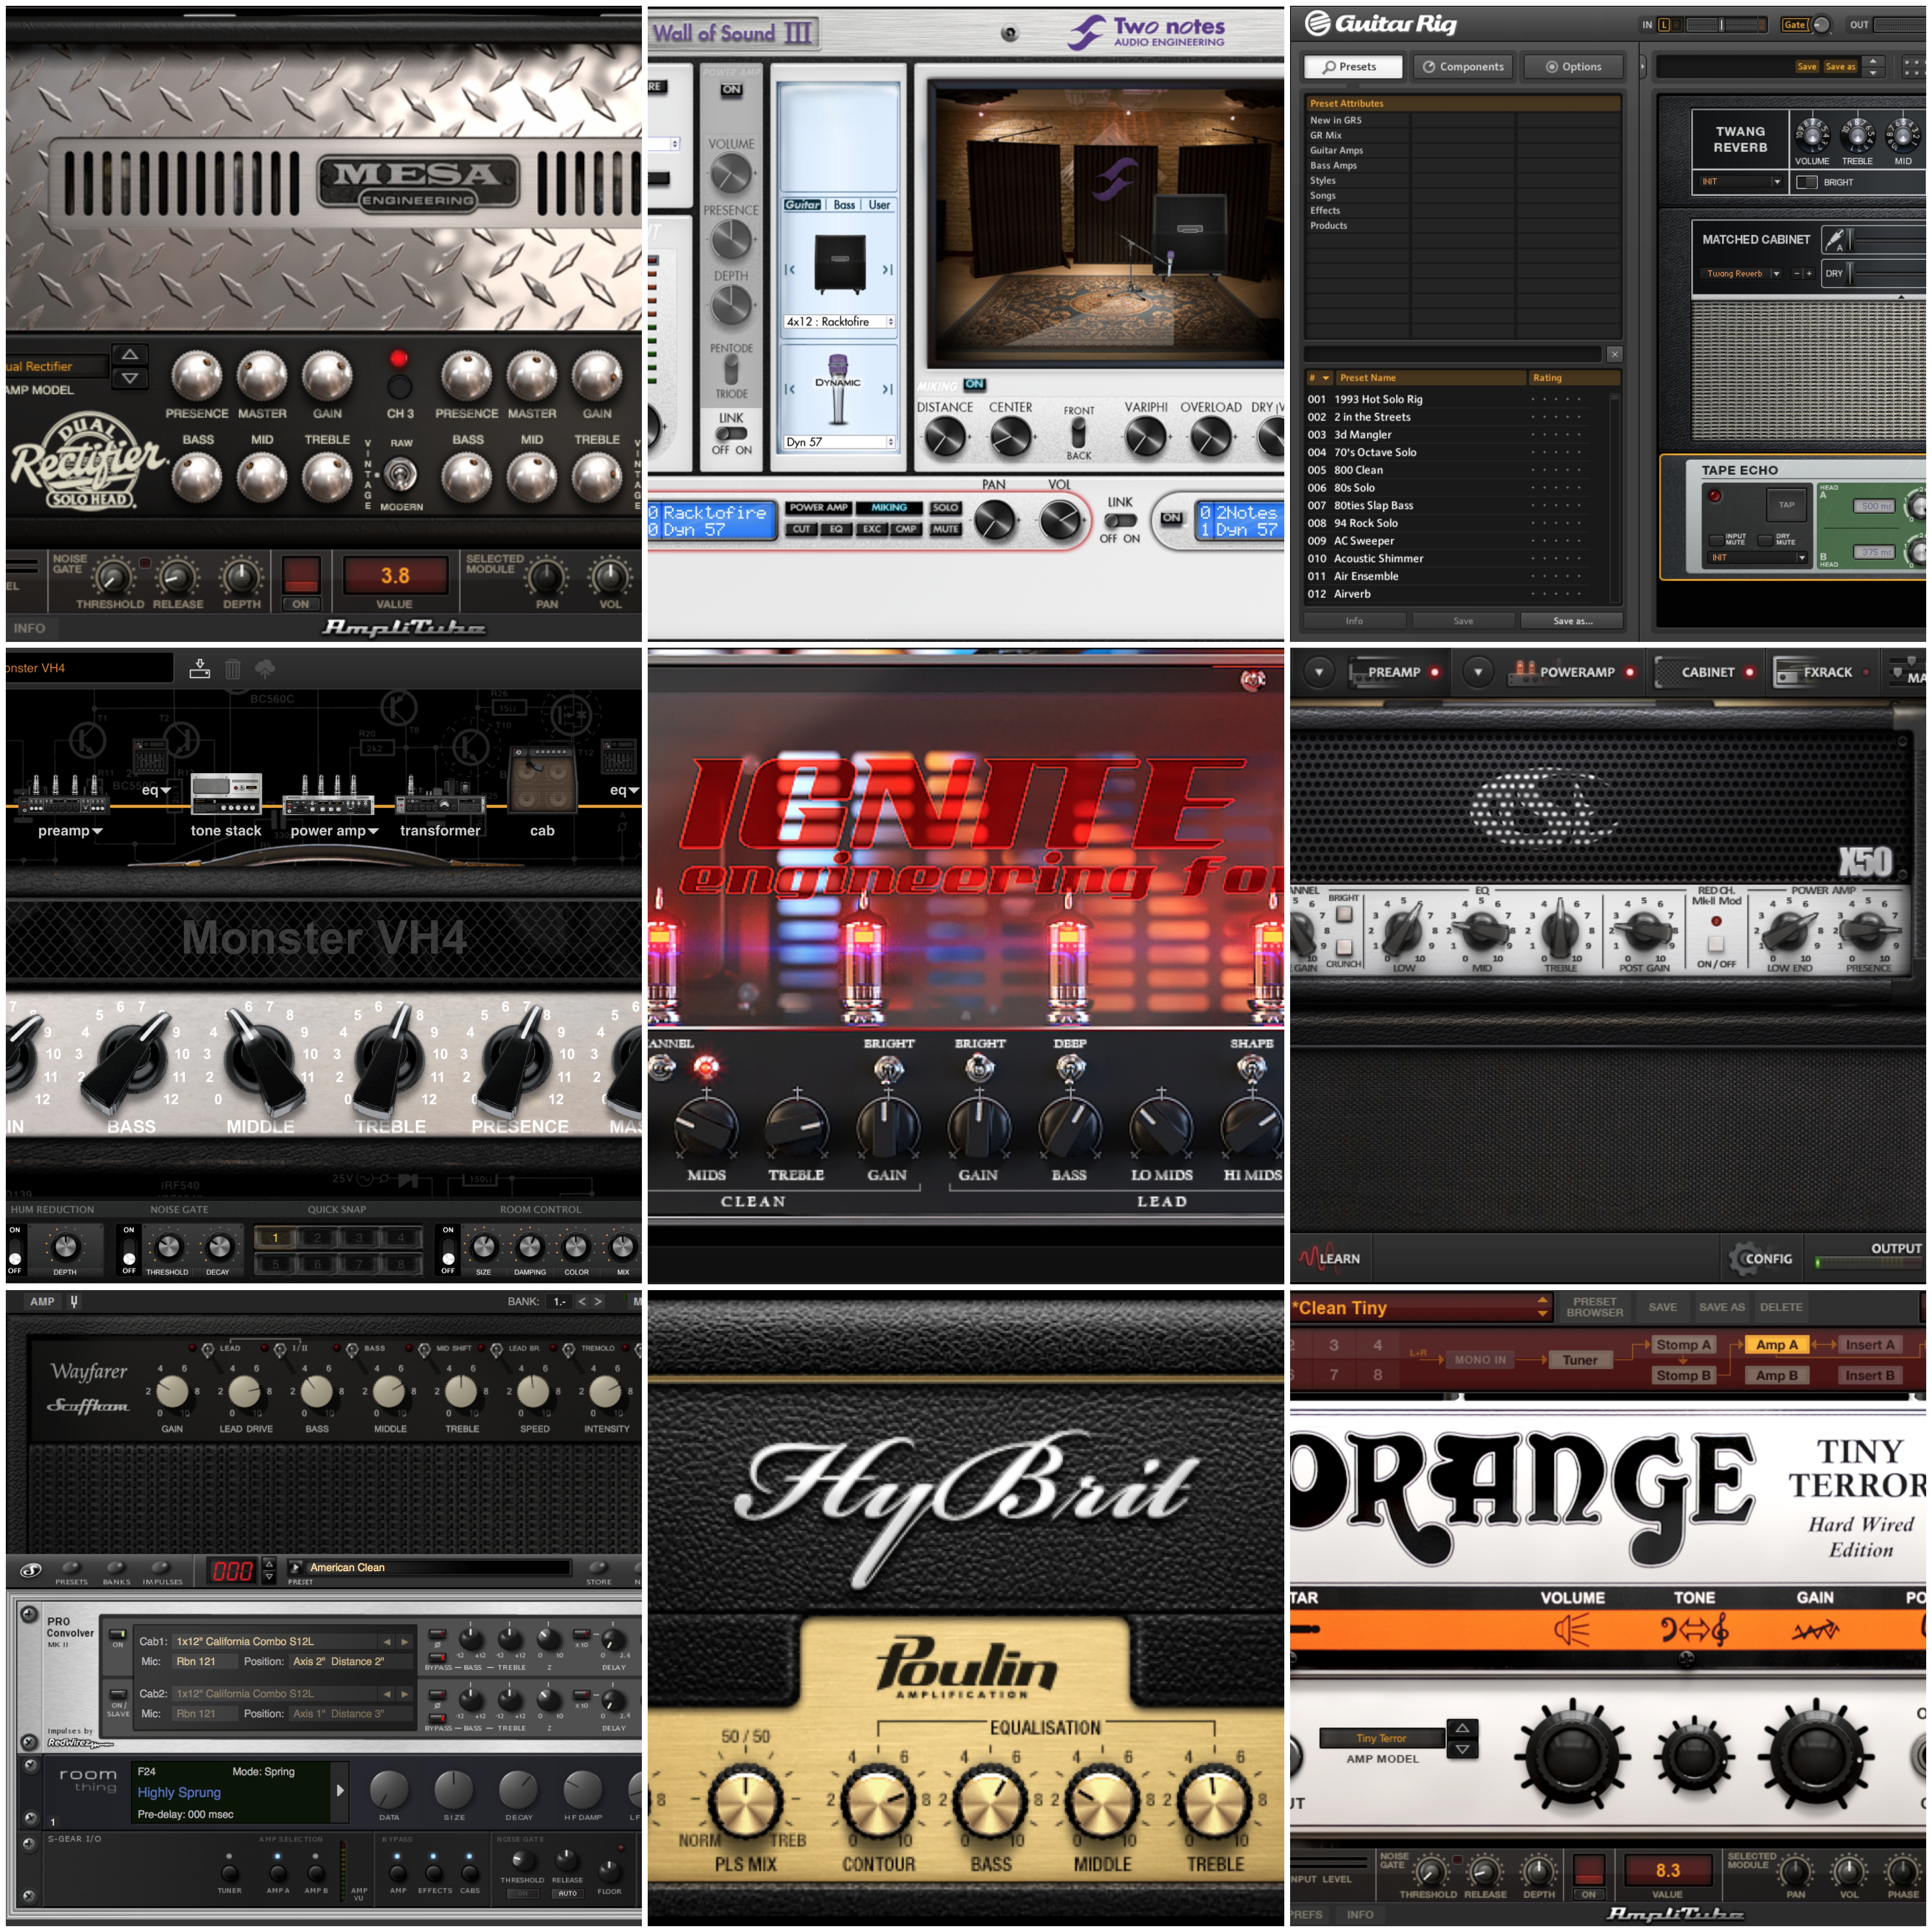
There are absolutely TONS of simulation plugin options to choose from these days. Which one to use depends entirely on what you’re after and whether you want to stick to the freeware options, or try out a paid option:
NOTE: I won’t go into too much detail about the individual plugins in these lists, as they each offer a different set of features and functionality. These are simply meant to be lists of products which I have tried in the past, and managed to get good results with in my own projects. These are not comprehensive lists of all the simulation plugins known to man…
A – Paid “Complete Tone Suite” Amp/Speaker Sim Options:
These plugins essentially act as a “complete tone suite,” with built-in amp simulation, speaker simulation, guitar effects and post-processing options all under the same roof:
I’d highly recommend checking out some sound demos and doing your own research before you make a decision on which software to buy.
NOTE: These plugins are in no particular order:
- Scuffham Amps – S Gear: My personal favorite amp-sim for vintage and warm sounding clean and crunch tones. I also really like their lush spring reverb algorithms. NOTE: S-Gear is now included in the Steven Slate everything bundle for only $24 a month!
- X50-V2 – TSE Audio: Based on the classic Peavey 5150 Tube Amp, this the best high-gain amp-sim for metal in my opinion. Comes pre-loaded with some of the best impulse responses available.
- Bias – Positive Grid: One of the more realistic amp-sims with the most tweakability. Gives you the option to try out different tubes, speaker types, amp bias settings etc. I have never really used Bias personally, as I find having too many options a bit daunting and feel like it slows down my workflow. Nevertheless, a great sounding amp sim.
- Pod Farm – Line 6: One of the most popular amp-sim options for down-tuned metal. The favourite of many famous metal producers.
- Toneforge Amp Sims – JST: Awesome sounding amp and speaker simulation designed by the main man Joey Sturgis himself. I don’t own these plugins personally, but have always been blown away whenever I’ve heard Joey using them in his videos and productions.
- Amplitube 4 – IK Multimedia: The most user-friendly interface of any amp-sim in my opinion. Their newer MESA stuff is pretty killer for metal, I’m also a huge fan of their Ampeg sims for rock bass.
- Guitar Rig 5 – Native Instruments: Very good clean amp emulations, offers a great selection of creativity-inspiring FX options to choose from.
B – Freeware “Standalone” Amp-Sim Options:
These plugins are designed to purely simulate the amplifier portion of the guitar chain. They’re meant to be used in conjunction with a separate speaker-sim plugin:
- LePou Amp Sims – LeGion (Peavey 5150), LexTac (Bogner XTC), Hybrit (Marshall JCM800), Lecto (Mesa Dual Rectifier) and Le456 (Engl 645): Arguably the best freeware amp-sims available, these have been around for quite along time and they still sound amazing!
- The Emissary & The Anvil – Ignite Amps: Very good freeware amp-sims, they sound amazing and offer extremely user friendly interfaces.
C – Paid “Standalone” Speaker-Sim Options:
Most speaker simulation plugins serve the same core purpose; they load-up and host your impulse responses. The main differences between the individual plugins are in functionality, the extra features they offer to speed up your workflow, and whether they offer in-built IR’s or require additional 3rd party IR purchases:
- Wall of Sound III – Two-Notes: A Speaker IR Loader which is designed to be used alongside the Torpedo Load Boxes. Wall of sound offers much more in terms of customisation and tweak-ability than most IR loaders when used in conjunction with the special IR packs which can be purchased on the Two-Notes website. It can also be used as a regular speaker IR loader with 3rd party IR’s if desired.
- Cab Lab 3 – Fractal Audio: A Speaker IR Loader designed by the people who make AXE-FX. They offer many good paid IR packs on their website. (Misha Mansoor from Periphery has some amazing IR packs available on the fractal website)
- MixIR2 – RedWirez: A very popular Speaker IR Loader made by the guys at RedWirez, they also sell great Speaker IR packs. (Nolly uses their bass cab IR’s while mixing Periphery)
D – Freeware “Standalone” Speaker-Sim Options:
These freeware options don’t come pre-loaded with any speaker IR’s. They are meant to be used with 3rd party IR packs which you can purchase separately:
- NadIR – Ignite Amps: My personal favorite IR loader of choice, meant to be used with 3rd party Speaker IR’s. Offers a very simple and functional UI with built-in filters, IR blending, and latency adjustment options. I have been using NadIR for years on most of my projects and it has never let me down.
- KefIR IR Loader: Another very simple Speaker IR loader, meant to be used with 3rd party Speaker IRs. I have never really used this plugin personally as it is Windows-only.
E – 3rd Party IR Packs:
Here is a brief list of 3rd party speaker IR packs for you to consider. All of these are great options. Which ones to go for really depends on what you’re looking for:
- Fat Lazy Cabs Speaker IR Pack by Redline
- Ownhammer Speaker IR Packs
- RedWirez Speaker IR Packs
- Rosen Digital Speaker IR Packs
- Fractal Audio Speaker IR Packs
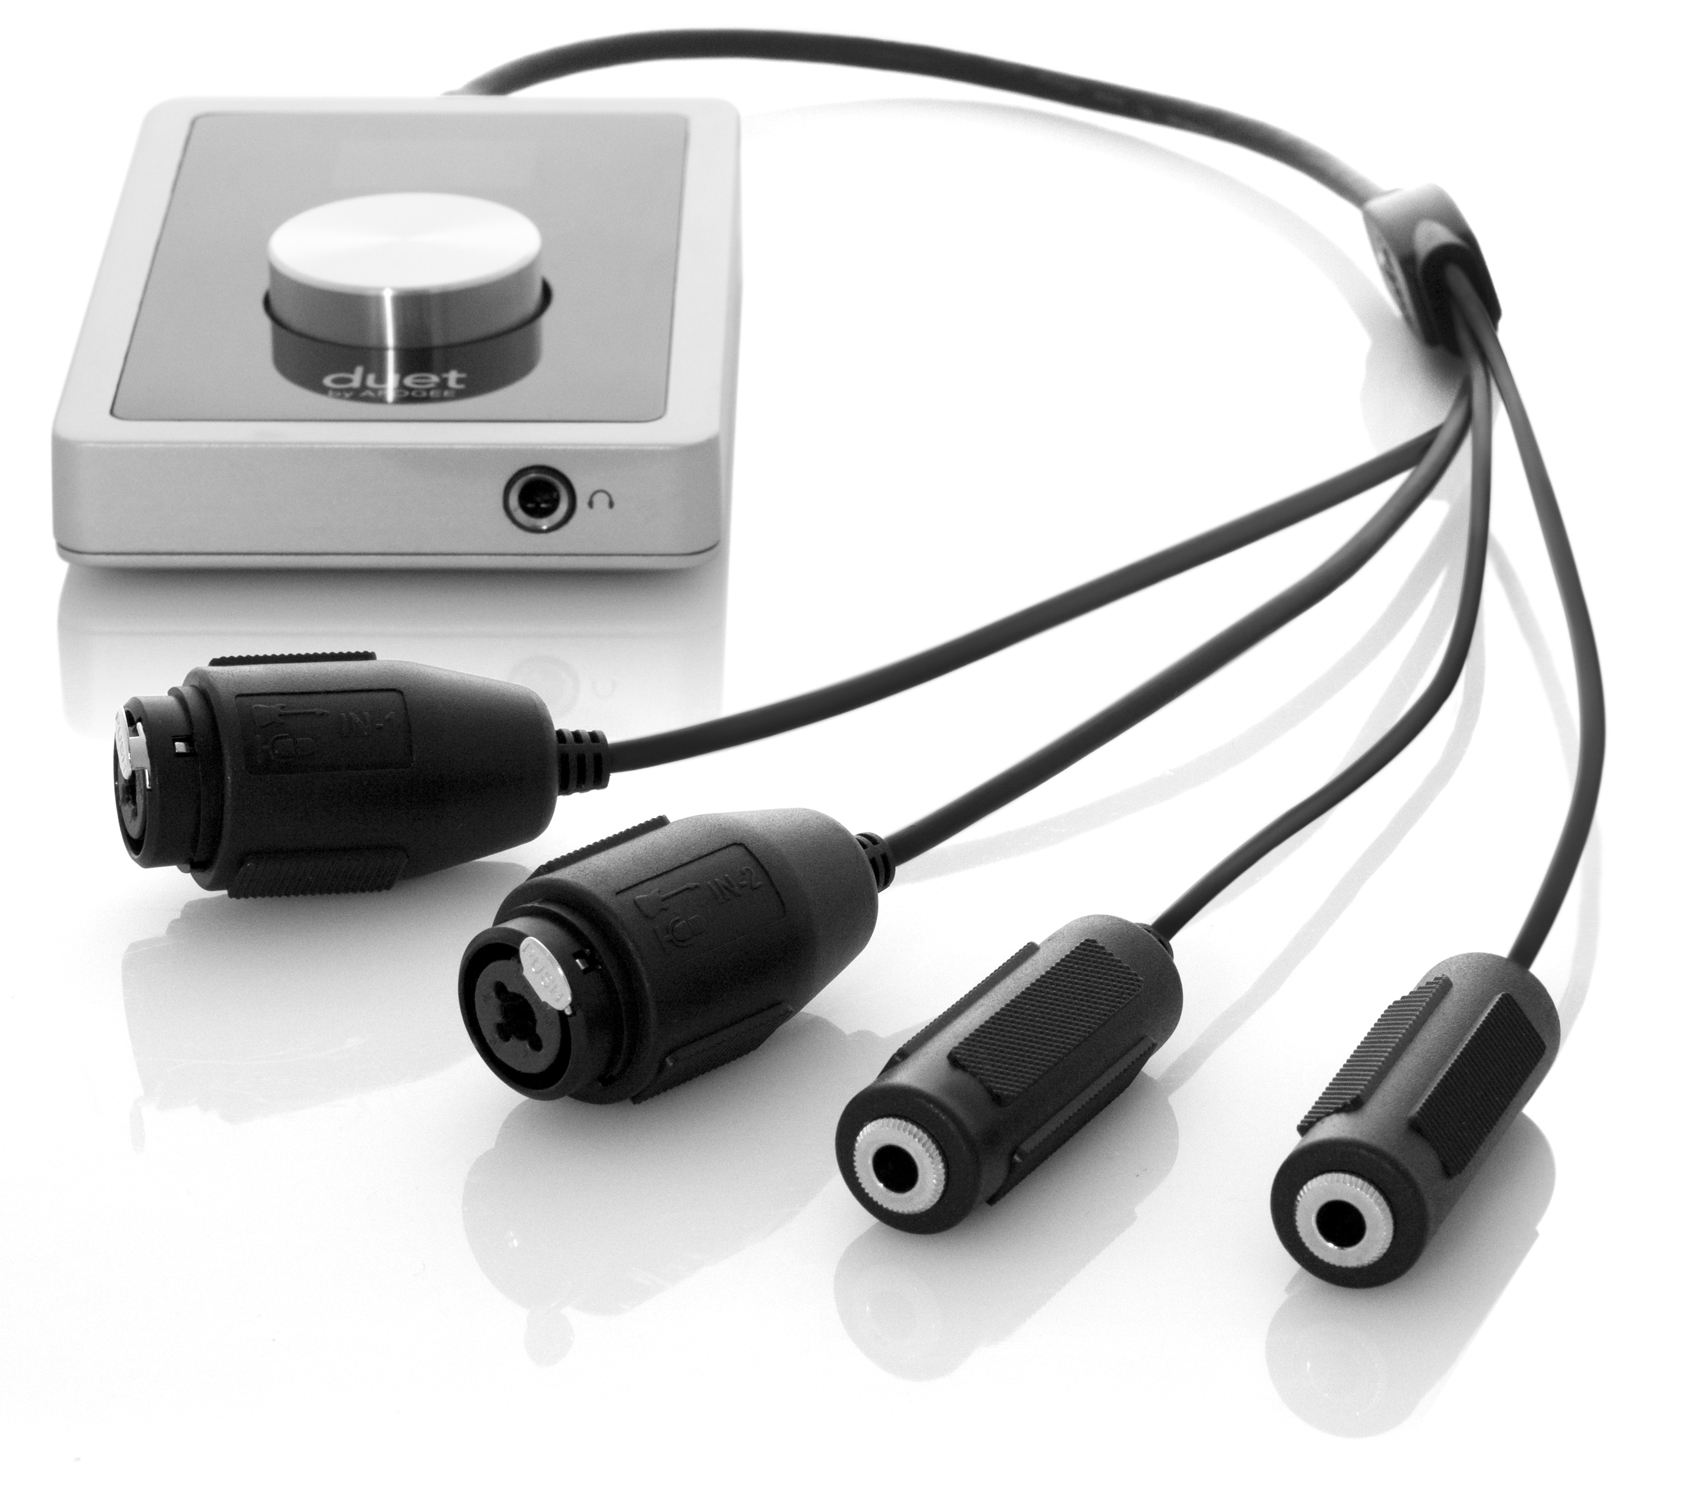
3 – DI BOXES (OPTIONAL):
(This step is OPTIONAL, and not “absolutely necessary”, as some would try to have you believe…)
A good tip to squeeze an extra bit of quality out of your raw DI’s, is to use an external DI box instead of the built in HI-Z input on your audio interface.
Here’s a Common Question which I see asked often on forums: “If the HI-Z input on my interface is basically serving the same purpose, why should I invest in an external DI Box?”
The Answer?
The instrument inputs on a cheap/budget audio interface are usually constructed at a very low cost, without the luxury of taking up too much space within the chassis of the interface.
Think of it this way: How much money do you think was spent on a single component of a low-budget piece of gear which only costs $50-100 to produce in the first place???
DISCLAIMER: Don’t get me wrong! You can absolutely get the job done just fine by simply using the in-built DI options on your recording interface. I’m merely presenting you with a way to improve the quality of the raw DI’s you’re capturing. It’s completely up to you.
Here are some of the main benefits to using an external DI Box:
- Superior construction quality: A purpose-built, high-quality DI Box will offer far improved impedance matching between the instrument and interface compared to the often cheap, built-in HI-Z inputs on most low-end interfaces. This will result in increased high-end fidelity of the recorded DI signal and an extended frequency response overall. In other words: “A more accurate representation of your instrument onto tape”.
- Improved transient response: High-Quality DI boxes usually have more headroom available to accurately capture transient information without clipping and introducing unpleasant square wave distortion into the signal.
- A (mostly) balanced signal path between your instrument and recording rig: This benefit applies mostly to live audio, but can also be very useful for maintaining a good signal/noise ratio. Especially in instances where the guitarist is far away from the recording interface or mic preamp in the studio. (Ex: When the Guitarist is in the live room while the interface/preamp is in a control room)
- Good DI boxes usually have an in-built pad switch: This can be a useful feature in order to prevent your instrument from clipping your interface preamps. Most low-end interfaces don’t have a pad switch and will often clip your DI’s even at the lowest input level.
NOTE ON DI BOXES:
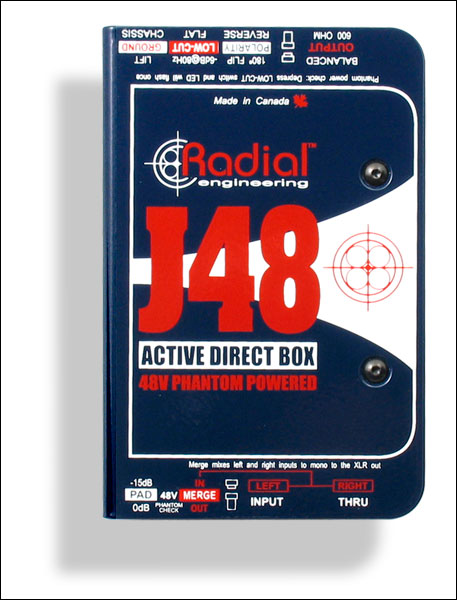
I can personally vouch that using a high quality outboard DI box such as a Radial J48 or Countryman 85 is a definite improvement over using the in-built HI-Z input on a cheap interface. HOWEVER, buying a DI box isn’t the solution to your guitar tone issues… it will merely give you an extra few % of quality. If you are unhappy with the way your guitar tones sound then you’re better off looking for the culprit in the other “more significant” parts of the chain. The instrument, the amp, the cab, or the guitarist come to mind.
Final Words:
This concludes part 1 of my “Recording Electric Guitars – Silent Recording Options” series. I hope that this article has given you some new ideas and plugins to try out on your next project.
Be sure to let me know in the comment section below if this information has helped you out, or if you have any further questions regarding anything I’ve talked about here.
Stay tuned for part 2, where I will be talking about “Hybrid Silent Guitar Recording Options”
Want mix tips from URM Academy? Read them here!
 Nail The Mix is our online mixing school that gives you REAL multi-tracks from REAL bands, plus a mixing class from the producer who recorded it. Past guests include Periphery, Chelsea Grin, Machine Head and State Champs. Join now for instant access!

