
Recording Guitars – Silent Recording Options (Part 2)
urmadmin
Recording Electric Guitars – Silent Recording Options: Part 2
In the current age of digital recording technology, we have more options available to us than ever before. When it comes to capturing great guitar tones within a home studio environment/budget, we’ve never had it better.
Here is an overview of what I consider to be some of the best silent-recording options available today:
Recording Option #2: Hybrid Setup – Real Amp + Reactive Load Box + Speaker Simulation
Using a Load-Box is my favorite way to record guitars silently. This method is the most accurate way to capture the sound and feel of an analog amplifier, while retaining most of the benefits of silent recording.
Introduction to Load Boxes
To use this method you’ll need to purchase a Load-Box. More specifically, a Load-Box with a line output option. A Load-Box is a piece of gear which can be used to replace a speaker cabinet. It loads your amp’s speaker output down to a line level signal, so that you can safely connect it up to your audio interface without damaging it.
Load-Boxes come in a few technical variations
- Reactive Load-Boxes
- Resistive Load-Boxes
- Load-Boxes With or Without Built-In Speaker Emulation
What’s the difference between Reactive and Resistive?
Think of it this way: When an amplifier is plugged into a speaker cabinet, the signal flow relationship between the head and the cab isn’t exactly linear. It’s more of a push/pull, “interactive” relationship. This has a huge influence on the way that the gear sounds, how it reacts, and how it feels to play through as a guitarist.
NOTE: In more technical terms, this relationship between the amp and the speaker cabinet is called the “impedance curve” of the gear.
Reactive Load-Boxes
As it’s name suggests, a reactive Load-Box will preserve this Impedance Curve. It allows your gear to “react” with the guitar player, thus retaining the benefits of playing through a real speaker cabinet.
Resistive Load-Boxes
A resistive Load-Box on the other hand, will get rid of the Impedance Curve. It loses the relational benefits gained from playing through a real cab.
Load-Boxes With or Without Built-In Speaker Emulation

While using a Load-Box you’ll still need to use speaker simulation on the back-end of your chain.
Some Load-Boxes come with built-in speaker emulation. Others simply serve the sole purpose of converting your amp’s speaker output into a line level signal and don’t really do anything else.
Which one to go for mainly comes down to where and how you’re planning to use the unit. If you’re planning on using the Load-Box for live performance as well as studio recording, you might be better off going with an option with built-in speaker simulation. You can save yourself from having to buy an additional speaker simulation unit in the future.
Whichever option you go for, you’re bound to find a speaker simulation setup that works well. There’s a plethora of accurately captured 3rd party speaker impulse-response packs available from companies like Ownhammer, Two-Notes, JST, Fat Lazy Cabs, etc. (Check out Part 1 of my “Silent Recording Options” Blog for a longer list of speaker simulation software and IR packs)
Which Load-Box Should I Buy?
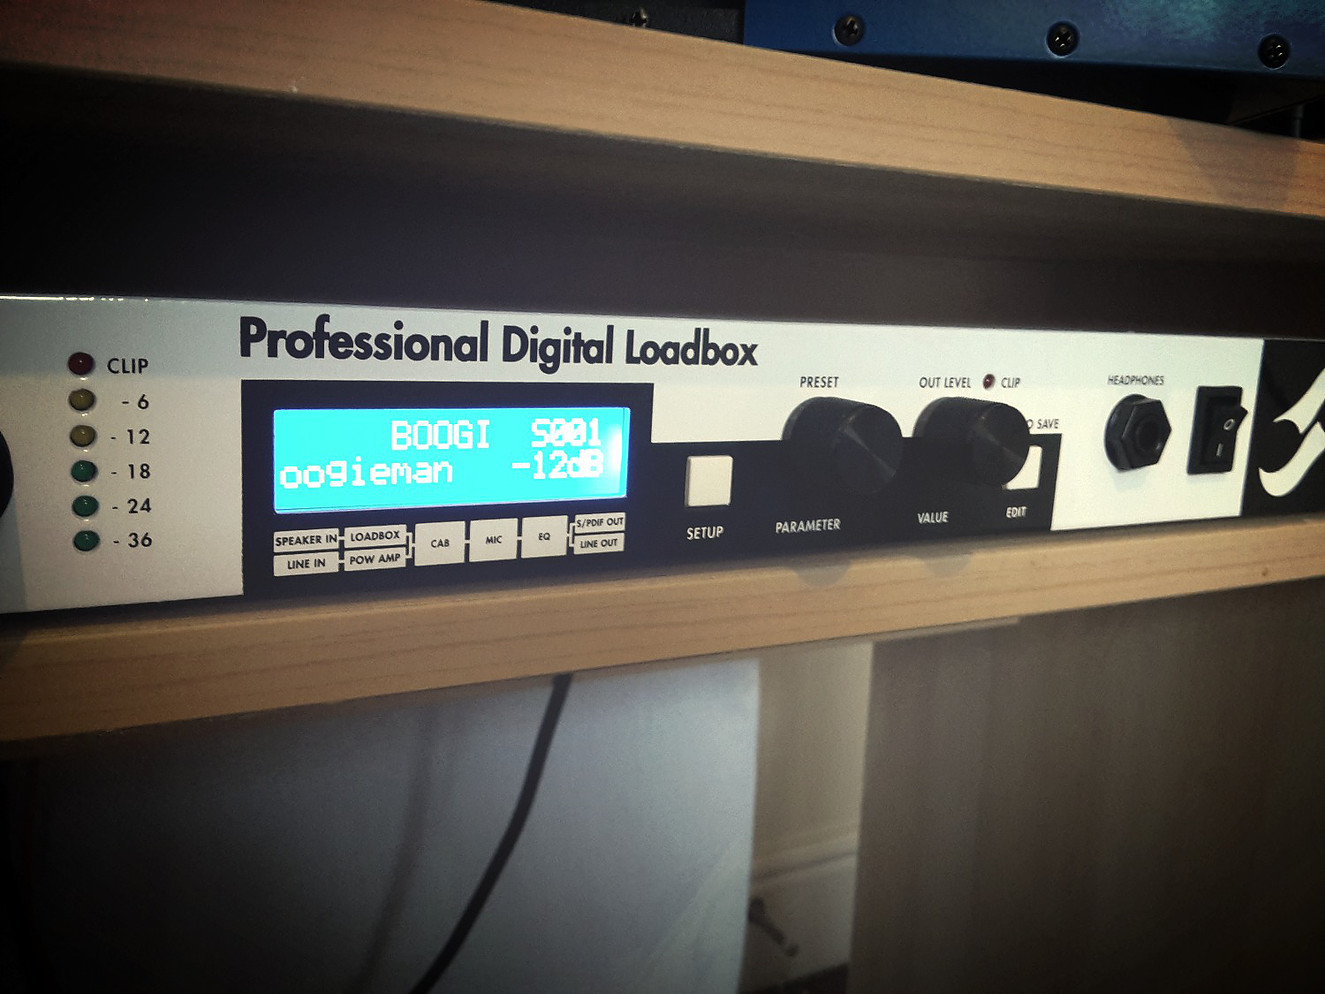
The Torpedo Live Digital Load-Box which I use at Brett Brothers Recording Studio.
Good Load-Boxes aren’t a cheap purchase by any means… but they make up for it by providing an excellent way to capture the sound and feel of a real amp in complete silence. They also retain the user-friendly functionality of having analog knobs and switches to tweak in real-time.
There are quite a few great reactive load boxes to choose from available on the market at the moment. Most of these products serve the same purpose. They mainly differ in connectivity options and extra features (such as built-in speaker simulation).
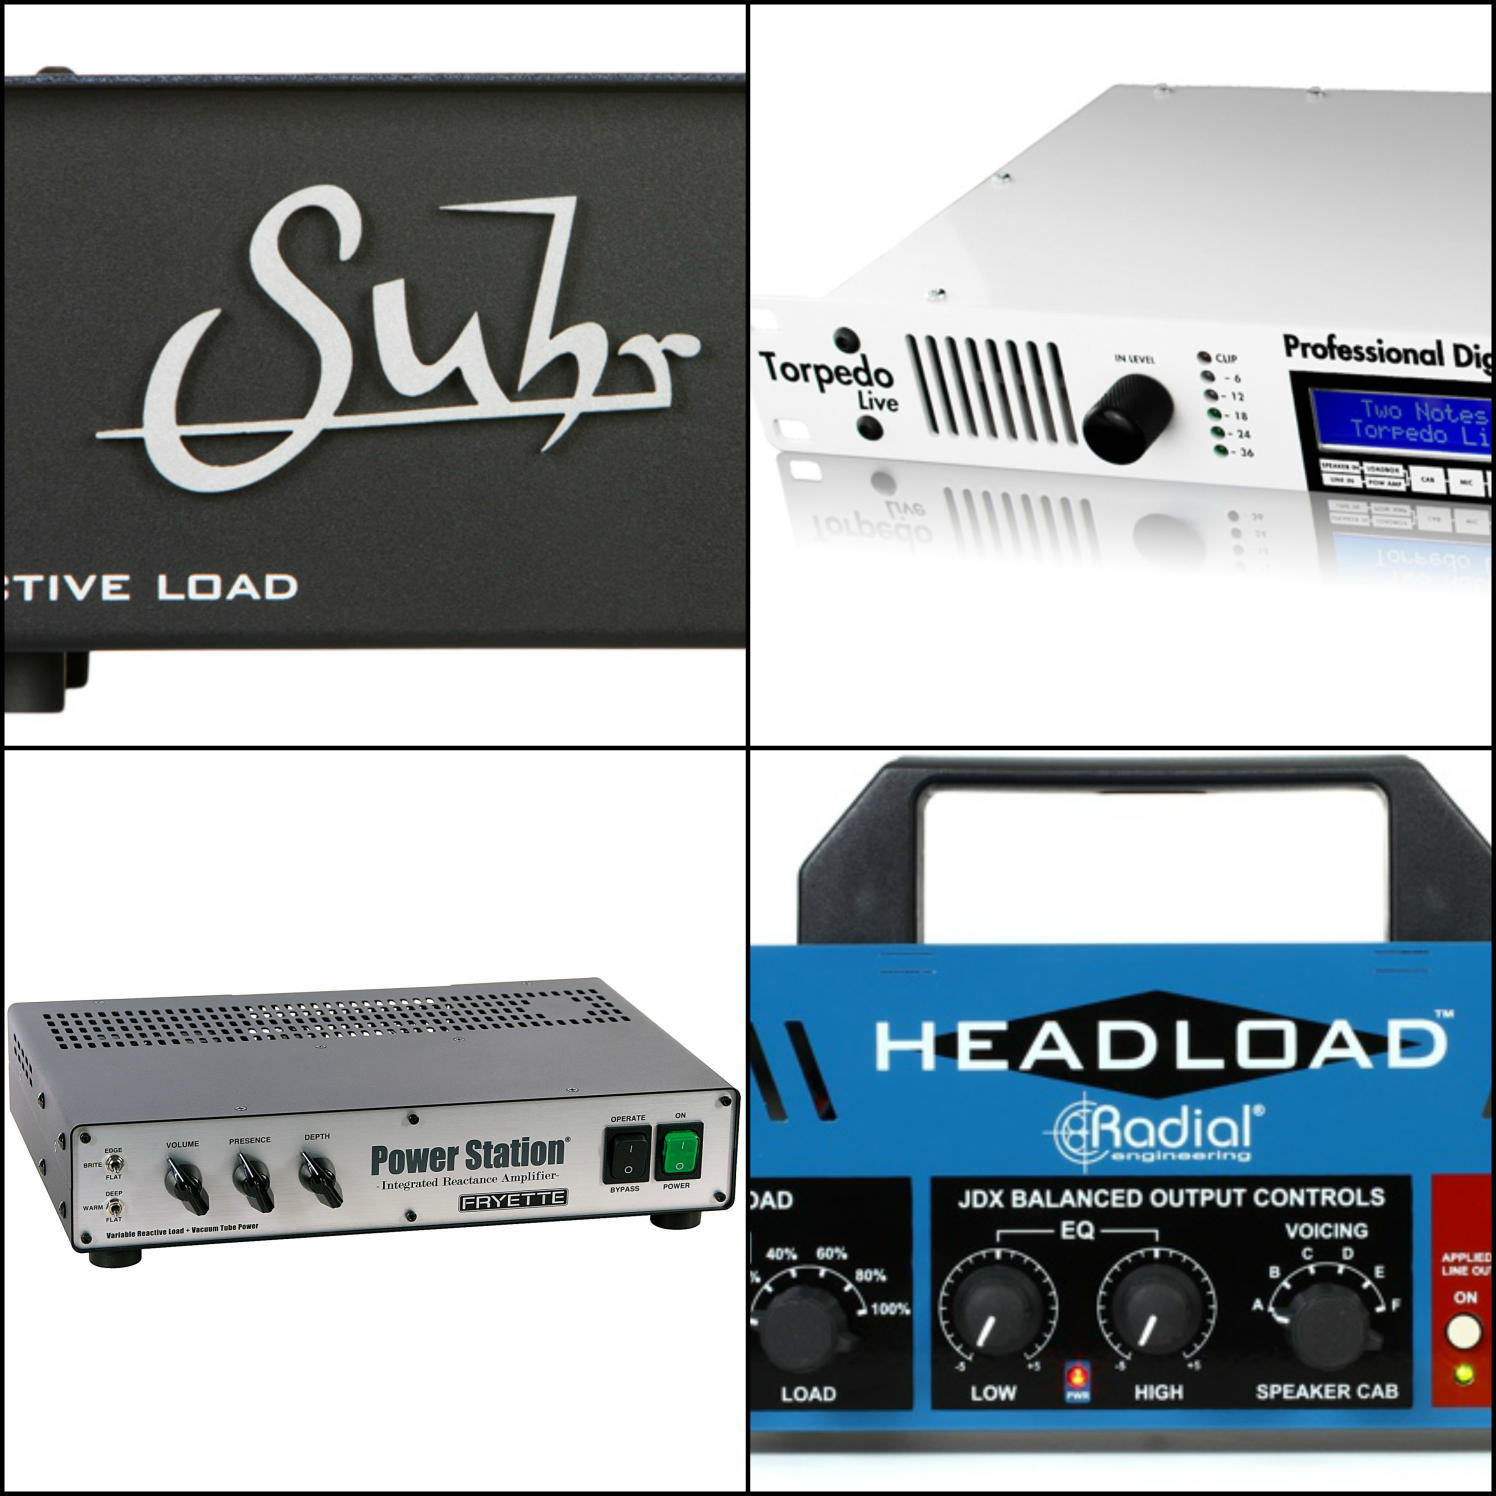
Here’s a list of a few excellent Load-Box options to consider
NOTE: I won’t go into too much detail about the individual products in these lists. They each offer a different set of features and functionality and would require a whole blog post for each of them in order to cover everything. I’d highly recommend checking out some sound demos and doing your own research before you make a decision on which unit to buy.
Example Load-Box With Built-In Speaker Emulation
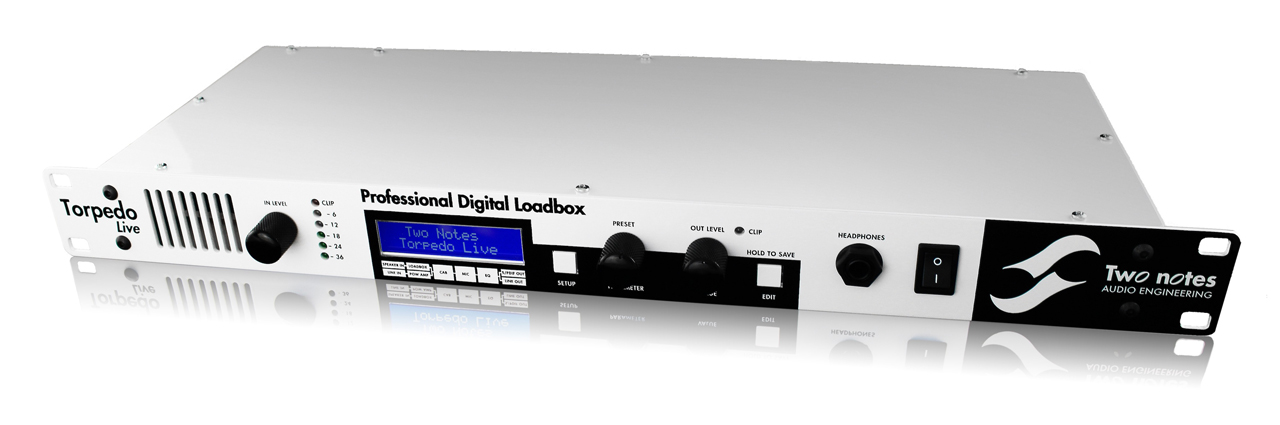
Two Notes Engineering Products – Torpedo-Live, Torpedo Studio
Reactive, Built-In Speaker Simulation, Additional Functionality
- Built-in, High-Quality Two-Notes speaker simulation included within each unit. The built in simulation is extremely tweakable, with parameters such as microphone choice, microphone placement, speaker choice and power-tube simulation.
- Extremely versatile when used alongside the “Torpedo Wall of Sound III” plugin within your DAW.
- Supplies a Reactive Load for your amp, which helps to maintain the warmth, dynamics and feel of playing through a real speaker cabinet.
- Great for Live-Use. You can load your favorite IR’s into the units and keep a consistent tone every night without the need for any extra speaker simulation gear.
Example Load-Box Without Built-In Speaker Emulation
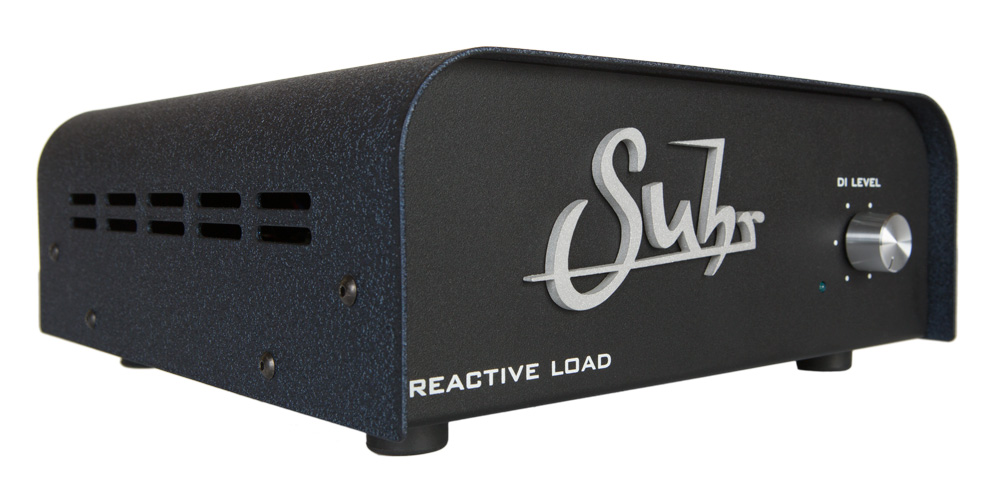
Suhr Reactive Load
Reactive, No Built-In Speaker Simulation or Extra Functionality
- Supplies a Reactive Load for your amp, which helps to maintain the warmth, dynamics and feel of playing through a real speaker cabinet.
- A more affordable option than the high-end Two-Notes products. However, the lower price point is reflected in the fact that the unit is a bit of a one-trick-pony (Albeit a very high-quality pony!). There’s no built in speaker-simulation or extra bells and whistles.
- Mainly designed for studio use. You’ll have to pair the unit with some additional speaker simulation (such as a Two-Notes Cab unit) if you want to use it live.
Other High-End Load-Boxes to Check Out
- Fryette Power Station
- Radial HeadLoad
NOTE: There are many more brands and models to choose from when it comes to Load Boxes. These are just some of the more popular high-quality options available at the moment. Whatever you decide to go for, make sure to check out reviews and do some thorough research before you pull the trigger on anything!
Here’s a brief step-by-step guide on how to record using a real amplifier alongside a Load-Box and some speaker simulation software in your DAW
IMPORTANT NOTE ON USING AMPLIFIERS: Always make sure to have a speaker cabinet or Load-Box connected while using a guitar/bass amplifier! (Unless the amp has an in-built load-box, such as the Laney IRT Studio). Using an amplifier without connecting it to a suitable load can damage the amp and cost a ton to repair!
How to do it
- Buy a Load Box. (Check out my list above)
- Make sure that the speaker output of your amplifier is connected to the correct speaker input on your Load-Box depending on the impedance of the amp. Always make sure the Load-Box is turned on before you switch on your amp. (This is very important, as you can fry the output transformer on the amp if you use it without connecting it to a proper load!)
- Set the gain and EQ settings on your amp similar to where you’d usually set them. Make sure to set the amp volume at a level close to what you’d usually use, as if you were playing through a speaker cabinet in a room. Just because you can crank the volume on the amp to 10 in a silent recording scenario doesn’t mean you should… Running your amp volume too high runs the risk of damaging it in the long run, and it probably won’t sound it’s best at stupid levels anyway…
- Connect the line output of your Load-Box to your audio interface and set the input gain on the interface appropriately. (So that it’s loud enough, but not clipping when the guitar is strummed hard)
- Load up a speaker simulator as the first plugin in the chain in your DAW (Check out Part 1 of my “Silent Guitar Recording” Blog for a list of speaker simulation plugins and IR packs)

- Choose the speaker IR that fits your tone and song the best.
- You are now ready to play/record!
Recording Option #3: Hybrid Setup – Real Amp + Power-Amp Simulation + Speaker Simulation
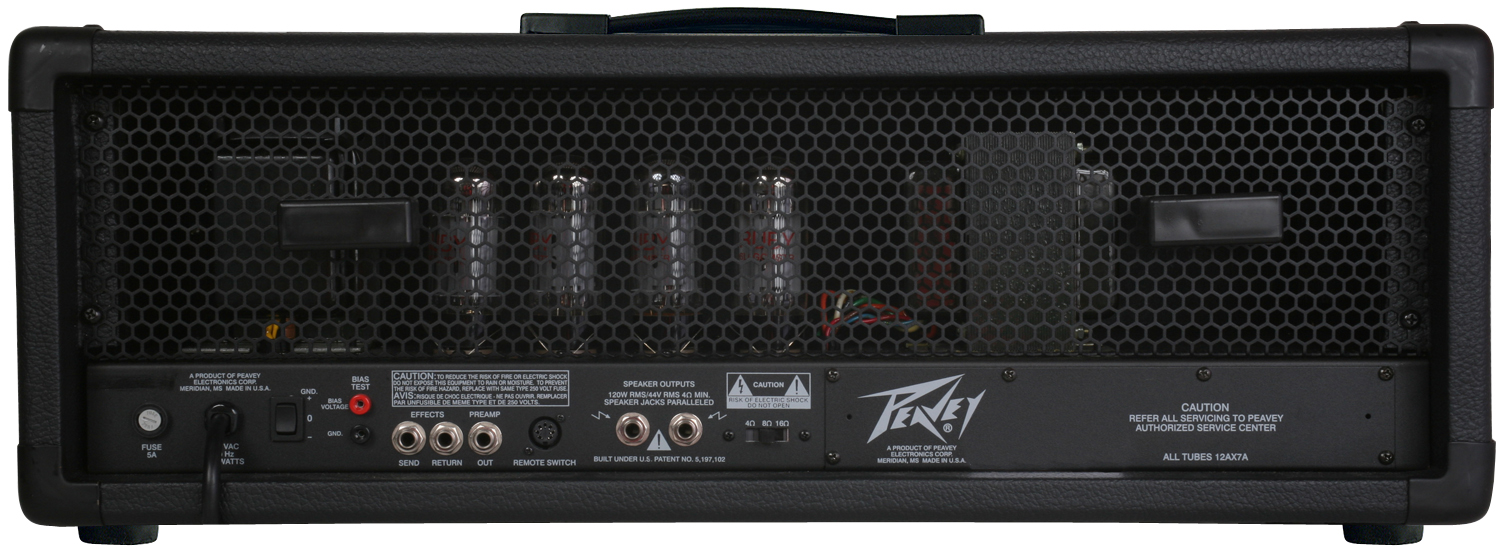
This is another interesting option, as it allows you to record directly from the preamp section of any real amplifier which has an FX loop or DI output.
The main benefits of this method include utilizing the pre-amp section of a real guitar amplifier to record, while also being able to run real FX units and stomp-boxes. The main downside of this method is that you’ll still need to hook your amp up to a suitable load, as not to damage any of the components.
IMPORTANT NOTE ON USING AMPLIFIERS: Always make sure to have a speaker cabinet or Load-Box connected while using a guitar/bass amplifier! (Unless the amp has an in-built load-box, such as the Laney IRT Studio). Using an amplifier without connecting it to a suitable load can damage the amp and cost a ton to repair!
How to do it
- Make sure that the speaker output of your amplifier is connected to the correct speaker input on your Load-Box depending on the impedance of the amp. Always make sure that the Load-Box is turned on before you switch on your amp. (This is very important, as you can fry the output transformer on the amp if you use it without connecting it to a proper load!)
- Turn the master volume of the amp down and leave it there for the entire process. The power section of the amp is unused in this method.
- Run a regular TS cable between the FX send of the amp and into an instrument input on your recording interface or into a DI box (some amps have a separate “Preamp” or “DI” output). (Check out Part 1 of my “Silent Guitar Recording” Blog for an in-depth explanation of DI boxes)
- Run another TS cable into the FX return of the amplifier, but don’t plug the other end of it into anything.
- Set the gain and EQ on the amp where you usually would (depending on the tone you’re after). Adjust the input gain on your interface so that it’s loud enough, but doesn’t peak when you strum hard.
- Place your power-amp simulation of choice as the first plugin in your chain within your DAW. Most amp simulation plugins have built-in power amp simulation. Just turn off the pre-amp simulation and FX within the plugin so that it is only acting as a power amp simulator. (see the TSE X50V2 example below)
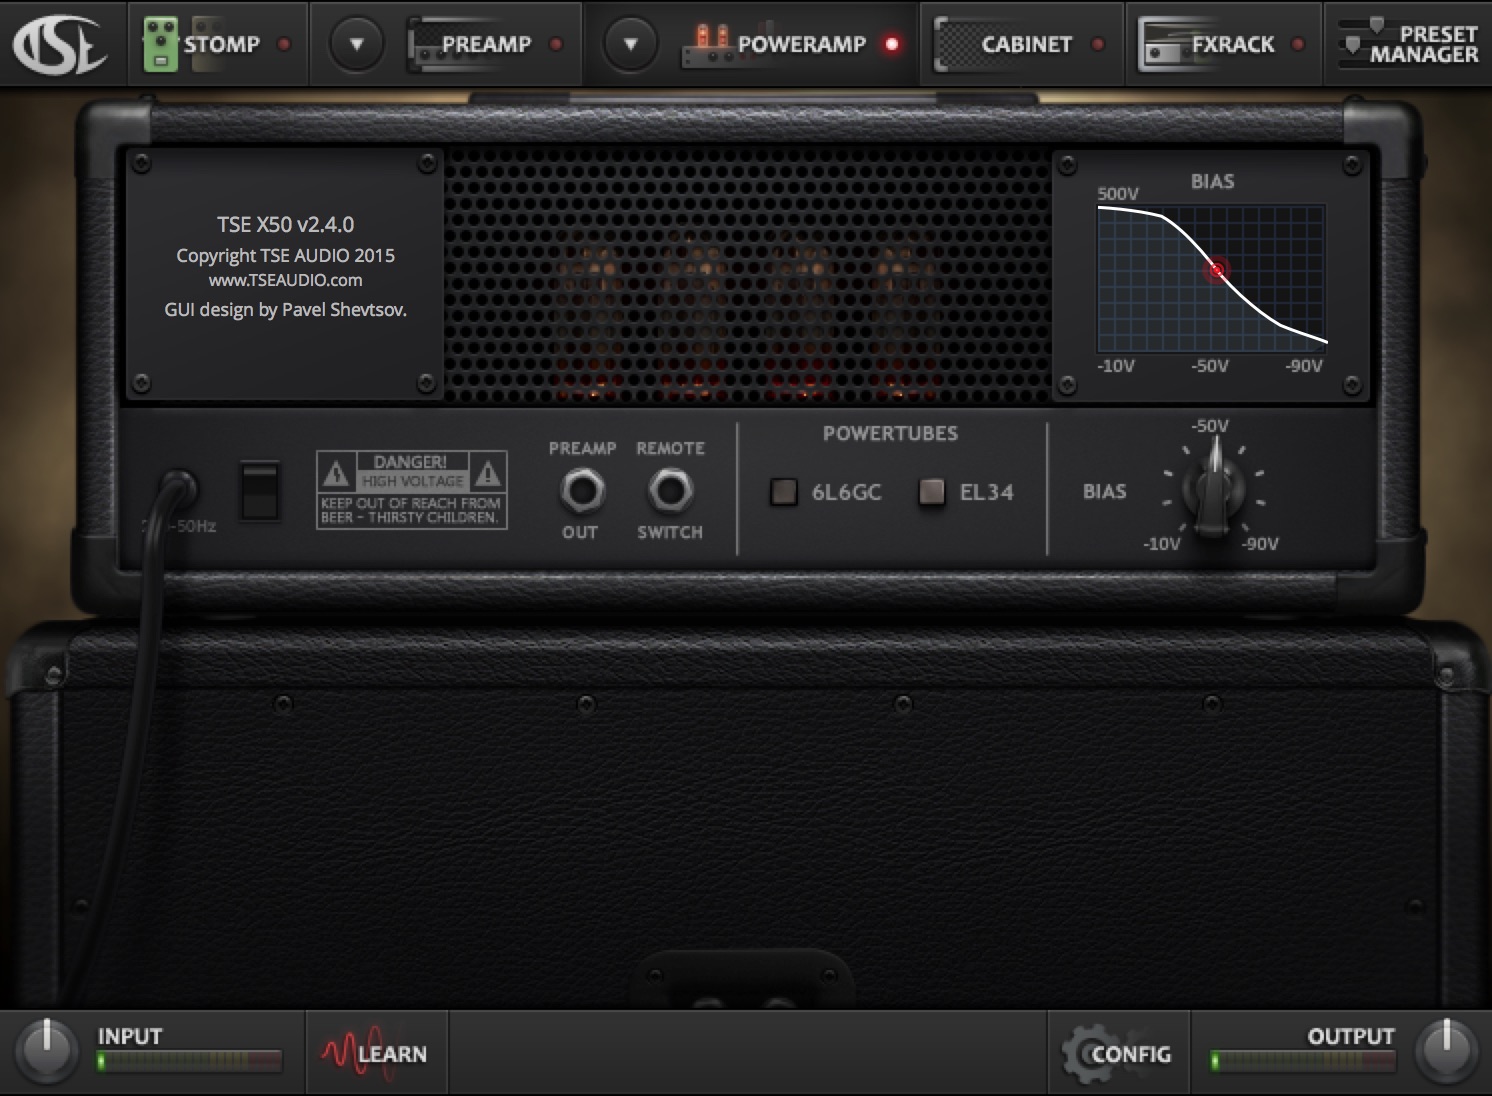
- Place your speaker simulation plugin as the 2nd plugin in your chain in your DAW. You can either use 3rd party cab IR’s such as the Ownhammer libraries with an impulse loader (NadIR by Ignite Audio is my favorite) or simply use the built-in speaker simulation suites in amp-sims such as Guitar Rig or Amplitube.

BONUS TIP: Some impulse responses are initially captured through neutral solid-state power amps with a very flat EQ response. Others are captured through tube power amps with a more colored response. Depending on which speaker impulse response you choose to use, you might not need any power amp simulation beforehand. The impulse will already have been captured through one.
Recording Option #4: Modeling/Profiling Amps + “Studio” Amps
Modeling/Profiling Amplifiers
One of the most popular and arguably most revolutionary developments in guitar tone of the past decade, is the rise of the “digital modeling amplifier”.
The ability to capture or model a specific tone, which can then be recalled instantly at any desired moment, with nothing more than the simple click of a button, offers countless practical and workflow-related benefits which weren’t really available until fairly recently.
When this type of digital amp simulation technology first started to come about, many people, including myself, remained unimpressed when shown side-by-side comparisons between the real deal and the “imitation”. Fast forward a few years later, and the technology used in high-end modeling and amp profiling has been improved to the point that most of these “non-believers” have been converted to the cause. Even the most trained ears would be hard-pressed to tell the difference between the two in a blind shootout.
NOTE: As I briefly mentioned in my previous Blog entry, this isn’t a question of digital being better than analog, or visa versa. However, I do strongly believe that anybody who is still clinging on to the ancient mindset of “digital is inferior to analog” is bound to miss out on an amazing opportunity to access an incredibly versatile array of tonal options, at an extremely affordable price-point. As I said in my previous Blog: If the end product is good, the gear used to get there is irrelevant!
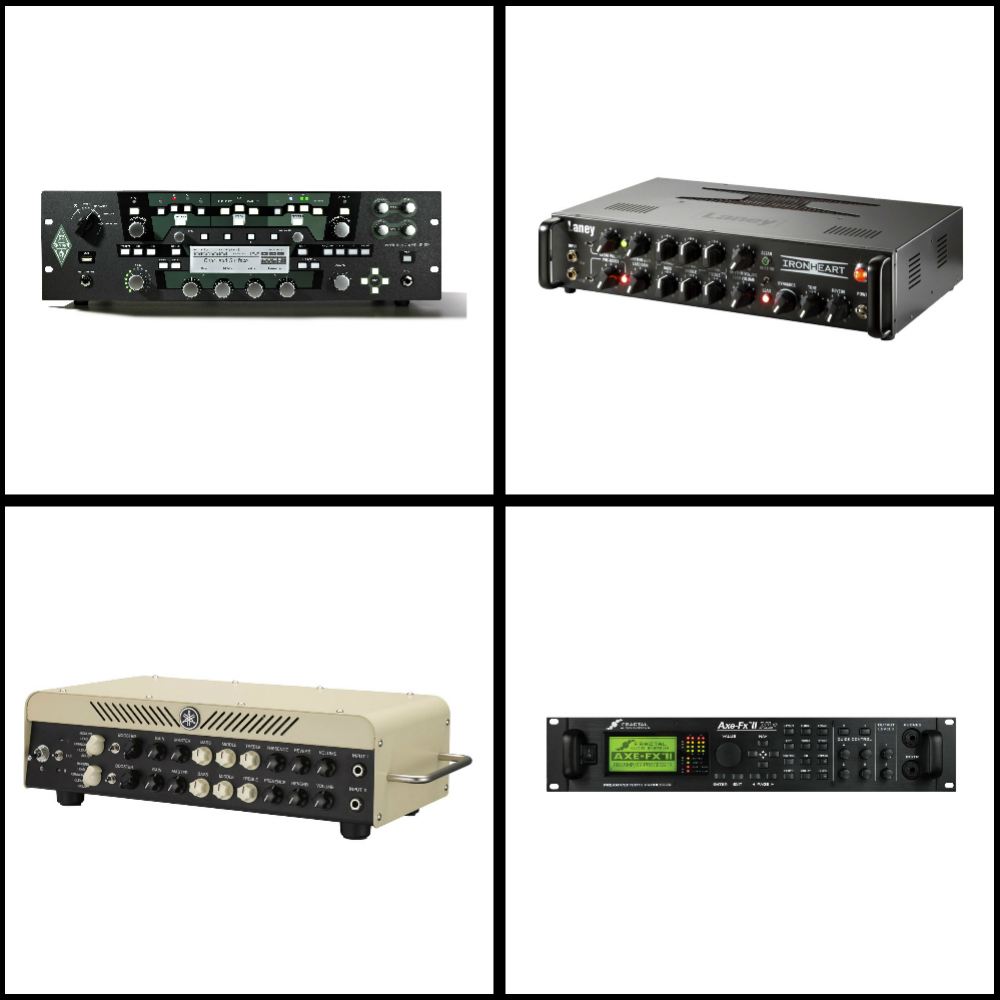
A List of Great Modeling/Profiling Amplifiers For You to Check Out
- Kemper Profiling Amplifier
- Axe FX
- Line 6 Helix
- Bias Head
- Atomic Amplifire
- Yamaha THR100H/HD
“Studio” Amplifiers
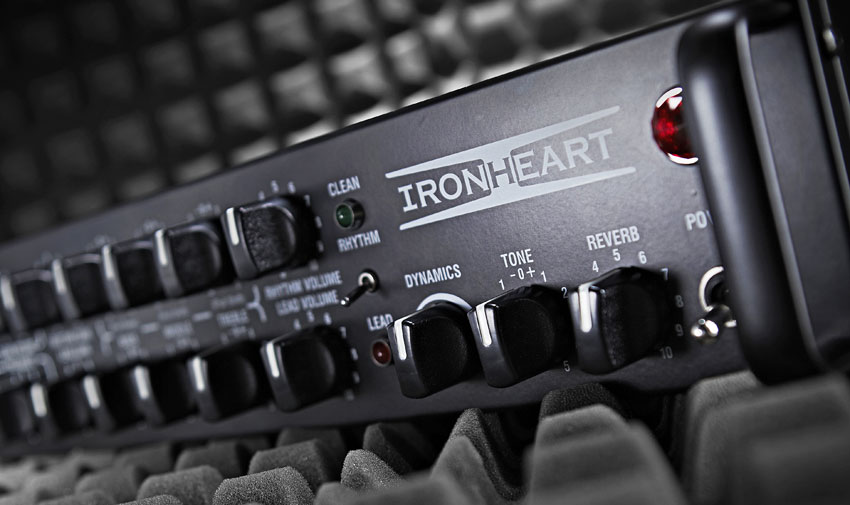
Studio amplifiers are a rather new hybrid guitar recording option. They aim to combine the sound and user-friendly interface of using an analog amplifier, with the functional benefits of having built-in Load-Boxes and speaker emulation.
These amps are usually available at a very reasonable price point. They offer a great alternative to some of the more expensive and extravagant modeling options. Unfortunately there aren’t too many options in this category available on the market just yet. However I have no doubt that more and more companies will start releasing some really strong contenders in this area pretty soon.
Personally, I’m huge fan of simplicity when it comes to guitar tone. Despite being one of the least expensive pieces of gear in my studio, I often opt for using my Laney Ironheart Studio over some of my other amp and speaker options simply because of how effortless it is to set up and dial in a good tone with.
Final Words
This concludes Part 2 of my “Recording Electric Guitars – Silent Recording Options” series. I hope that this article has given you some new ideas and plugins to try out during your next project.
Be sure to let me know in the comment section below if any of this information has helped you out, or if you have any further questions regarding anything I’ve talked about here.
Stay tuned for future articles on all things Recording and Production related!
Want mix tips from URM Academy? Read them here!
 Nail The Mix is our online mixing school that gives you REAL multi-tracks from REAL bands, plus a mixing class from the producer who recorded it. Past guests include Periphery, Chelsea Grin, Machine Head and State Champs. Join now for instant access!

