Are you holding yourself back by being close-minded?
One of the biggest mistakes we see producers making is writing off a band, producer or song because it’s in a genre they don’t like (or worse, because of some completely idiotic and superficial thing like the way the band looks). It’s more common with younger producers, but if we’re being honest plenty of older producers are guilty of it too.
The reason this is such a foolish attitude is that you can learn something from literally ANY piece of music if you’re open-minded. It’s actually completely irrelevant whether you like the band/song or not– and in fact, it’s almost better if you DON’T like it, because then you’re more likely to be hearing something that’s new to you. Smart producers are always asking themselves “What can I learn/borrow from this?”
Taking elements from a genre or style outside of your comfort zone is one of the best ways to make something feel really fresh and different, but only if you do it in a way that feels natural. Smashing two genres or ideas together is easier said than done, and if you’re not careful you’ll end up with something like that episode of the Simpsons where Homer tries to make a horse by gluing a bunch of cats together and painting them.
Papa Roach’s “Face Everything And Rise” is a master class in using synths to add interest and dynamics to an active rock song without losing sight of what makes it “rock.” In this clip from his Nail The Mix session, Kane Churko shows how it’s done in Pro Tools and shares some very smart thinking on the use of synths in rock.
In this clip from his Nail The Mix session, Kane Churko teaches a mini-master class in combining genres with his work on the Papa Roach song “Face Everything And Rise.”
You probably wouldn’t know it from listening to the final mix, but the session features around 20 tracks of electronic elements: 808s, programmed sub bass, claps, synths and more. They’re what make the song really come alive, and yet they never overwhelm the band or take it away from being an active rock song. It’s an extremely difficult balance to achieve, and this is a textbook example of how to do it right– note that a LOT of automation is key to bringing the elements in and out as the song develops, so don’t be lazy there. Remember, great mixers never cut corners!
If you’re stumped for ideas, try following Kane’s example here. Try adding some elements you’ve never worked with before – a different instrument, some riffs or melodies from another genre, etc and see what happens. But don’t just tape them together– challenge yourself to make it feel like a seamless, natural integration. It’s not easy to pull off, but when you do it’s f***ing magic.
Nail The Mix is our online mixing school that gives you REAL multi-tracks from REAL bands, plus a mixing class from the producer who recorded it. Past guests include Periphery, Gojira, Chelsea Grin, Neck Deep, Machine Head and State Champs. Join now for instant access!
In this weekly series of Blogs I’ll attempt to take you through some of the most popular and effective audio processing techniques used in professional studios all over the world.
Each installment in this series will focus on a different instrument and provide you with links to relevant video examples of industry-leading engineers demonstrating these techniques.
This week, we’ll be kicking off the first installment of this series with arguably the most difficult instrument to get right:
Whether you like it or not, the Vocals are usually the most important element within any mix (sorry guitarists!). For this very reason it’s really important that your vocals are given the proper attention they deserve during every step of the production process.
When it comes to mixing metal and rock, Vocals have a pretty difficult job in trying to compete with the numerous distorted, full-range instruments playing at any given moment. In this Blog we’ll take a look at some of the classic tricks we can use to give a vocal more real-estate and dominance within a mix.
1 – Stereo Widening:
A well-revered vocal mixing trick that has stood the test of time is the use of stereo widening FX.
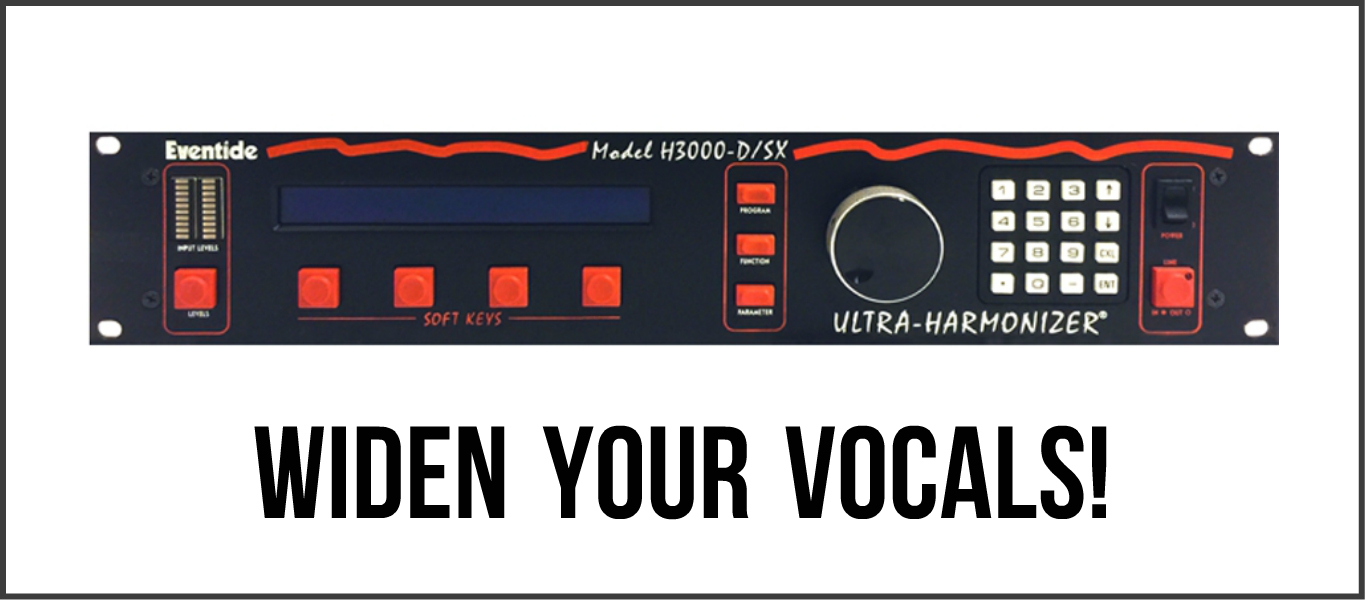
One of the most legendary pieces of processing hardware in recording history is the classic Eventide H-3000 Ultra-Harmonizer. A common usage for this unit from the 80s onward was to add some much needed width, space and stereo spread to mono tracks which might need a little extra “Oomph.”
Andrew Scheps (Red Hot Chili Peppers, Black Sabbath, Adele) Discusses The Eventide H3000:
Actual hardware H3000 units are rather expensive and hard to come by nowadays. Thankfully there are some awesome software equivalents that do a great job of achieving a similar effect at only a fraction of the cost:
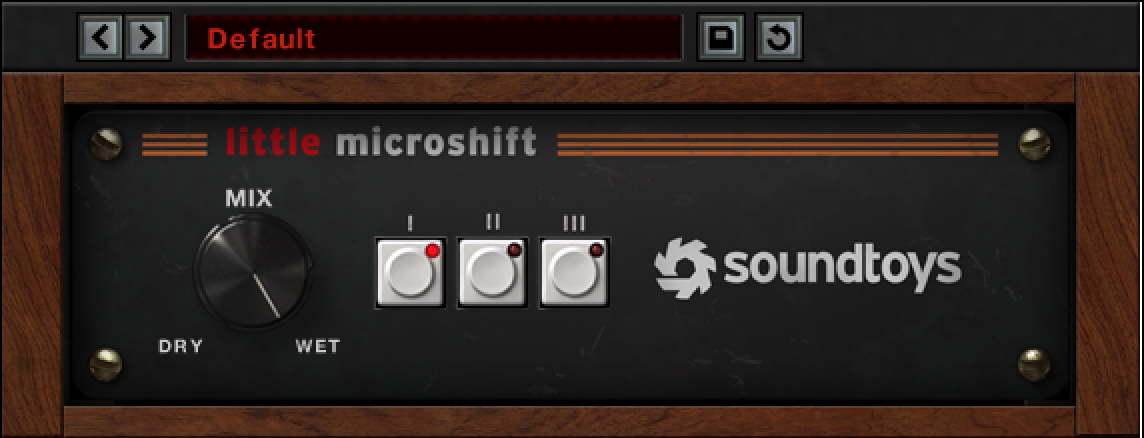
Step 1 – Which plugin you use in order to achieve this effect is entirely up to you. My personal choice for this application is Soundtoys’ “Little MicroShift” as it’s designed by the original designers of the H3000 hardware unit and is extremely simple to use.
Step 2 – Place your stereo widener of choice on a parallel AUX channel and set the mix parameter to %100 wet. Using widening effects as a send rather than an insert makes sense as I’ll often end up sending backing vocals and various other instruments into this effect alongside the lead vocals.
Step 3 – Send your vocals to your widener and set the volume of the effect return channel. Remember, this effect is meant to be something you feel rather than something you hear in an obvious way. As a rule of thumb I’ll usually end up with my “microshift” channel around 20 dB lower than whatever I’m sending to it for this usage.
Step 4 (OPTIONAL) – I’ll often send my “microshift” channel into the same reverb and delay effects which I use on my vocals for some additional stereo FX lushness.
Step 5 (OPTIONAL) – In some cases you might want to filter out some of the low-end from your stereo widening effects in order to maintain a tight and central low-end. I’ll usually use a mid-side EQ such as Fabfilter’s Pro-Q2 for this application and filter out anywhere up to 500Hz on only the side channels.
2 – Room Ambience:
Vocal ambience, it’s one of the things we like to spend ages trying to get rid of during the recording stage, and for good reason…
The Reason For Recording Dry:
It’s usually a better idea to get as pure a representation of the vocal as possible during the recording stage. Why? Because recording vocals in this way gives you the ability to adjust the desired amount of ambience to-taste later on during the mixing stage. This workflow also makes sense from an EQ perspective; it means you’re not stuck with a baked-in, less than optimal room sound which is difficult to get rid of.
NOTE:This quality of raw vocal recordings are usually achieved through the clever placement of reflection absorbent materials in the recording space as well as correct microphone placement/technique.
The Downside To Recording Dry:
The truth is, listening back to a bone-dry vocal, recorded in a reflection free room up close to the mic, is basically the equivalent of having a singer sing directly into your ear at close range. Unfortunately, this isn’t necessarily the most desirable effect when trying to get the vocals to sit well in the context of a full mix…
The Solution:
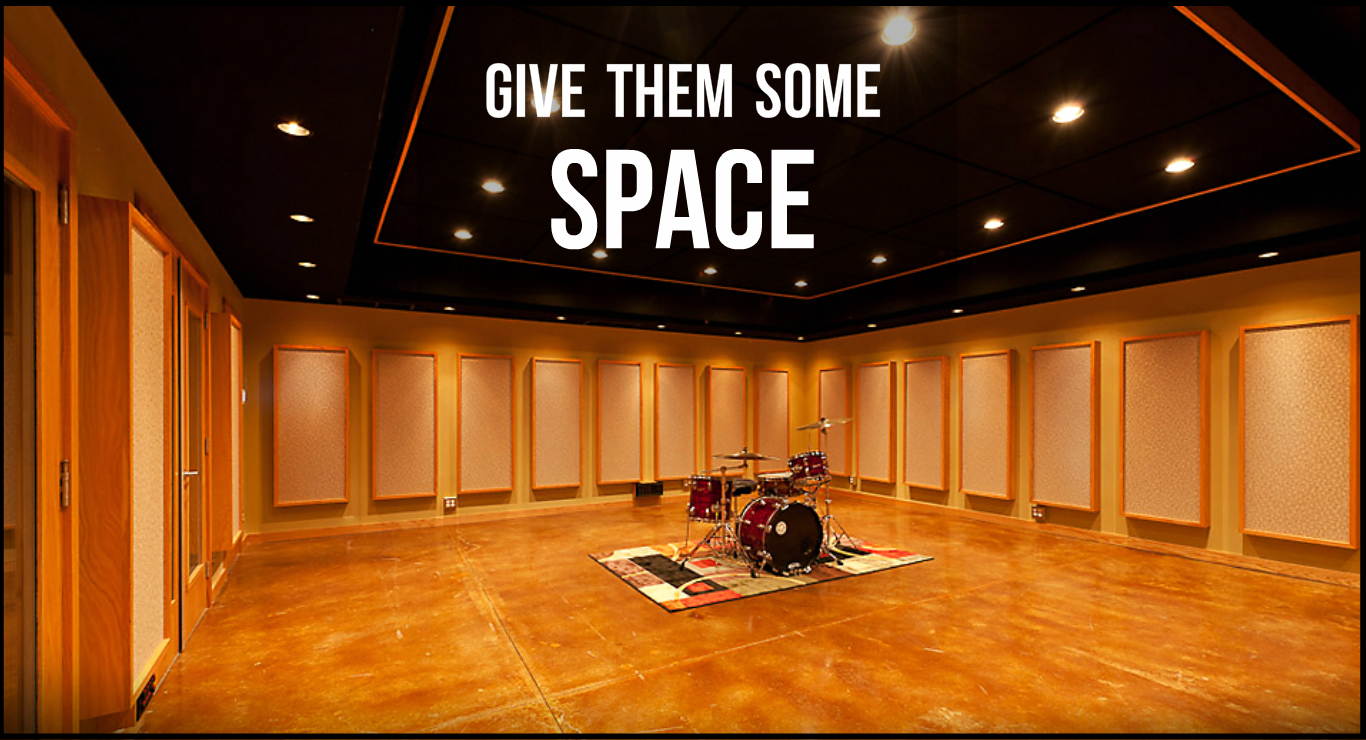
Blending in some short ambience behind your well-recorded vocals can really help give them a nice sense of depth, width and realism as well as helping them sit in the mix in a more natural manner.
In this case, I’m not talking about drenching a vocal in dense 80s ballad reverb. I’m talking more about the use of short room reverb which isn’t too blatantly obvious in the mix. My personal favourite for this application is Slate Digital’s Verbsuite with the “Bricasti M7 – Studio A” setting, although pretty much any reverb with a nice sounding room emulation will work just fine.
PureMix’ Fabrice Dupont talks about using ambience to liven-up vocals:
Note: You don’t need to be too heavy handed with the amount of room reverb you use in order to achieve the effect we’re after. This process is more about adding in something you “feel” rather than an obvious reverb decay which you hear.
3 – Parallel Compression:
When it comes to getting a vocal sound that’s aggressive and in-your- face, nothing beats a nice, healthy dose of compression. But why not try compressing in parallel?
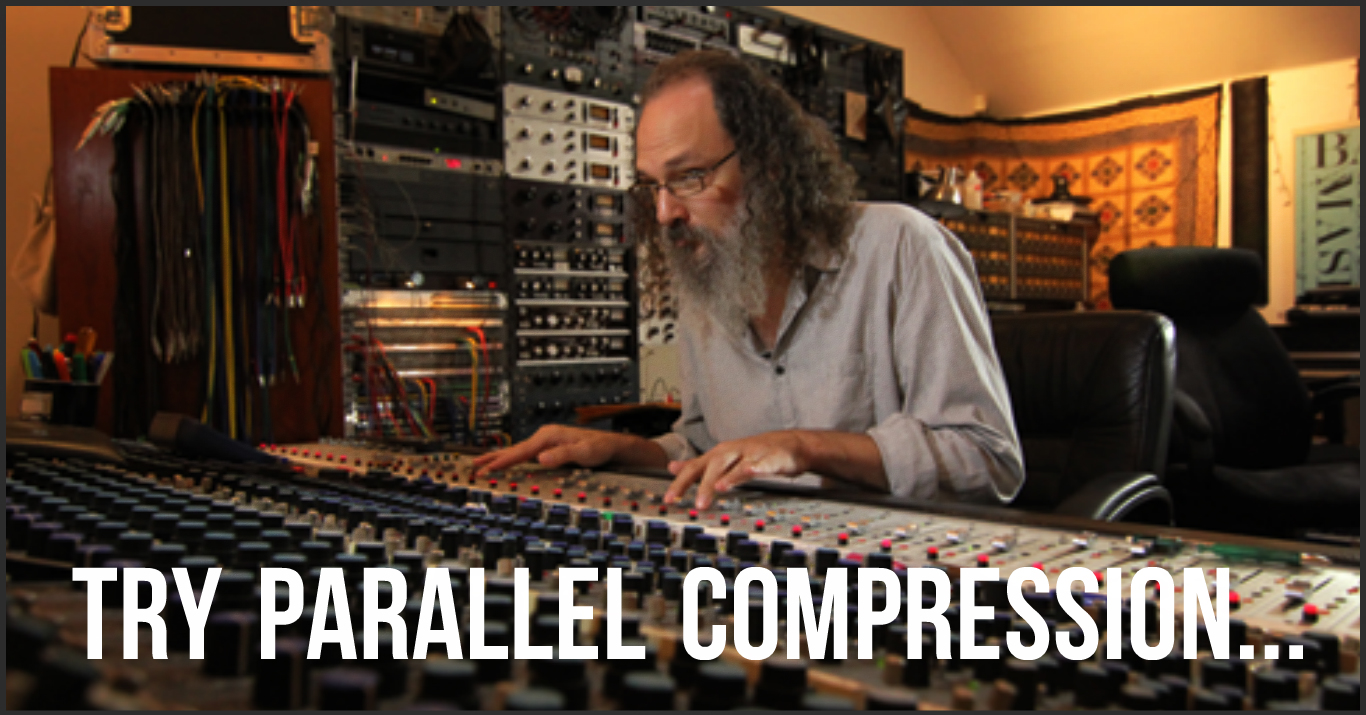
Grammy award winning engineer Andrew Scheps (Red Hot Chili Peppers, Black Sabbath, Adele) is known for using parallel compression almost exclusively across individual tracks, groups and even his master buss!
But why use parallel compression?
There are quite a few benefits to working with compression in parallel rather than as an insert. Some of these benefits include the following:
Reduced “obvious pumping” artifacts in comparison to using heavy compression as a direct insert.
Better-maintained transients and overall dynamics due to the mix of the dry-uncompressed signal in with the super-compressed parallel signal.
The ability to automate the parallel send up or down for added or reduced impact and sustain on a per-section basis.
Designated parallel compression channels are great for sending into Reverb and Delay effects for a thick and compressed FX return with evened out dynamics.
Tell me where to start!
Step 1 – Create an AUX track and send the direct channels you wish to parallel-compress into it.
Step 2 – Insert your compression plugin of choice on your freshly created aux channel and dial in the desired compression settings you want to use. My personal favourite plugin compressor for this application has to be the Slate Digital “FG-Blue 1176” Bluestripe 1176 emulation as it has an in-built mix knob and sounds great for aggressive parallel applications.
NOTE: 1176’s Are often the go-to compressor for parallel applications. Try some extreme settings with the attack and release knobs set as fast as possible at 20dB+ compression for some awesome and crunchy parallel compression goodness!
Step 3 – Blend your parallel compression channel underneath your original signal and find a balance that works well. ALL DONE!
Andrew Scheps (Red Hot Chili Peppers, Black Sabbath, Adele) Mixes Vocals on an Analog Console using Parallel Compression:
If there’s one element in a mix that simply doesn’t play nice when it comes to drastic EQ sculpting it’s the vocals.
How Come?
The human ear is so well-accustomed to how a vocal is naturally supposed to sound that an over-processed vocal track will simply stick out like a sore-thumb and end up sounding rather off-putting to the listener.
Here are some tips towards achieving a clear and natural vocal sound that works well in a mix:
The Source Is Key: The initial, and most important key to a great vocal sound is in choosing the right combination of mic, preamp and well-treated room to begin with. No amount of corrective EQ can truly make a poorly recorded, resonant, roomy vocal end up like the pristine studio sound you’ve envisioned in your head.
As dry as it gets (Probably a bit too dry though…)
Don’t Ruin The Character (Over-Scooping): If possible, steer as clear as you can from cutting out too much mid-range in lead vocals as this will mess with the inherent character of the singer’s voice. If you’ve captured the vocals well to begin with, there shouldn’t be much of a need for any drastic reduction anywhere in the mids in the first place!
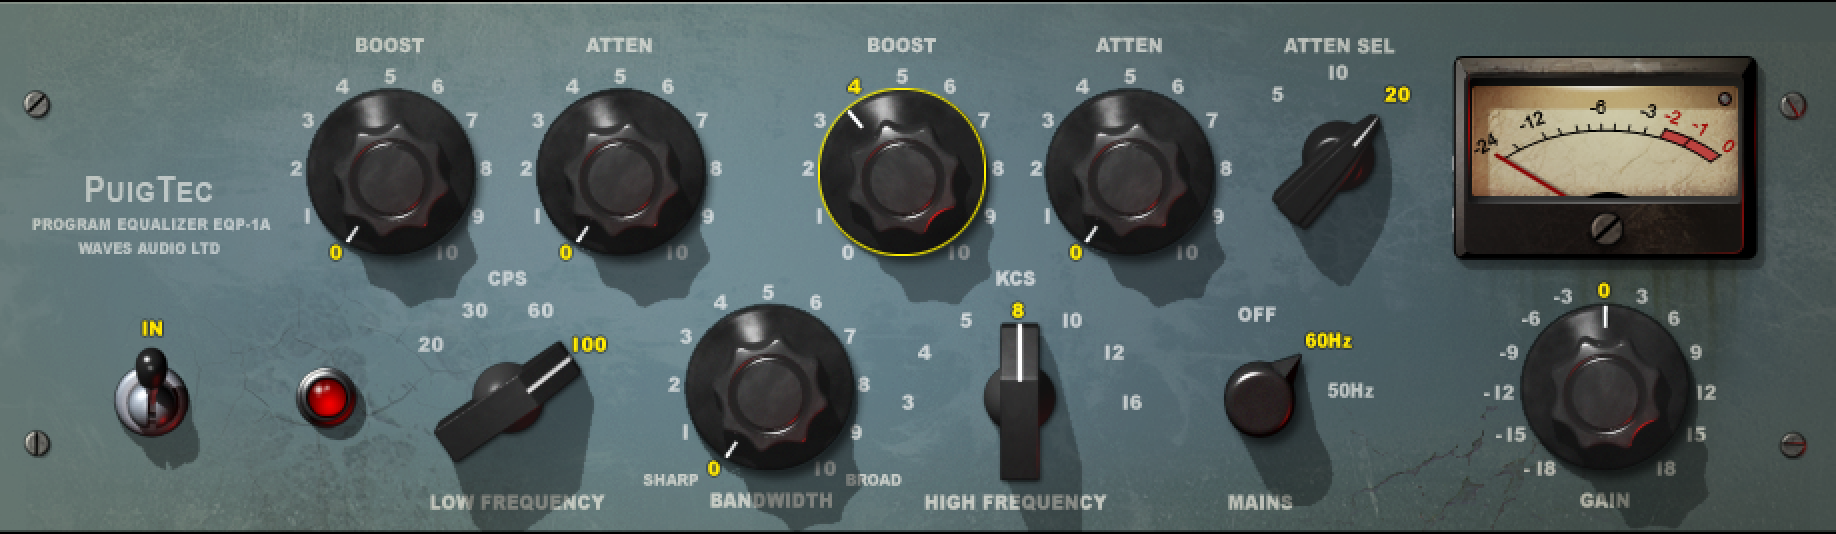
Think BROAD and MUSICAL: Wide, strategic boosting in the air, presence and low-end regions will result in a much more natural sounding vocal than lots of “subtractive messing” with the mid-range. You’d probably be surprised if you saw just how little subtractive EQ Top-Dog engineers like CLA and Andy Wallace are actually using in their mixes…
Waves Puigtec EQP1A – A broad, musical “boosting” EQ.
Check out this awesome vocal-mixing tutorial by David Glenn over on The Pro Audio Files. In this video David utilises pretty much all of the aforementioned techniques in this Blog in order to achieve a great lead vocal sound:
Here are some general frequency areas to look at while trying to EQ a vocal with a natural, “additive” mentality:
Air (High-End) 8kHz and Above: A broad boost in this range will really help towards adding clarity and “expensive-ness” to the vocals. The tools I’d personally recommend for this application are SSL style channel strips and Pultec style EQ’s due to their wide-Q settings and musical character.
Presence (Upper Mid-Range) 1kHz-4kHz: This area is crucial when trying to achieve a ballsy vocal sound that can punch through dense mid-range elements such as guitars and synths. It’s important to sweep around and boost this range in context of a full mix, as you might end up adding too little in this area if you’re listening in solo.
Chest/Fullness (Low-End) 100-220Hz: Whether to boost or cut in this range largely depends on the microphone that was used during recording, and how said microphone interacts with the proximity effect. In cases where vocals require some additional low-end thump, a broad boost in this frequency range can really help towards giving the vocals a “close and intimate” quality.
Note: Take these numbers as general guidelines, not as hard and fast rules! The exact frequencies you’ll need to boost will vary greatly from singer to singer due to the sheer amount of variables involved in the recording process. Always make sure to sweep around and fish for the areas which complement the sound best!
CONCLUSION:
As detail-obsessed, technical people we often forget that ultimately It doesn’t really matter if you have the best guitar tone or drum sound in the world if your vocals simply aren’t cutting it!
Treating vocals is a long and expansive topic which I could go on about forever and have barely scratched the surface of in this Blog. The main point I’m trying to get across at the core of all the tricks I’ve mentioned above is to make sure you’re giving your vocals (which are the real star of the show at the end of the day) the time and care they deserve!
Finally, always remember that the average listener will care about the vocals and whether they’re getting stuck in their head above all else.
Your job is as an engineer is fairly simple:
DON’T SCREW THEM UP!
FINAL WORDS:
This concludes “Mixing Secrets – Vocals”. I hope that this article has given you some new ideas to try out during your next project. Be sure to comment below if any of this information has helped you out, or if you have any questions.
Stay tuned for more production/mixing related articles in the not-so-distant future!
Nail The Mix is our online mixing school that gives you REAL multi-tracks from REAL bands, plus a mixing class from the producer who recorded it. Past guests include Periphery, Chelsea Grin, Machine Head and State Champs. Join now for instant access!
Producer/mixer Joel Wanasek has a massive list of credits in modern metal, having worked with bands like Machine Head, Monuments, Blessthefall, and Attila. He’s known for his powerful, polished, and aggressive productions and has been a frequent host and instructor for URM Academy and Nail The Mix, sharing his deep knowledge on everything from recording techniques to the business of running a studio.
In This Episode
On this solo Q&A episode, Joel Wanasek digs into the real-world questions that every producer faces. He starts by tackling the mental game of mixing—the long, frustrating learning curve and the feeling that your ears just aren’t good enough. Joel explains the neuroscience behind skill development and why patience and consistent practice on *many* different songs are key. He also shares his biggest career “aha” moments, which weren’t about specific tricks but about deeply understanding core principles like mastering the midrange and not being afraid to use extreme settings. Joel gives his unfiltered, passionate take on why high-quality converters absolutely matter and shares a story that proves it. He wraps up with practical advice on how to build a client base by networking effectively and gives some hard-won wisdom for young producers just starting their journey. This is a super valuable one for anyone trying to go from aspiring to pro.
Want your mixes to sound like the pros? Here’s the formula:
We’ve been doing this producer thing for a minute, so it takes a lot to impress us. But when we had Kyle Black (New Found Glory, Hit The Lights, Pierce The Veil) on Nail The Mix, he didn’t just impress us with the drum sounds he got on “Secrets” by State Champs, he blew us away. These are some seriously amazing drums!
There’s no black magic happening here, just a lot of meticulous attention to detail– we especially liked how he painstakingly dialed in the sustain on the snare top by tweaking the noise gate (skip to around 7:15 for this part). It’s little stuff like that that makes the difference between good and great. If you want to get your mixes sounding as good as your reference material, this is the kind of thing you need to be doing. And equally importantly, you need to be listening for things at this level of detail. How can you possibly know what mixing moves to make if you can’t even hear what you’re going for?
Watch Kyle Black mix the drums from State Champs’ pop-punk / rock song “Secrets” in Pro Tools. He compresses them with UAD’s Distressor plugin (an emulation of Empirical Labs’ hardware unit), then uses Waves SSL E-Channel to a more compression, EQ and gate out the ring in the snare sustain.
The larger lesson here is this: if you like the way the drums sound in a given mix, take the time to break down exactly WHY they sound amazing. Be as specific as possible. For example in this mix you might note that the snare has very aggressive attack with quick decay (no ringing) and that the kick fits in perfectly with the bass guitars, adding punch and attack without ever getting in the way. These are just two things, you could add many more but you get the idea.
List as many things as you can about what you’re hearing, then work tirelessly to achieve them in your own mix– never, ever give up and settle for “good enough” just because you can’t figure it out right off the bat!
If you’ve ever wondered what the “secrets” of the pros are, it has nothing to do with gear. It really just comes down to two things: attention to detail and high standards.
Nail The Mix is our online mixing school that gives you REAL multi-tracks from REAL bands, plus a mixing class from the producer who recorded it. Past guests include Periphery, Chelsea Grin, Gojira, Neck Deep, Machine Head and Chunk No Captain Chunk. Join now for instant access!
Producer and engineer Jamie King is best known for his long-standing relationship with progressive metal titans Between the Buried and Me, having worked on nearly their entire catalog. Operating out of his North Carolina studio, The Basement, he has become a go-to producer for technically demanding and forward-thinking bands. His credit list includes acclaimed albums from The Contortionist, Scale The Summit, and Wretched, establishing his reputation for capturing complex musicality with clarity and power.
In This Episode
Jamie King chops it up with the guys about how he built his career from the ground up, starting in his parents’ basement and becoming the go-to metal guy in his area. He shares the full story of how he linked up with Between the Buried and Me and managed to keep that relationship strong even after they got signed. Jamie gets into the nitty-gritty of his workflow, including his unusual method of tracking an entire album in a single Pro Tools session and the pros and cons of being self-taught. He also discusses the delicate art of managing band psychology—knowing when to facilitate their vision versus when to step in, and how to deal with artists who want inhuman perfection. From specific mic techniques for drums and bass to the ongoing debate between real amps and digital modelers, this conversation is packed with real-world advice on adapting your process to serve the song, the client, and the ever-changing landscape of modern production.