Getting that massive, yet detailed and dynamic active rock vocal sound is all about painstaking attention to many subtle details.
In this clip from his Nail The Mix session, Kane Churko demonstrates how he uses vocal auxes and automation to add layers of harmony, delay and other effects to the arrangement and take it from good to f***ing amazing.
Getting that massive, yet detailed and dynamic active rock vocal sound is all about painstaking attention to many subtle details. In this clip from his Nail The Mix session, Kane shows how he uses vocal auxes and automation in Pro Tools to add layers of harmony, delay and other effects to the arrangement and take it from good to f***ing amazing.
Nail The Mix is our online mixing school that gives you REAL multi-tracks from REAL bands, plus a mixing class from the producer who recorded it. Past guests include Periphery, Chelsea Grin, Gojira, Neck Deep, Machine Head and State Champs. Join now for instant access!
Buying gear, it’s one of the things we live for as engineers.With the holiday season slowly coming to an end we’re all eager to go out and spend our Christmas gift money on some cool new equipment. But beware, If you’re not careful it’s easy to catch a bad case of G.A.S! (Gear Acquisition Syndrome)
Here are some important things to consider before you splash out on that shiny new studio toy with the gold-plated price tag:
THE PROBLEM WITH G.A.S.
With so many options available to us, we fall for the appeal of owning a cool new piece of equipment all too easily. This often results in purchasing things which we don’t really need…
I’d be willing to bet that you’ve probably told yourself at least one of the following excuses before making an expensive “impulse-buy” in the past:
My recordings sound bad because I don’t own one of these…
Once I buy this it’ll change everything!
{Insert famous engineer here} has one… it must be the secret to his sound!
To be completely honest, I am guilty of having used all of the above at one point or another…
The truth is, a lot of the expensive gear I’ve bought as a result of coming up with these kinds of far-fetched justifications has just ended up sitting on a shelf in the corner gathering dust!
Don’t get me wrong, I’m not saying don’t buy new gear… I’m simply saying BUY THE RIGHT GEAR! Remember: If you have to jump through hoops trying to convince yourself something’s a good idea, it’s probably not…
Here are some general rules/principles to go by when thinking about buying gear:
1 – Get The Basics Right First!
A pretty “Solid” metaphor for prioritising your purchases.
“The things you should spend your money on first in audio if you have a limited budget are the things that you’re gonna be using the most.” – Eyal Levihttps://urm.academy/ep86-dear-eyal/
When it comes to building a collection of gear for your studio some things will have a much more profound effect on your ability to produce great recordings & mixes than others.
Here’s a simple question:What’s the point in buying a $1000+ piece of boutique analog hardware which you’ll rarely use, while you’re recording with a cheap microphone, into a cheap interface and listening back on cheap monitoring in an untreated room?!?
The obvious answer? THERE IS NO POINT! It simply doesn’t make sense! Chances are you’ll only use that piece of expensive equipment for minimal tweaks that amount to a tiny % of the overall sound of the finished product. So, why not invest that money in improving a much more significant part of the chain for an increase in quality that even the average listener will notice?
Get your priorities straight…
Here are some of the things you absolutely need to get right before you move on to anything too fancy (and most likely pretty insignificant in the big picture):
A) A Good Microphone:
“Get it right at the source”. You’ve probably heard this said hundreds of times and there’s a good reason for it: it’s %100 true! Investing in a good microphone early on in your audio career will really go a long way towards reducing the amount of “fixing” you have to apply to your raw material.
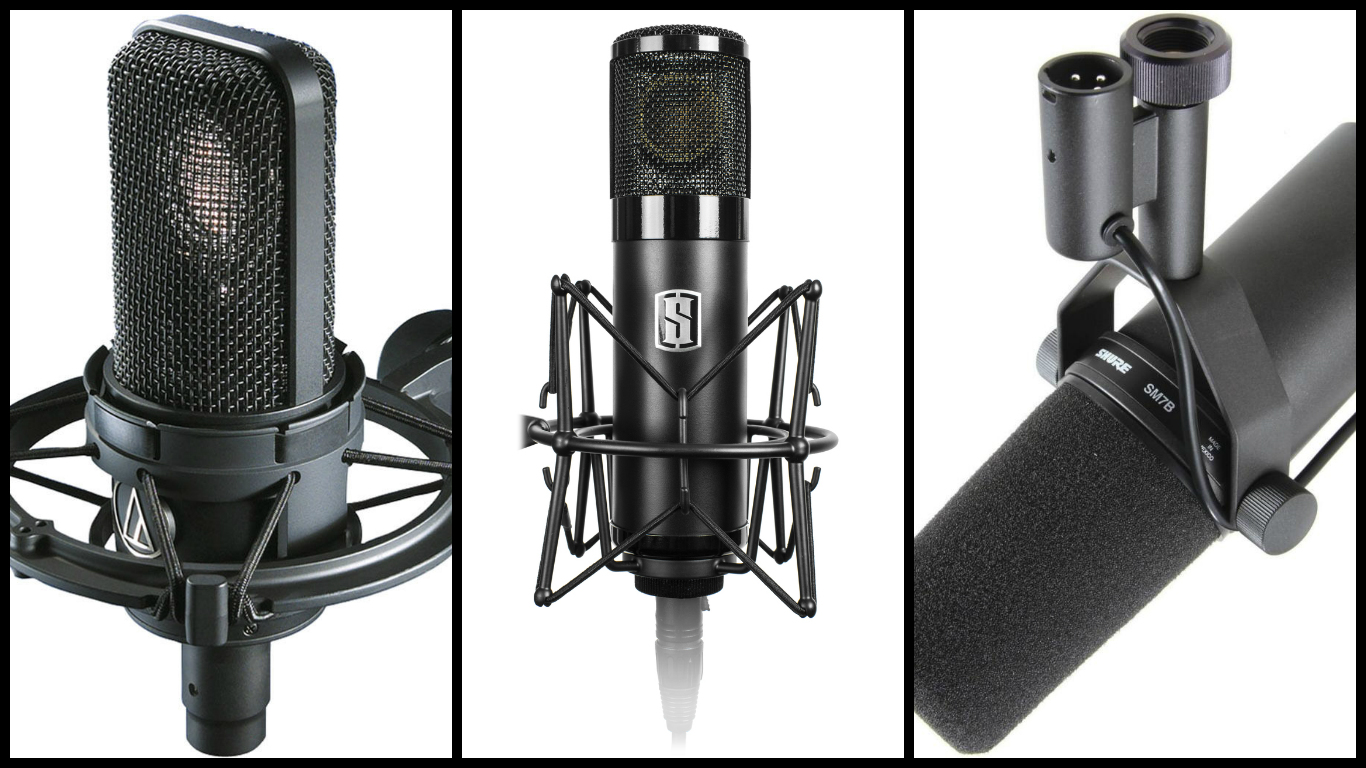
Audio Technica AT4040, Slate Digital VMS, Shure SM7B. Some great “Bang for buck” microphones.
Here are some great microphone options to consider on a budget:
Shure SM7B: Good doesn’t necessarily mean expensive, the $400 Shure SM7B has been used as a vocal mic on some massive albums by hugely successful acts such as Michael Jackson, Metallica and The Red Hot Chili Peppers. The fact that it’s a dynamic microphone also makes it an excellent option in less-than-optimal recording situations where room rejection is paramount.
Audio Technica AT4040: Joey Sturgis and Nolly are well known for using the inexpensive yet brilliant AT40 series microphones regularly in their productions. This mic also doubles up as a great instrument microphone.
Joey Sturgis and Eyal Levi on the Shure SM7B and AT4040:
Slate Digital VMS: Another incredible new option that smokes the competition in the value for money department is the new Slate Digital Virtual Microphone System. Think of it as the Kemper Profiling Amp of microphones. Having access to a $20,000+ microphone locker for the same price as a single mid-level condenser is hard to beat.
“Crap in, crap out”. The audio interface is the core of your studio. Everything you do in the studio goes in and out of this little box, so don’t skimp while getting one! Think of it this way: What’s the point in having an expensive piece of vintage gear in the chain if it’s going to be tainted through a bad interface?
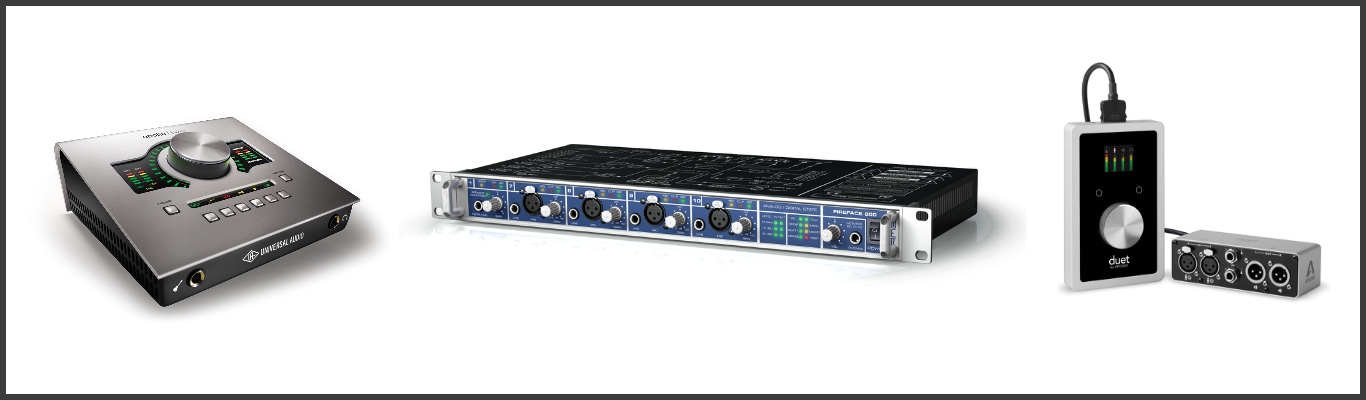
UAD Apollo Twin Duo, RME Fireface 800, Apogee Duet 2. Some killer interfaces under $1000.
“What about expensive external preamps, don’t I need one of those?”The short answer? No, at least not when there are other more vital things you could be upgrading instead…
There’s a common misconception among new engineers that a $1000+ preamp will make a giant, life-altering difference to their recordings. But the truth is the preamps built into decent interfaces are actually pretty good already. Of course having a better preamp will give you better results, just not to the extent that some of the snobs on the audio forums would have you believe.
NOTE: Make sure to check out the Slate Digital Virtual Preamp Collection. If you own an audio interface with good, clean, linear preamps then applying some preamplifier emulation during mixing might nudge you a step closer to the real thing. http://slatedigital.com/virtual-preamp-collection/
C) A Good Room / Accurate Monitoring:
I spent years trying to figure out why my vocal recordings always seemed to need a ton of EQ to sound right, despite the fact that I was recording with a fairly good microphone! It wasn’t until I got my hands on some vocal tracks which had been recorded in an A-Class studio that I realised the real source of the problem: THE ROOM.
How come?
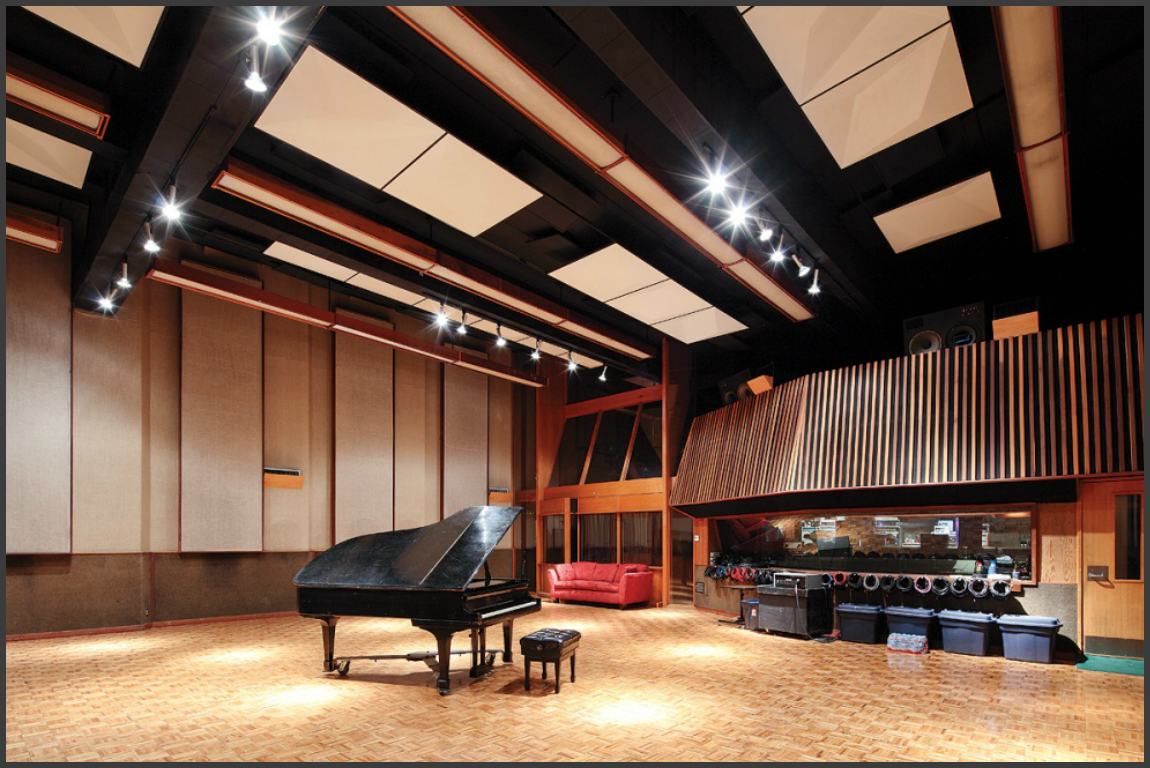
Performing in an untreated space “excites” the reflective surfaces in the room resulting in various resonances and frequency build-ups to occur and be picked up by the microphone during recording. This whole situation is amplified further if you’re dealing with a smaller room with a lower ceiling and/or smooth flooring.
The exact same principles apply for mixing through monitors in an untreated room. No matter how flat or expensive your monitors are, you’re shooting yourself in the foot if you aren’t hearing them accurately.
Fixing this issue is a tricky one, as people rarely have the luxury of changing the room they work from. There are, however, definite ways of drastically improving even the worst of rooms without having to break the bank.
Don’t cover your walls with egg cartons… Just don’t…
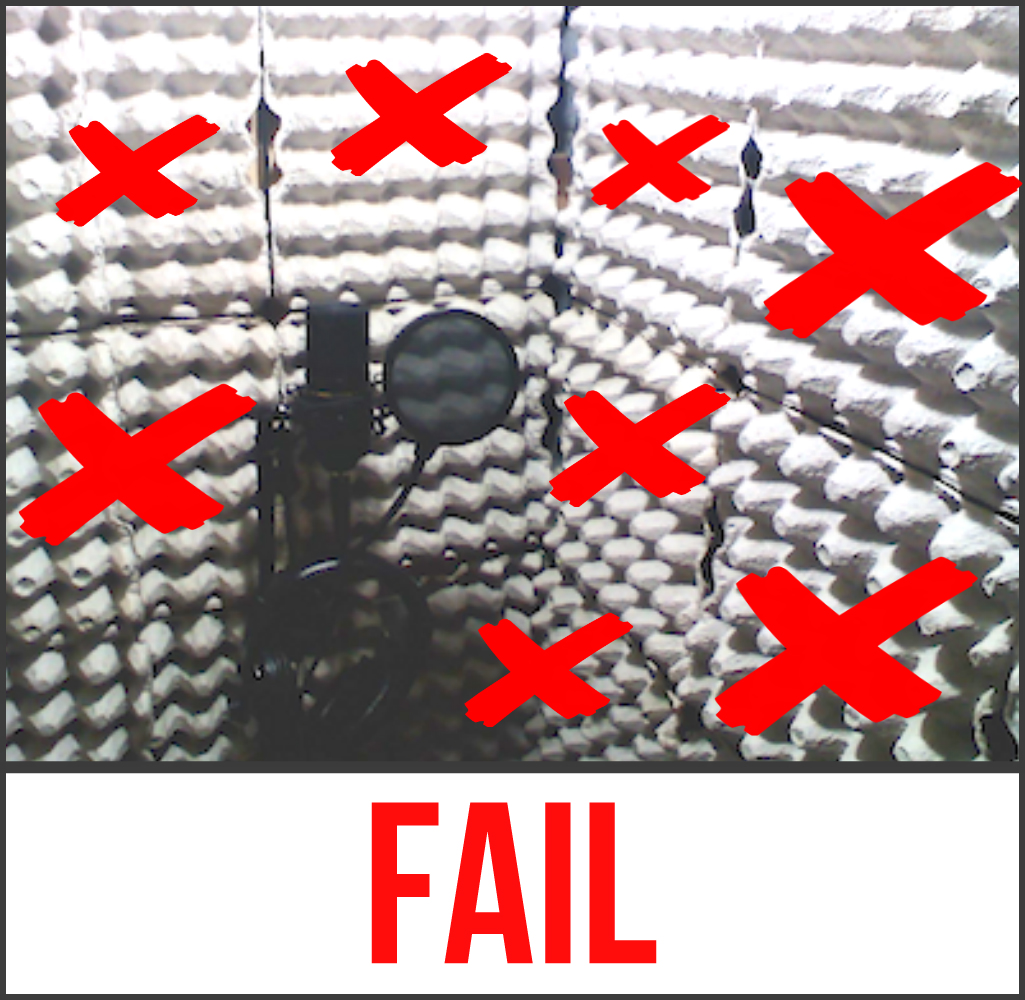
Treating a room in order to achieve the ideal acoustics for a studio isn’t as simple as sticking some thin, flimsy egg cartons or foam squares over the walls. These types of materials will only serve to dampen the high-end flutter you hear when you clap your hands and do next to nothing towards controlling the mids and lows (which are the real culprit).
Getting a room treated properly takes a lot of time, effort and money. There are however some inexpensive DIY options that can put a major dent in your room-related issues. It still won’t come cheap, but the results are well worth the price.
Check out some of the wallet-friendly treatment options listed below:
2 – A Quick Look At The Rule of Diminishing Returns
Diminishing Returns: A point at which the level of profits or benefits gained is less than the amount of money or energy invested.
Different people have different ways they like to go about buying things. Some people like to upgrade as they go along, while others prefer to wait years before they pull the plug on something better.
These are both valid methods, but in my mind the ideal purchasing route for an audio engineer who’s just starting out goes somewhat like the following:
(I’ll use audio interfaces as an example here, but this principle applies to pretty much anything piece of music-related gear you buy)
Step 1 – Buy a decent quality, good value for money, beginner audio interface that will allow you to get your foot in the door. (Around $100-150)
Step 2 – Once you’ve got past the learning curve and are ready to get serious buy a good/great value interface which nobody can question the quality of and doesn’t necessarily ever need upgrading aka. Something near the point of diminishing returns. (Around $1000)
Step 3 – You’re basically done! Everything from this point onwards is subject to further requirements (more inputs, additional DSP etc.).
Why go about buying gear in this way?
To spare yourself from years of grief caused by “meh” recordings that require a lot of fixing in the mixing stage.
You’ll save a lot of money by cutting out the middle-man and not having to upgrade constantly, freeing up funds to invest in other more significant areas.
To eliminate any gear related excuses and get on with making good music early on in your career.
Conclusion:
It’s funny how as I’ve slowly ended up selling off excess “impulse purchases” I’ve made throughout the years and streamlined my recording methods, my recordings have actually ended up sounding better as a result…
The next time you’re trying to figure out how to spend your gear money, or debating whether or not buy something in particular, ask yourself the following questions:
Is it a necessity or a luxury, do I really need this, or do I simply want this?
Does it bring something new to the table which I can’t already do, or is it just another {insert specific processor title here}?
What could I buy that would make the biggest difference in the quality of my recordings?
FINAL WORDS:
This concludes “BUY SMART!: A Guide To Buying Gear”. I hope that this article has given you some new ideas to try out during your next project. Be sure to comment below if any of this information has helped you out, or if you have any questions.
Stay tuned for more production/mixing related articles in the not-so-distant future!
Nail The Mix is our online mixing school that gives you REAL multi-tracks from REAL bands, plus a mixing class from the producer who recorded it. Past guests include Periphery, Chelsea Grin, Machine Head and State Champs. Join now for instant access!
Joel Wanasek is a producer, mixer, and co-founder of URM Academy and Nail The Mix. He’s known for his powerful, aggressive productions and has worked with a string of notable artists including Machine Head, Blessthefall, Attila, and Monuments. As a key educator at URM, he is passionate about sharing the high-level techniques and business acumen required to build a successful career in music production.
In This Episode
Joel Wanasek hangs out solo this week to tackle a Mix Crit Monday session featuring Jason Richardson’s track “Fragments.” Before diving in, he gets real about the necessity of harsh, unfiltered feedback for growth, sharing his philosophy on mentorship and why he believes tough love is crucial for developing professional skills. He then breaks down three different user mixes, identifying common but critical mistakes relevant to any producer. Joel addresses the pitfalls of trying to copy a signature sound (like Taylor Larson’s loud drums) without mastering the fundamentals, diagnosing issues like disconnected “drums in space,” mixes that are either overly scooped or muddy, and the destructive effects of out-of-control bus compression. It’s a deep dive into the mindset and technical tweaks needed to elevate your mixes.
Timestamps
[2:48] Teasing a new URM course focused on the business of music
[4:19] Why Mix Crit episodes are a necessary evil for improvement
[5:15] The importance of getting brutally honest feedback
[5:42] The value of having a “hard ass” mentor who pushes you
[7:30] Analogy: Pushing an unprepared guitar player in the studio to get the best take
[9:30] How to build a musician back up after breaking them down constructively
[10:41] Using harsh critiques as motivation to get better
[18:35] Critique #1: The entire mix sounds like it has a blanket over it
[19:20] Critique #1: Kick and snare are clipped, distorted, and way too loud
[20:20] The “drums in space” problem: When cymbals feel disconnected from the kit
[22:15] The danger of emulating a pro’s sound without understanding the fundamentals
[25:10] Could your monitoring setup and speaker placement be causing mix issues?
[31:00] Critique #2: The sound of an over-EQ’d and scooped mix
[32:57] Dealing with major balance issues where elements jump in and out
[41:30] Critique #3: Diagnosing and fixing excessive bus compression pumping
[42:43] The problem with trying to make your kick and snare as loud as Taylor Larson’s
[46:00] How muddy, over-midrangey guitars and vocals create frequency conflicts
[47:45] Why mixing many different songs is better practice than overworking one
Great mixes are the product of thousands of small decisions that all add up, and drums are maybe the ultimate example of this.
To see this in action, check out this clip from Kyle Black’s Nail The Mix session where he fine tunes the drums in STATE CHAMPS’ “Secrets.” These drums sound AMAZING, and it’s because he polished every detail to perfection- for example the painstaking attention to details like gating the snare top head to get precise control over the sustain.
Watch Kyle Black mix the drums from State Champs’ pop-punk / rock song “Secrets” in Pro Tools. He compresses them with UAD’s Distressor plugin (an emulation of Empirical Labs’ hardware unit), then uses Waves SSL E-Channel to a more compression, EQ and gate out the ring in the snare sustain.
Nail The Mix is our online mixing school that gives you REAL multi-tracks from REAL bands, plus a mixing class from the producer who recorded it. Past guests include Periphery, Chelsea Grin, Machine Head and Neck Deep. Join now for instant access!
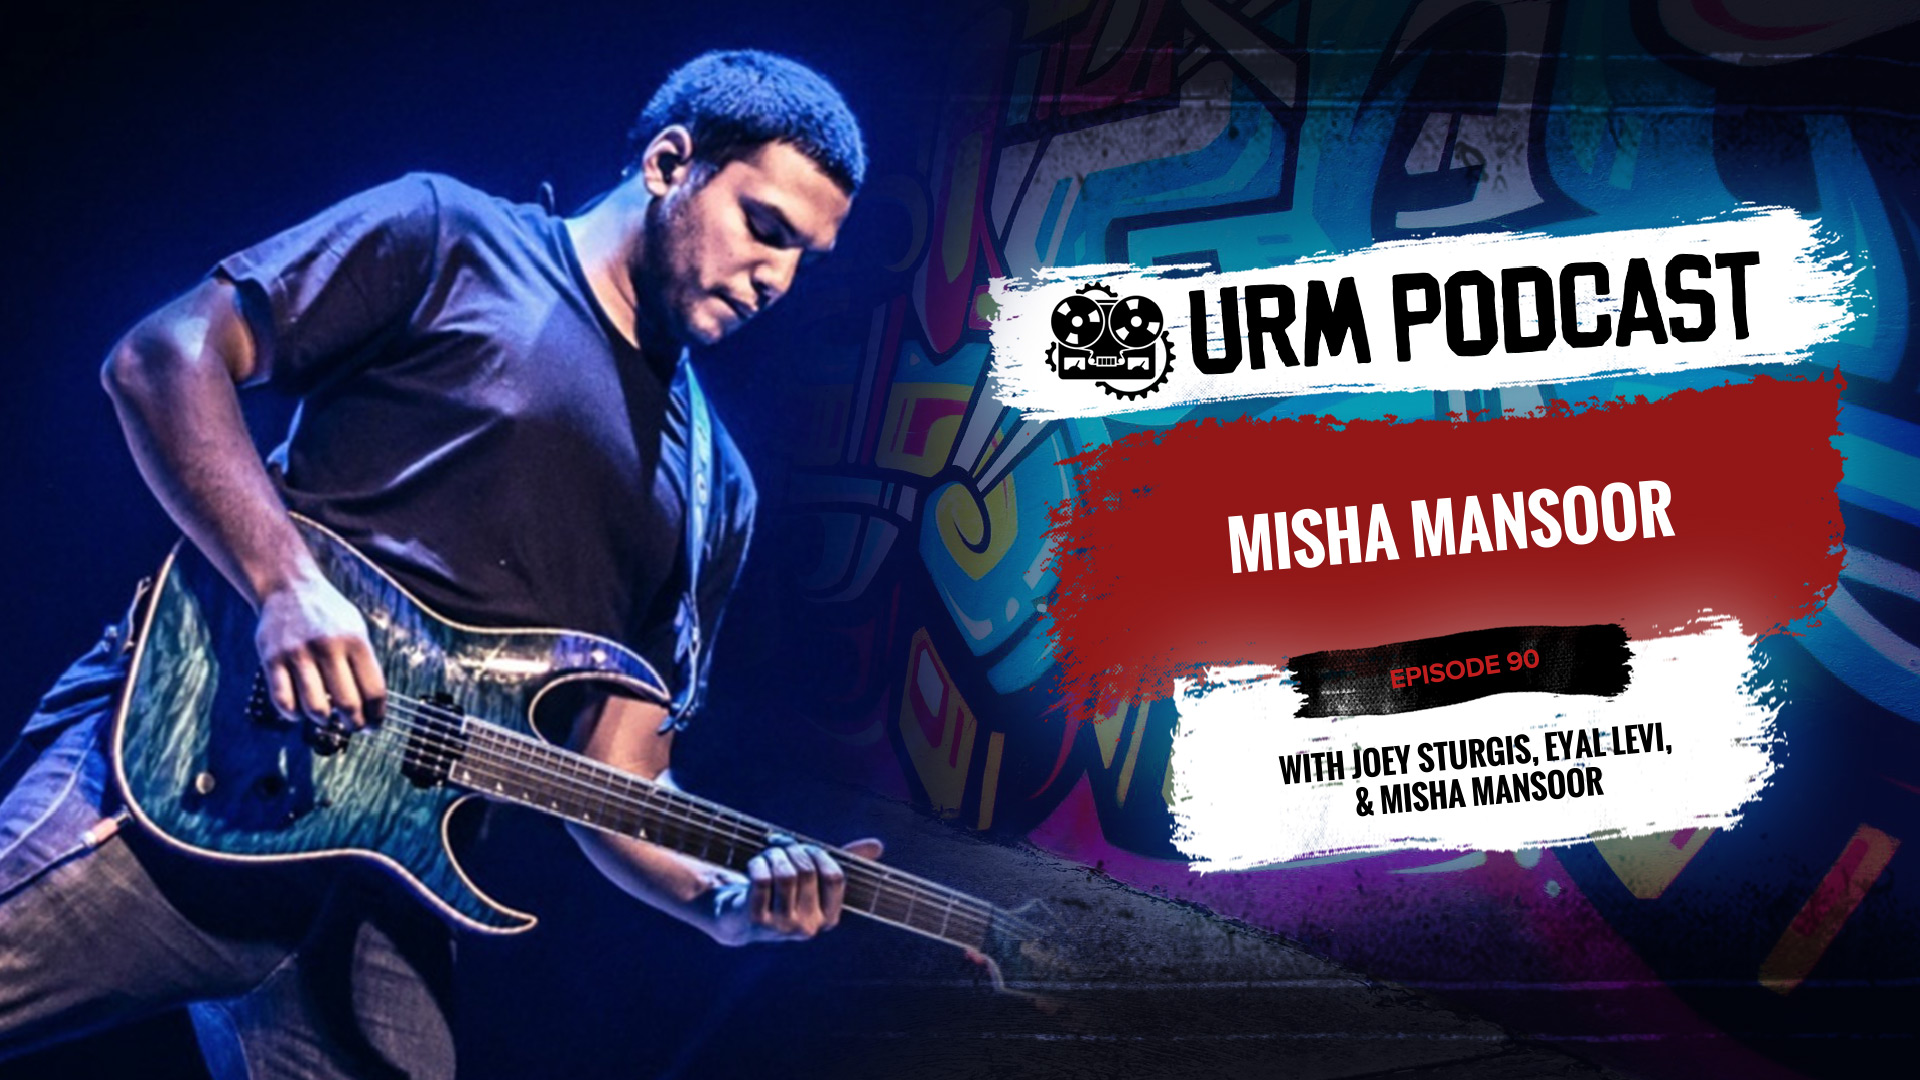
Misha Mansoor is the guitarist, main songwriter, and producer for the progressive metal band Periphery, a group he founded as a solo project in his bedroom. Known for his intricate rhythm work and pioneering role in the djent scene, he has guided the band through multiple critically acclaimed albums, including the ambitious double-album Juggernaut: Alpha and Omega. Beyond the band, Misha is a serial entrepreneur, co-founding the drum sample company GetGood Drums and the guitar pedal company Horizon Devices, both of which cater to the needs of modern metal musicians. He has also released a massive collection of his early solo material under the name Bulb.
In This Episode
Misha Mansoor gets real about the mindset it takes to build a career in today’s music industry. He shares the full story behind Periphery’s unconventional record deal, breaking down how they bucked the system, avoided a 360 deal, and retained their masters by understanding the business climate and being patient. Misha discusses his unique approach to music, from dealing with the pressure and guilt that can come with success to his philosophy of being “realistic” rather than humble about his own abilities. He also dives into his entrepreneurial side hustles, explaining the origins of Horizon Devices and GetGood Drums as passion projects designed to solve real-world problems for modern players. It’s an awesome look at treating your band like a business, creating multiple revenue streams, and staying true to your creative vision without compromise.

 Nail The Mix is our online mixing school that gives you REAL multi-tracks from REAL bands, plus a mixing class from the producer who recorded it. Past guests include Periphery, Chelsea Grin, Gojira, Neck Deep, Machine Head and State Champs. Join now for instant access!