Making Digital Sound Analog – The Best Of Both Worlds
Ever since the transition to Digital Audio, engineers have been trying to replicate the classic sounds of Analog in the DAW environment. Thanks to some very smart people who’ve put in a lot of tedious work, we’re finally at a point where analog-simulation technology is almost indistinguishable from the real deal.
A – WHAT’S SO GOOD ABOUT ANALOG ANYWAY?
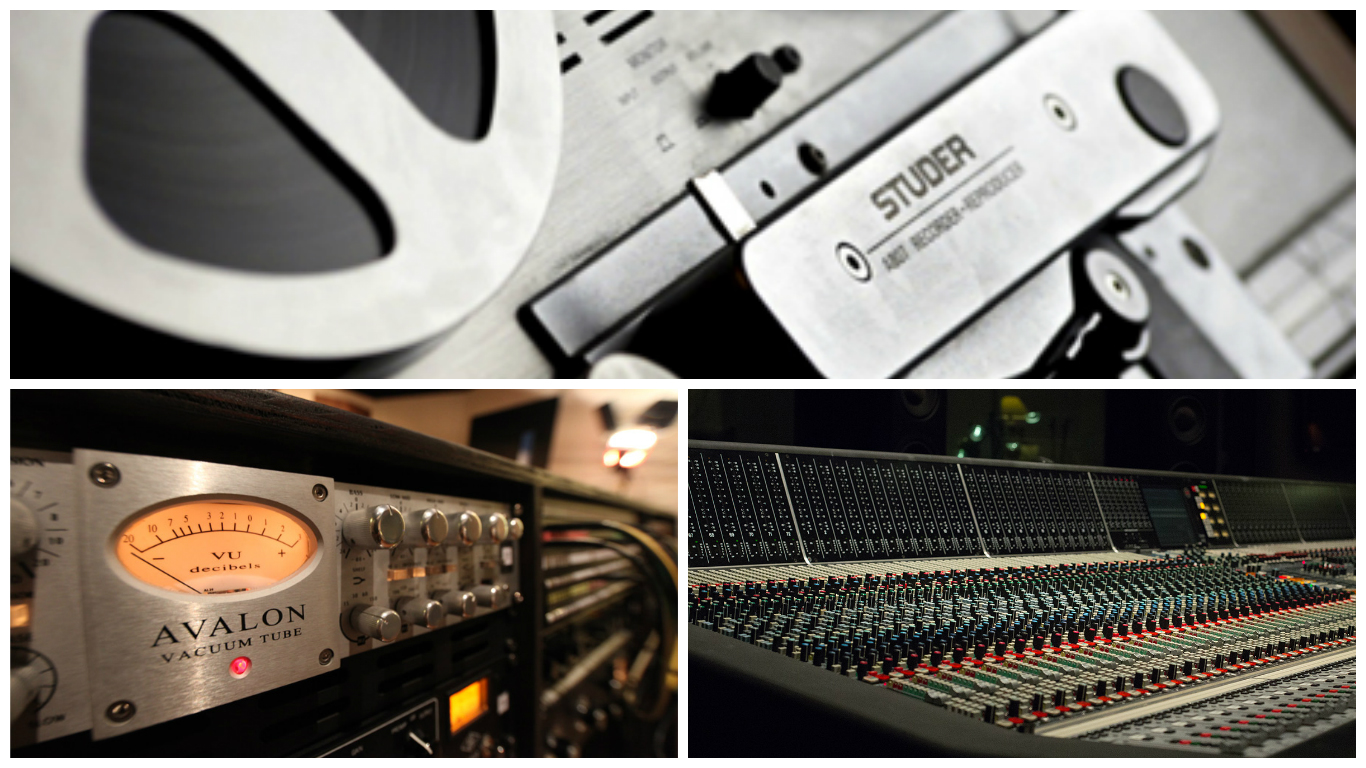
A lot of “old-school” producers and engineers like to look back at the old days of recording and fondly reminisce about the sound of vintage tube mics, preamps, mixing desks and tape machines. You’ll often hear these old-timers talk about the “warmth” and “character” this kind of gear added to the sound. How the transition to digital has “sterilized” music… it’s become “too clean”, “harsh” and “perfect”.
It’s true that these old pieces of vintage gear have a unique sound and often impart some pleasant characteristics onto the raw material. However, it’s important not to forget the amount of hassle involved in the upkeep and operation of said gear.
Sure, plugging directly into the “neutral” sounding preamps on your digital audio interface and straight into your DAW will result in a much cleaner and more “sterile” sounding raw track. The main reason Analog sounds the way it does is in the first place, is because the signal is having to go through multiple stages of analog saturation to get to an equivalent place.
Just think of how much time, effort, and money you can save in comparison nowadays days with the workflow benefits of a DAW…
B – ANALOG VS DIGITAL
Before we go any further, let’s take a look at some of the pros and cons for each of these recording/mixing mediums:
ANALOG
- The Pros of Analog:
- Adds some pleasant saturation, warmth and often-beneficial tonal “color”.
- The limitations of Analog encouraged and cultivated a culture of great musicianship and inspired performances – Less editing and “correction” was required from the get-go.
- Mixing engineers and Producers had to perform their craft (manual-automation).
- Less “pokey” sounding transients due to the softening effect of saturation/distortion.
- Smoother high-end due to the high-end roll-off caused by various analog gear and tape types/settings.
- Having faders, buttons and pots to interact with is far superior to using a mouse.
2. The Often-Overlooked Cons of Analog:
- Editing is extremely time consuming and inaccurate.
- Limited Channel Count.
- Limited pieces of gear available – You can’t put a single piece of gear across 7 different channels simultaneously…
- Patching/routing is a pain, too many cables involved.
- Recallability is terrible.
- High upkeep costs – Reels of tape, tubes and analog components are expensive to purchase and the gear is expensive get serviced.
- A lot of noise and hiss – Each piece of analog gear ads and/or amplifies hiss, eventually getting pretty noticeable.
DIGITAL
- The Pros of Digital:
- Infinite routing possibilities, no cables required in a DAW!
- Automation available for every parameter – No need to memorize hundreds of fader movements and changes.
- Limitless channel count.
- The ability to use presets and templates – Amazing recallability!
- Less noise from the get-go, removing noise is also easy and painless.
- Editing is extremely fast and accurate.
2. The Cons of Digital:
- Can encourage lazy musicians with the advent of pitch correction and quantizing.
- Very clean recordings, mixes can sound lifeless as a result.
- Transients sound brittle and “pokey” due to the lack of saturation/softening.
- Converters play an important role in the sound quality, good converters are expensive.
- The interfacing between the engineer and sound is somewhat obstructed by a mouse.
These lists could go on forever, and I’m sure I’ve probably missed off a few things. Long story short, If I were to sum all of these points down into a single sentence on the Analog vs Digital Argument:
“The sound of Analog is more pleasing to the ear, but the workflow of Digital is far more practical and accurate.”
Now that we’ve got that out of the way, let’s have a look at how we can go about trying to recreate the sonic characteristics of Analog in the Digital domain.
C – INTRODUCTION TO ANALOG SIMULATION PLUGINS:
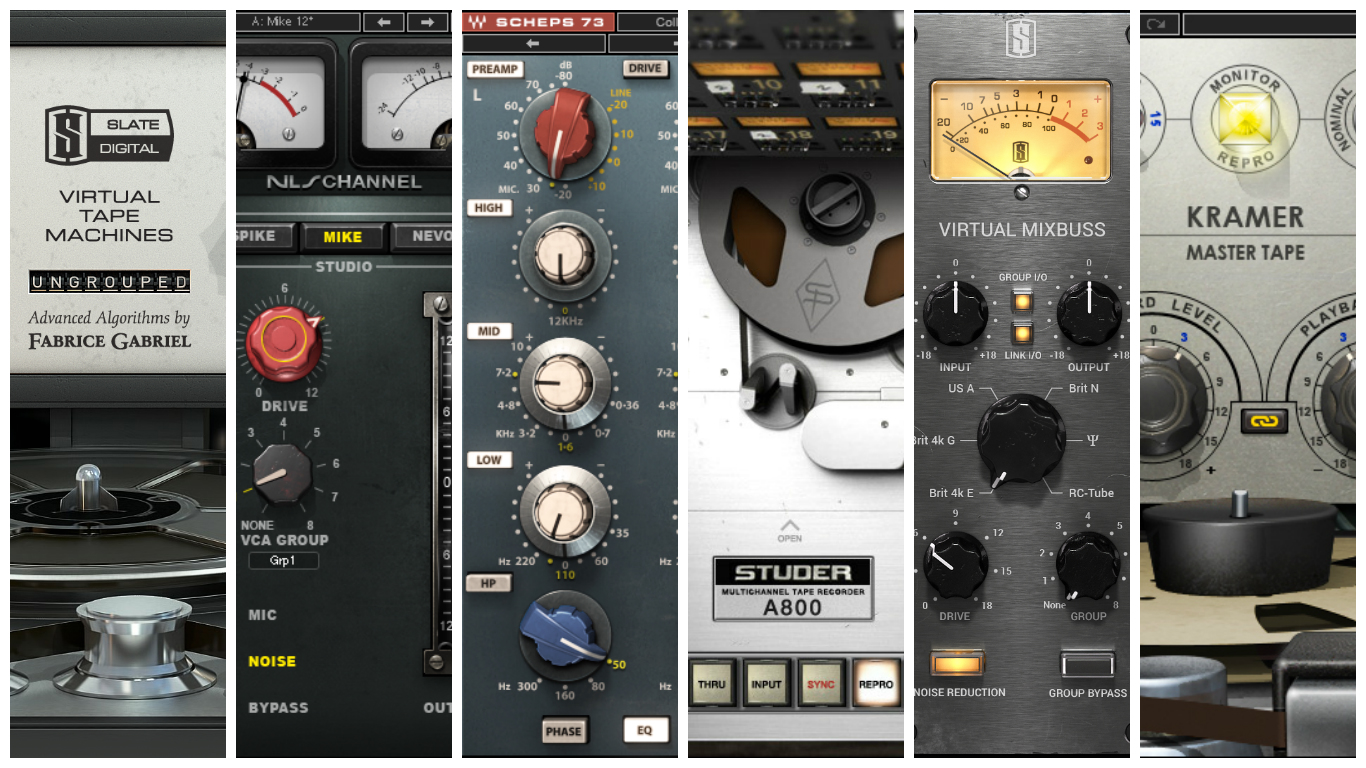
The new simulation options available to us for use in our DAWs offer a very accurate representation of the classic Analog sound, but without any of the drawbacks involved in using the vintage gear.
These plugins give us a means of fusing the positive elements of each world into a new “hybrid” work environment. We can retain all of the great parts about Digital, but bring back some of what’s missing from the good ol’ days.
To make the most of these simulations and learn how to use them correctly, it’s important to understand the signal flow and characteristics of Analog gear. Let’s take a look at what a typical signal chain looks like in the analog world and break down some of the individual components involved in creating it’s sound.
D – ANALYSIS OF ANALOG SIGNAL FLOW AND GEAR CHARACTERISTICS:
Analog Signal Flow
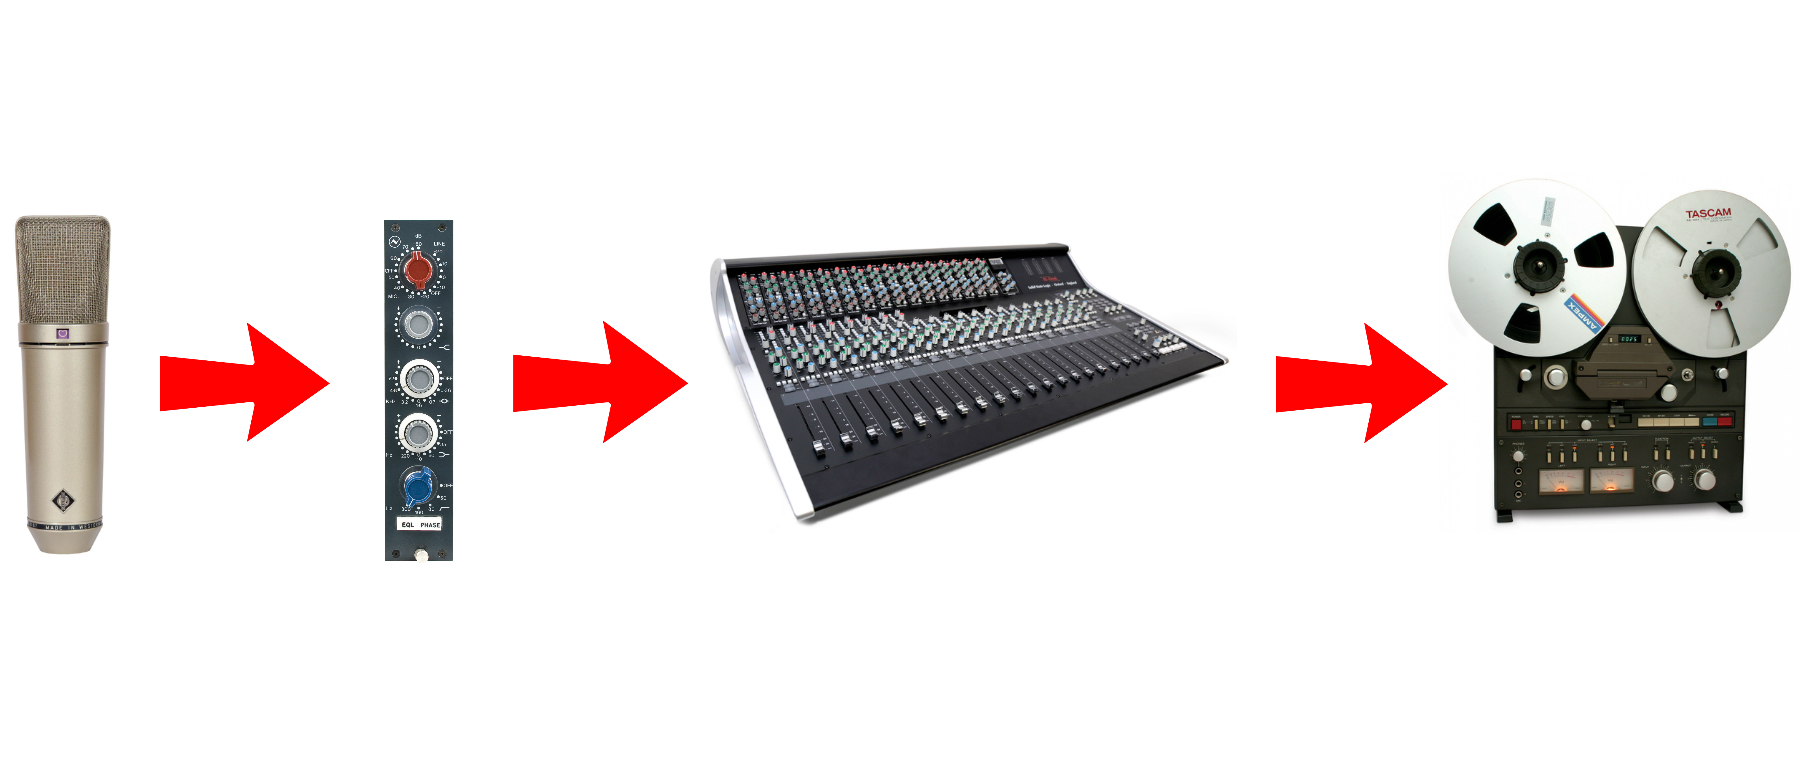
The classic sound of analog which we are used to hearing on countless albums is the result of multiple stages of saturation. Each piece of gear used throughout the recording and mixing process introduces it’s own degree of tonal shaping.
Let’s Take a Look at An Example Analog Recording/Mixing Chain:
RECORDING: Mic > Preamp > Channel on Mixing Console > Tape Machine
MIXDOWN: Channel on Mixing Console > Outboard Processing (Compressors, FX, etc.) > Mix Buss > Master Tape
As you can see in the example above, there are at least 5-6 or more stages of saturation taking place between the microphone and the master tape stage.
If you compare the fact that there’s virtually no saturation or tonal imprint being imparted by the recording interfaces and DAW’s used in modern day digital recording, to the several stages of “warming up” and “shaping” going on in the past, it’s easy to see why there’s such a difference in sound and character between the two approaches.
Analog Gear Characteristics
NOTE ON GAIN STAGING: Before you begin using any particular Analog-Simulation plugin I’d highly suggest doing some research on the recommended gain-staging guidelines in it’s respective manual. As easy as it is to improve a mix with this sort of processing, It’s just as easy to screw it up by using it incorrectly and overdoing it!
Tape Machines
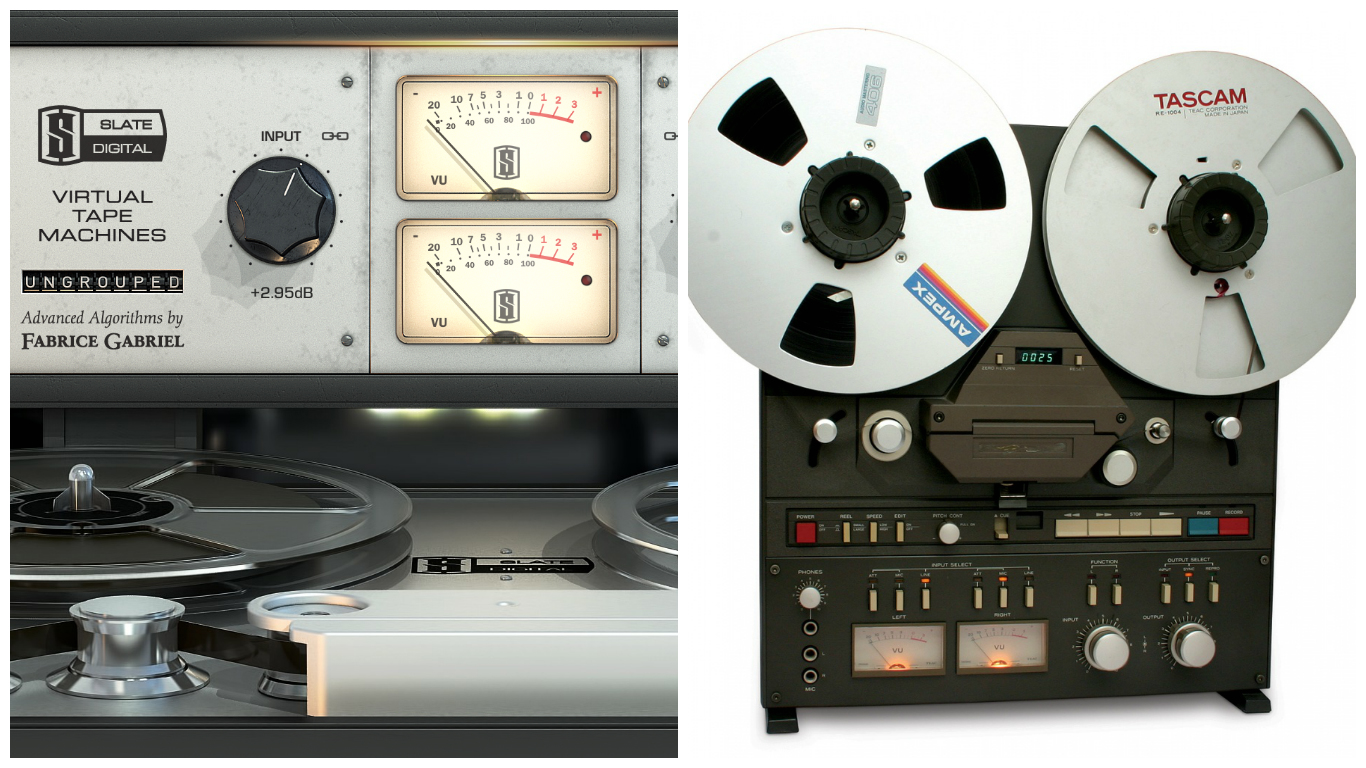
Tape machines are probably the first thing that come to mind for most people when somebody mentions Analog, and for good reason. The sound of tape had a huge impact on defining the recorded music we’ve been listening to for the past 50 years or so!
The Characteristics of Tape:
- A gentle high frequency roll-off with varying severity depending on input level, tape-speed and brand of tape used.
- A smooth low-end boost, also varying in level depending on input level, tape-speed and brand of tape used.
- Saturation which adds warmth, depth, presence, smoothness, punch and a subtle compression to the signal it’s fed.
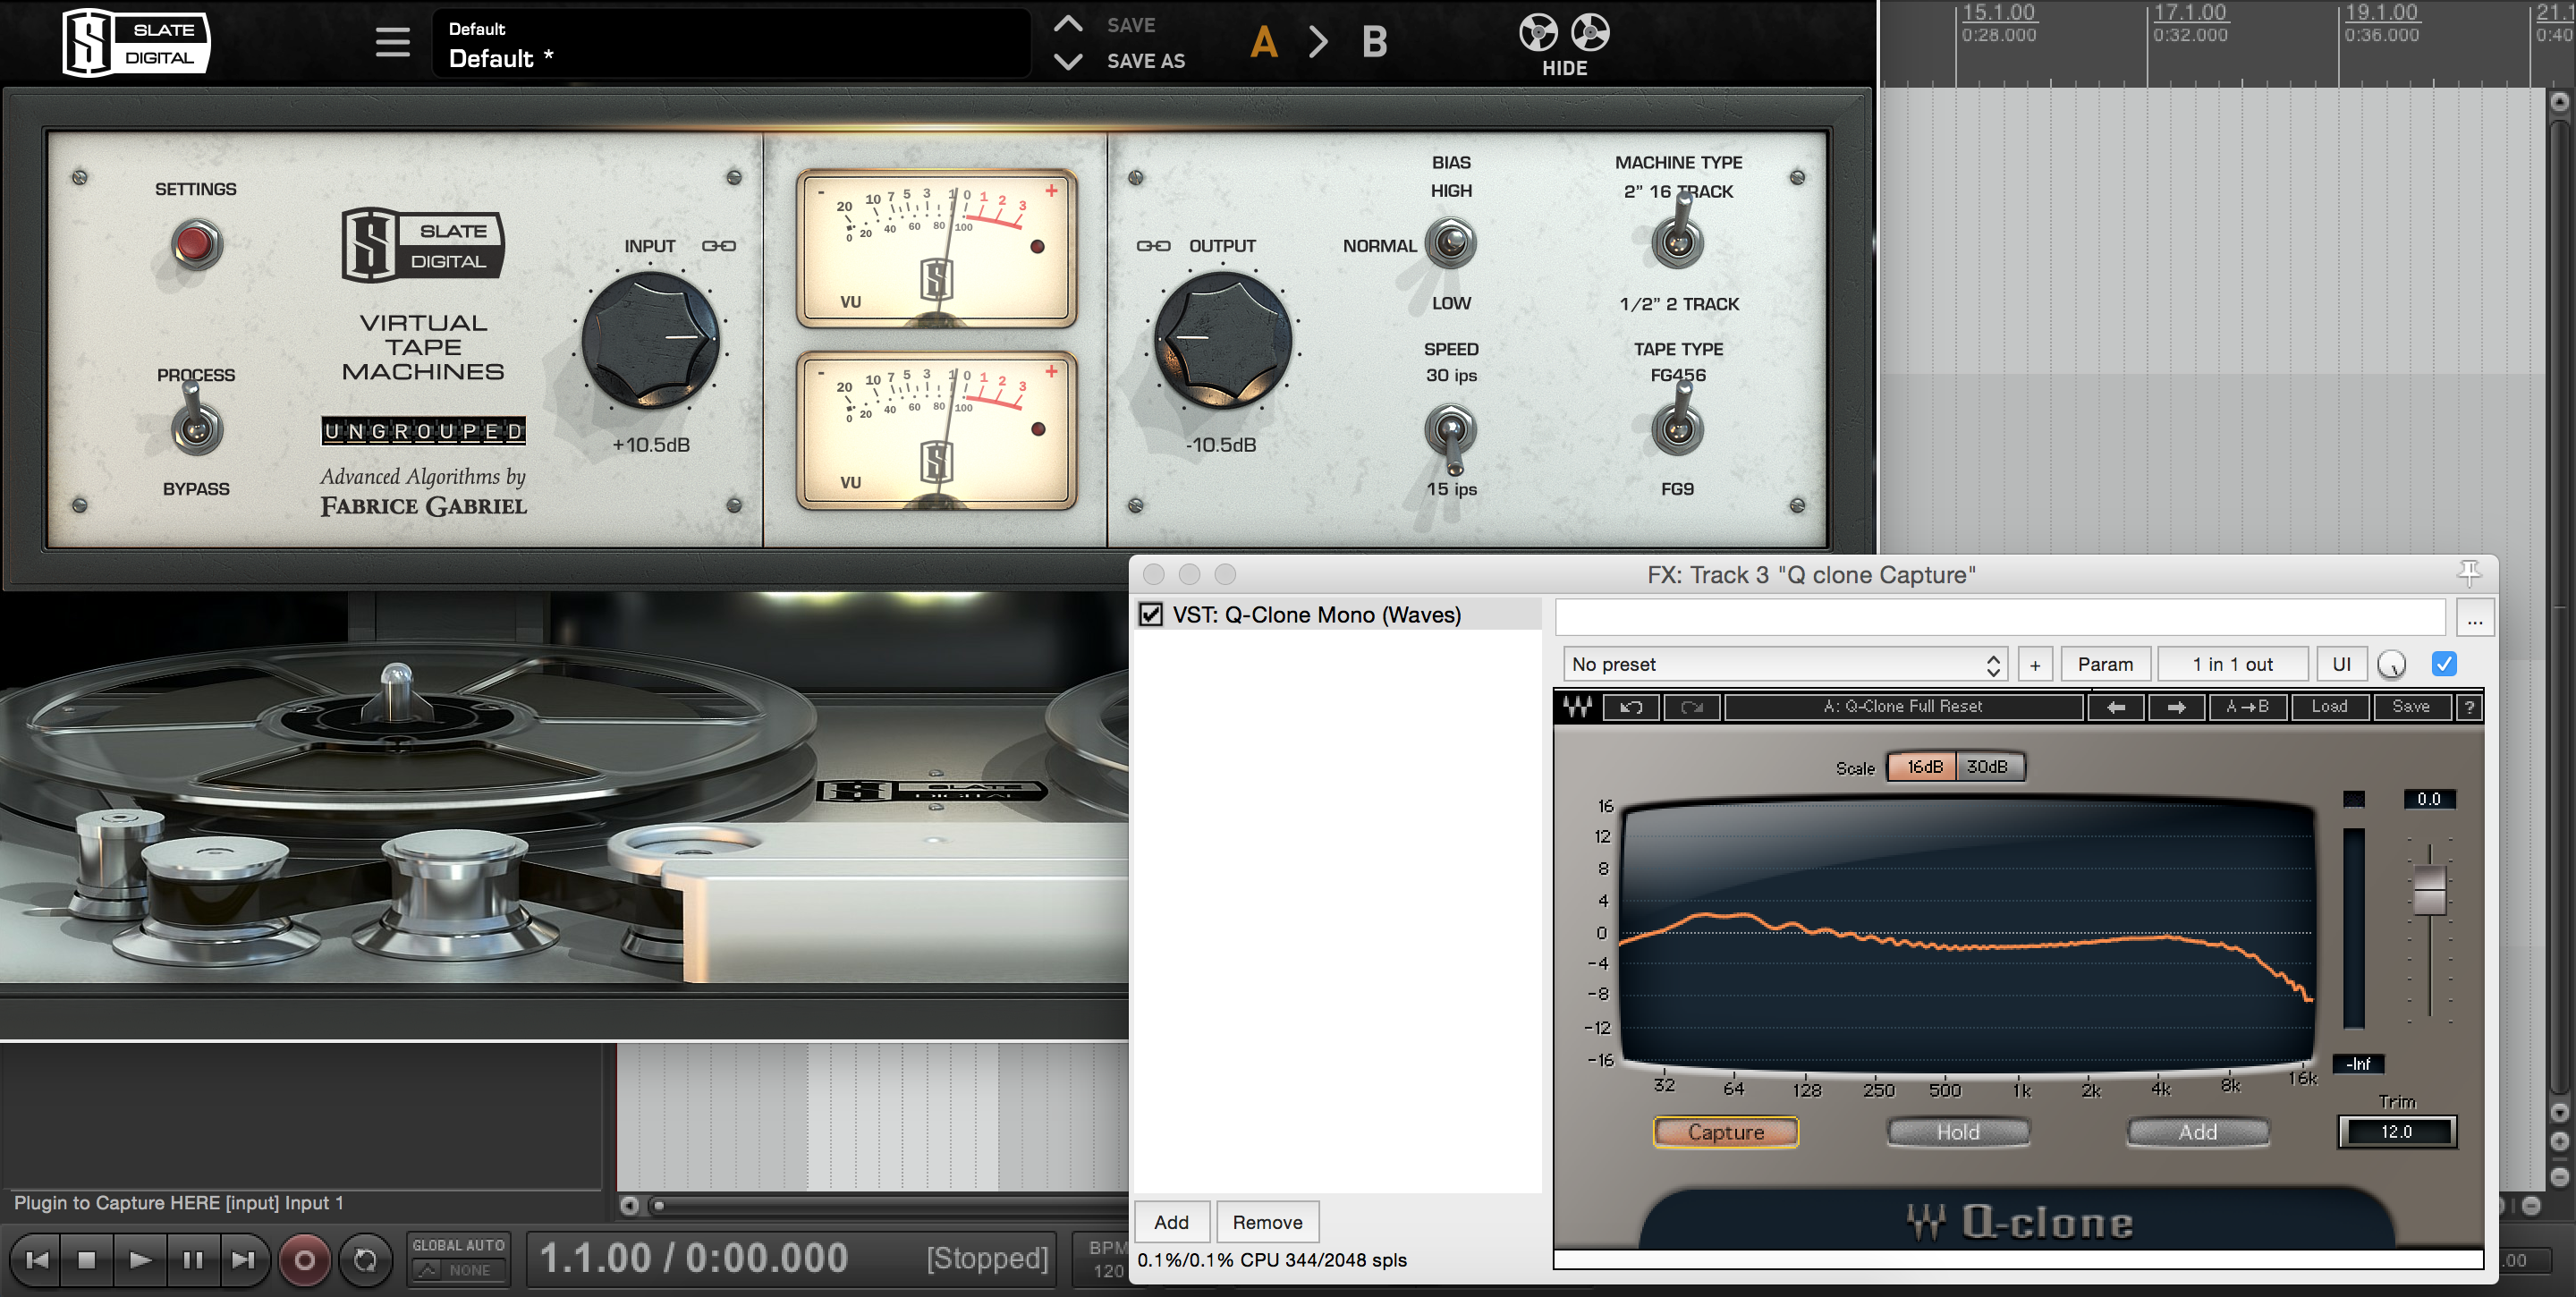
To get a better understanding of the tonal imprint that tape is imparting on your material, check out these frequency analysis on specific tape settings. I conducted these using the Waves Q-Clone & Q-Capture Plugins:
456 Tape at 15ips:
FG9 (GP9) Tape at 30ips:
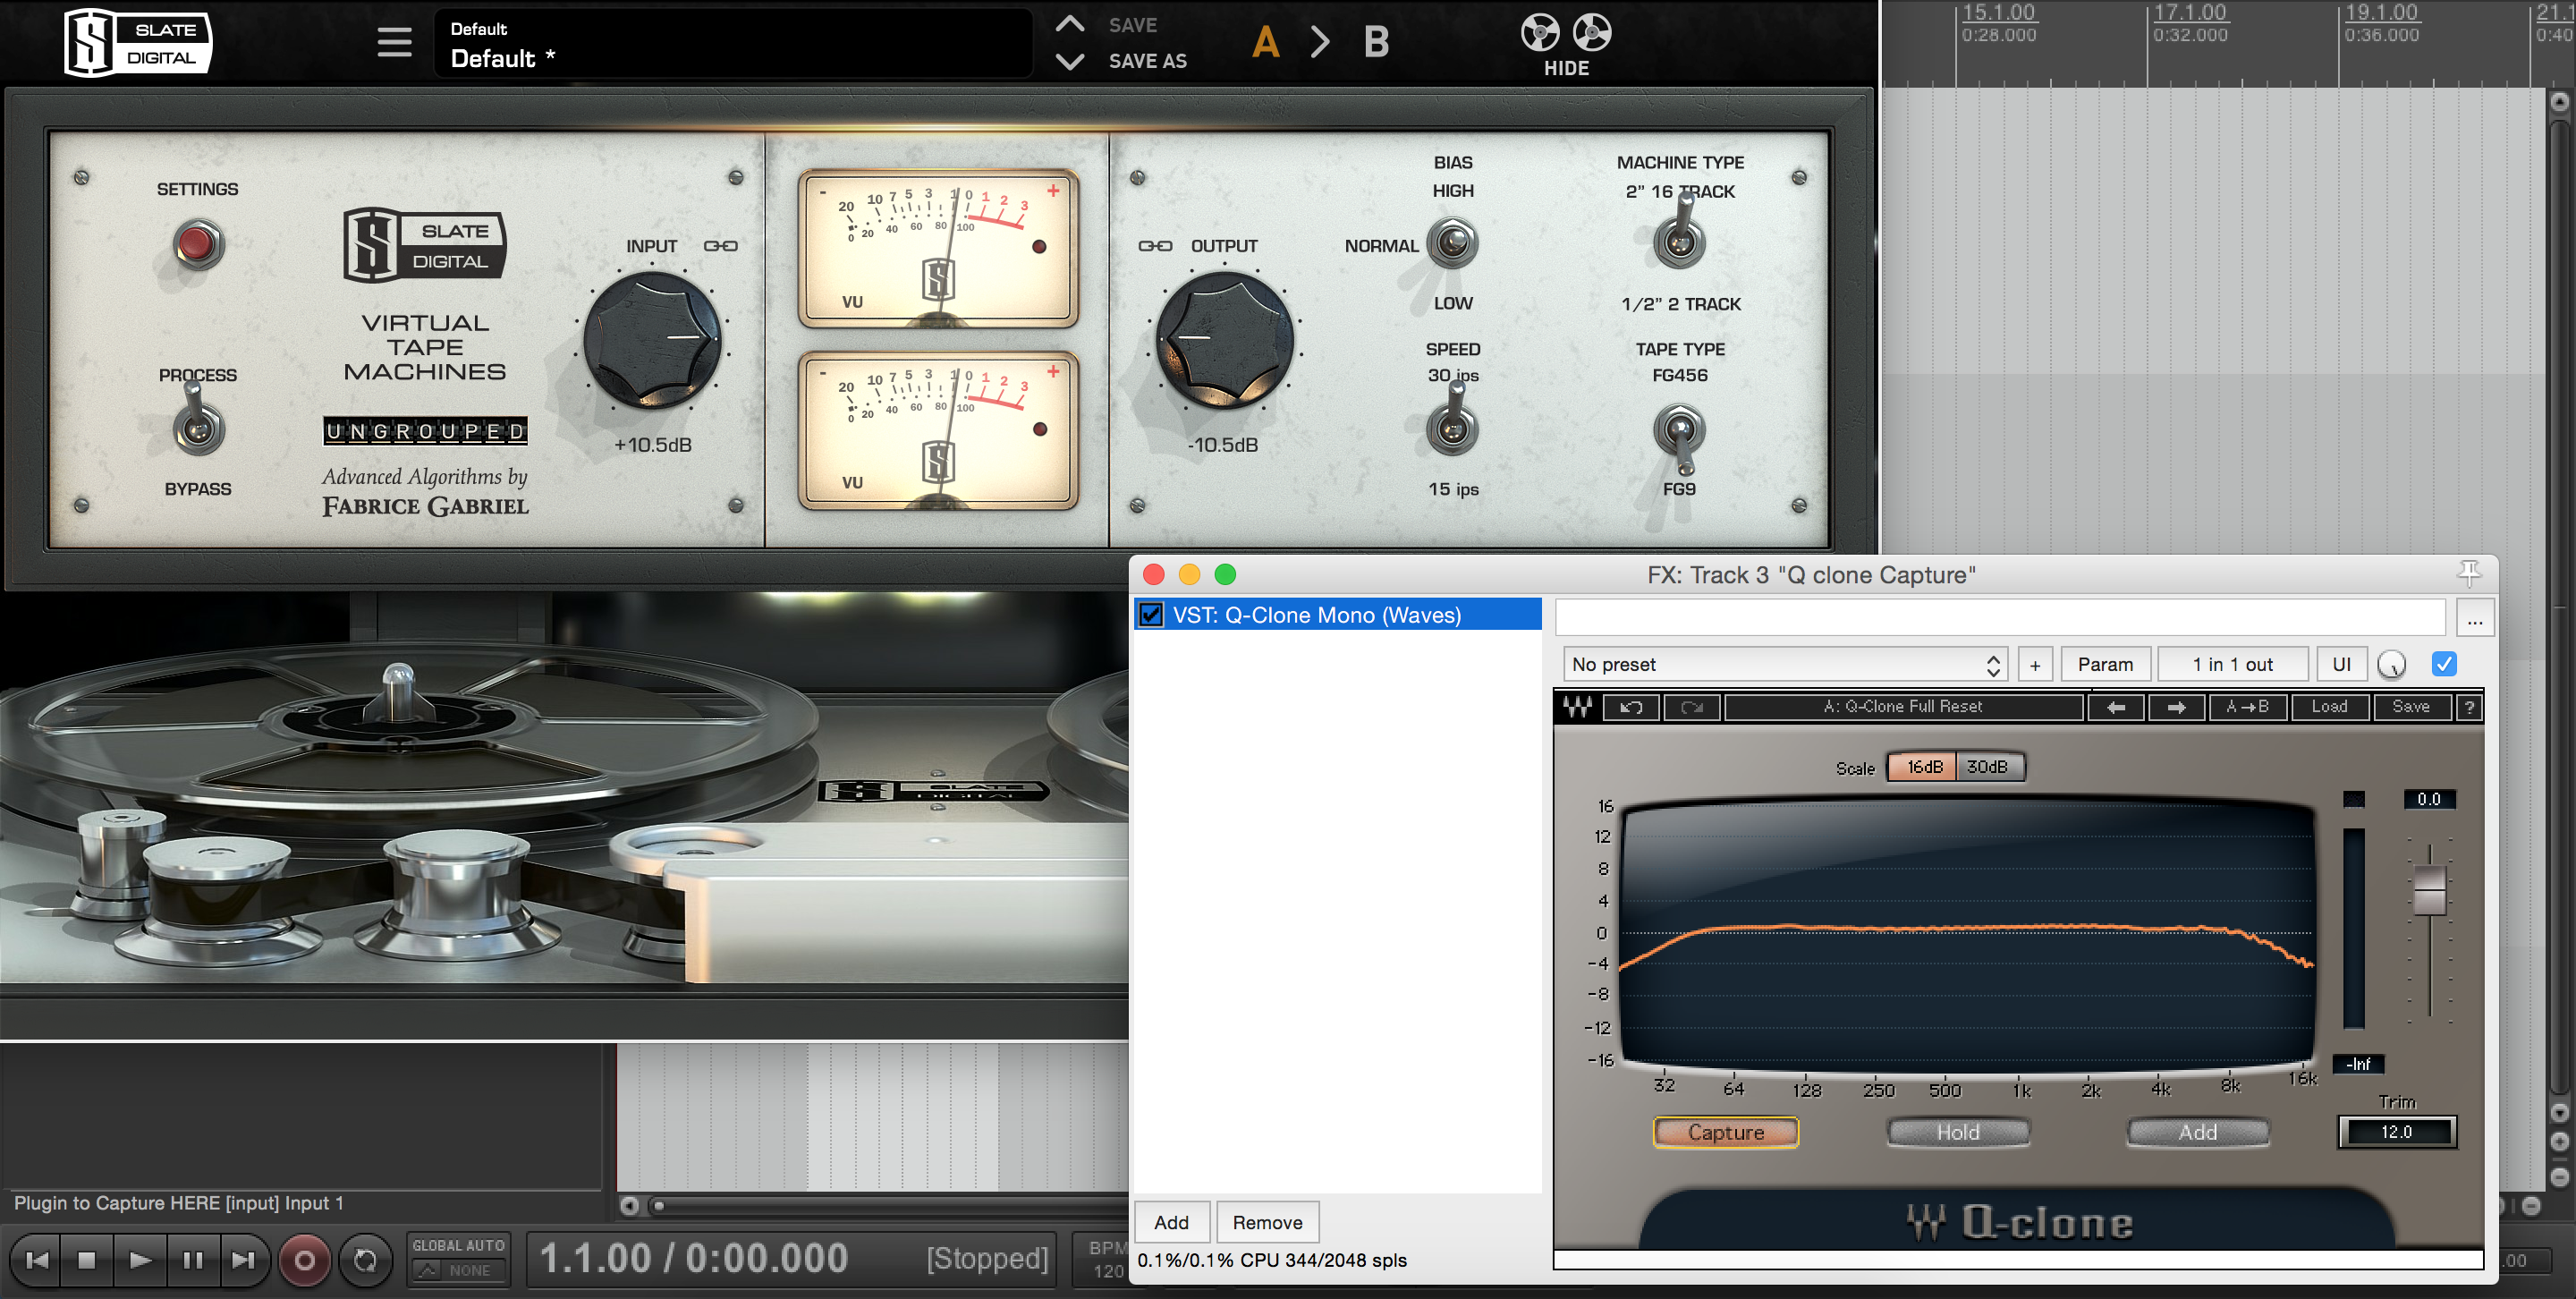
Notice how the Low-End bump and high-end roll-off are much more significant while using the more-vintage 456 tape type with a slower tape speed of 15ips, while the frequency response is much smoother using the more-modern FG9 tape type at a higher tape speed of 30ips.
Learning the characteristics and differences between each setting and tape type is the key to getting the most out of this type of processing. It can help unlock several less conventional solutions to everyday mixing problems that we’d usually attempt to resolve using a tool like an EQ.
Here are some places to try out a Tape Simulation Plugin:
- Smooth out abrasive high frequency content. For example: An overhead mic with a harsh high-end or a distorted guitar with too much fizz.
- Give a kick drum or bass guitar a nice low-end bump.
- Give an acoustic guitar a vintage tape-pushed-hard sound.
- Saturate your vocals (and anything else really…) and help them cut through the mix.
TAPE-TIP: A general rule of thumb to go by while using tape is: The lower the tape speed, the more of the classic characteristics of tape. The higher the tape speed, the cleaner the sound.
Mixing Consoles:
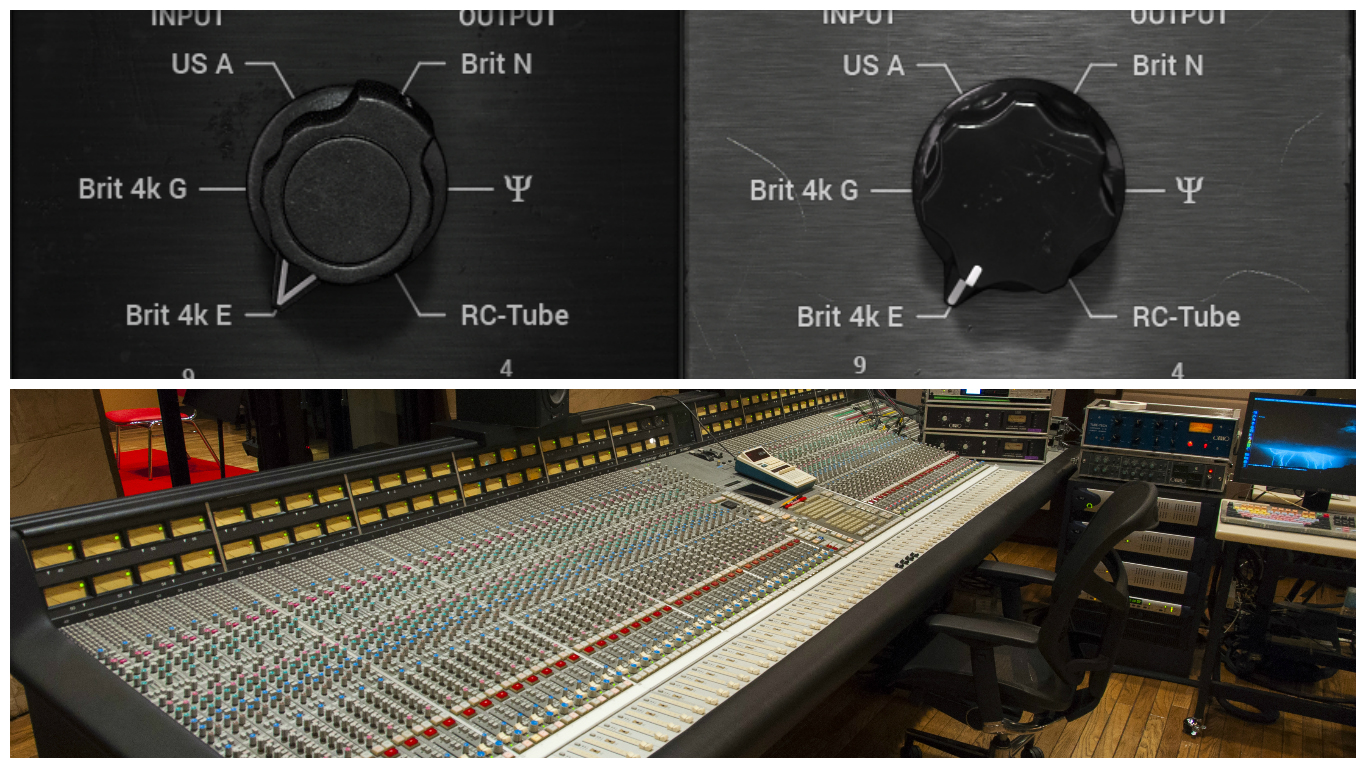
Much like tape machines, the mixing consoles being used to capture and mix audio in the past played a huge part in adding to the classic vibe of the sound.
The Characteristics of Certain Mixing Consoles:
- Neve style consoles: Thick, Saturated and Vibey. The sound of the 70s: Fleetwood Mac, Cheap Trick and Tom Petty. Great on vocals, vintage drums and driven guitars.
- SSL style consoles: A more modern and aggressive sound, quite clean and punchy – The sound of hard hitting rock. Think Bob Clearmountain (Bryan Adams, Bruce Springsteen) & CLA (Green Day, My Chemical Romance). Excellent on drums and heavy guitars.
You’ll often see and hear people talking about the “warm” sound of the classic Neve consoles. Just by running a simple frequency-sweep test we can get a pretty good idea of the actual tonal effect this kind of processing is having on our source material:
Slate Digital VCC2 On the Neve Setting:
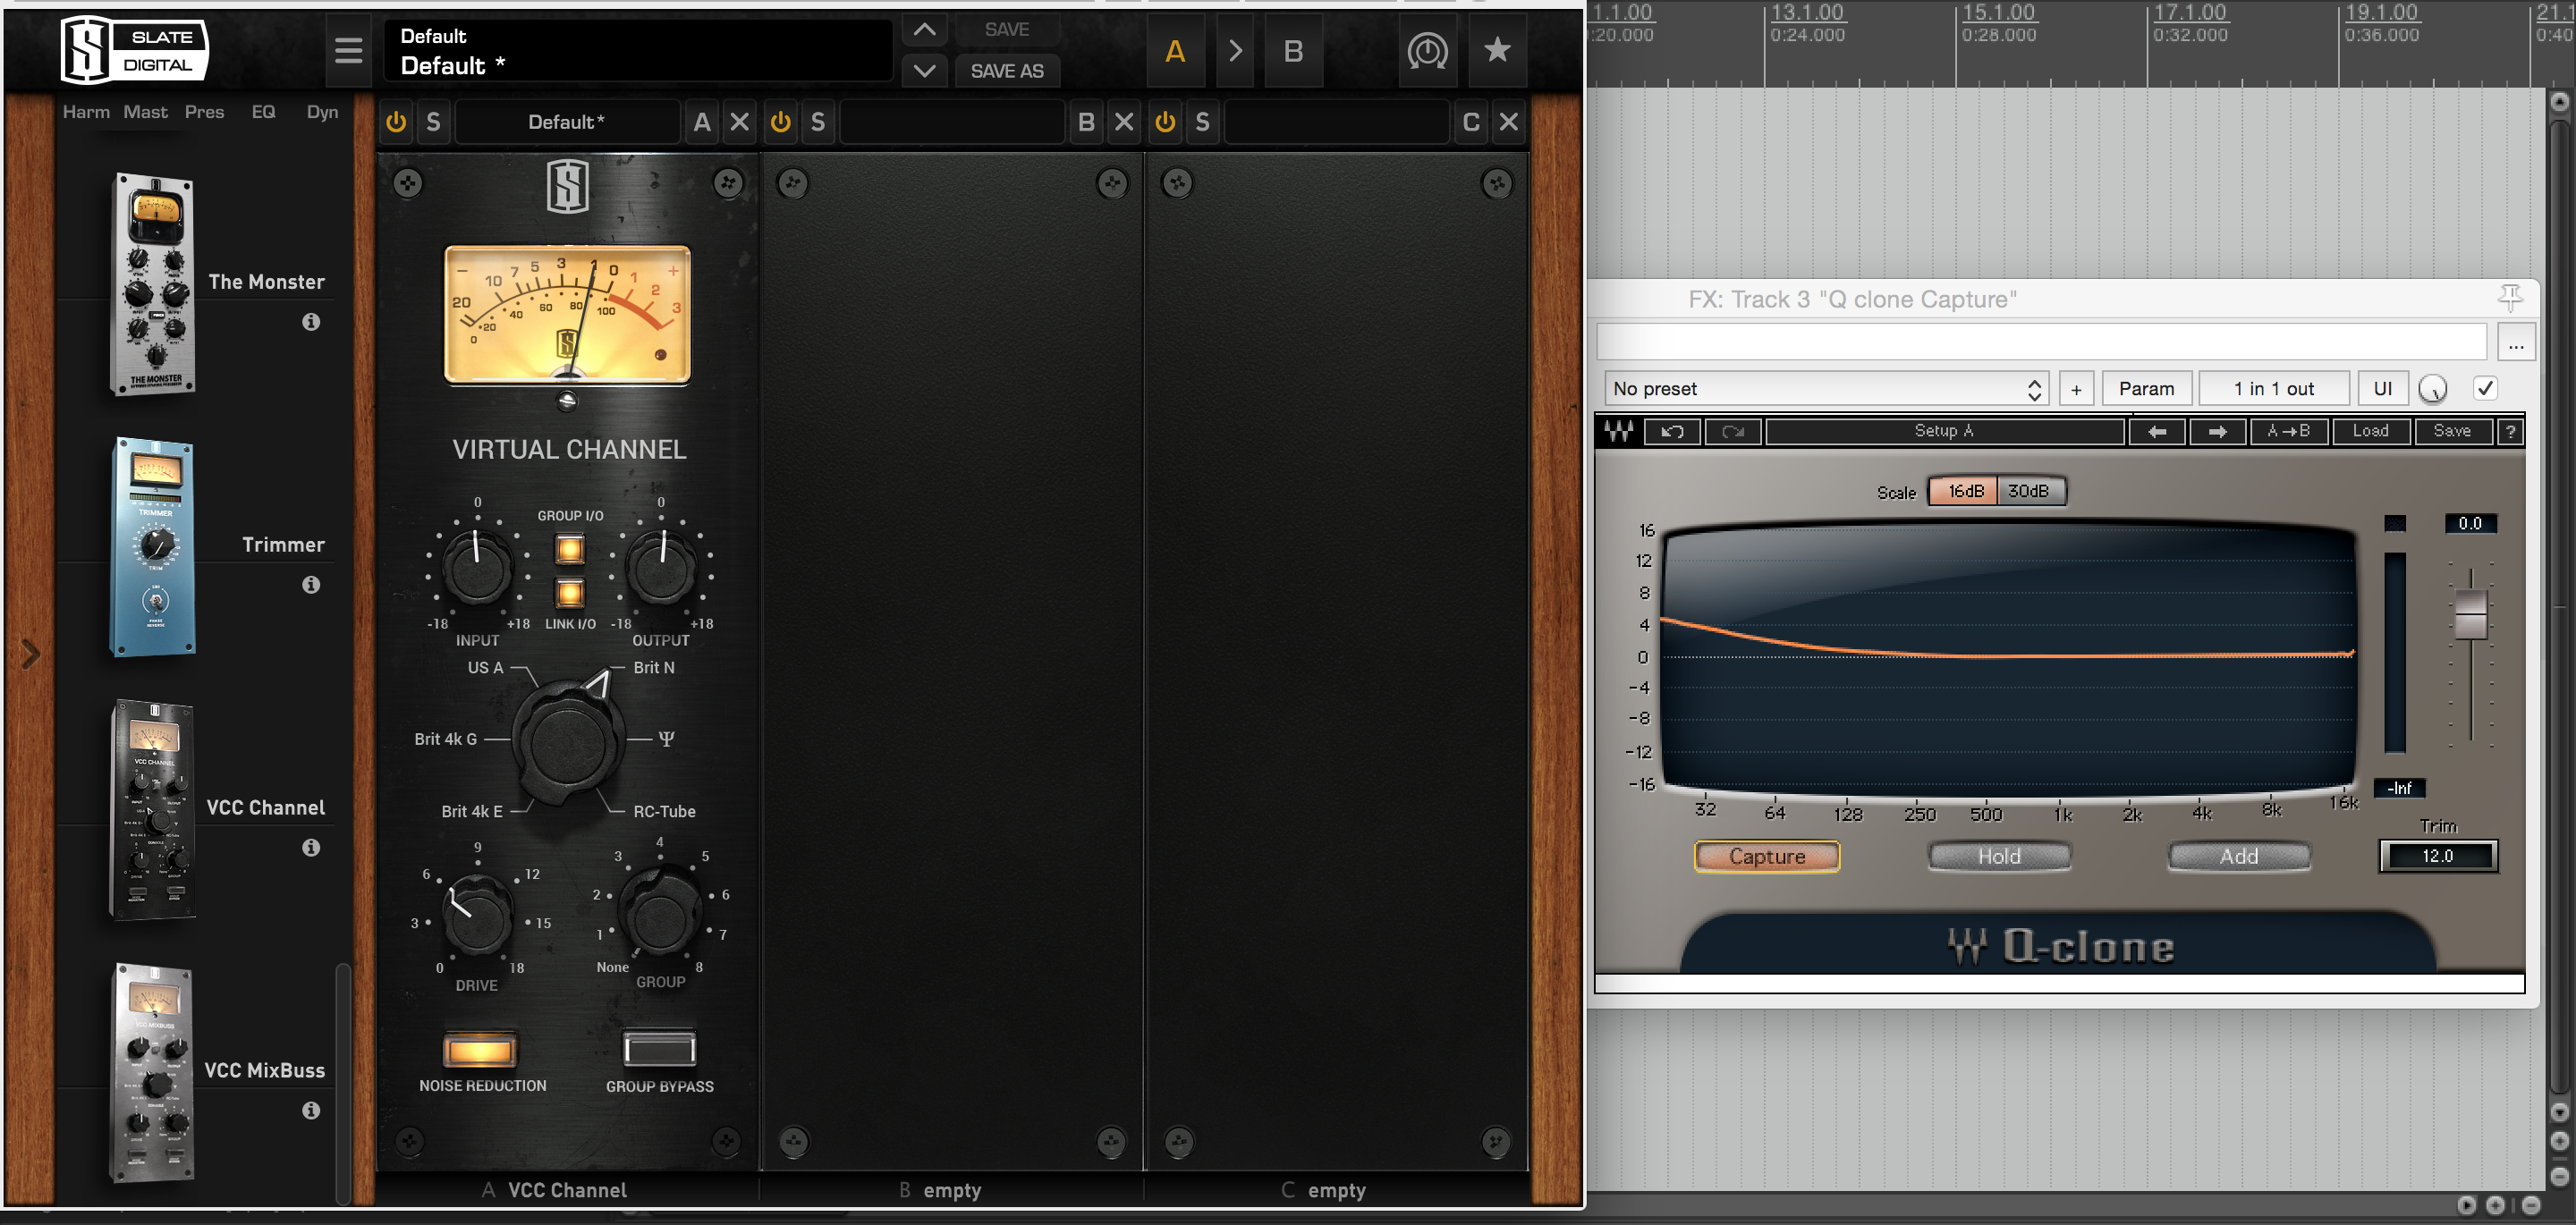
Note: It goes without saying that every desk has a unique sound of it’s own, so I won’t go into the details of every single option. To summarize the general effect that a mixing console has on the sound:
“An increase in punch, depth and warmth, added life and excitement.”
Here are some places to try out a Console Simulation Plugin:
- The cool thing about having access to so many different flavors of console is that you can mix and match different sounds depending on the source material. For example: An API on the guitars, A Neve on the Vocals and an SSL on the Drums.
- Steven Slate VCC comes with regular channel version of the plugin, as well as a MixBuss version of the plugin. Try using the channel version of VCC on your individual inputs and bussing them together into groups for further Console saturation.
- The VCC MixBuss plugin is also an excellent tool for mastering. It is a quick way to add a bit of extra glue, punch and harmonic excitement to a full mix.
Microphone Preamps:
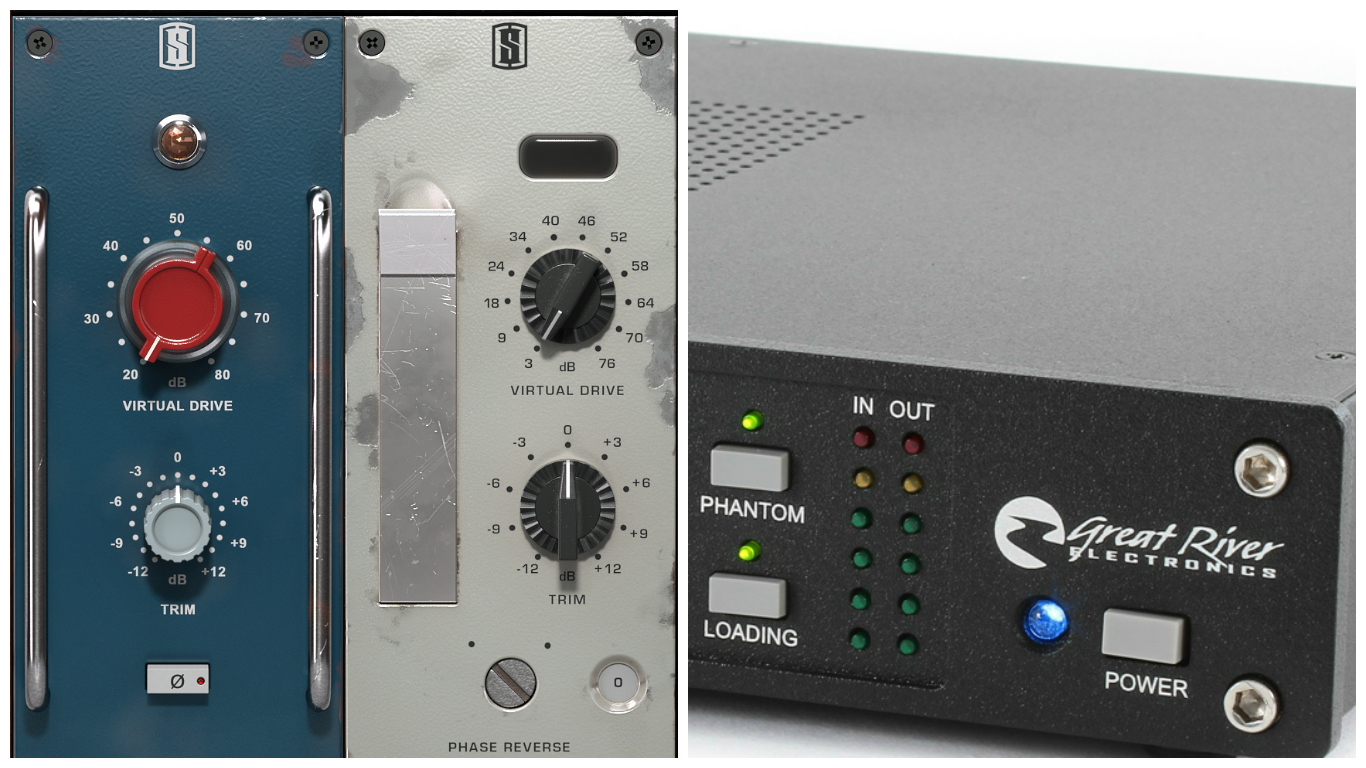
Generally speaking, the microphone preamps built-into modern day audio interfaces are very neutral eq-wise and very clean saturation-wise. These pre’s are great for capturing an accurate digital representation of a sound, but don’t really lend themselves well to producing sounds which will cut through and sit well in a dense mix.
My usual advice to people asking about which low-budget microphone preamp to buy is simple. They should just stick with the built-in options on their interface until they are in a position to actually afford a more expensive, high-quality option. The simple truth is: Owning a good microphone preamp won’t drastically improve your mixes.
Don’t get me wrong… of course a good interface will help improve the raw tones you are capturing from the get go, just not to the extent that some of the gear snobs around the audio forums would try to have you believe.
The Characteristics of Vintage Microphone Preamps:
- Added warmth, depth, punch and presence.
- Subtle saturation (or not-so-subtle, depending on usage).
- Varying tonal accentuation depending on brand, price range, etc. Ex: Neve preamps are fat and silky, API preamps are quite mid-focused and transient.
NOTE: I know that I’m beginning to sound a bit like a broken record at this point. This is simply because the characteristics I’ve listed above are the main characteristics that most high-quality pieces of Analog gear have in common.
Digital Preamp Simulation:
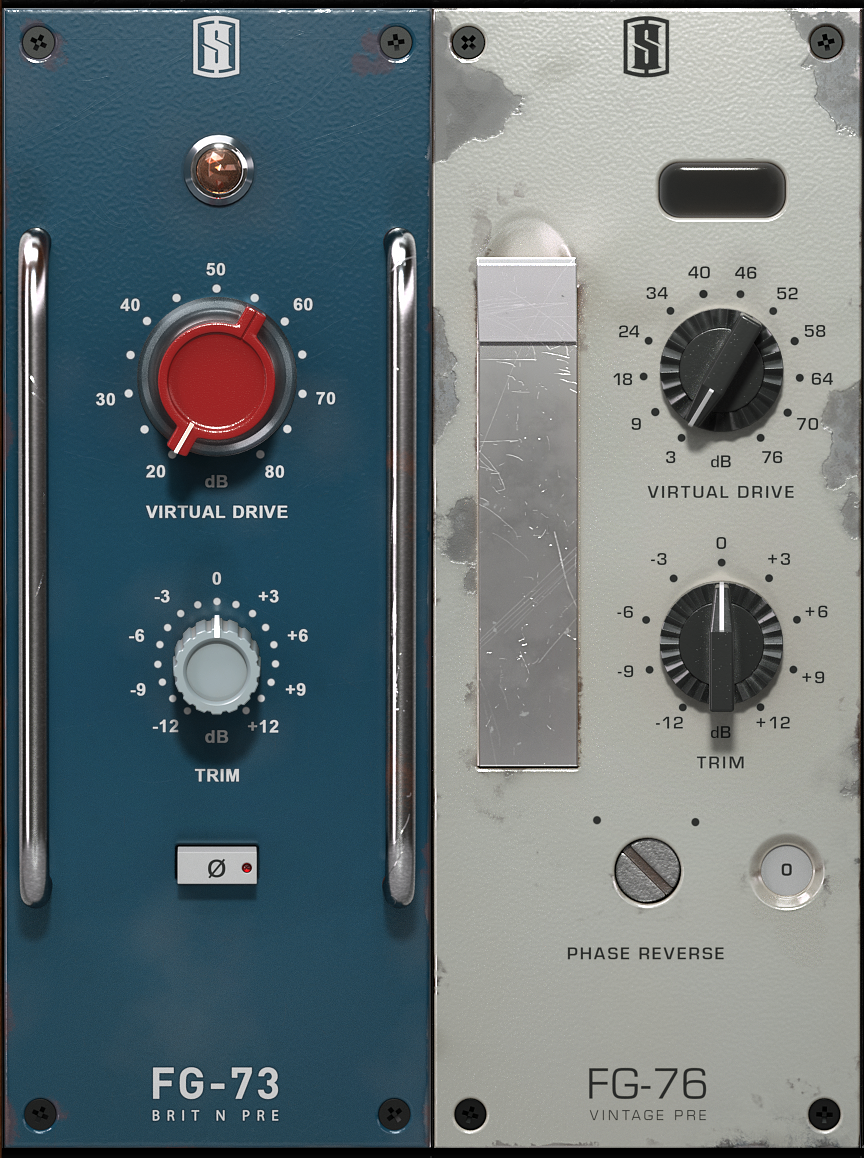
A fairly recent addition to Slate Digital’s already-amazing back catalog of amazing Analog modeling plugins is the new “Virtual Preamp Collection”.
This plugin was designed to be used in conjunction with their new “Virtual Microphone System.” Due to the fact that a lot of modern day digital audio interfaces are so clean and transparent, it also serves as an amazing tool for spicing up some otherwise very-clean sounding “straight into the interface” recordings during the mixing process.
Ever since I got my hands on this plugin last year I find myself wondering “Why do I need to spend thousands on tons of external preamps again???” I’m sure a lot of other people are also thinking the same thing. It’s truly a testament to the quality of product which the guys at Slate are delivering recently.
NOTE: I’d highly recommend giving VPC, as well as the other Slate Digital plugins a go. They are extremely affordable and provide what I believe to be the best analog simulation options available on the market today.
Some Final Words on Analog/Digital:
The truth is, Analog was never perfect and neither is Digital… It’s our job as engineers to research, experiment, learn and do whatever it takes to figure out and develop methods of reaching the sounds we envision in our heads.
As I’ve mentioned before in my previous Blogs, and is mentioned frequently by the awesome guys at URM and their guests: It’s not about the gear you use, it’s about the way you use it.
CONCLUSION:
This concludes my article on “Making Digital Sound Analog”.
I hope you’ve enjoyed this article and possibly gained something through reading it. Make sure to share this with your friends and feel free to leave comments or questions in the section below.
Want mix tips from URM Academy? Read them here!
 Nail The Mix is our online mixing school that gives you REAL multi-tracks from REAL bands, plus a mixing class from the producer who recorded it. Past guests include Periphery, Chelsea Grin, Machine Head and State Champs. Join now for instant access!