Make Your Recording 50% Better With These 5 Tips (Part 1)
Read Part 2 Here
There are so many different elements that go into making a good recording that we can often forget the importance of getting the fundamentals right. Here are 5 important back-to-basics things to consider before you dive head-first into your next recording session.
1 – Headphone Monitoring Tips While Recording:
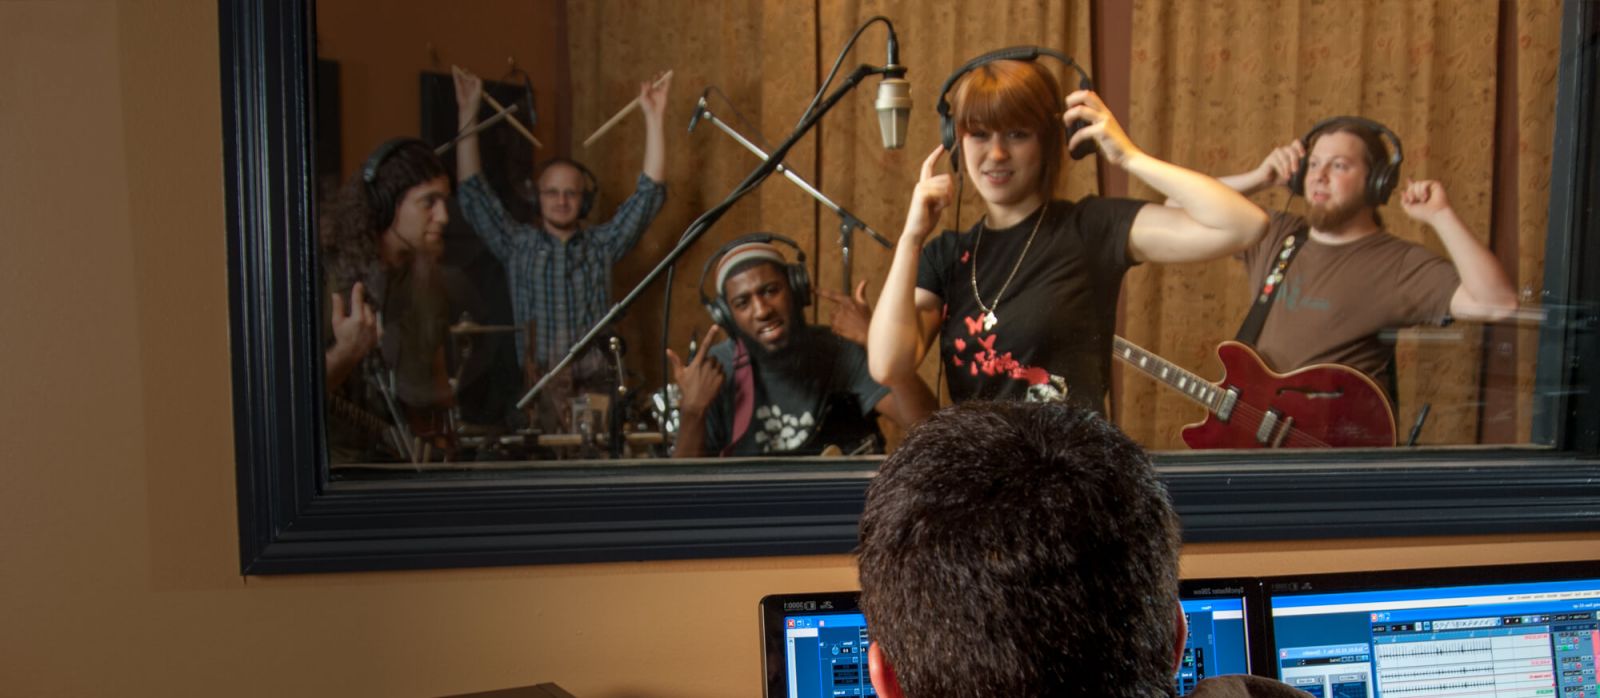
Capturing a great performance isn’t just about having the best gear, microphone placement, room or musicians… it’s also about enabling an environment in which the musician being recorded can perform comfortably and to their full potential.
An important factor in supplying this level of comfort is the headphone mix:
During a session, we often get so caught up in the sexier technical aspects of the process that we neglect to really nail the basics. Because of this, something as simple as setting up the headphone mix for a vocal recording session can end up getting skimmed over. In certain cases, this can lead to problems during the recording process.
Things To Consider When Setting Up A Headphone Mix:
Unfortunately there isn’t really a cure-all headphone setup that’ll work perfectly every time for every musician. However, here are a few scenarios that you might encounter and some methods you can use to get around them:
- Issue 1 – Vocals Too Loud/Too Low: If the singer’s voice is too loud in their headphones, they can often end up giving a softer (and often less-in-tune) performance to try and compensate. On the other hand, if the singer’s voice isn’t loud enough, they might end up straining their voice while struggling to hear themselves. They will end up compromising their pitching ability or fatiguing themselves too quickly in the process.
- FIX: Neither of these situations are ideal, as they can lead to a loss of confidence and a certain level of discomfort from the get go. It’s important to be able to detect and address these issues early on in the recording session in order to ensure the best takes.
- Issue 2 – Headphone Pitching: Some inexperienced singers will find it difficult to pitch accurately while wearing closed-back headphones. The main reason for this is that they are simply used to hearing their voice naturally without amplification.
- FIX: In this situation, getting the singer to record with one side of the headphones on and one side off can help them to maintain a certain level of comfort and in return aid their ability to pitch correctly. Using open-back headphones can also help resolve this pitching issue, as they allow for more of the natural vocal sound in the room to reach the singer’s ears unobstructed.
NOTE: It’s important to take the amount of bleed being introduced into consideration before using either of these methods. After all, this is the main reason why closed-back headphones are usually preferable for recording in the first place.
- Issue 3 – Click Tracks: Certain musicians will find it difficult to record with a quarter note click track and end up pushing and pulling too far in their performances.
- FIX: If I feel the musician is having a hard time keeping the beat, I’ll write in a simple 8th-16th note drum groove or shaker pattern for them to vibe off of alongside the click. This usually does the trick, and will tend to result in instantly tighter performances.
- Issue 4 – General Headphone Balance: Often the person you’re recording will want to hear every single instrument and tiny detail in their phones while recording. This isn’t always the best idea, as it can end up hindering their ability to hear themselves clearly and pitch accurately.
- FIX: This is a tricky one, as the ideal headphone mix will change from musician to musician. By all means, if they “desperately need” a particular element in order to deliver a great performance, then try and cater to their needs. It’s often a better idea to simply give them what is really necessary for them to perform at their best. In the example of a vocalist’s headphone mix, I find that the most important thing is making sure they have a clear and accurate timing element to follow and a perfect point of pitch reference to work with at all times. Anything else is ear candy and should be added as needed.
Obviously this list could go on for ages… but the main point which I’m trying to get across with this topic, is the importance of really paying attention and being aware of what’s going on the during recording process. Don’t just sit back and go through the motions.
2 – Utilising Microphone Polar Patterns & The Proximity Effect:
Most sound engineers and producers own multiple microphones, but do they really understand some of the key features they have to offer?
The room being used and the microphone placement within that room both have a huge impact on the quality of recordings a microphone will produce. Knowing how to make the most of your microphones by utilizing the proximity effect and thie polar pattern adjustments will go a long way towards improving the raw tones you manage to get out of them.
What is the proximity effect?
While using a directional microphone of any kind, the bass response of the capsule will be altered depending on it’s distance to the sound source. As the microphone is moved closer to the sound source, the level of bass the microphone picks up will increase disproportionately to the rest of the frequency spectrum. This is called “The Proximity Effect”.
NOTE: Don’t think of the proximity effect as a good thing or a bad thing, simply think of it as a tool which you can use to get closer to the sounds you’re after.
Microphone Polar Patterns:

A lot of engineers start out with a vague, surface-level understanding of polar patterns at the beginning of their engineering careers, and tend to stick to using a certain setting for a while from that point onwards. Understanding when to use a specific polar pattern for it’s creative and tone-shaping benefits can really help in capturing more mix-ready sounds from the beginning. This will reduce the amount of additional processing needed later on.
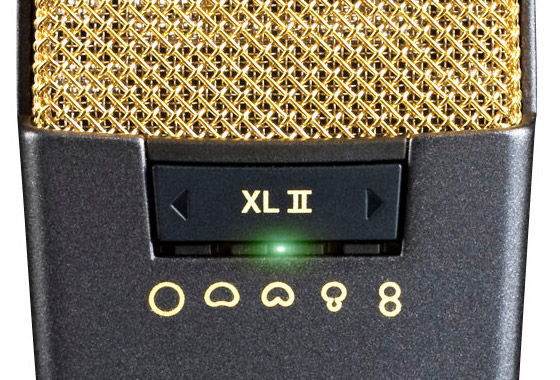
Meet The Polar Patterns:
Omni: An omni-directional microphone will pick up sound information at equal strength from all directions. NOTE: Since microphones set to Omni are no longer directional, they are completely unaffected by the proximity effect.
Figure 8: Probably the least used microphone polarity option of them all. As it’s name suggests, this pattern will capture audio in a figure of eight pattern with the capsule being the center point of the eight. This pattern can be useful when extreme side-rejection is required. NOTE: The Figure 8 pattern has the strongest proximity effect of the polar patterns.
Cardioid, Super-Cardiod & Hyper-Cardioid: These polarity patterns are the go-to “standard” which get used the most for Studio and Live applications. The main reason for this is that they offer great room & feedback rejection due to their front-only pickup radius. The severity of the “focus” and rejection characteristics for each pattern can be seen in the diagram above.
Example Uses for Each Polarity Pattern:
- Try using the Omni setting on a close mic’ed instrument such as an acoustic guitar in order to reduce the low-end boominess caused by the proximity effect.
- Try using two Figure 8 microphones while recording a singer/songwriter who’s playing guitar and singing simultaneously. Aim their null sides accordingly to gain maximum instrument separation and minimal bleed in each microphone.
- Try using an Omni setting when recording an instrument or performance which covers a large/wide space within a room. EX: A choir or orchestral quartet.
- Try using the Figure 8 Pattern to benefit from the added proximity effect on an instrument or singer which sounds too thin.
- When trying to capture a really dry and direct sound you’re probably best off sticking to one of the Cardioid pattern options, as they do a great job of partly removing the room out of the equation.
NOTE: It’s important to take into account the quality of room you’re working in before opting for any of these techniques. It will have a huge impact on how well they work. Using omni or figure 8 in a poorly treated room can cause for some nasty reflections and frequency build-ups. You’re probably better off just sticking to a narrower polar pattern in such an environment.
To sum this section up in one sentence: “Experimentation and comparison in your own room is the key to making the most of your microphones”.
3 – Don’t Set & Forget; Focus & Fix!

As young engineers starting out, we all tend to fall into the same trap of searching for “the best settings” for everything. Although there are definitely better and worse ways of doing things, somebody else’s “best” setting is very relative to the source material they are working with, and often too subjective to their tastes to be the “right” setting for YOUR recordings…
It’s easy to get into a habit of doing the exact same thing for every recording session, even when the source material and gear being used in a particular session is completely different than the one that came before it! Although research into the best methods of doing things can take you quite far, paying attention to every detail and adjusting your setup on a project by project basis in a more proactive manner is the real key to getting your raw tracks as close to a finished product as possible.
Here are a few brief examples of some common “Focus & Fix” issues I’ve encountered in the past:
- Issue 1: Less experienced vocalists will often move around too much while singing, and in return leave you with a tonally inconsistent performance to work with. If you notice that this is the case during recording, try and take some counteractive measures to combat the problem at the source.
- The Fix: These measures can be as simple as moving the lyrics sheet, telling the vocalist to sing up-close to the pop shield, or in some extreme cases, getting them to record into a handheld microphone instead (Randy Blythe from Lamb of God is known for recording with a handheld Shure Sm7B).
- Issue 2: Sometimes various riffs or parts played on an electric guitar can cause unpleasant high-frequency ringing noises from behind the bridge or after the nut. When using high-gain tones these sounds can get amplified in volume to a point where they are quite obvious and annoying in the mix. If you notice that this is the case, there is a simple trick which you can use to eliminate the problem quickly.
- The Fix: As lame as it sounds, squeezing a small piece of soft foam or fabric between the strings and the wood of the guitar at each of the points I mentioned above can do wonders in deadening these ringing sounds and cleaning up the riff nicely.
These are just a bucket full of examples in a sea full of possible issues you might encounter during recording, but you get the point… Having a “Focus & Fix”, “attention to detail” attitude at the beginning of a project, rather than a “Set & Forget” or “Fix it in the Mix” attitude is one of the main reasons why guys like Adam “Nolly” Getgood manage to capture such amazing raw tracks for their productions.
“Start paying more attention, and you’ll be well on your way towards becoming an audio recording powerhouse”
4 – Vibe vs Technical Perfection:

There’s a fine line between “musical” sounding perfection and “robotic” sounding perfection.
I’ll admit that I’m often guilty of scrutinizing over, and trying to fix performances to the point that they start to lose all of the life and feel they once had. Don’t get me wrong, of course there’s huge value in tight playing and tuning awareness, but it’s important to be able to differentiate between capturing a well-played performance which accurately portrays the unique qualities of the musician, and neutering it to a point where it begins to sound like a collection of lifeless notes and chords strung together.
Here are a few short tips towards maintaining the vibe and realism in a recording:
- Try and determine the Unique selling point of the musician you’re recording and preserve the things that make them recognisable. In other words: “Be careful not to edit out all of the character!”.
- If a musician comes to you with “their sound” don’t automatically try and convert them towards “your sound”. Instead, try and figure out what it is they like about that particular sound, and work together with them to improve or adapt it to fit better in a mix.
- Some bands are built for the stage, and perform at their best when vibing off of each other in a live environment. In a situation like this, it might be worth considering tracking them live in order to preserve that certain “magic”. (If they’re good enough to pull it off of course…)
NOTE: For the perfect example of a band which can pull of amazing album-ready live recordings in the studio, look no further than the new Meshuggah album. Also, check out this awesome video which Sound on Sound did with grammy-award-winning engineer Vance Powell, where he mixes an awesome rock band which he recorded live. https://www.youtube.com/watch?v=qsAGtM9YaG8
The truth is, a lot of our favourite classics from the 60s, 70s, and 80s are full of “mistakes”. I’d argue that these “human imperfections” are part of what makes the songs memorable or accessible to a broad range of listeners. I’m sure that a lot of the most successful producers who worked on them also knew that this is the case.
Keep this knowledge in mind the next time you begin recording a project with an artist, and remember:
“Knowing when to leave things alone is just as valuable as knowing when to fix things.”
5 – The Importance of Communication in the Studio:
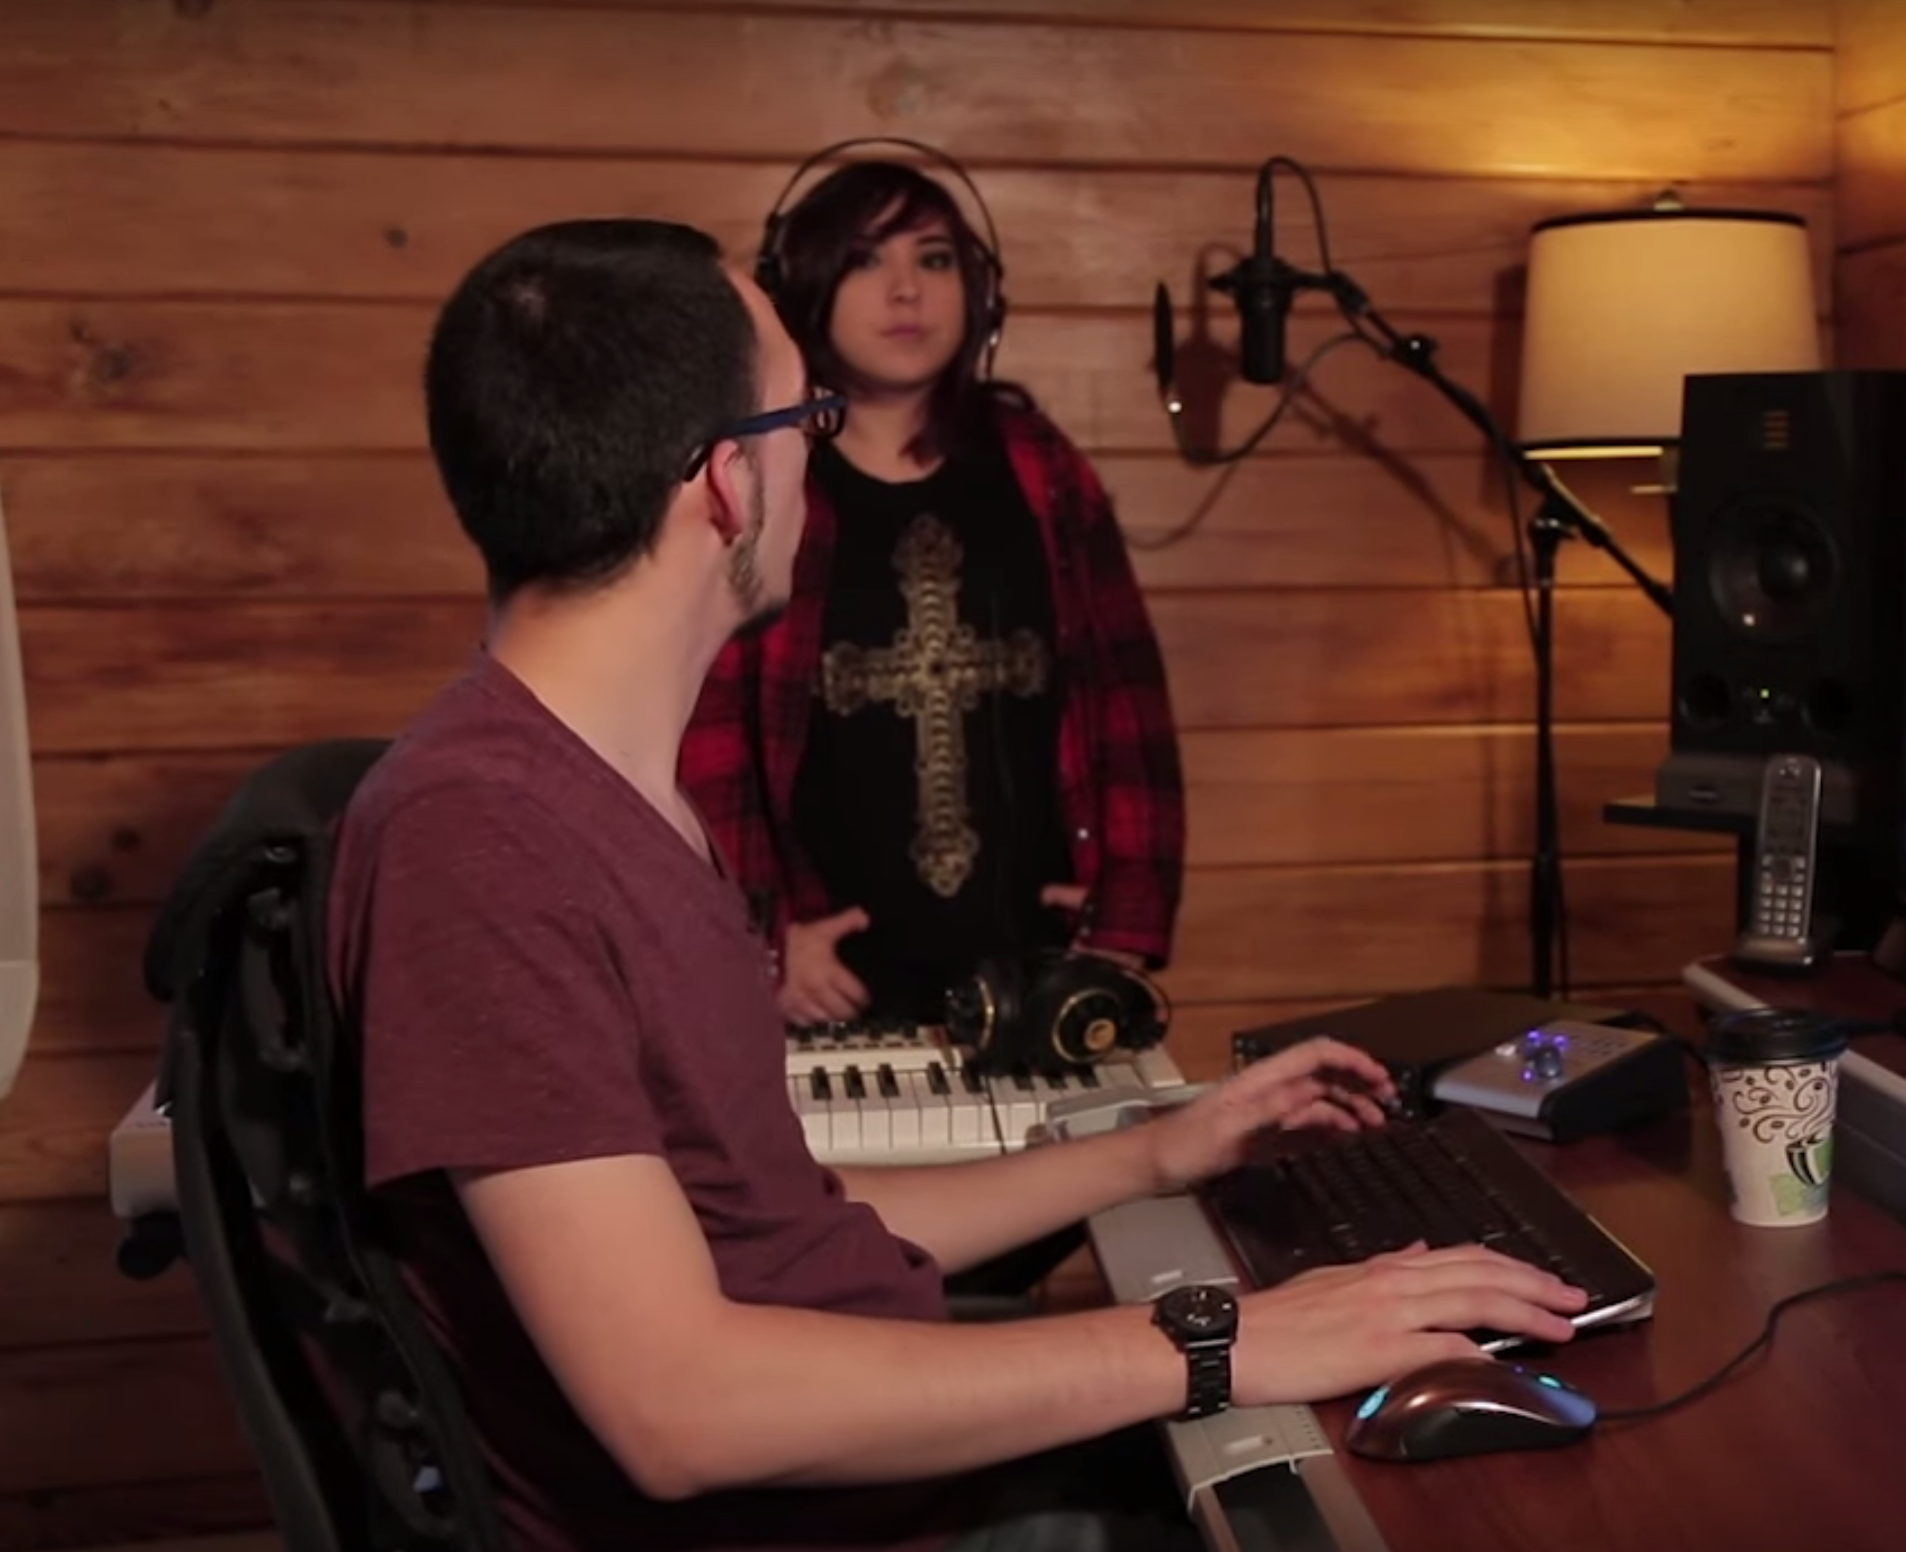
How you choose to communicate with the musicians you’re working with in the studio can make or break their performance.
Doing hundreds of takes of the same thing and using sentences like “let’s do it again” or “just a few more tries” between each one doesn’t really give the musician any clues as to why their performances aren’t good enough, and can often lead to frustration and a loss of confidence as a result.
I’m not saying that you should lie and tell them what they’re doing is amazing when it isn’t… I’m simply pointing out that there are multiple ways of telling somebody that they need to change something in order to improve, and some of these ways are more helpful and constructive than others.
Here are some basic examples of choosing the right words in order to coax the best performance out of a musician:
- If a certain section isn’t working, instead of bluntly saying “this isn’t working”, try saying something in the lines of “let’s try giving this other idea a go”.
- Instead of making damning statements about the musician’s ability like “your timing is off” or “your pitch isn’t great”, try and point out the particular words and notes you think could be better and give them some constructive pointers on how they can be improved.
- There’s also a lot of value in letting the musician know when they’ve done an awesome job. Simple words of encouragement such as “that take was awesome” or “I love that *insert action here* you’re doing” can go a long way towards building their confidence, and often produce instant practical results on-the-spot.
I know that some of these tips might seem obvious, but I find it intriguing how something as simple as the language you use while communicating with the person you’re recording can set the course for the quality of the entire project. In conclusion:
“Pay close attention to the language you use in the recording studio and consider the effect your words are having on people’s performances!”
FINAL WORDS:
This concludes “5 Tips & Tricks to Try Out in Your Next Recording Session”. I hope that this article has given you some new ideas to try out during your next project. Be sure to let me know in the comment section below if any of this information has helped you out, or if you have any further questions regarding anything I’ve talked about here.
Stay tuned for more production and mixing related articles in the not-so-distant future!
Want mix tips from URM Academy? Read them here!
 Nail The Mix is our online mixing school that gives you REAL multi-tracks from REAL bands, plus a mixing class from the producer who recorded it. Past guests include Periphery, Chelsea Grin, Machine Head and State Champs. Join now for instant access!