urmadmin, Author at Unstoppable Recording Machine - Page 26 of 45

BRAD BLACKWOOD: Mastering Across Genres, The Loudness Wars, and Getting Paid Upfront

Brad Blackwood is a mastering engineer with a seriously diverse credit list. He’s handled massive records for artists like Maroon 5, Korn, Lamb of God, and The Black Eyed Peas, showcasing his ability to move seamlessly between genres, from heavy metal to bluegrass. He founded his own studio, Euphonic Masters, in 2003 after getting his start at Ardent Studios in Memphis.

In This Episode

Brad Blackwood of Euphonic Masters stops by to drop some serious knowledge on the art and business of mastering. He explains how he’s managed to avoid being pigeonholed into one genre and why his fundamental approach remains the same whether he’s working on metal or pop. Brad gets into his core philosophy of efficiency and objectivity, emphasizing that a mastering engineer’s greatest tools are a fresh perspective and an accurate room, not just fancy plugins. He gives his take on the loudness wars (spoiler: they’re not over, and it’s often the artists driving the volume creep) and demystifies the “Mastered for iTunes” process. For the tech-heads, he dives deep into his unique room design, which leverages a lack of isolation for a tighter low end. Brad also shares some indispensable advice on running a business as a one-man show, dealing with common mix issues, and the absolute necessity of getting paid upfront. It’s a killer chat packed with practical wisdom for anyone serious about the final stage of production.

Products Mentioned

Timestamps

  • [2:20] The unique challenges of mastering heavy metal
  • [4:17] How to avoid being pigeonholed into one genre
  • [8:25] The importance of taking frequent ear breaks to maintain objectivity
  • [12:12] The efficiency philosophy: “You only get to hear it for the first time once”
  • [13:43] The danger of producers and bands falling in love with their rough mixes
  • [17:31] Why mastering isn’t about gear—it’s about the room and the ears
  • [20:03] What “Mastered for iTunes” (MFiT) actually is
  • [23:23] Why the loudness war isn’t over (and who’s still fighting it)
  • [27:05] When the label demands you make a great-sounding mix 2dB louder
  • [34:50] A look inside Brad’s listening room and high-end monitoring chain
  • [37:29] The counterintuitive idea of NOT isolating a room for a better bass response
  • [42:19] EQ vs. Compression: If you could only choose one tool for mastering…
  • [46:33] The most common and aggravating mixing mistakes that show up in mastering
  • [47:22] Why you absolutely need to check your mix on multiple systems
  • [50:18] Brad’s advice to his younger self: Just stick with it
  • [55:01] How to stay efficient and productive as a one-man operation
  • [1:05:23] The business of getting paid: Why you should always get your money upfront
  • [1:17:32] Is shadowing an established engineer still the best way to learn mastering?

3 Tips For Adding Interest & Impact To A Song

Ever listened to a track which starts out strong but doesn’t seem to get any bigger, eventually causing you to lose interest?

I know I have… and it’s disappointing!

I can’t tell you how many times I’ve resorted to pressing the skip button midway through a new track that had potential based on the fact that it’s beginning to get boring or “same-y” – Probably not a great way of securing fans that’ll return to your music again in the future…

It’s important to remember that “well-arranged” isn’t just about the instrumentation, but also about creating an evolving experience with ups, downs, highs and lows which will all help towards keeping listeners engaged!

Want to avoid people falling asleep during your tracks?

Here are 3 tips for adding that extra “wow factor” that’ll help people stay awake:
1 – ADD SOME PERCUSSION

1 Percussion Progression


Percussive instruments such as shakers and tambourines are often looked-down-upon and ridiculed within the rock and metal communities, while in reality, these elements can be extremely useful tools for drastically improving the feel of a mix!

Here are a few tips on using percussion effectively in a mix:
  • Placing your percussive instruments strategically within the stereo field can go a long way: Panning a shaker and tambourine on opposite sides of the L/R field is often a good idea for reducing masking, and can also help widen your stereo image.
  • It’s also worth taking your drum panning into account when choosing where to put your percussion. If there’s a section where a “high-end-y” cymbal like the Hi-Hat or Ride is keeping time, I’ll often pan the tambourine to the opposite side of said element in order to reduce clashing and add some extra rhythmic interplay between sides.
  • Don’t go all-out too early on: Introducing each percussive element in stages throughout the duration of the song is the key to making the most out of the added “lift” and “groove” they can provide. Having all of your percussive elements playing 16th note grooves at full blast at the very beginning of the song means you’ve got nowhere left to go and have probably peaked too early on…
  • Utilise the “timbre” of your percussion wisely: I’ll often opt for using shakers earlier on in a track and saving my tambourines for the later sections. The reason? The fact that tambourines have more “high-end presence” than shakers means they’re great for adding that final push of “impressiveness” in a big solo or outro section!
  • Make the most of your percussion: Although it’ll usually do the trick just fine, you don’t always have to opt for the most basic/obvious grooves. Coming up with interesting patterns that interact and “syncopate” with your pre-existing drums can often help push a “good” song into the realm of “excellent”.
  • All of this being said, not every song calls for percussion: Make sure you’re only adding in these elements if it aids the track, and not just for the sake of it!

Still not convinced? Let’s take a look at an example of awesome percussion in a modern Rock/Metal track:

Mastodon’s recent single “Show Yourself” is a great example of the concepts and techniques I’ve mentioned above being put to great use:

https://www.youtube.com/watch?v=gUGda7GdZPQ

Here are some observations on the use of percussion in “Show Yourself”:
  • There’s an 8th note shaker throughout the first verse which adds a great rhythmic drive in combination with the drums.
  • The same 8th note shaker pattern continues in the 2nd verse & chorus, with the addition of a quarter note tambourine accenting the downbeats alongside the snare. The tambourine adds some nice high-end content to the rather dark and “vintage” sounding drum tones and conveys a certain sense of contrast and “growth” compared to the 1st verse.
  • An accented 16th note tambourine pattern appears at some point in the solo section, which really helps provide a boost in energy due to its’ high-end nature and “urgency” of the groove.
  • They pull out all the stops in the outro of the track with a tambourine and (seemingly higher-pitched) shaker playing accented 16th note patterns simultaneously throughout the duration of the section.

My One-Sentence Conclusion On Percussion: It can sound really awesome when put to good use, even in heavy metal!

2 – TRY SOME LAYERING
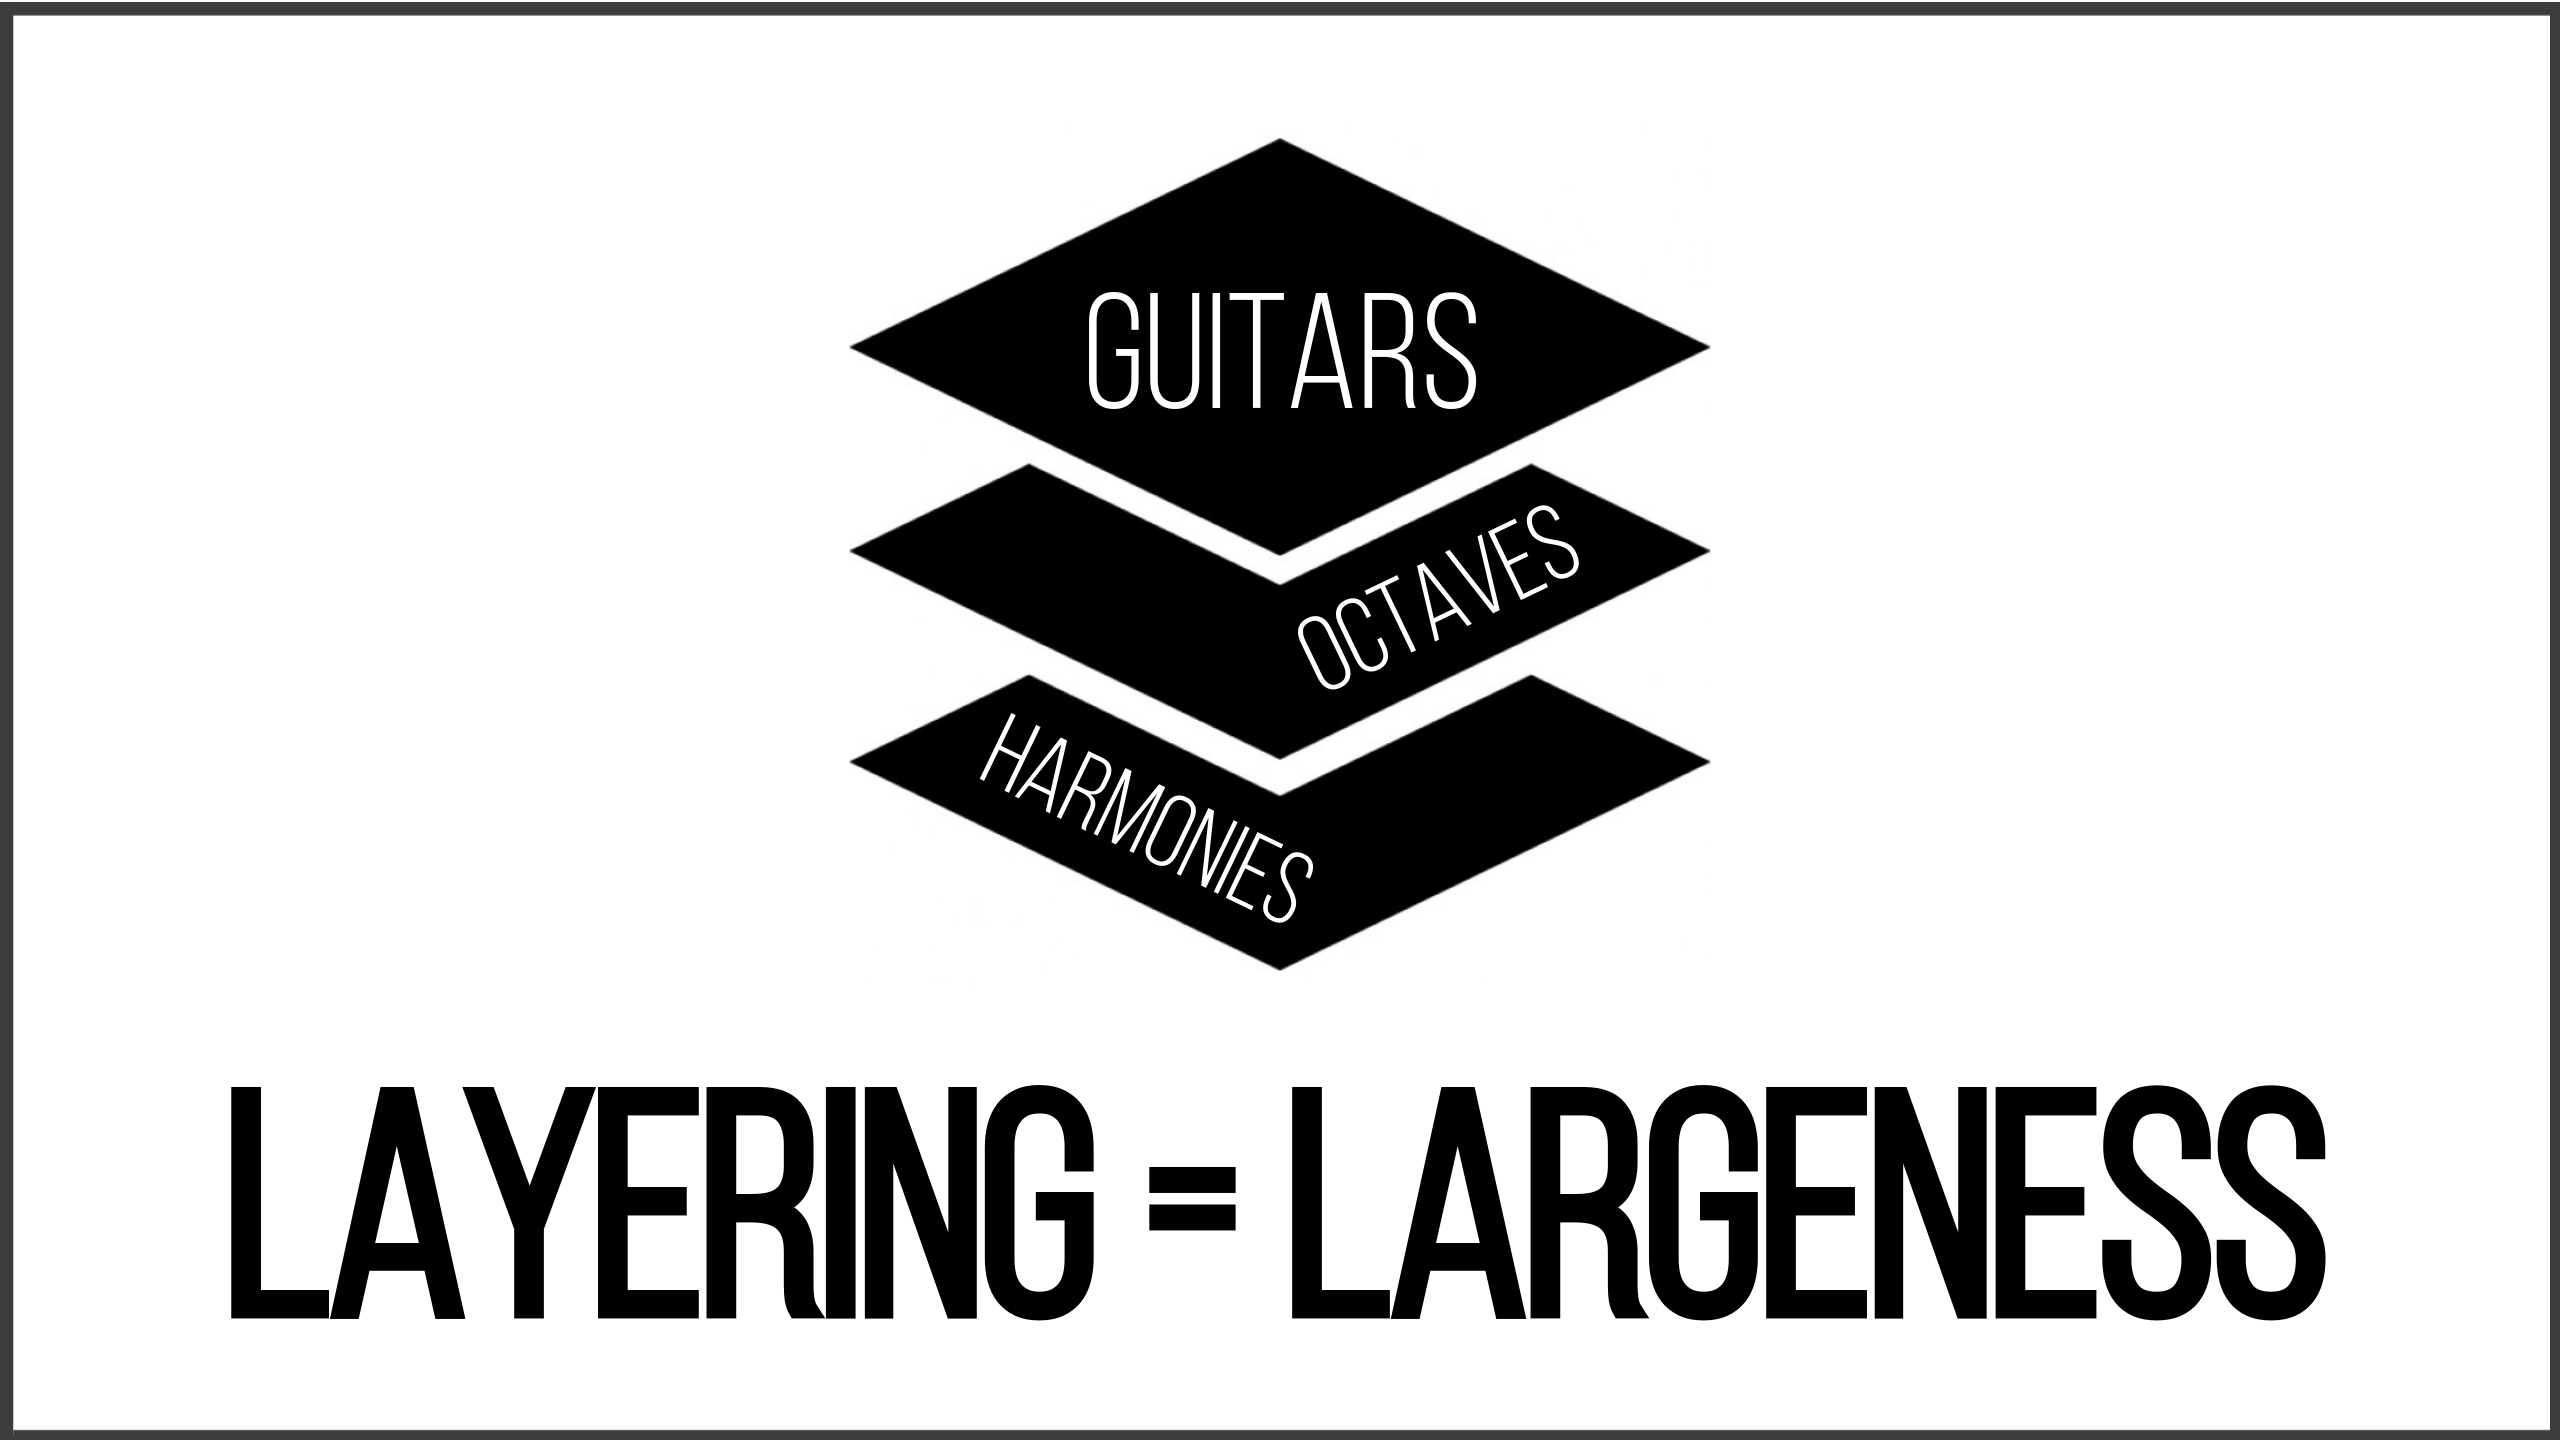
2 Layering For Largeness

NOTE: In this case, I’m primarily talking about electric guitars.

Although the classic metal mix format of a single pair of double-tracked Left/Right guitars will often do the trick, recording additional layers to “beef-up” or “lift” certain sections can really aid the overall flow of a track.

Here are a few guitar layering ideas to try out in your next production:
  • Octave Guitars: Try recording duplicates of your main rhythm guitars an octave lower or higher (depending on genre and what the part calls for) and subtly blending them in under your original tracks for added impact in choruses or an outro.
  • The fact that your separately-tracked octaves won’t be perfectly in sync with your regular guitars is a positive, as the subtle differences between takes will make for a bigger sound when played back simultaneously.
  • You can also experiment with pitch-shifting effects and hardware pedals to achieve similar results, but be careful not to overuse them as the results can end up sounding rather fake due to the lack of subtleties discussed above.
  • Layering Lead Guitars: Rather than just relying on a pair of rhythm guitars to carry the entirety of the song, I’ll often try to layer them with some tasty lead lines in order to help compliment and add definition to certain sections where viable.

NOTE: Check out this video, in which session guitar legend Tim Pierce gives some valuable tips on layering guitar parts:

https://www.youtube.com/watch?v=3cCJlb-dfkg
  • Similarly to what I talked about during the percussion section, it’s important not to go too big too early on and make sure you’re not shooting yourself in the foot by putting all of your eggs in the same basket…
  • Don’t go adding multiple layers of guitars in every section just because you can. Learn to save things for later and strategically plan out the instrumentation within your song for maximum impact and interest throughout!

NOTE: The techniques I’ve talked about above can also apply to layering vocal tracks. Check out these great tips by EDM Producer Tim Maxx for more info on layering vocals effectively:

https://www.youtube.com/watch?v=oQIYey-I-is

https://www.youtube.com/watch?v=e9jJD1u5558
3 – FUN WITH FILTERS

3 Filters Are Your Friend

Filters aren’t just for getting rid of high-end guitar fizz or tightening up low-end… They’re also an extremely effective tool for adding a sense of tonal contrast between sections of your mix and creating unique FX!

Here are a few filtering tricks for you to try out in your next project:
  • Create Some Contrast: Aside from the fact that they’re cool, another reason why low-bandwidth Lo-Fi fx tend to work well in certain sections of songs is the fact that they make the full-range sections which come directly after them sound that much more impressive.

NOTE: An excellent example of the contrast effect I’m talking about can be heard between the intro & first verse of Blessthefall’s “Hollow Bodies” (Mixed By Joey Sturgis):

https://www.youtube.com/watch?v=SDDn4Kh65M
  • This is primarily based on the fact that our ears adjust based on what they’re hearing and accept it as the norm. Meaning that people will start to get used to the way a Lo-Fi intro sounds, only to have their minds blown when the highs and lows are re-introduced when the verse hits.

NOTE: This is also a great reminder of why it’s important to reference while mixing. A mix you’ve been working without referencing might sound “full and bright” to you, but actually sound dull and thin when played alongside a pro commercial mix.

  • This same concept can also be used subtly across the master buss: Try automating an EQ which filters out some of the ultra-highs and ultra-lows from your mix during the verses and reintroduces them during the choruses. Famous pop Mixer “Serban Ghenea” (Katy Perry, Taylor Swift, The Weeknd) has been known to use this technique to give his mixes some additional depth and impact on a section-by-section basis.
  • Try it in mid/side mode: You can take the concept of tweaking the overall frequency bandwidth of your mix even further by “focusing” the effect with an m/s EQ. Ex. Try darkening just the sides during the verses and then giving them a subtle high-end boost when the chorus kicks in.

NOTE: Be careful not to over-do these effects, as you can just as easily end up with weird results. Trust me: When I say subtly, I mean subtly!

OVERALL CONCLUSION:

There are a huge number of variables which go into producing a piece of music which hits all the right spots. Having an extensive arsenal of “feel & emotion enhancing tricks” hidden up your sleeve which you can draw from whenever a song seems to be lacking something is extremely valuable in this business.

Make sure you’re not getting blinded by the technical aspects of producing music to the point of neglecting what’s most important: The way the song will feel to your average listener.

Final Words:

This concludes “3 Tips For Adding Interest & Impact To A Song.” I hope that this article has given you some new ideas to try out during your next project. Be sure to comment below if any of this information has helped you out, or if you have any questions.

Stay tuned for more production/mixing related articles in the not-so-distant future!


Want mix tips from URM Academy? Read them here!

Nail The MixNail The Mix is our online mixing school that gives you REAL multi-tracks from REAL bands, plus a mixing class from the producer who recorded it. Past guests include Periphery, Chelsea Grin, Machine Head and State Champs. Join now for instant access!

Mixing metal drums: Parallel compression and bus processing

Say goodbye to weak, thin drums!


First things first: mixing drums is HARD! That’s because it’s really like mixing half a dozen or more instruments at once, each of which has wildly different characteristics. Each piece of the kit is its own beast, and yet they all have to gel with each other AND cut through the mix without overwhelming the rest of the song– easier said than done, right?

Mixing Metal Drums: Parallel compression

There’s no magic bullet to getting big, punchy drums that cut through a mix- but parallel compression is the closest thing. But the devil is in the details– here’s how to do it the right way! // Want more?

And while there is no such thing as a silver bullet that will magically fix all your drum mixes, there is something that comes kinda close: parallel compression and bus processing. If you’ve already been using it in your mixes then you know how it adds the sustain, thickness and punch that take your drums from good to great. And if you haven’t, well, you should be 🙂

In this video, the latest installment in the Mixing Metal Drums series, our friend Robin Leijon walks you through his approach to parallel compression and other bus processing techniques. Take notes because this stuff will work miracles on your mixes!


Nail The Mix

Nail The Mix is our online mixing school that gives you REAL multi-tracks from REAL bands, plus a mixing class from the producer who recorded it. Past guests include Periphery, Gojira, Chelsea Grin, A Day To Remember, Machine Head and State Champs. Join now for instant access!

Adam Ayan: The Art of Mastering, The Truth About the Loudness War, and Essential Ear Training

Adam Ayan is a Grammy-winning mastering engineer at Gateway Mastering Studios. With over a hundred gold and platinum records to his name, he’s worked on a massive range of projects for artists like Paul McCartney, Kelly Clarkson, Katie Perry, and Rascal Flatts. He got his start assisting mastering engineer Bob Ludwig, an experience he credits as being instrumental in launching his career.

In This Episode

Adam Ayan sits down to demystify the art and science of mastering. He breaks down his approach, explaining how he balances the creative “vibe” of a track with the technical process. Adam gets real about the loudness war, sharing his philosophy that if you can’t make a record loud, you won’t have clients—the trick is learning to do it musically without destroying the mix. He discusses why getting feedback in musical terms (“more bite in the guitars”) is way more helpful than technical notes (“add 1dB at 8k”). He also gets into the value of fresh perspective, the importance of ear training, his thoughts on streaming service normalization, and the mental fatigue that comes with focusing on minute details all day. It’s a super practical look into the mindset of a top-tier mastering engineer.

Products Mentioned

Timestamps

  • [2:09] How Adam got into mastering
  • [3:22] Adam’s two-step definition of mastering
  • [4:41] The importance of having a mentor (and assisting Bob Ludwig)
  • [6:17] Getting a foot in the door by being technically proficient
  • [10:02] How to find a mentor when studios don’t take interns
  • [15:27] Is mastering a set process or a creative vibe?
  • [17:26] The value of approaching a mix “cold” with fresh ears
  • [21:40] Why musical feedback is more useful than technical feedback
  • [24:47] Developing the skill of being a “musical translator”
  • [29:17] Adam’s number one gripe about modern mixes
  • [31:43] How hyper-compression has changed what listeners expect a record to sound like
  • [37:24] The reality of the loudness war: “If you say no to level, the clients are not going to come to you”
  • [41:00] His thoughts on playback normalization on streaming services
  • [43:23] If he could only pick one tool: EQ or a dynamics processor?
  • [46:28] How do you know when a master is finished?
  • [50:39] The ear training regimen he recommends (Golden Ears)
  • [52:55] Breaking down the master of Rascal Flatts’ “Still Feels Good”
  • [54:52] The biggest changes in deliverables over the past decade
  • [56:30] How to reset your ears during a long session
  • [58:34] Knowing when to call it a day to avoid mental fatigue

Learn From The Legends – Volume 5: Jacquire King

Introduction To The Series:

Learning How To Learn is one of the most crucial steps you can take towards becoming great at pretty much anything – And what better place to learn than from the minds of people who have actually been doing the job successfully for years?

In this ongoing series of Blogs, we’ll explore the valuable words of wisdom bestowed upon us by some of the most sought after names in the recording studio business, and discover how you can apply this advice to your own situation.

This week, we’re examining one of Nashville’s finest music men: Jacquire King

NOTE: If you’re hoping to find some “secret mix settings” or “magic formulas” in this article then you might as well leave now… I can guarantee you that the real secrets behind each of these engineers’ success are their ears and personal tastes.

Remember:

Following the practical “workflow and decision-making” advice these guys have to offer from years of experience in the business is far more valuable than trying to copy the settings they’ve used for specific songs!

VOLUME 5: Jacquire King
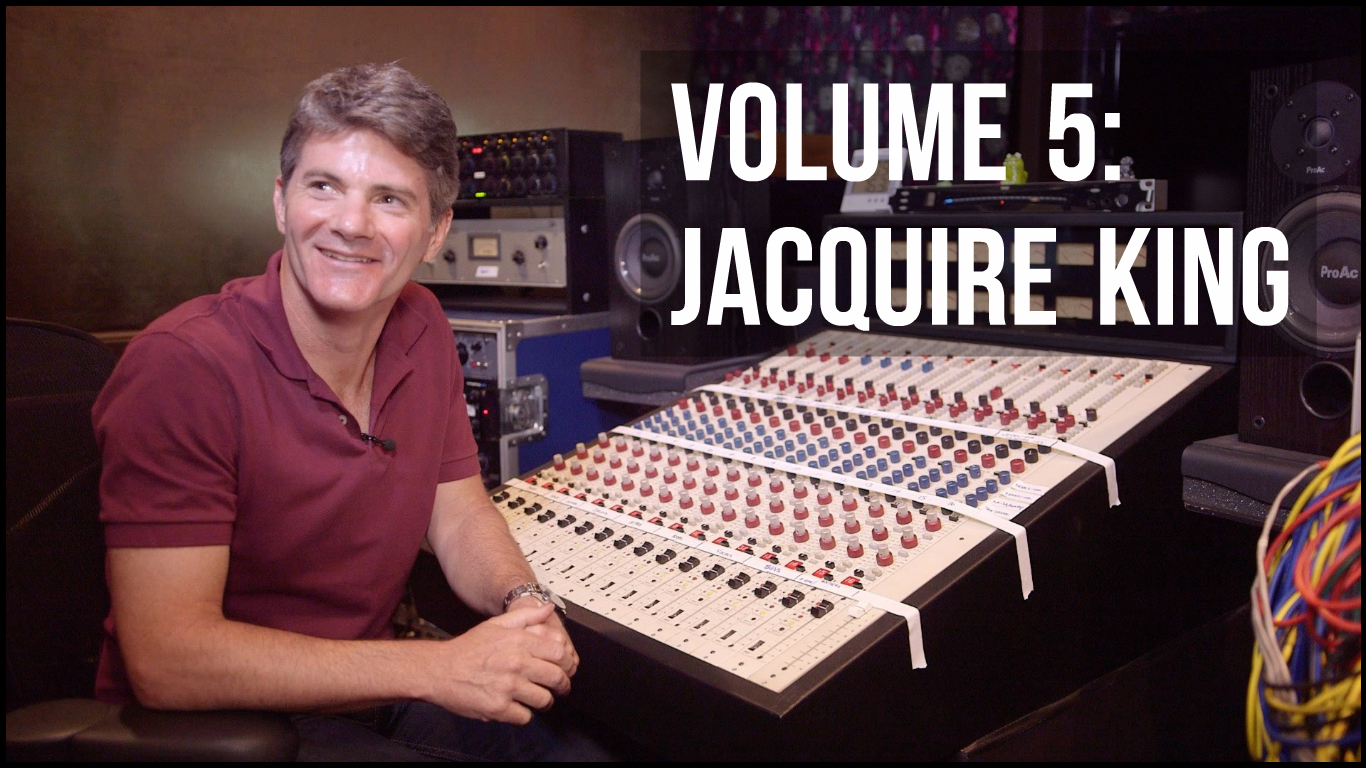
1 JACQUIRE KING

Who Is Jacquire King?

Jacquire King is a Nashville-based, Multi-Grammy-Award-Winning Engineer & Producer responsible for some of the most commercially successful rock albums of the 2000s.

Some of the select artists he’s worked with include:

Kings Of Leon

James Bay

You Me At Six

Norah Jones

Mutemath

Billy Talent

Modest Mouse

AND MANY MORE…

Now that you know exactly who you’re dealing with, let’s cut straight to the chase…

Here Are 5 Pieces Of Incredible Audio Advice From Jacquire King:
1 – Simplify The Mixing Process From The Get-Go
2 Simplify The Mix

“I try and record a finished sound as much as possible. When I listen to the tracks I want to be able to just push the faders up and make a balance and for it to sound like a record. I just want to hear it close (to the final sound), so that the mixing stage is just about accentuating things. It’s important to make the decisions along the way and not to wait til the end to properly EQ and Compress things, because if you haven’t been listening to the elements treated that way as you accumulate more parts, then you’re not going to have the sonic space to make everything fit.” – Jacquire King

Record As If The Mixing Process Doesn’t Exist!
  • One of the biggest changes between when I first started working in audio and present-day is the way I weigh the importance of recording vs. mixing.
  • Earlier on in my career, I’d idolise the mixing process and approach everything with an “I can probably fix it in the mix” attitude. The problem is, my lack of experience at the time meant that I didn’t really know how to go about “fixing” my recordings, which resulted in some pretty drastic (and stupid) mixing decisions…
  • The fact that I was constantly over-doing things and ending up with really unnatural sounding results meant that I was never happy with my sounds, and in return, never willing to release any of the music I’d produced.
  • Over the course of the next few years, I started to notice a pattern in a lot the professional mixing tutorials and articles I studied: More often than not, the raw sounds they had to work with were already incredible, and they weren’t going anywhere near the amount of subtractive EQ which I’d been using…
  • The biggest difference between between my raw material and theirs? They were getting each instrument right at the source and making tonal decisions early on based on the way they intended the end product to sound.
  • Coming to this realisation led to a gradual shift in the way I prioritised each step of the production process.
  • Through choosing to focus my efforts towards learning how to capture “close-to-finished” recordings and reducing the amount of after-the-fact processing I was applying, I was able to obtain sounds that I was much happier with.

Conclusion: You can’t record something that sounds nothing like your references or the sounds in your head and expect to magically transform it during the mixing stage. Always try to record with the intention of the raw sounds making the final cut. I guarantee that you’ll have a lot less to worry about later on.

NOTE: Want to learn how to record like a real pro? Check out Eyal Levi’s “Metal Recording Bootcamp” on CreativeLive.

2 – Can You Mix Your Own Music?
3 Mix Your Own Music

“It can be very difficult to mix your own stuff because you’ve spent so much time with it. It definitely feels easier to mix somebody else’s material because you don’t really have the same relationship with the music.”

“You definitely have to guard against overdoing it during the mix process or thinking that mixing always has to be a big elaborate thing. Sometimes it’s very simple and you just need to change the balance a bit, add a little bit of compression and tweak the EQ and it’s done… One thing that helps is to keep rough mixes and reference them while you’re mixing to make sure you’re doing the right thing.” – Jacquire King

Mixing Your Own Stuff: DIY or Outsource?
  • It’s often said that you shouldn’t mix your own material due to the lack of perspective that tends to come alongside spending long periods of time working on one thing. Although there is definite validity in this viewpoint… There are also a huge number of benefits to personally finalising your music.
  • Learning how to mix early on in your career as a musician means that you can work on improving your studio skills and musical skills hand-in-hand as you progress.
  • Take a guy like Nolly from Periphery for instance; the fact that he’s able to play, record and mix his own material to very high standards gives him the ability to pursue his creative goals to their maximum potential.

NOTE: I’d highly recommend going back and watching Nolly’s NailTheMix content for a prime example of somebody mixing themselves to great effect:

https://urm.academy/nolly-periphery-dials-bass-tone/

  • Another primary benefit of DIY is the fact that paying other people to record and mix for you can really add up in the long run. I can’t tell you how awesome it is to have all the resources at your disposal to be able to work on music whenever you want without time restraints or budget limits!
  • Now that I’ve expressed a few of my overall views on DIY mixing: The main point Jacquire is making in his quote is the fact that just because the mixing process exists as a separate entity to recording doesn’t mean that it has to be a drastic and elaborate process.

Conclusion: If you’ve already been recording each instrument with particular goals in mind, and you’re content with the way something is sounding, you don’t have to apply a huge amount of processing to it just for the sake of having a defined “mixing stage”.

3 – Get Your Mixing Priorities Straight
4 Mixing Priorities

“If I just start with all the instruments and leave the vocals till last, I might end up trying to get too much participation or energy out of something like the guitars. Not that they aren’t important, but I might make them too loud, too big or too wide in the stereo field and take up too much of the center. Remember that the vocal is the thing that’s in the middle and it’s really important, so you need it in there in order to understand how to use the other instruments and how to EQ. Not only is a voice difficult to record and capture, but you’ve got to make sure you’re not using up frequencies in a mix where you need to make the voice sit.” – Jacquire King

Structure Your Mixing Workflow!
  • The order in which you decide to mix each instrument can make a significant difference towards the quality of the final mix you produce.
  • In most genres of music, the vocal is the center of attention and has the most impact on the success or failure of a track. If you’re focusing on building a “huge” instrumental mix for too long while neglecting the vocals until the very end of the process… How can you expect to make them fit comfortably?
  • You don’t necessarily have to start out by mixing the vocals first, but adding them into the picture as soon as you’ve got a basic instrumental backbone going and processing everything in context will go a long way towards keeping them at the forefront of your decision making (and your final mix).

NOTE: Want some in-depth tips on treating Vocals in a mix? Check out my “Mixing Secrets Volume 1: Vocals” URM Article from a few months back.

Conclusion: Mixing is called “Mix-ing” for a reason! There’s no point in working on individual elements in isolation as the only thing that matters is how they interact with the other elements. Make sure you’re prioritising the right elements of the track and not spending too much time working on miniscule details that most people won’t even notice…

4 – Distortion Is Your Friend
5 Distortion

“There’s good distortion and there’s bad distortion. I love distortion on pretty much everything to some degree. We’re able to record so clean now with going to digital and you just get back the sound that you put in. With analog, we were recording to the format and optimizing our input accordingly knowing that it would change a little. For example: Motown probably benefitted from the fact that some of the gear was mismatched, but they made it work and it resulted in a unique palette of harmonics.” – Jacquire King

Digital Is Clean… Dirty It Up A Bit!
  • People often talk about the sonic differences between analog gear and modern digital technology and how “ye old vintage equipment” had a certain “magic” that is hard to find in the world of recording nowadays.
  • The truth is… Most of the “magic” that these old timers are reminiscing about was owed to the subtle distortion or “saturation” characteristics introduced into the signals via tubes and reels of tape.
  • The use of some tasteful harmonic colouration to fatten or liven up certain “lifeless” elements within a mix is one of the most effective methods to forging impactful mixes along the lines of Jacquire.
  • An important thing to remember is that you don’t have to add much for it to add up to a significant improvement in the way things sit and feel!
  • Often mixing this type of effect in under the original signal in parallel is the best way to maintain the original transient detail of the raw signal while simultaneously blending in some solid “thickness”.

NOTE: Check out my “Making Digital Sound Analog” URM Article for more info on the differences between Analog and Digital, as well as some useful tips on achieving “Analog-esque” results in-the-box.

5 – Conclusion: The Role Of A Producer
6 Producer's Role

“The way I approach making records is that I treat each one differently. I’m very collaborative and feel like a co-creator, I’m not here to make my record, I’m here to make the band’s record. You need to let them be themselves and just try to help them see how to do it at their best by just being a voice of reason or even devil’s advocate sometimes. Basically, just placing them in an environment where there’s an opportunity to make a great record.” – Jacquire King

It’s Not Your Record, Swallow Your Ego!
  • As a producer, it’s often difficult to draw the line between helping an artist or band make a record that represents them accurately, and simply taking over.
  • Producing with the expectation that everybody will “realise your creative genius” in mind probably isn’t the right way to go about the process, and believe it or not, people can usually sense if your interactions with them are genuine or not. (And if you truly have their best interests in mind...)
  • Instead, try to approach each project with the intention of accentuating and capturing the positive attributes of the people you’re working with while helping them fulfil their creative visions to the fullest.

NOTE: For more tips on interacting with musicians as a producer for better results, check out my “5 Recording Tips” URM series.


CONCLUSION:

Remember: It’s awesome when your contributions are appreciated, but it’s not a given. My advice is to simply do the best job you can possibly do on a situation-by-situation basis and not to let your personal agendas get in the way of relationships.

Happy customers that feel valued will spread the word and likely want to continue working with you!

Final Words:

This concludes “Learn From The Legends – Volume 5: Jacquire King.” I hope that this article has given you some new ideas to try out during your next project. Be sure to comment below if any of this information has helped you out, or if you have any questions.

Stay tuned for more production/mixing related articles in the not-so-distant future!


Read Learn From The Legends – Volume 1: Chris Lord-Alge here!

Read Learn From The Legends – Volume 2: Randy Staub here!

Read Learn From The Legends – Volume 3: Andy Wallace here!

Read Learn From The Legends – Volume 4: Andrew Scheps here!

Want mix tips from URM Academy? Read them here!

Nail The MixNail The Mix is our online mixing school that gives you REAL multi-tracks from REAL bands, plus a mixing class from the producer who recorded it. Past guests include Periphery, Chelsea Grin, Machine Head and State Champs. Join now for instant access!