urmadmin, Author at Unstoppable Recording Machine - Page 25 of 45

5 Desert Island Plugins – Learn To Do More With Less

Introduction:

Choosing which plugins to buy when you’re first starting out can be a bit overwhelming. There are thousands to choose from, and it’s easy to get sucked into a never-ending vortex of wanting to buy/try all of the “latest-and-greatest” plugins as soon as they come out.

The problem is, once you start gaining some further experience in audio, you begin to realise that you can actually get great results with pretty much any tool, and that the hundreds of fairly similar plugins you’ve impulse-bought over the years are just sitting in a long list, gathering dust…

Throughout my career, I’ve managed to streamline my plugin choices to the point that I’m only using what’s actually necessary and best for the success of my mixes.

Based on experience, If I had to get rid of all but 5 of my plugins today, Here are the ones I’d keep to cover all of my basic mixing needs:

1 – Waves SSL E-Channel (Broad EQ, Compression, Gating)

1 - SSL

Why SSL-E?

A – Broad & Musical EQ: SSL EQ’s are some of the most beloved in the industry, and have been used as a processing workhorse on thousands of incredible-sounding, chart-topping albums.

  • The fact that you’re not staring at a fancy graphics interface while EQ-ing on an SSL means that you’re more likely to use your ears and eliminates any decisions based purely on what you’re seeing .
  • Being limited to 4 bands of equalisation helps prevent you from overdoing things, while simultaneously teaching you to work in broad and musical strokes that actually make a noticeable difference.
  • There’s a lot to learn from analysing the built-in Chris Lord-Alge presets. Although I wouldn’t recommend using them blindly, seeing which frequencies he prefers to boost/cut and how drastically he likes to tweak them can be a real eye-opener.
  • The SSL’s high and low-pass filters are set respectively at 18dB/12dB per-octave slopes, and prevent any unnecessary messing about with filter settings.

B – Classic Compressor: SSL compressors are well known for their punchy and aggressive sound. The fact that you can adjust your compression, EQ and gate settings all within the same single-window user interface makes this plugin incredibly direct and workflow-friendly.

  • The controls on a compressor are some of the most difficult things for an audio newcomer to get their head around. Unlike most compressors, the SSL E-Channel compressor doesn’t have a variable attack knob, but instead, comes with 2 classic go-to settings that each have their own distinct sound.
  • For general compression, you can’t go wrong with the classic slow-attack, fast-release, 4:1 ratio settings. Simply turn the threshold knob to taste and witness the smoothed-out, punchy goodness!
  • The SSL-E compressor also works well as a leveling limiter with the ratio cranked all the way up and the fast-attack switch engaged.

C – Easy-To-Use Gate: A lot of gate plugins come with a convoluted amount of controls and overly-fancy graphics interfaces. The SSL’s gate/expander section is super-simple to use, and does a great job of eliminating any unwanted bleed.

  • You can easily switch between drastic gating or more-subtle expansion settings with the single click of a button, making it easy to experiment with different settings in a time-efficient manner.
  • Similarly to the compressor, there’s a simple 2-way switch for selecting your gate attack-time quickly and moving on.

SSL E-Channel – Conclusion: Mixing legends such as Chris Lord-Alge, Andy Wallace and Randy Staub have been mixing multi-platinum hits on SSL consoles for decades. If it’s good enough for them, it’s good enough for me.


2 – Soundtoys Decapitator (Saturation, Distortion, Creative FX)

2 - Decapitator

Why Decapitator?

A – Multiple “Colours” To Choose From: One of the primary reasons decapitator is my go-to saturation plugin is the fact that it’s extremely versatile.

  • Each of the “style” buttons at the bottom of the user interface represent a different piece of classic analog hardware, including gear from Neve, Ampex, Thermionic Culture and EMI/Chandler LTD, and each offer a unique & musical sonic character.
  • The fact that you can switch between multiple saturation circuits with a few simple mouse clicks really allows you to hear the clear tonal differences between them and choose the right one to fit your particular sounds.

B – Great Built-In Tone-Shaping: Decapitator has an excellent built-in EQ section which allows you to shape your pre & post-distortion signals to sound exactly as desired without having to rely on additional processing from elsewhere.

  • The tone knob allows you to dial-in how the plugin will favour the frequency content of your raw signal, and is a quick & easy way of brightening your signal to cut through nicely in a dense mix.
  • The low-cut control built-into Decapitator is Pre-Saturation, meaning that you can control the low-end of your signal before it hits the distortion circuit in order to prevent any unpleasant “distorted low-end farting”.
  • The high-cut control is post-distortion and allows you to roll-off any sharp & spitty high-end that was brought up during the signal “warming” process.

C – Blend It: The built-in mix knob allows you to blend your processed signal in underneath your original without having to balance multiple faders or mess with additional routing.

  • One of the annoying things about working in a DAW vs. working on an Analog mixing desk is the fact that you can’t balance multiple faders simultaneously to find the correct blend. Having a built-in Mix knob solves this issue, and allows you to find the perfect blend between dry/wet with the single move of a mouse.

Decapitator – Conclusion: Saturation is one of the key ingredients to an analog-esque, vibey mix which is full of life and attitude. Decapitator delivers everything we’ve come to love and expect from pushing great analog gear hard, and allows you to take it one step further with an excellent EQ section.


3 – Valhalla VintageVerb (Reverb, Modulation, Creative FX)

3 - Valhalla

Why Valhalla?

A – Create The Perfect Space: Valhalla VintageVerb comes with a great selection of reverb algorithms which include everything you could ever need for adding some ambient depth and realism to your tracks.

  • Each reverb mode comes in 3 “colours” including “1970’s”, “1980’s” and “now”, allowing you to simulate the distinct characteristics of classic reverb units throughout the course of music history. Depending on what you’re going for, simply switching between these settings can help get you really close to the exact sound you’re after!
  • By tweaking the shape and diffusion sections, you can create pretty much any acoustic space you put your mind to, and in the process, transform your mixes into an immersive sonic experience.
  • The built-in Damping & EQ sections allow you to tweak your resulting reverb even further in order to help it slot into a dense mix without taking up too much space.

B – Modulation: The included modulation (chorus) section is great for adding some extra movement and width to reverb tails, and can result in beautiful & lush soundscape effects.

VintageVerb – Conclusion: There are a huge amount of great reverb plugins available nowadays. Although a lot of the impulse-response-based options sound great, they’re generally fairly limited as to how much you can tweak them. VintageVerb solves this problem for me, and allows me to create unique spaces to fit my own specifications.


4 – Soundtoys Echoboy (Delay, Lo-FI, Creative FX)

4 - Echoboy

Why EchoBoy?

A – Tons Of Classic Sounds: Rather than being stuck with a single delay sound, Echoboy allows you to choose from a large selection of vintage gear emulations including legendary Tape, Tube, Stompbox and Rack units.

B – Built-In Filtering: The built in high & low-cut filters allow you easily reduce the bandwidth of your delay returns in order to prevent them from taking up too much frequency real-estate.

  • Filtering out any unnecessary low-end “mud” and high-end “splatter” from your FX sends will go a long way towards reducing muddiness, while also helping them to cut through the mix via effectively channeling them into the mid-range.
  • EchoBoy feeds back into itself after each repetition, meaning that each echo will continuously get a little more saturated and rolled off.

C – Saturation Section: EchoBoy’s built-in saturation section is great for adding some analog grit and “character” to your delay returns.

  • Applying some subtle (or not-so-subtle) saturation/distortion to your delay FX can really help them stand-out against your raw signal allow them to be heard more clearly in the mix.
  • Although “clean” delay FX are useful in certain circumstances, warming them up usually goes a long way towards giving them some pleasant analog character which can help maintain a listener’s interest.

D – Not Just For Echoes: Although Echoboy is primarily a delay plugin, it can also be used as an awesome Lo-Fi plugin. By simply setting the delay time and feedback controls to 0ms and tweaking the saturation section, you’re basically just imparting the unique analog characteristics of whichever emulation you’ve chosen onto the raw signal in real-time.

EchoBoy – Conclusion: When it comes to value for money, EchoBoy is extremely hard to beat. It just has everything you could ever ask for in a delay plugin, and more!

P.S. I once went without EchoBoy for a month when I lost my iLok, I can honestly say that it was one of the most depressing months of my mixing career!


5 – Fabfilter Pro-Q2 (Surgical EQ, Frequency Analyser, M/S Processing, Match EQ)

5 - PRO Q2

Why Pro-Q2?

A – Surgical Monster: Although Pro-Q2 is a great tool for pretty much any equalisation task, one area where it particularly shines is narrow “surgical” EQ.

  • The built-in spectrum analyser is a hugely useful tool for pinpointing and eliminating problems as quickly as possible.
  • The fact that you can solo each individual EQ band also makes it easier to isolate and hone-in on specific sounds, really helping you to speed up the diagnostics process.

B – Mid-Side: Each band of EQ you instantiate within Pro-Q can be assigned to stereo, mid, or side mode.

  • Using Mid-Side EQ to affect the side channels of a signal without affecting the middle of the stereo spectrum is a great way of carving out some additional space from synthetic sounds such as Synths and FX returns.
  • While in Mid-Side Mode, Pro-Q2 also allows you to balance the overall mid/side information of a stereo track with a simple % knob, making it easy to remove unwanted ambient information from 3rd party drum samples by simply turning down the information on the sides.

C – Side-Chain “Match EQ”: Pro-Q2’s side-chaining and match-eq capabilities make it a great tool for comparing, matching, and analysing multiple sources accurately.

  • Although I rarely rely on match-eq curves in an actual mix, it can come in extremely handy when trying to confirm any tonal mismatch suspicions I may have to do with stereo-mic’d sources such as drum overheads or double-tracked instruments.
  • Using Match-EQ to determine any major inconsistencies between L/R channels takes the guessing out of the equation, and helps give a clear idea of how to best correct the underlying issue.

NOTE: Pro-Q2 is also great for broad additive strokes and filtering, however I’m skipping over those features as I’ve already talked about them in the SSL-E section of this Blog.

Pro-Q2 – Conclusion: Fabfilter’s Pro-Q2 is undoubtedly my most used plugin of all time. You simply won’t find a better all-round EQ with as much bang-for-buck as this tool has to offer.


Overall Conclusion:

You don’t need to own a huge number of plugins to get a good mix! As long as you’ve got a single, high-quality tool for each purpose… And make the most of each tool by learning to use them effectively, you’re good to go!

The next time you see a plugin which you don’t own go on sale, take a step back and try to determine whether there’s another piece of gear which you’d be better off saving-up for instead.

SPEND YOUR MONEY WISELY!


Final Words:

This concludes “5 Desert Island Plugins – Learn To Do More With Less.” I hope that this article has given you some new ideas to try out during your next project. Be sure to comment below if any of this information has helped you out, or if you have any questions.

Stay tuned for more production/mixing related articles in the not-so-distant future!


Want mix tips from URM Academy? Read them here!

Nail The MixNail The Mix is our online mixing school that gives you REAL multi-tracks from REAL bands, plus a mixing class from the producer who recorded it. Past guests include Periphery, Chelsea Grin, Machine Head and State Champs.  Join now for instant access!

Learn From The Legends – Volume 7: Andy Sneap

Introduction To The Series:

Learning How To Learn is one of the most crucial steps you can take towards becoming great at pretty much anything – And what better place to learn than from the minds of people who have actually been doing the job successfully for years?

In this ongoing series of Blogs, we’ll explore the valuable words of wisdom bestowed upon us by some of the most sought after names in the recording studio business, and discover how you can apply this advice to your own situation.

This week, we’re peering slack-jawed into a vast abyss of knowledge, ruled by none other than modern metal production Godfather: Andy Sneap.


NOTE: If you’re hoping to find some “secret mix settings” or “magic formulas” in this article then you might as well leave now… I can guarantee you that the real secrets behind each of these engineers’ success are their ears and personal tastes.

Remember:

Following the practical “workflow and decision-making” advice these guys have to offer from years of experience in the business is far more valuable than trying to copy the settings they’ve used for specific songs!

VOLUME 7: Andy Sneap
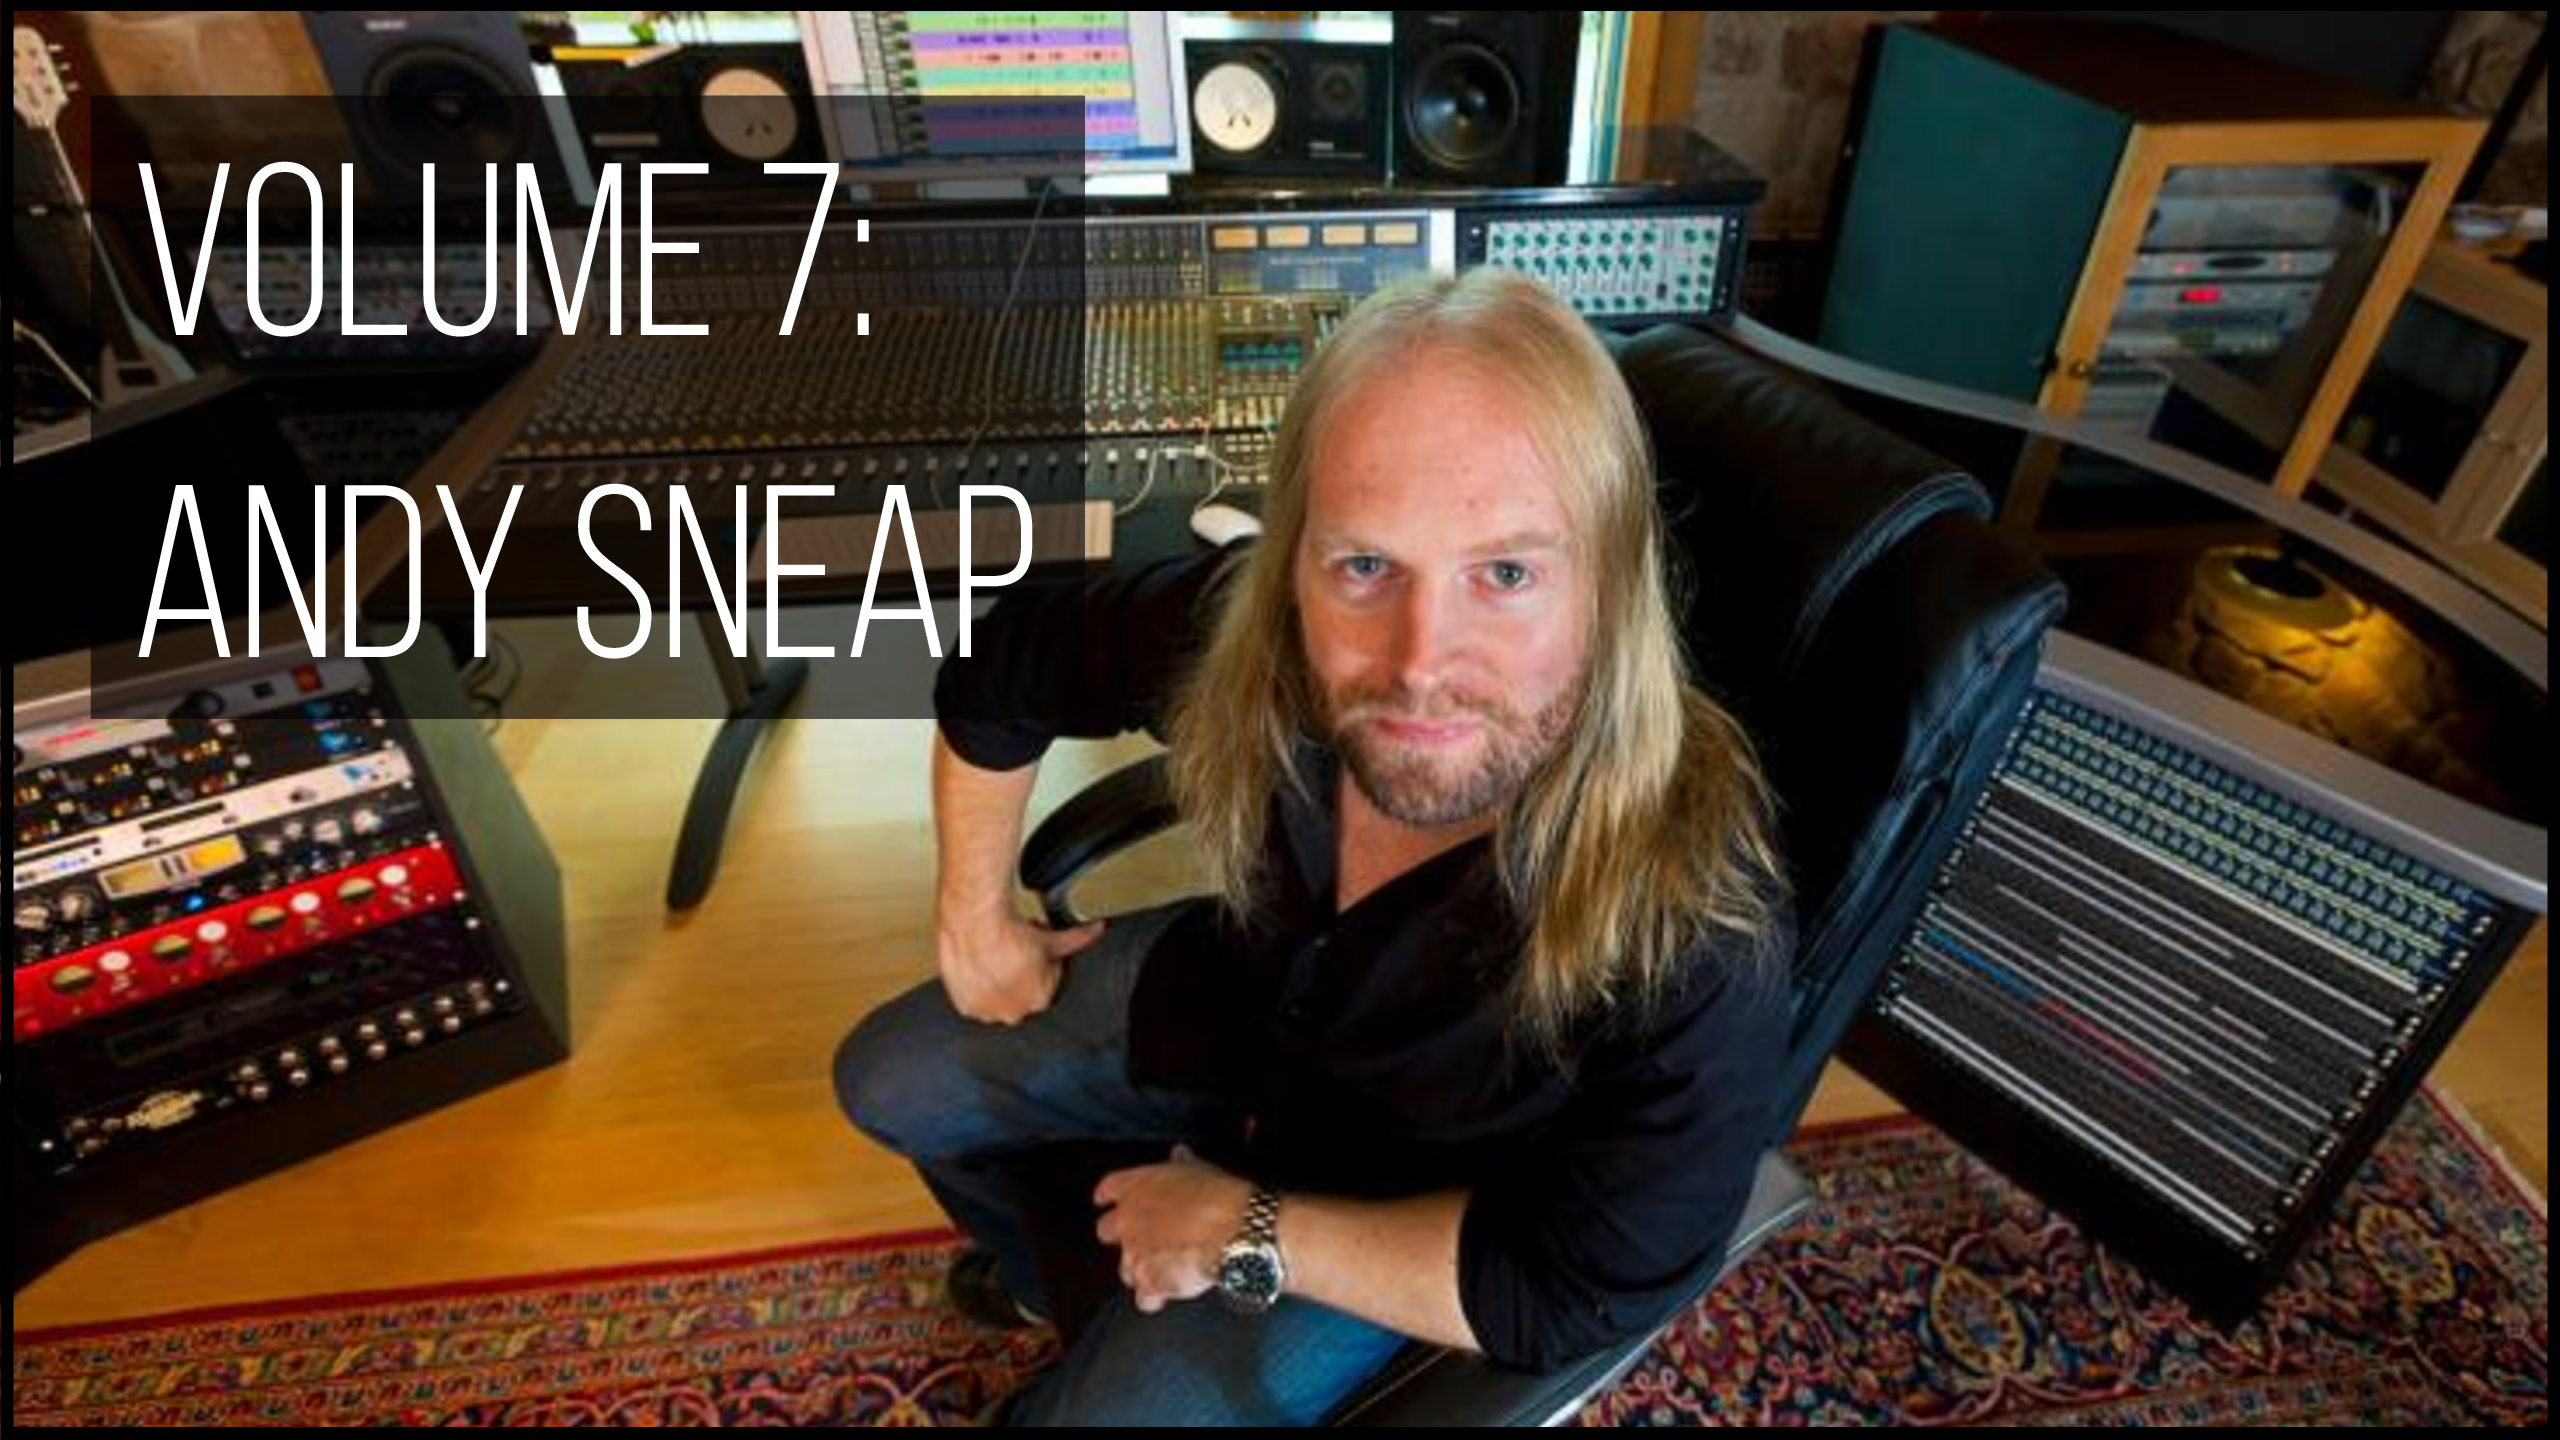
1 VOL7 ANDY SNEAP

Who Is Andy Sneap?

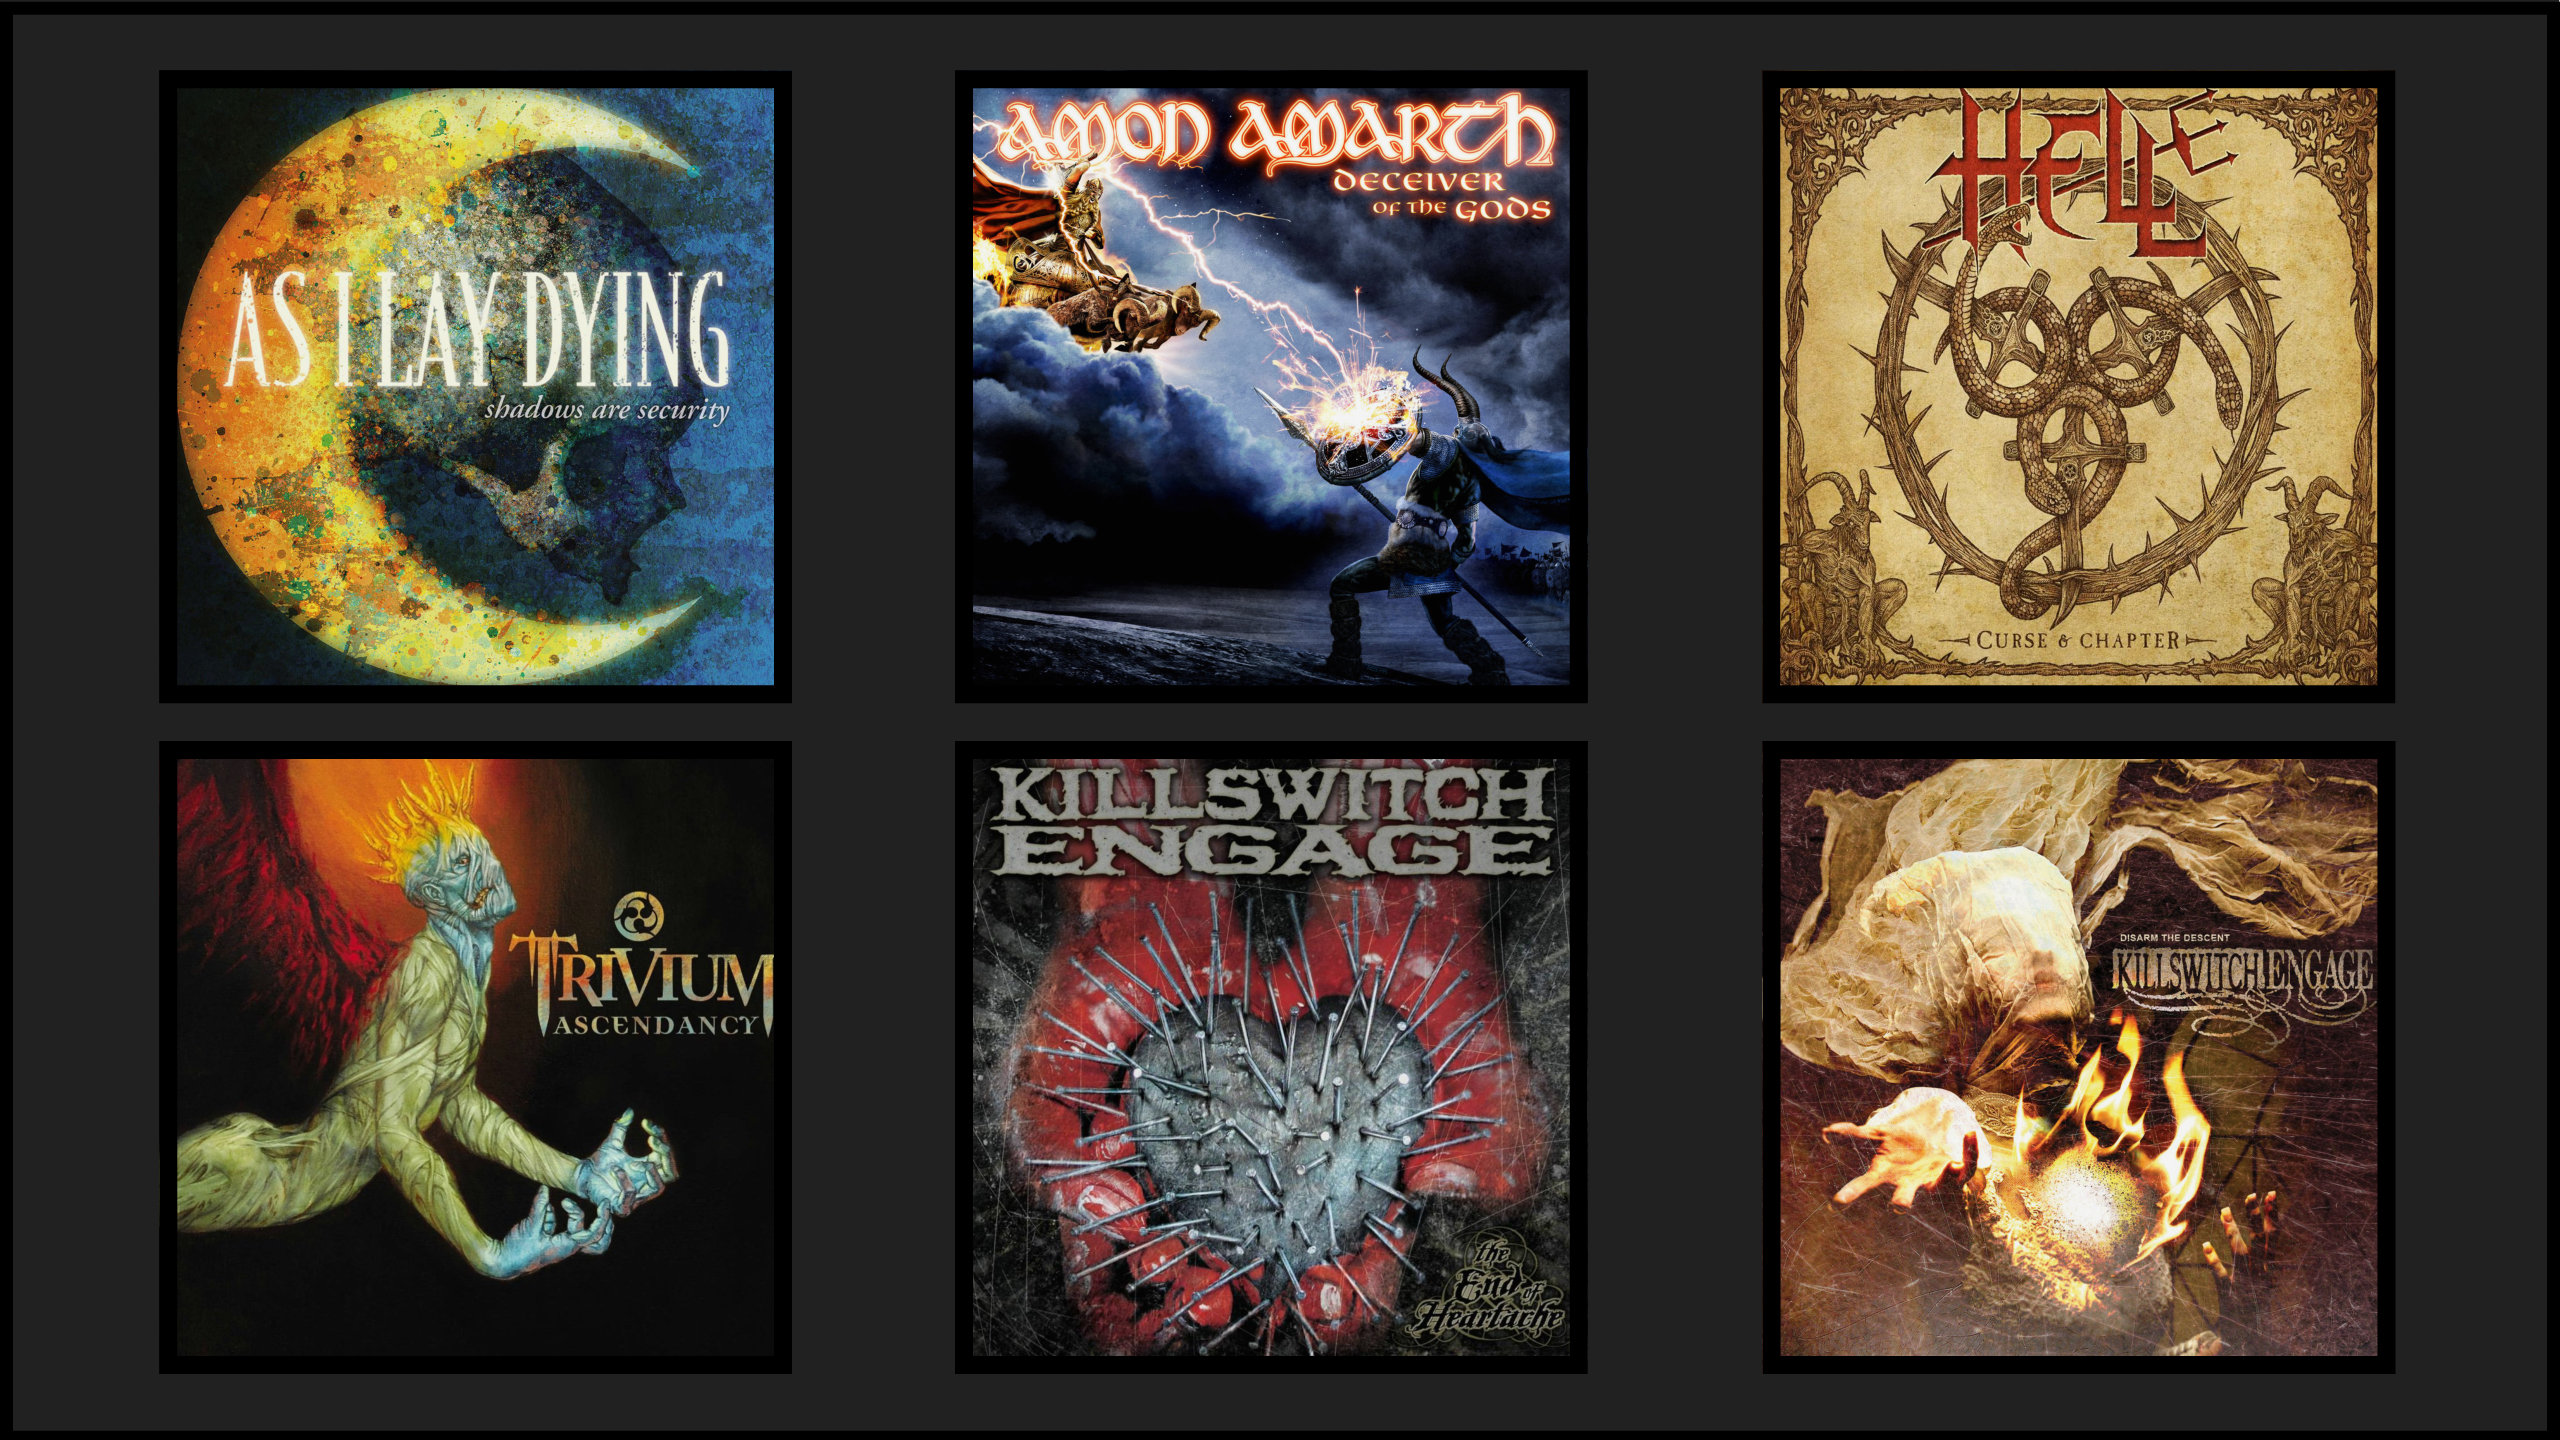
Andy Sneap is a UK-based engineer/mixer/producer who’s played a huge role in producing some of the most genre-defining metal albums of the 90’s & 2000’s.

Some of the select artists he’s worked with include:

Killswitch Engage

Bullet For My Valentine

Amon Amarth

Arch Enemy

Machine Head

H.E.L.L

Trivium

Accept

AND MANY MORE…

Now that you know exactly who you’re dealing with, let’s cut straight to the chase!

Here Are 4 Pieces Of Incredible Audio Advice From Andy Sneap:

1 – The Benefits Of Being A “Musician Engineer”:
2 OTHER SIDE OF GLASS

I think one of the reasons why I got on so well in this line of work is because I have been on the other side of the glass, so to speak. I was that eighteen year old kid, sitting there and being told what to do by a producer, though that was a long time ago now. I did three albums as a guitarist before I actually got into this line of work, so it often feels like I am almost like the extra member of the band when I’m in the studio.” – Andy Sneap

See The World (Of Audio) Through Different Eyes:
  • Being able to actually play an instrument has some huge benefits when it comes to producing and engineering other musicians.
  • Although you can get by with nothing more than the purely technical recording and mixing knowledge necessary to capture and polish a song, it’s gonna be rather difficult to fix certain issues during recording, or convey any musical ideas you may end up having to the band if you’re unable to express yourself accurately.
  • I’m a long time drummer myself, and the fact that I do most of my production and recording work in collaboration with my brother, who is a great guitarist, bassist and keys player, means that we’re able to tag-team all of the rhythmic and melodic needs of our clients as they pop-up, while communicating our ideas clearly via the use of correct terminology.
  • Although I can get by just fine on my own based on my built-up experience of working with various musicians, having another person to delegate these tasks to really helps take a load-off while allowing me to focus on other aspects of the production.
  • If you’re a guy who’s primarily into the tech with minimal musical experience, at the very least, take the time to learn the in’s-and-out’s of how each instrument works. Having a decent understanding of whatever you’re recording will really help towards getting the most out of the people you work with, as well as giving you the knowledge necessary to capture the most usable performances.
  • Take Andy Sneap for instance: He’s a guitarist, not a drummer, but is well-renowned for his amazing drum tones due to the fact that he has an incredible understanding of exactly how the instrument works.
2 – Bands Being Able to Play Their Albums:
3 CAN YOU PLAY IT

I think it’s already gone past the point of bands being honest in the studio. I mean, as soon as we started dropping in on guitar solos with a machine that didn’t make a click when you dropped in and out, that’s when the honesty went out the window. But at the end of the day, it’s whatever it takes to get the job done. You’ve got a certain amount of time; a certain budget, and if you have to cheat to get the job done, then it’s up to the band to deliver it live after that. If it’s the case of going back and rehearsing it for two months to be able to go on the road and play it properly, they shouldn’t be writing the riffs that they can’t play… A lot of these guys, when they realize what you can do in the studio, will go beyond their means. But people know their limitations, and as a producer I’d rather hear a slow and melodic guitar solo played well than someone who’s trying to play blisteringly fast and can’t do it.”Andy Sneap

I think the quality of playing has dropped. I don’t think the quality of playing is there as it was in the 80s… Back then, you actually had to be able to play your songs to learn them, you’d get together as a band and rehearse them to learn and write them. People nowadays are writing on computers and coming into the studio and a lot of the time the band hasn’t even played it as a band. It’s just a different way of thinking, and I guess it’s more convenient for the bands.”Andy Sneap

You don’t have to cheat with the old-school guys, because they learned the craft. It’s almost like kids are trying to run before they can walk now. I think as a producer, you have to draw the line a little bit: use technology as a tool, tidy bits up and knock it into shape, but be realistic. If a band is really struggling on a part, say, “well, look, guys, are you going to be able to play this live?” But at the end of the day, you have to be able to deliver a product within deadline and budget, and if cheating a little bit helps you do that, and you know the guys will be able to play it with a bit more rehearsing, then it’s the right thing to do. At the end of the day, the album has to be THE definitive version of the songs, doesn’t it?” – Andy Sneap

Do Whatever It Takes To Make A Good Album:
  • One of the seemingly never-ending and worn-out music production arguments which has gone on for decades is “audio correction vs. musical realism”.
  • The truth is, your job as an audio engineer is to do whatever’s necessary to reach a certain standard of quality which is pretty much EXPECTED in today’s music business.

Ask yourself this: When was the last time you heard a blatant mistake or poor quality of musicianship in a professionally recorded/produced/mixed commercial album?

  • Given the fact that the entirety of the professional audio community is utilising all of the editing and correction tools at their disposal in order to make the most commercially viable product possible, simply refusing to take-part in the world of editing based on your ideals instantly puts you at a significant disadvantage.
  • By all means, if you’re lucky enough to come across the kind of musicianship which needs absolutely no crutches to stand-on in order to produce incredible raw material that will make the final cut, then it’s totally fine to leave it untouched! But the truth is, until you reach a certain status within the industry, such occurrences are probably gonna be rather rare…

My primary point? – It’s ok to want to stick to a set of ideals, but you have to weigh up how viable it’s going to be from an audio career perspective to try and get each sub-par musician you come across to fix their playing over the course of days, weeks or months before recording, vs. simply doing a bit of correctional editing to resolve the problem on-the-spot…

3 – There’s No Substitute For Experience:
4 WAVES C4

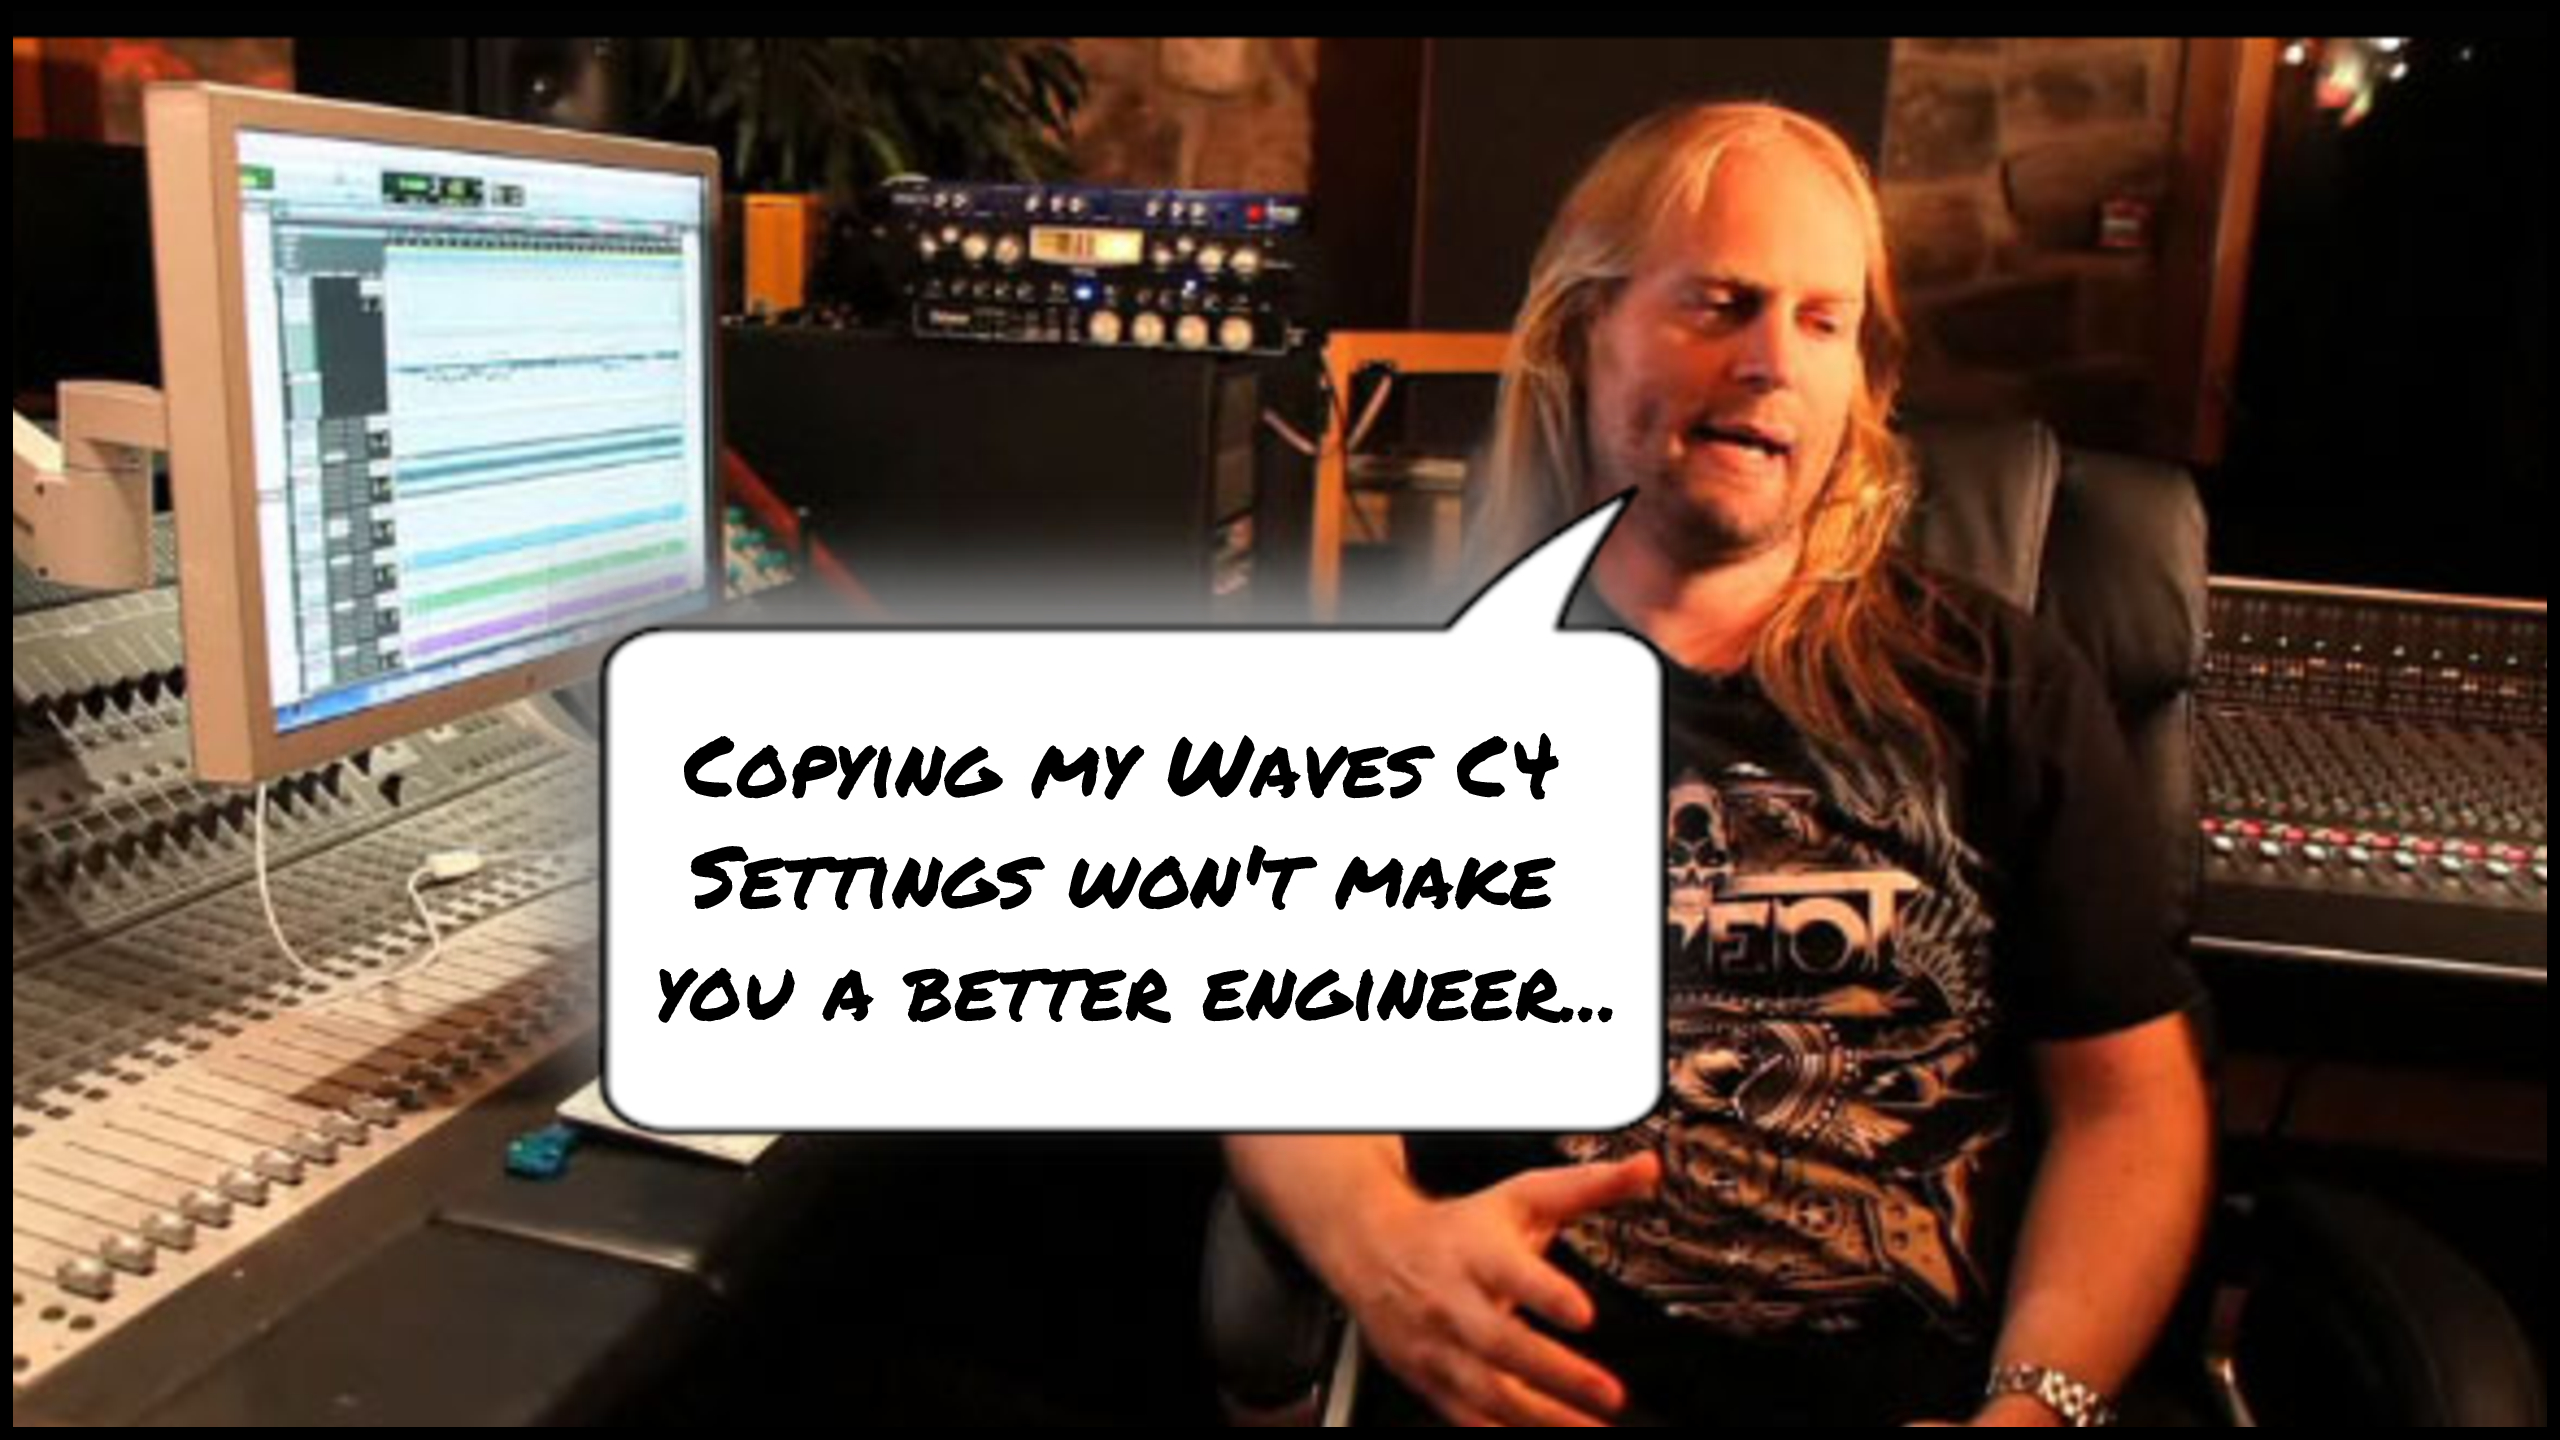
I see it on my forum all the time, “What plugins do you use, what samples do you use, what mic techniques do you use?”, and it’s alright knowing that stuff, but it’s actually about knowing what you’re listening for, the problems you’re listening for, and hearing the big picture and how it all goes together. I think it’s only experience which can teach you that… I listen to albums I’ve done over the last 15 years and I can hear how I was learning. You go through different phases and different tricks you were using and it all adds up. You work with different engineers and pick bits off different people and it’s only experience that’ll teach you all that. Andy Sneap

The Cure For ACD (Andy-Copying-Disorder):
  • If there’s an engineer which every newcomer to the audio world seems to get instantly-obsessed with, it’s Andy Sneap.
  • This is based primarily on the fact that he’s played a huge part in the development of the “modern-metal” sound and personally championed a lot of the now-standardised production techniques used by engineers all over the globe.
  • The problem comes when people become too obsessed with figuring out the exact, “definitive” settings which guys like Andy dial-in on their gear and as a result, never improve through the all-important trial-and-error experimentation that this job really calls for.
  • The truth is, a lot of the “magic settings” you see floating around in the depths of the internet are nothing more than random screenshots/photos which were taken at a random point in history and assigned false meaning based on assumptions.

NOTE: Fun Fact: The famous “Andy Sneap Waves C4 Multiband Compressor Settings” which everyone goes nuts over are nothing more than the DEFAULT Waves C4 preset with one of the threshold controls tweaked?

  • I can guarantee you that %90 of the “Andy Sneap signature settings” (or any other engineer for that matter) you’ve come across in your travels are nothing more than the rough result of a few minutes of intuition-based tweaking, and will only work as intended on the specific track they were dialled in for!
  • This being said, one of the absolute best ways to learn is through dissecting the specific settings which one of your mixing idols has actually used in order to gain a better understanding of what they were hearing in THAT particular sound.

My Main Point? – Use your common sense… Stop searching for the easy way out via arbitrarily copying others’ random settings and simply start clocking in the hours. You won’t waste valuable time which could’ve been spent making actual improvements to your skills, and your productions will be much better off for it!

4 – Acclimatise To Your Clients:
5 CLIENTS

You do get to know people’s characters, especially when you’ve done a few albums with them. When you get involved in an album you’ve got an idea on how it should be, but I’m not one of these producers where I’m like “It’s gotta be like this, it’s gotta be done my way”. I’ll always try to work with a musician. I think the trick is in finding that balance and getting to know people’s personalities and strengths within the band. If one guitarist does something better than the other, then there’s always a bit of an ego battle going on. Give them both something to do and try to find a strength within each player. I always try to compliment someone if they do a good job as well, it doesn’t hurt! I think you’ve always gotta be positive in the studio. If a producer is there to say well done then it’s nice for the band to hear that. Getting on with people is half the battle when you’re locked in a box with people for months on end, so you’ve gotta have a good time and enjoy it!”Andy Sneap

Personalised Production:
  • In the same way that you can’t expect to produce the same results twice while working with varying gear in the studio, you can’t expect a single recording strategy to fit two separate people.
  • It’s important to try and be aware of the subtleties in each person’s personality and to acclimatise your recording approach based on their specific needs in order to keep them in a state of mind which is conducive to creativity and delivering great performances.
  • Although there are definite “better” and “time-tested” ways of doing certain things in the studio, you simply can’t risk alienating your clients by forcing them into uncomfortable situations for the sake of appeasing your own agenda.
Here are a few classic examples of “Client Acclimatisation” which come to mind:

1 – Expressive singers like Freddie Mercury and Bono often preferring to record the entirety of the track while performing with a hand-held dynamic mic in the control room in order to achieve more of a genuine connection to the music.

  • Why would you try and neuter the energy and “natural feel” which makes a particular performer great by forcing them to stand still in front of a condenser microphone and record the song in tiny “perfect” sections?
  • Technical perfection is completely worthless if all you’re capturing is empty, meaningless noise. Always make your decisions on a case-by-case basis!

2 – Assigning different roles to guitarist based on their particular “studio strengths”. EX: Matt Heafy from Trivium tracking most of the rhythm guitars while Corey Beaulieu tracks most of the leads. Or Rob Flynn from Machine Head tracking most of the rhythm guitars while Phil Demmel tracks most of the leads.

  • Some guitarists have better rhythmic accuracy than others, while other guitarist will have more to say through their solos due to their melodic sensitivities. There’s nothing wrong with trying to convey what you think each guitarists strong-suite is to the band if you think it’s for the benefit of the song and will produce better results.

3 – Butch Vig recording the vocals for Nirvana’s “Something In The Way” while Kurt Cobain lay on a couch whispering quietly into the microphone for a more heartfelt performance.

  • You’ve heard the stories of famous singers burning incense, lighting candles and making seemingly-ridiculous requests while recording in the studio.
  • The truth is, nothing is ridiculous if it allows for an environment in which you’re able to capture a perfect take full of feeling and genuine emotion.
CONCLUSION:

To quickly summarise the primary points I’ve been trying to get across within this Blog in a few short sentences:

1 – Regardless of whether you play an instrument or not, it’s important to have a core understanding of how each musical element works in order to communicate accurately in the studio and accommodate to any of your clients’ needs.

2 – The way you choose to approach pitch correction and editing in your productions is entirely up to you. However, in my opinion, allowing for mediocrity to make it’s way onto your final products is unprofessional, and will most likely result in criticism which is bad for your business.

3 – Stop blindly copying others’ settings! They’re not an accurate representation of an engineer’s “definitive” approach and won’t work on different source material.

4 – Building good relationships with clients is less about the technical side of the process and more about the way you choose to interact with them on a daily basis in the studio.


Final Words:

This concludes “Learn From The Legends – Volume 7: Andy Sneap. I hope that this article has given you some new ideas to try out during your next project. Be sure to comment below if any of this information has helped you out, or if you have any questions.

Stay tuned for more production/mixing related articles in the not-so-distant future.


Read Learn From The Legends – Volume 1: Chris Lord-Alge here!

Read Learn From The Legends – Volume 2: Randy Staub here!

Read Learn From The Legends – Volume 3: Andy Wallace here!

Read Learn From The Legends – Volume 4: Andrew Scheps here!

Read Learn From The Legends – Volume 5: Jacquire King here!

Read Learn From The Legends – Volume 6: Joe Barresi here!

Want mix tips from URM Academy? Read them here!

Nail The MixNail The Mix is our online mixing school that gives you REAL multi-tracks from REAL bands, plus a mixing class from the producer who recorded it. Past guests include Periphery, Chelsea Grin, Machine Head and State Champs. Join now for instant access!


 

ALEX PRIETO: Studio Etiquette, Mixing Low End, and Managing Band Dynamics

Alex Prieto has worked alongside producers like David Bendeth and Dan Korneff on records for bands such as Pierce The Veil, The Devil Wears Prada, Motionless In White, and Crown The Empire. Mentored early on by Susan Rogers (Prince), he’s also a member of the band Grass is Green and runs front-of-house for the experimental project Secret Chiefs 3.

In This Episode

Alex Prieto joins the podcast for a super chill but insightful conversation about what it takes to make it in the modern studio world. He kicks things off with stories from his early days, stressing the importance of old-school studio etiquette—like knowing that if you can’t get the coffee order right, you’re not touching the session. Alex gets into how his formal Berklee education gave him a technical edge, especially when working in analog-heavy environments, and how that pairs with the crucial people skills of managing band dynamics. The guys also dive deep into the technical side, covering everything from dialing in guitar tones with an SM57/421 combo to getting bass and kick to lock in through phase alignment and sidechaining. It’s a great mix of high-level mindset and practical, in-the-trenches advice on referencing, gain staging, and knowing when to just go check the mix in your car… again.

Products Mentioned

Timestamps

  • [3:21] How a formal education fast-tracked his technical skills
  • [4:17] What “being ridden hard” as an intern really means
  • [5:28] “If you fuck up the coffee order, why would I let you touch the session?”
  • [6:44] The story that made him go freelance and get his own clients
  • [9:47] Why paying attention to small details leads to better creative results
  • [14:15] The decline of the “surly old engineer” and why hospitality is king
  • [15:24] What gear actually matters when you’re starting out
  • [19:19] The most important part of using reference tracks: level matching
  • [25:53] Why you should use a plugin like Metric AB instead of YouTube for referencing
  • [26:24] Alex’s go-to guitar mic combos
  • [28:37] The problem with amps that have too many options
  • [32:20] The need for new, creative plugins instead of another 1176 emulation
  • [40:25] Learning how to work with demanding bands like The Devil Wears Prada
  • [43:44] The producer’s job is to see the big picture when bands get stuck on small details
  • [56:36] Using sidechain compression on bass from the kick
  • [58:19] The importance of phase-aligning kick and bass
  • [1:09:09] Using the “Andy Wallace trick” to widen bass
  • [1:17:09] How to mix low end without a subwoofer
  • [1:21:38] Why you always need to check the phase on your drum samples
  • [1:21:59] How routing in your DAW can cause phase issues with parallel processing

3 Steps Towards Less EQ While Mixing

Introduction To The Series:

EQ, it’s undoubtedly the most powerful processing tool at an audio engineer’s disposal, but with this being said, it’s always important to keep the following saying in mind while using it:

With great power, comes great responsibility”

Too Much of A Good Thing…

Although good equalisation can completely transform a bad sound… It can just as easily ruin a perfectly decent sound if used incorrectly. The problem is, it’s not uncommon for inexperienced engineers to drastically overdo the amount of EQ they use early on in their careers due to various misconceptions and bad habits that can develop during the initial learning period…

Given the fact that truly comprehending various EQ concepts often involves years of practice and multiple “eureka” moments before they really begin to make sense, Here are 3 pieces of advice towards speeding up your learning process and preventing EQ overkill in YOUR mixes:

1 – Microphone Placement – Small Movements = Big Difference!

1 Move The Mic

A common mistake which newer engineers seem to make when they first delve into the world of recording is taking on a “Fix it in the mix” mentality.

When engineers talk about “fixing it in the mix” they’re usually referring to using after-the-fact processing to improve material which has been recorded poorly/carelessly. The problem is, working in this way is like using a band-aid to cover up a stab wound.

AKA: It’s BARELY going to fix the issue!

Get It Right At The Source!

Here are a few tried-and-true methods of improving the quality of your recorded material so that it doesn’t need “fixing”:
  • Use A Different Microphone: There isn’t a “one size fits all” solution when it comes to choosing microphones. Heck, it’s not uncommon for an expensive microphone to get beaten by a much cheaper one simply due to the fact that it “fits” the source better.
  • Given the fact that no two instruments or voices you record will ever be exactly the same, you can’t assume that a certain microphone will always be the correct choice for a particular task.
  • Depending on what resources you have at your disposal, always make sure you’re using the right tool for the job. Perform comparisons. Take note of what works best for each specific source. You never know when the most unlikely microphone candidate may defy all expectations and end up sounding absolutely incredible.
Note: Check out this awesome shootout by Ola Englund for a great demonstration of how different microphones can change a guitar tone:
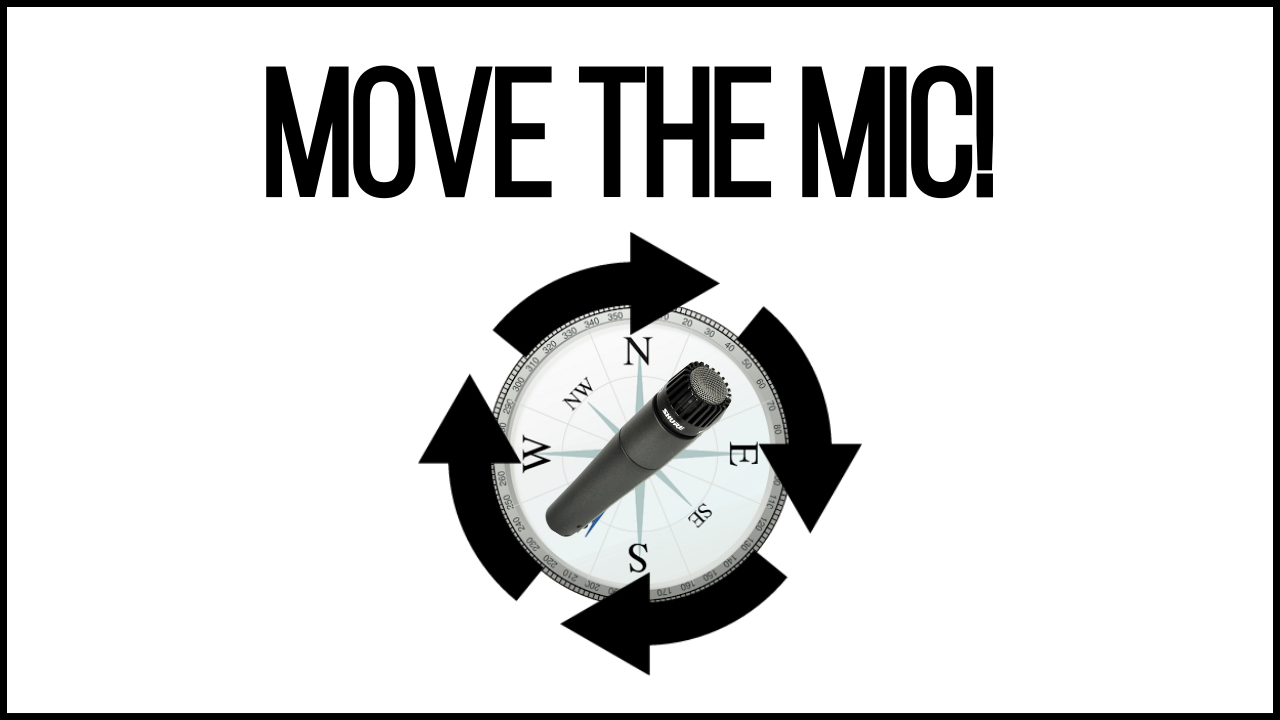
  • Move/Angle The Microphone: Often moving or angling a microphone by the slightest amount can make all of the difference in the world towards capturing a better tonal representation of a source.
  • When I first started recording, my process for determining where to place a microphone was usually to lazily google what the concensus on the most common placement was. Although blindly following others’ opinions produced pretty decent results for a few years, it wasn’t until I started tweaking these positions to better fit each instrument that I was truly satisfied with the sounds I was capturing.
NOTE: Check out this awesome video by Warren Huart from “Produce Like A Pro” for a great runthrough of how different mic placements affect raw tones:
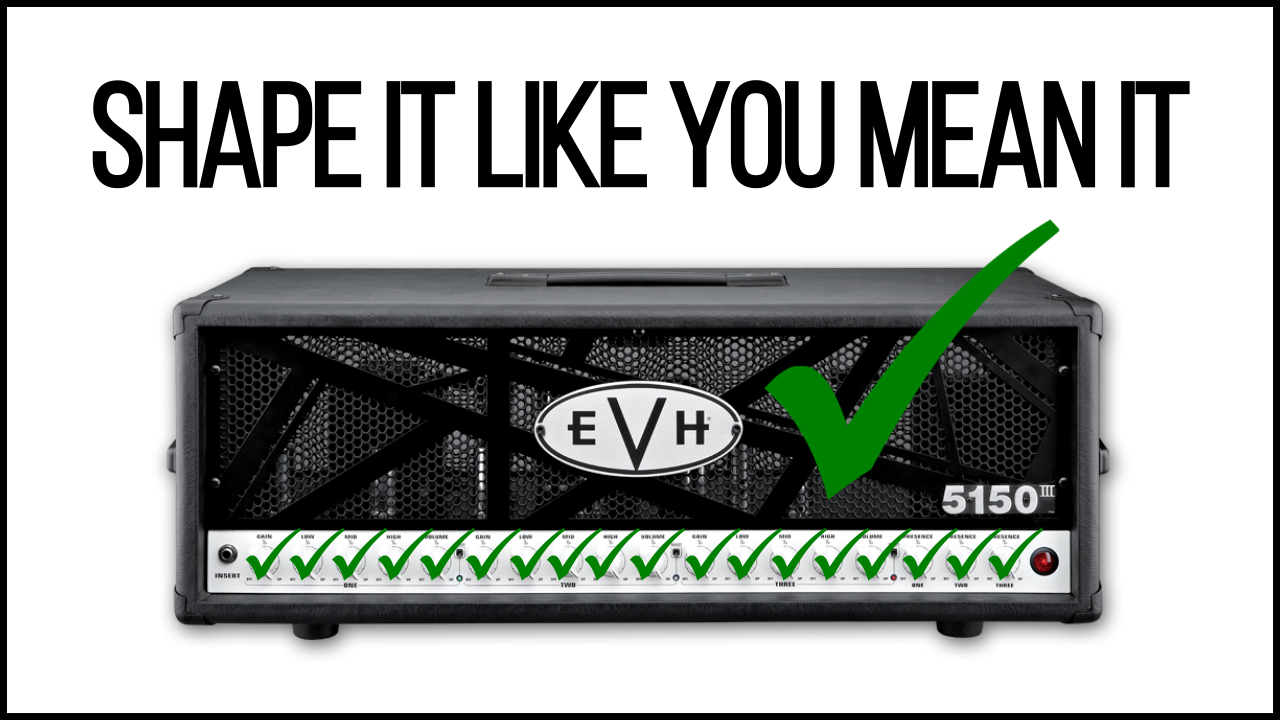
2 – Build “Mix Ready” Tones – Shape The Tone As If It’s The Last Thing You’ll Do!

2 Shape it like you mean it

Over the course of modern music history, the job of an audio engineer has been divided into multiple stages.

Back in the day, it wasn’t uncommon for a single engineer/producer to oversee the entirety of an album’s all-round production process from start to end. These days, it’s not uncommon to have a separate producer, recording engineer, audio editor, mixing engineer and mastering engineer involved in a single project.

There isn’t necessarily a problem with dividing the music creation workload between several people… But this way of working has led to a misconception that each step of the process needs to be a big, elaborate “event.”

Rather than doing what’s actually necessary, people will often try to cram-in an arbitrary amount of “stuff” into each step of the production process just for the sake fulfilling the job title they’ve been given…

My Point?

The truth is, it’s completely viable for a “raw” recording of a guitar tone to fit directly into a mix without the need for any further processing… If it’s been shaped based on those intentions during the recorded stage!

NOTE: Check out the Periphery and Gojira NailTheMix sessions for perfect examples of “mix-ready” tones which didn’t need much after-the-fact processing at all to sit perfectly in the mix:
Here are a few things to consider while trying to dial in a Periphery or Gojira-esque “mix-ready” guitar tone:
  • Use the right instrument for the song/part: The guitar you use while recording is the first part of the chain, and is therefore crucial to get right. Although you can technically use any type of guitar and probably get OK results… There are definite go-to options when it comes to each genre.
  • Do the necessary research. Don’t be afraid to experiment with your own options in order to figure out which guitars are best suited for each task. If in doubt, check out interviews with your favourite artists and try to determine what they tend to use for achieving their sounds.
  • Change your strings: Fresh strings are much brighter than battered ones, and will make a significant improvement to the amount of clarity, pick attack and sustain your instrument is producing from the get-go. FACT: If you’re not willing to spend a few $ on a fresh pair of strings at least once a week… You don’t deserve a good guitar tone.
  • Pick the right amp for the job: The amplifier you use while recording is extremely important. EX: You can’t expect to dial in a killer high-gain metal tone through a vintage Vox, and you can’t expect to dial in a beautiful jazz tone through a Peavey 5150…
  • Make sure you’re using something that’s actually suitable for your intended purpose… And even if you are, make sure you’re using it to it’s maximum potential by doing the necessary research into figuring out the amplifier’s “sweet spot” settings.
  • Although I don’t condone copying exact amp settings from other engineer, there’s definite value in understanding why a certain “settings combo” is the go-to for a certain amplifier and tweaking these settings to better-fit your own material.
NOTE: Alestorm Producer and all-round “guitar wizard” Lasse Lammert’s YouTube tone comparison and demo videos are always a great point of reference for myself when I’m trying to figure out the best uses for a particular amplifier. Here’s an example:
  • Speaker cabinets: When recorded, they’re basically like a filter that shapes the sound of your amp tone. Different brands and sizes of cab are built from different materials and shipped with varying speakers. So, each will require a personalised recording setup to result in a “filter” that actually sounds pleasing to the ear.
  • If you have the option, always try out multiple speaker cab/microphone combinations before settling on a particular sound. Even the individual speakers within a 4×12 or 2×12 cabinet can often sound drastically different to each other, and are worth comparing side-by-side.
  • Another important factor to keep in mind is the interaction between the cab and the recording space! Make sure you’re placing the speakers in a position where they aren’t over-exciting any particular frequencies within the room and causing unpleasant resonances that will eat into the clarity of your tone.
NOTE: Check out Glenn Fricker from SpectreSoundStudios’ great cab comparison video below for an accurate representation of the some of the differences between speaker cabinets:

Shaping Your Tone – Conclusion:

To finish off this section, here are some quick tips which you can instantly apply to your next guitar recording session for better results with less EQ:

  • Don’t dial-in your tones based on what you’re hearing coming out of the cab in the room: What you’re hearing and what the microphone is picking up are two completely different sounds. Always make tonal decisions based on what you’re hearing through your studio monitors as that’s what’s actually being recorded. (As long as your monitoring is accurate)
  • Guitar tones in a full mix are WAY brighter than you think: You can’t expect your tones to cut-through and compete with a dense mix if you’re dialing-them-in in isolation. My advice would be to dial in your tone against a pre-mixed drum pattern in order to get a better idea of how bright it needs to be in context.
  • Reference Your Favourite Tones: One of the best decisions you can make while dialing in a guitar tone is to actively reference the bands you love. Next time you set out to record guitar, open up a pro-mix which has awesome guitar tones. Forge your own tone while comparing them back-and-forth. You’ll be amazed at how differently you end up dialing in your amp, and most likely be much happier with the results!
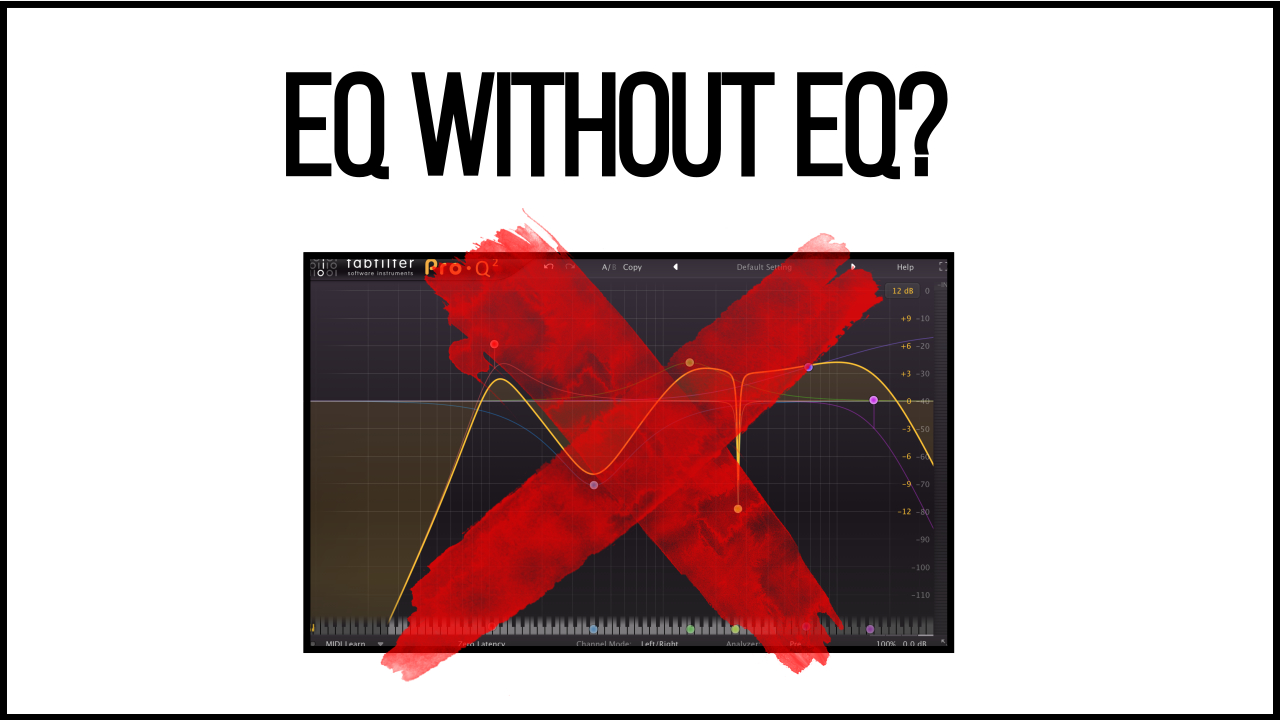
3 – A Different Tool For The Job – Don’t Automatically Reach For An EQ!

3 EQ WITHOUT EQ

Whenever we come across an element in a mix that doesn’t sound quite right, our first inclination is to reach for an EQ, but what if I told you that there’s often a much more intuitive solution to the problem?

Here are a few practical examples:
  • A Bass Guitar That Won’t Cut: One of simple realities about bass guitars in metal is that they have a very difficult time cutting through the mix unless they’re fairly gritty and distorted. You can try to make a clean DI cut via strategic EQ boosts all you want, but the reality is there’s usually too much for them to compete with for it to really be enough.
  • The Fix: The solution to this problem is often as simple as running the clean bass signal through some kind of drive unit to give it a more prominent and saturated upper-mid/high-end presence.
  • Literally anything will do the trick: A guitar amp, stomp box, distortion plugin, or even a tape simulator… As long as it sounds good, it’ll work!
NOTE: Check out this video of Adam “Nolly” Getgood dialing in a bass tone for Periphery’s “Prayer Position” NailTheMix using a tape simulator. It sounds awesome!
  • Cymbals Are Too Harsh: If there’s one element which is prone to fatiguing your listener’s ears and getting on their nerves unless treated appropriately in the mix, it’s the cymbals. Although the most common way of dealing with problematic “cymbal ringing” is to whip out a surgical EQ and notch out the offending frequencies, another cool way of addressing the problem is by using the high-end dampening effect of an analog tape simulation plugin.
  • The Fix: Experiment with various tape emulation settings in order to effectively “bleed-off” some of the cymbal harshness while also warming them up in a pleasant manner.
  • A signature characteristic of Analog tape is the fact that it rolls-off the high-end content of whatever you feed into it via a gentle low-pass filtering effect. This, combined with the nice low-end bump effect which vintage tape is famous for, can really result in much warmer and pleasant sounding overhead tracks.
  • Vocals Aren’t “In Your Face”: One of the biggest mistakes I made in my first year as a sound engineer was trying to get my vocals to sit “on-top” of my mixes with EQ and not much else. I’d spend hours EQ’ing and re-EQ’ing my vocals, trying to get them to stay on the forefront of my mixes to no-avail, and would get really frustrated as a result.
  • The Fix: It wasn’t until I discovered how to properly dial-in a compressor that I realised that reducing the dynamic range of the vocals was the real ingredient which I’d been missing rather than drastic EQ.
  • Don’t get me wrong, subtle brightening and tweaking the mid-range of your vocals to keep them in the forefront of the mix is extremely important… But slamming a vocal with an 1176 and feeling it push its’ way to the forefront of the speakers is an extremely satisfying process which often leads to instant gratification.

NOTE: These are just a few simple examples off the top of my head. Basically, my point is that you should always consider whether EQ is really the correct course of action when trying to resolve a problem before jumping to EQ based solutions.

CONCLUSION:

That’s all the time we have for this week. Next time, I’ll be giving away even more secrets to achieving better mix results without resorting to over equalisation.

To briefly sum up the advice I’ve discussed in a few points:

1 – Choose the correct microphone for a job and moving it around to find the best recording position. It’s far more effective than drastic EQ after-the-fact.

2 – Craft your guitar tones with the intention of them making the final cut; you won’t have to process them nearly as much during mixing.

3 – EQ isn’t the be-all-end all… There are often far better solutions to problems which you would usually reach for an EQ to solve.

Final Words:

This concludes “3 Steps Towards Less EQ While Mixing.” I hope that this article has given you some new ideas to try out during your next project. Be sure to comment below if any of this information has helped you out, or if you have any questions.

Stay tuned for more production/mixing related articles in the not-so-distant future!


Want mix tips from URM Academy? Read them here!

Nail The MixNail The Mix is our online mixing school that gives you REAL multi-tracks from REAL bands, plus a mixing class from the producer who recorded it. Past guests include Periphery, Chelsea Grin, Machine Head and State Champs.  Join now for instant access!
Lasse Lammert: Seeing Sound as Colors, Why Cabs Are More Important Than Amps, Never EQing Guitars

Hailing from Lübeck, Germany, producer Lasse Lammert is a true guitar tone wizard who has worked with bands like Alestorm, Gloryhammer, and Inner Sanctum from his LSD-Studios. Also known for his incredibly detailed gear comparison videos on YouTube, Lasse brings a unique, analytical perspective to production, which might have something to do with his background as a student of physics.

In This Episode

Lasse Lammert joins the podcast for a massive deep dive into all things guitar tone. He gets into the weeds on the importance of creating a relaxed studio environment and shares a fascinating look into his process, revealing that he has a form of synesthesia where he literally sees sound as colors, which guides his mixing choices. Lasse gives up the goods on his go-to gear, why he believes cabinets are far more important than amp heads, and the classic SM57 mic position that’s a perfect starting point for any session. He also covers his philosophy on committing to sounds early, why he rarely EQs distorted guitars, and the subtle but crucial differences that DI boxes, strings, and picks make in the final product. It’s a seriously nerdy, no-stone-unturned conversation perfect for anyone obsessed with chasing the perfect metal guitar sound.

Products Mentioned

Timestamps

  • [4:20] The importance of making artists feel comfortable in the studio
  • [9:08] How Lasse’s synesthesia (seeing sound as colors) influences his mixing
  • [14:45] Analyzing the “fucking awesome” production style of Kurt Ballou
  • [19:48] Go-to amps and why the 5150 is so forgiving for different players
  • [25:37] Why cabinets have a bigger impact on tone than amp heads
  • [28:22] The “resonator” effect: why you need to run a cab loud
  • [31:44] Using the Two Notes Torpedo as an amazing tool for silent recording
  • [34:06] The origin of Lasse’s gear-nerd YouTube channel
  • [40:40] The classic go-to mic position: an SM57 on a V30
  • [43:05] Why Lasse avoids EQing guitars and gets the tone right at the source
  • [50:29] How Lasse chooses the right amp when re-amping for a client
  • [55:48] How string gauge affects intonation and tone
  • [1:00:08] The critical importance of fresh bass strings (ProSteels for the win)
  • [1:06:13] Using a limiter (like the Waves L1) on a guitar bus to tighten palm mutes
  • [1:10:18] A trick for getting two mics perfectly in phase on a guitar cabinet
  • [1:12:29] Active vs. passive pickups for tight, modern metal
  • [1:13:42] Commit! Why you need to stop endlessly tweaking tones
  • [1:19:32] How much of a difference a high-quality DI box really makes