| By Thomas Brett |
Introduction To The Series:
EQ, it’s undoubtedly the most powerful processing tool at an audio engineer’s disposal, but with this being said, it’s always important to keep the following saying in mind while using it:
“With great power, comes great responsibility”
Too Much of A Good Thing…
Although good equalisation can completely transform a bad sound… It can just as easily ruin a perfectly decent sound if used incorrectly. The problem is, it’s not uncommon for inexperienced engineers to drastically overdo the amount of EQ they use early on in their careers due to various misconceptions and bad habits that can develop during the initial learning period…
Given the fact that truly comprehending various EQ concepts often involves years of practice and multiple “eureka” moments before they really begin to make sense, Here are 3 pieces of advice towards speeding up your learning process and preventing EQ overkill in YOUR mixes:
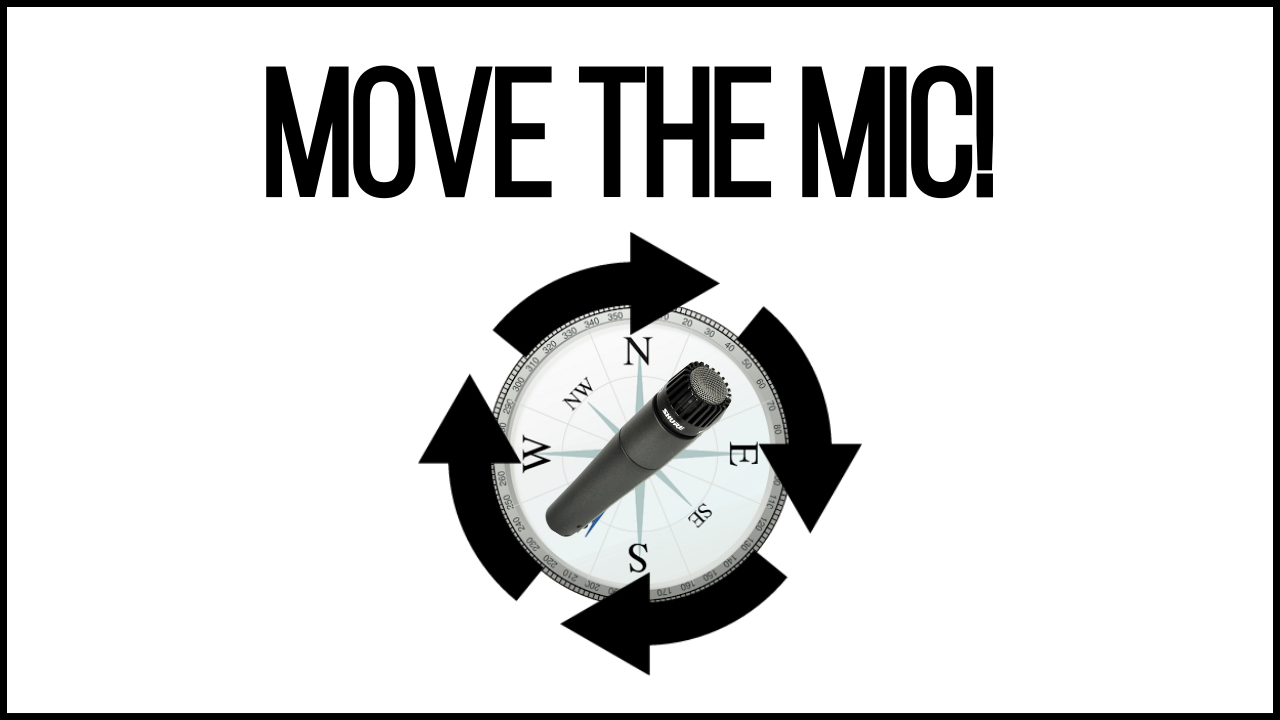
1 – Microphone Placement – Small Movements = Big Difference!

A common mistake which newer engineers seem to make when they first delve into the world of recording is taking on a “Fix it in the mix” mentality.
When engineers talk about “fixing it in the mix” they’re usually referring to using after-the-fact processing to improve material which has been recorded poorly/carelessly. The problem is, working in this way is like using a band-aid to cover up a stab wound.
AKA: It’s BARELY going to fix the issue!
Get It Right At The Source!
Here are a few tried-and-true methods of improving the quality of your recorded material so that it doesn’t need “fixing”:
- Use A Different Microphone: There isn’t a “one size fits all” solution when it comes to choosing microphones. Heck, it’s not uncommon for an expensive microphone to get beaten by a much cheaper one simply due to the fact that it “fits” the source better.
- Given the fact that no two instruments or voices you record will ever be exactly the same, you can’t assume that a certain microphone will always be the correct choice for a particular task.
- Depending on what resources you have at your disposal, always make sure you’re using the right tool for the job. Perform comparisons. Take note of what works best for each specific source. You never know when the most unlikely microphone candidate may defy all expectations and end up sounding absolutely incredible.
Note: Check out this awesome shootout by Ola Englund for a great demonstration of how different microphones can change a guitar tone:
- Move/Angle The Microphone: Often moving or angling a microphone by the slightest amount can make all of the difference in the world towards capturing a better tonal representation of a source.
- When I first started recording, my process for determining where to place a microphone was usually to lazily google what the concensus on the most common placement was. Although blindly following others’ opinions produced pretty decent results for a few years, it wasn’t until I started tweaking these positions to better fit each instrument that I was truly satisfied with the sounds I was capturing.
NOTE: Check out this awesome video by Warren Huart from “Produce Like A Pro” for a great runthrough of how different mic placements affect raw tones:
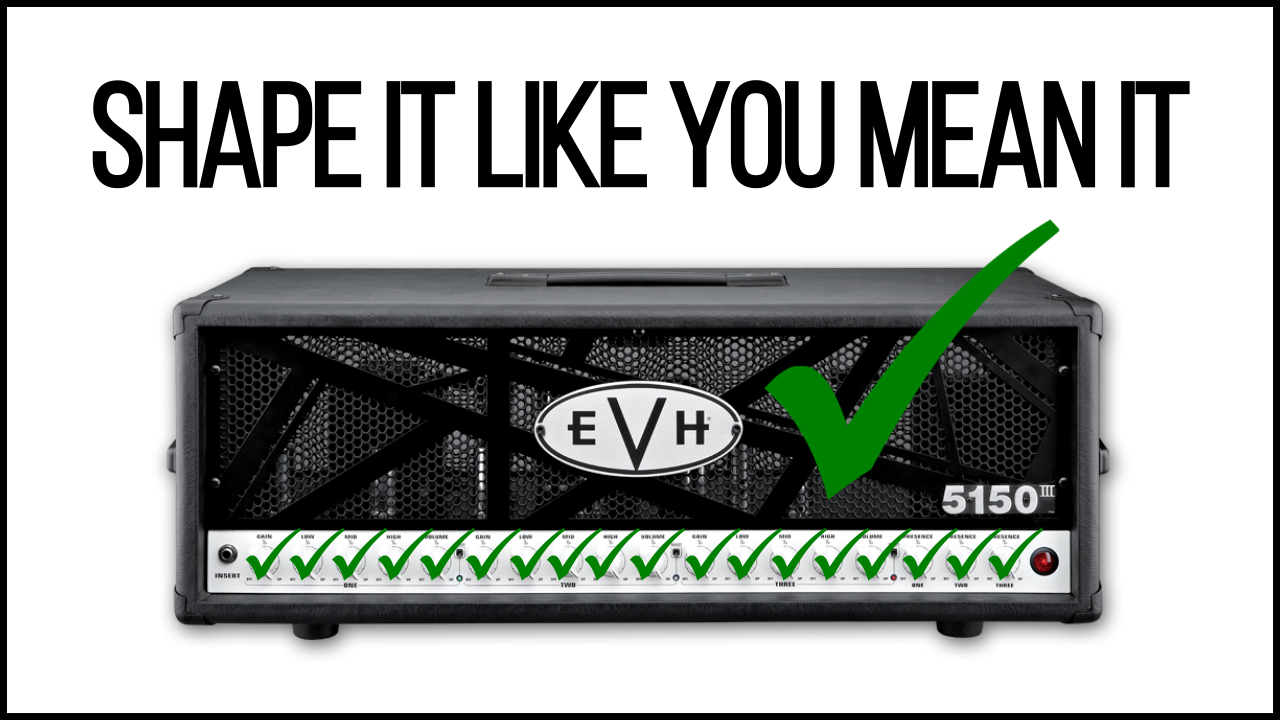
2 – Build “Mix Ready” Tones – Shape The Tone As If It’s The Last Thing You’ll Do!

Over the course of modern music history, the job of an audio engineer has been divided into multiple stages.
Back in the day, it wasn’t uncommon for a single engineer/producer to oversee the entirety of an album’s all-round production process from start to end. These days, it’s not uncommon to have a separate producer, recording engineer, audio editor, mixing engineer and mastering engineer involved in a single project.
There isn’t necessarily a problem with dividing the music creation workload between several people… But this way of working has led to a misconception that each step of the process needs to be a big, elaborate “event.”
Rather than doing what’s actually necessary, people will often try to cram-in an arbitrary amount of “stuff” into each step of the production process just for the sake fulfilling the job title they’ve been given…
My Point?
The truth is, it’s completely viable for a “raw” recording of a guitar tone to fit directly into a mix without the need for any further processing… If it’s been shaped based on those intentions during the recorded stage!
NOTE: Check out the Periphery and Gojira NailTheMix sessions for perfect examples of “mix-ready” tones which didn’t need much after-the-fact processing at all to sit perfectly in the mix:
Here are a few things to consider while trying to dial in a Periphery or Gojira-esque “mix-ready” guitar tone:
- Use the right instrument for the song/part: The guitar you use while recording is the first part of the chain, and is therefore crucial to get right. Although you can technically use any type of guitar and probably get OK results… There are definite go-to options when it comes to each genre.
- Do the necessary research. Don’t be afraid to experiment with your own options in order to figure out which guitars are best suited for each task. If in doubt, check out interviews with your favourite artists and try to determine what they tend to use for achieving their sounds.
- Change your strings: Fresh strings are much brighter than battered ones, and will make a significant improvement to the amount of clarity, pick attack and sustain your instrument is producing from the get-go. FACT: If you’re not willing to spend a few $ on a fresh pair of strings at least once a week… You don’t deserve a good guitar tone.
- Pick the right amp for the job: The amplifier you use while recording is extremely important. EX: You can’t expect to dial in a killer high-gain metal tone through a vintage Vox, and you can’t expect to dial in a beautiful jazz tone through a Peavey 5150…
- Make sure you’re using something that’s actually suitable for your intended purpose… And even if you are, make sure you’re using it to it’s maximum potential by doing the necessary research into figuring out the amplifier’s “sweet spot” settings.
- Although I don’t condone copying exact amp settings from other engineer, there’s definite value in understanding why a certain “settings combo” is the go-to for a certain amplifier and tweaking these settings to better-fit your own material.
NOTE: Alestorm Producer and all-round “guitar wizard” Lasse Lammert’s YouTube tone comparison and demo videos are always a great point of reference for myself when I’m trying to figure out the best uses for a particular amplifier. Here’s an example:
- Speaker cabinets: When recorded, they’re basically like a filter that shapes the sound of your amp tone. Different brands and sizes of cab are built from different materials and shipped with varying speakers. So, each will require a personalised recording setup to result in a “filter” that actually sounds pleasing to the ear.
- If you have the option, always try out multiple speaker cab/microphone combinations before settling on a particular sound. Even the individual speakers within a 4×12 or 2×12 cabinet can often sound drastically different to each other, and are worth comparing side-by-side.
- Another important factor to keep in mind is the interaction between the cab and the recording space! Make sure you’re placing the speakers in a position where they aren’t over-exciting any particular frequencies within the room and causing unpleasant resonances that will eat into the clarity of your tone.
NOTE: Check out Glenn Fricker from SpectreSoundStudios’ great cab comparison video below for an accurate representation of the some of the differences between speaker cabinets:
Shaping Your Tone – Conclusion:
To finish off this section, here are some quick tips which you can instantly apply to your next guitar recording session for better results with less EQ:
- Don’t dial-in your tones based on what you’re hearing coming out of the cab in the room: What you’re hearing and what the microphone is picking up are two completely different sounds. Always make tonal decisions based on what you’re hearing through your studio monitors as that’s what’s actually being recorded. (As long as your monitoring is accurate)
- Guitar tones in a full mix are WAY brighter than you think: You can’t expect your tones to cut-through and compete with a dense mix if you’re dialing-them-in in isolation. My advice would be to dial in your tone against a pre-mixed drum pattern in order to get a better idea of how bright it needs to be in context.
- Reference Your Favourite Tones: One of the best decisions you can make while dialing in a guitar tone is to actively reference the bands you love. Next time you set out to record guitar, open up a pro-mix which has awesome guitar tones. Forge your own tone while comparing them back-and-forth. You’ll be amazed at how differently you end up dialing in your amp, and most likely be much happier with the results!
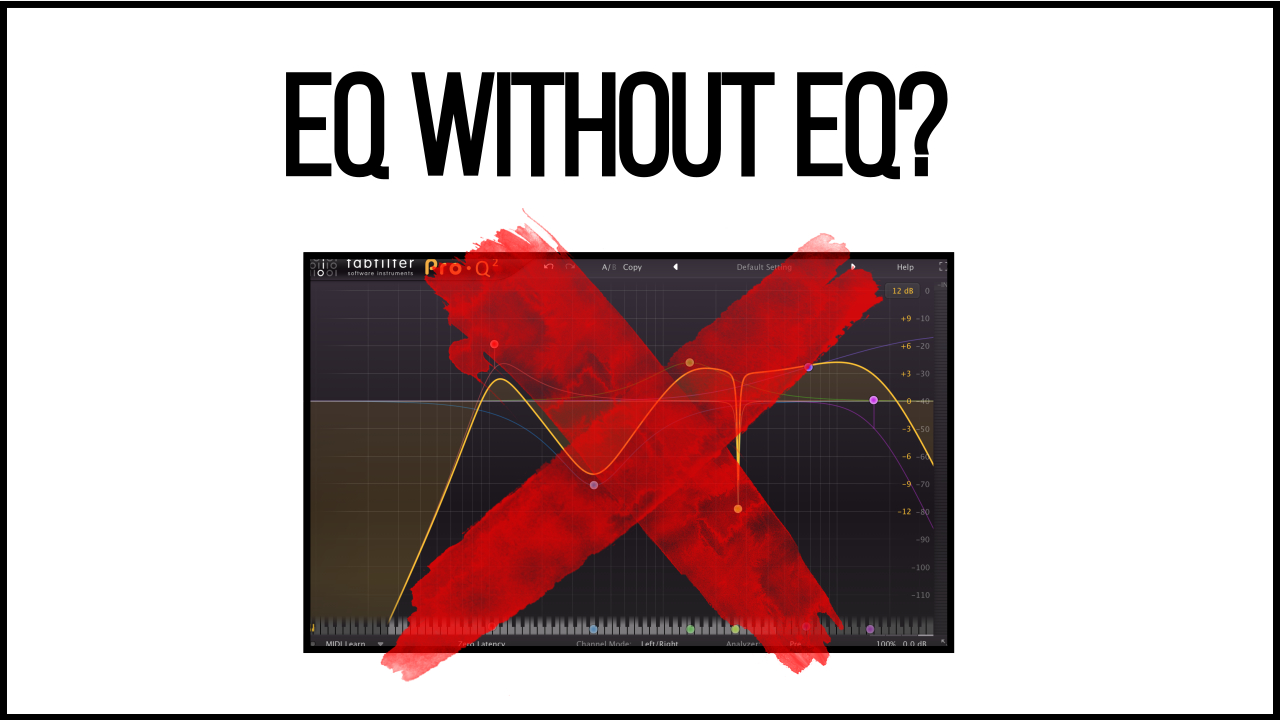
3 – A Different Tool For The Job – Don’t Automatically Reach For An EQ!

Whenever we come across an element in a mix that doesn’t sound quite right, our first inclination is to reach for an EQ, but what if I told you that there’s often a much more intuitive solution to the problem?
Here are a few practical examples:
- A Bass Guitar That Won’t Cut: One of simple realities about bass guitars in metal is that they have a very difficult time cutting through the mix unless they’re fairly gritty and distorted. You can try to make a clean DI cut via strategic EQ boosts all you want, but the reality is there’s usually too much for them to compete with for it to really be enough.
- The Fix: The solution to this problem is often as simple as running the clean bass signal through some kind of drive unit to give it a more prominent and saturated upper-mid/high-end presence.
- Literally anything will do the trick: A guitar amp, stomp box, distortion plugin, or even a tape simulator… As long as it sounds good, it’ll work!
NOTE: Check out this video of Adam “Nolly” Getgood dialing in a bass tone for Periphery’s “Prayer Position” NailTheMix using a tape simulator. It sounds awesome!
- Cymbals Are Too Harsh: If there’s one element which is prone to fatiguing your listener’s ears and getting on their nerves unless treated appropriately in the mix, it’s the cymbals. Although the most common way of dealing with problematic “cymbal ringing” is to whip out a surgical EQ and notch out the offending frequencies, another cool way of addressing the problem is by using the high-end dampening effect of an analog tape simulation plugin.
- The Fix: Experiment with various tape emulation settings in order to effectively “bleed-off” some of the cymbal harshness while also warming them up in a pleasant manner.
- A signature characteristic of Analog tape is the fact that it rolls-off the high-end content of whatever you feed into it via a gentle low-pass filtering effect. This, combined with the nice low-end bump effect which vintage tape is famous for, can really result in much warmer and pleasant sounding overhead tracks.
- Vocals Aren’t “In Your Face”: One of the biggest mistakes I made in my first year as a sound engineer was trying to get my vocals to sit “on-top” of my mixes with EQ and not much else. I’d spend hours EQ’ing and re-EQ’ing my vocals, trying to get them to stay on the forefront of my mixes to no-avail, and would get really frustrated as a result.
- The Fix: It wasn’t until I discovered how to properly dial-in a compressor that I realised that reducing the dynamic range of the vocals was the real ingredient which I’d been missing rather than drastic EQ.
- Don’t get me wrong, subtle brightening and tweaking the mid-range of your vocals to keep them in the forefront of the mix is extremely important… But slamming a vocal with an 1176 and feeling it push its’ way to the forefront of the speakers is an extremely satisfying process which often leads to instant gratification.
NOTE: These are just a few simple examples off the top of my head. Basically, my point is that you should always consider whether EQ is really the correct course of action when trying to resolve a problem before jumping to EQ based solutions.
CONCLUSION:
That’s all the time we have for this week. Next time, I’ll be giving away even more secrets to achieving better mix results without resorting to over equalisation.
To briefly sum up the advice I’ve discussed in a few points:
1 – Choose the correct microphone for a job and moving it around to find the best recording position. It’s far more effective than drastic EQ after-the-fact.
2 – Craft your guitar tones with the intention of them making the final cut; you won’t have to process them nearly as much during mixing.
3 – EQ isn’t the be-all-end all… There are often far better solutions to problems which you would usually reach for an EQ to solve.
Final Words:
This concludes “3 Steps Towards Less EQ While Mixing.” I hope that this article has given you some new ideas to try out during your next project. Be sure to comment below if any of this information has helped you out, or if you have any questions.
Stay tuned for more production/mixing related articles in the not-so-distant future!
Thomas Brett is a producer, mixing engineer and songwriter at Brett Brothers recording studio in the UK. Check out the Brett Brothers studio website for more information and articles on all things mixing www.brettbrothersstudio.com
Want mix tips from Thomas Brett? Read them here!
 Nail The Mix is our online mixing school that gives you REAL multi-tracks from REAL bands, plus a mixing class from the producer who recorded it. Past guests include Periphery, Chelsea Grin, Machine Head and State Champs. Join now for instant access!
