EQ, It’s one of the most difficult tools for newer engineers to get their heads around when first starting out, and is also the tool most prone to being misused due to various bad habits & misconceptions which can develop during the learning process.
This week, I’ll be sharing with you one of the most important, workflow-altering mixing revelations I’ve had in my years of audio, and hopefully help you course-correct away from any EQ mistakes you’ve been making on the regular.
It’s Music, Not Math… Don’t Over-Complicate It!
Mixing isn’t meant to be a math-driven technical process based on a bunch of exact numbers or frequencies… It’s meant to be a gut-driven musical process based on feeling and emotion!
Time for a little backstory…
When I first started getting into the world of audio, I’d hear well-known engineers describing sounds with words like “warmth”, “presence” & “air”. As a tech-oriented guy, I always used to think that these old-timers were lame, and stubbornly preferred to think in more analytical/surgical “100-250Hz, 2-4kHz & 10kHz” terms.
As the years went by, and my scientific knowledge of audio improved, I felt like my mixes were technically becoming “cleaner”… But always missing a certain something that I couldn’t quite put my finger on.
This lack of progression continued, and I began over-analysing every mix I did in search of the missing “spark”… All the while digging myself into a deeper hole of over-processing and “empty” sounding mixes.
It wasn’t until I re-watched an old mixing tutorial by a famous engineer while in search of “secret mixing tips” (in a moment of mixing depression) that I realised…
The real “not-so-secret” key to a great mix:
The engineer wasn’t blindly tweaking specific frequencies based on any cold, hard “mixing rules” that he’d read in a book… Neither did he look like he was in a stressed-out “analytical mode”… (as I usually was while mixing)
On the contrary! He was listening to each instrument and diagnosing the problems based off-of simple gut reactions such as “this guitar is a bit painful to listen to” or “that kick drum isn’t hitting me hard enough in the chest”.
The 100-track mix he pulled off with 2 hours of minimalist tweaking based on nothing more than pure musicality and emotion was leaps-and-bounds better than the super-technical “stupid-amounts-of-surgical-EQ” mixes I’d spent days, or even weeks on in the past!
After realising these seemingly-simply mixing approach characteristics, I decided to give a mix I’d been working on at the time another go, but this time, I threw all of my usual go-to habits/settings out of the window and listen as a music lover rather than a techhead.
To my absolute amazement, that mix ended up being the best sounding, most enjoyable one I had done to date! (The client was also very pleased, and had no revisions upon delivery – That was a first!)
My point is…
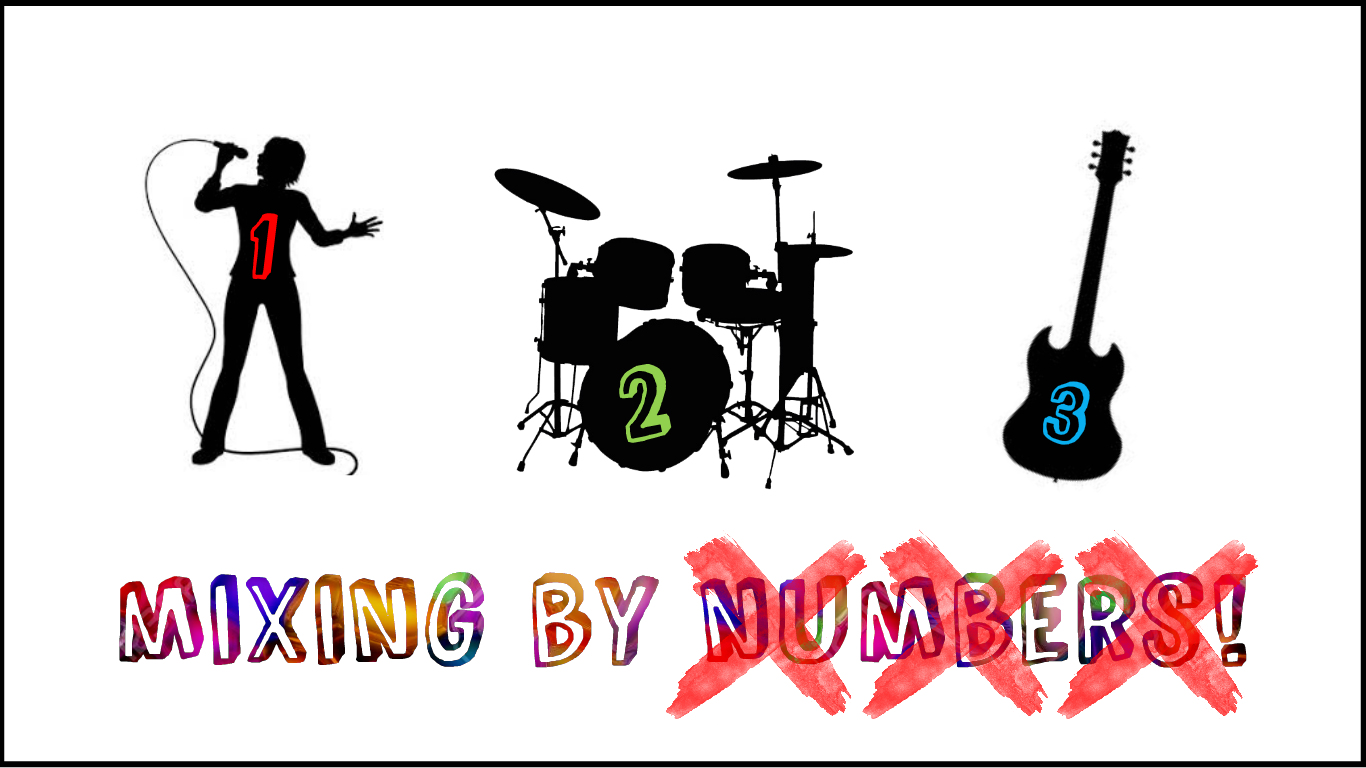
Don’t “EQ By Numbers”!
It’s easy to read generalised mixing “rules” such as “500Hz is boxiness, 250Hz is mud, etc…” and then automatically/blindly proceed to mess with those frequencies in every single instrument, on every single mix you do…
Don’t get me wrong, it’s extremely important to know the frequency ranges in which certain qualities/shortcomings of an instrument can be found, but this doesn’t mean that you should habitually go in and instantiate bands of EQ and start boosting/cutting them without even listening-to & diagnosing the sound first!
CONCLUSION:
It’s funny how you can spend years trying to improve your mixes by getting more and more complicated… Or using fancy techniques/ways of thinking… Only to come full circle and realise that the most basic things which you discarded as “stupid” or “basic” when you first began were actually the far superior approach all along!
Final Words:
This concludes “Are You Overthinking EQ?” I hope that this article has given you some new ideas to try out during your next project. Be sure to comment below if any of this information has helped you out, or if you have any questions.
Stay tuned for more production/mixing related articles in the not-so-distant future!
Nail The Mix is our online mixing school that gives you REAL multi-tracks from REAL bands, plus a mixing class from the producer who recorded it. Past guests include Periphery, Chelsea Grin, Machine Head and State Champs. Join now for instant access!
Finn McKenty is the Director of Marketing at URM Academy and the mind behind The Punk Rock MBA. His wide-ranging career includes launching the music and audio channel at Creative Live (where he worked with URM mainstays like Joey Sturgis, Kris Crummett, and Kurt Ballou), handling international marketing for Abercrombie & Fitch, and consulting for global brands like Swiffer and Febreze. A prolific writer for publications like Metal Sucks and Decibel, Finn also does marketing for forward-thinking companies like Horizon Devices and GetGood Drums.
In This Episode
On this Q&A-style episode, URM’s own Finn McKenty fields your questions on the business and marketing side of the music hustle. He offers some seriously practical, no-BS advice on what it really takes to get ahead. Finn tackles the big question of talent versus branding, arguing that charisma is the single most important asset for a performing artist. He also weighs in on career transitions, making a strong case for planning years ahead and easing into new roles instead of making a risky leap. For producers running their own businesses, he breaks down how to stand out from established studios by finding your unique angle and why obsessing over your gear list is a waste of time compared to building a solid track record. This is a must-listen for anyone looking to think smarter about their career path, brand, and how to market themselves effectively.
Jaime Gomez Arellano is a producer and engineer known for his organic, natural-sounding recordings in the doom, goth, and heavy metal worlds. Operating out of his own Orgone Studios in the UK, he has helmed acclaimed albums for bands like Ghost (including their debut, Opus Eponymous), Paradise Lost, Cathedral, Sunn O))), and Electric Wizard.
In This Episode
Jaime Gomez Arellano gets into the nitty-gritty of what it takes to build a career and a signature sound. He shares his journey from learning to record on cassette decks in Colombia to establishing his stunning Orgone Studios in the English countryside. Jaime breaks down why he’s shifted to shorter, more focused recording sessions, emphasizing the importance of keeping musicians fresh and the vibe positive to capture great performances. He discusses his philosophy of investing in instruments and a great-sounding room over boutique outboard gear, arguing that the source is what truly matters. He also offers a ton of practical advice, from his detailed approach to drum tuning and getting sounds right at the source, to his techniques for mastering incredibly dense, low-dynamic music like Sunn O))). He caps it off with the inside story of how he connected with Ghost and helped craft the sound for their iconic debut album.
You know what drives me nuts? The idea that there are rules to music (or art of any kind, for that matter). It’s kind of ridiculous, especially when the self-appointed authorities making and enforcing the rules are a bunch of random people on Facebook. The fact of the matter is that there are NO rules to music – the only that matters is whether you and the audience like the sound coming out of the speakers!
One of the best examples is drum programming: we all assume that the “right” way to program drums is to mimic as closely as possible the way in which a human plays drums. Nobody questions this – and I’ll admit that I’ve always thought of this as an unbreakable rule. You never program parts a human couldn’t play (for example, hitting two cymbals and the snare at the same time), you don’t use 127 velocity for every hit, and so forth.
But the truth is that (like most “rules” in music), that isn’t a rule at all – it’s just a guideline. Sometimes your music sounds better when you break the rules, so why not go for it? If you think it sounds better with everything at 127, then do it!
For a real world example, check out WZRD BLD and Jeff Dunne programming drums on the latest EMMURE album in this clip from their Nail The Mix session. As they point out, some of these parts are physically impossible to play, but they just went with it because it sounded better that way.
Remember: the goal isn’t to please a bunch of nerds on Facebook by slavishly following their made-up “rules,” the goal is to make great music 🙂
Nail The Mix is our online mixing school that gives you REAL multi-tracks from REAL bands, plus a mixing class from the producer who recorded it. Past guests include Periphery, Gojira, Meshuggah, Machine Head, A Day To Remember and State Champs. Join now for instant access!
Vocals are the most important element in a mix, yet, ironically, also the most prone to sounding terrible when over-processed or heavily messed with.
Luckily, the real secret to getting a great vocal sound doesn’t lie in the mixing stage, but rather in the recording and mix preparation stages.
In this two-part URM Blog series I’ll be guiding you through some of the initial steps you can take towards transforming your raw vocal recordings into well-oiled melodic machines, and hopefully help prevent them from having to rely on fancy mixing tricks to sound great.
The Problem?
With all of the amazing modern studio tools available to us nowadays, we’re currently able to replace and re-amp most recorded sounds with fairly minimal effort.
As much as it’s still important to make sure you’re recording every instruments as well as possible before falling back on these types of tricks, the one instrument which really relies on the initial quality of the raw recordings is Vocals.
The Fix!
When it comes to dealing with less-than-adequate vocals, the best plan of action is summed up pretty accurately in the following quote:
“If I had six hours to chop down a tree, I’d spend the first four sharpening the axe.” – Abraham Lincoln (Possibly…)
The pre-mix “Vocal Sharpening” tools I’ll be talking about in this series consist of the following:
Part 1:
Comping
Editing/Quantising
Part 2:
Tuning
Aligning
Automation
NOTE: I won’t be covering vocal recording in this blog, and assume that you’ve already got some fairly decent vocal takes to work with before moving on to the topics I’m about to discuss. If you’re struggling to capture great vocals in the first place, make sure to check out my past URM articles on the subject:
Now that we’ve got the preliminary stuff out of the way, let’s dive straight in!
1 – Comping (Combining takes)
What is it?
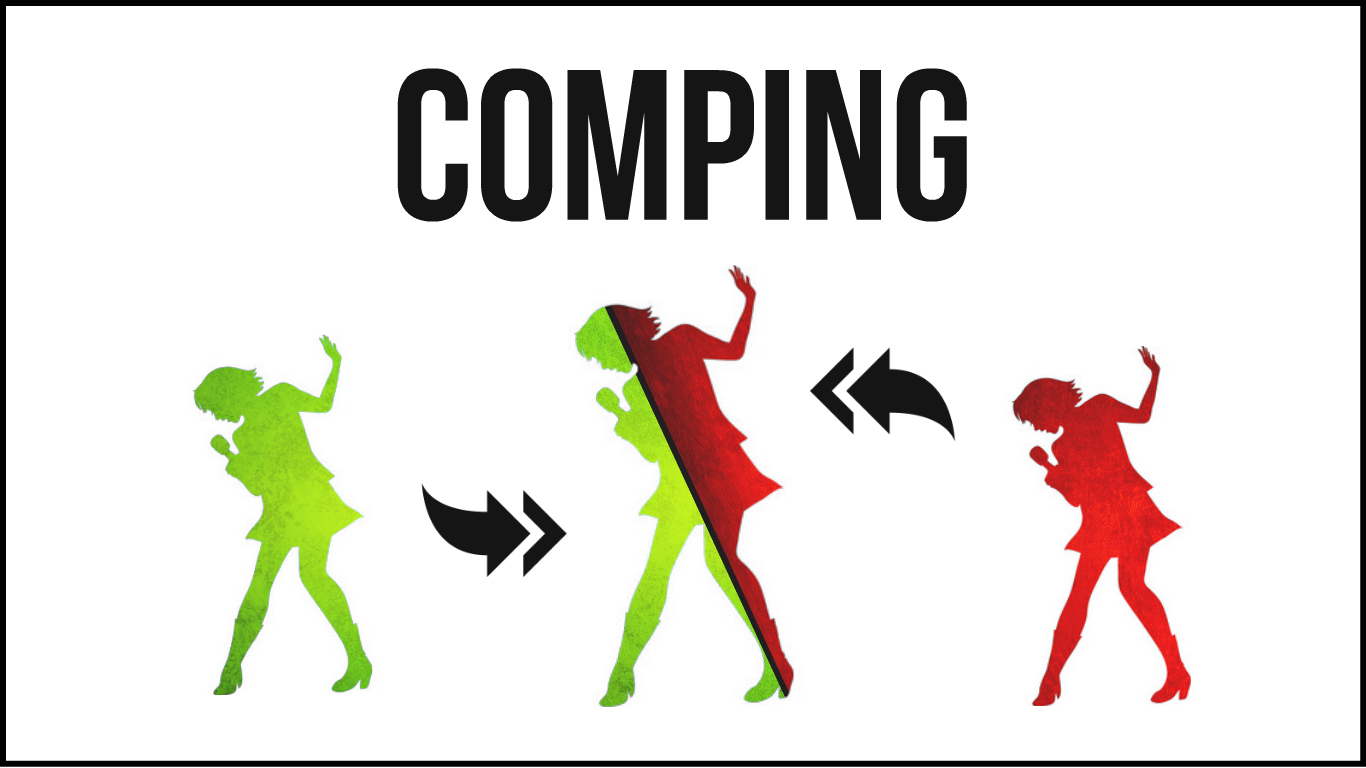
The first (and arguably most crucial) step you can take towards achieving an awesome vocal track in the editing stage is Comping. AKA:Taking the best parts from multiple takes and combining them into one “Ultimate Performance”.
Check out the following video by Grammy-award-winning engineer Kenny Gioia for an easy-to-understand demonstration of how the process works:
Now that you get the basic concept, here are some crucial tips towards getting the best results out of your comping sessions:
Comp in context:
While trying to decide which vocal take is most in tune, it’s extremely important that you have an accurate point of reference for what “in tune” really means.
Unless you have perfect pitch (and you most likely don’t) you definitely want to be comping your vocals alongside an additional melodic element from the song in order to better judge what you’re actually hearing.
Mid-range instruments such as keys and guitars are the most ideal candidates for this purpose, but pretty much anything consistent will work. Just make sure that you can trust the tuning integrity of whatever you choose to use.
PS. I personally wouldn’t use bass instruments for this task, as it’s more difficult to accurately judge pitch below a certain tonal range.
Working in this way will prevent any unpleasant after-the-fact tuning realisations from occurring… While also allowing you to get the job done quickly with minimal self doubt.
Performance vs. perfection:
A fair number of the legendary singers we hold in high esteem aren’t necessarily loved because they are/were technically perfect!
In fact, I’d even argue that genuine emotion and unique vocal characteristics are the more important factors when it comes to determining whether a voice will truly connect with a listener or not.
NOTE:Check out the following video and you’ll hear exactly what I’m talking about:
Based on these facts, we can determine that choosing the take which is most in tune may not always be the best course of action…
Let’s say you have two vocal takes:One of them is perfectly in tune, but also very lifeless and sterile, while the other is slightly flat, but chock-full of rock-n-roll angst.
In the case of a rock song, I may actually decide to use the second take and simply try to smooth-out the pitching issues later on. After all, character is what you’re really looking for when you think good ole’ fashioned hard rock!
NOTE:It’s important to remember that these “which take should I use” decisions are all genre and context dependant. In the case of a soft acoustic or pop song, it might be preferable to choose the more in-tune, subdued take.
Vocal variables:
Beyond pitch, timing and character, another important variable to watch out for when combining audio from separate takes is general tonality.
Vocal recording isn’t a perfect science, so there are bound to be a few technical inconsistencies between the individual performances you capture within a given period of time.
These inconsistencies are caused by simple variables such as distance/angle to the microphone, vocal fatigue, red light syndrome (recording studio nerves), headphone balance, emotion, inspiration, etc.
A few prime examples which I come across often are: The XX’nth take sounding very tired and dull compared to the 1st/2nd take. Or…A great singer with extensive studio experience consistently giving their best performance on their 1st take of each song. etc…
My main point is: There can be drastic differences between takes, so make sure you’re not focusing too heavily on pitch or timing and neglecting blatant tonal mismatches/trends only to end up with a weird “franken-vocal” which makes no sense as a result!
2 – Editing/Quantising (Timing correction)
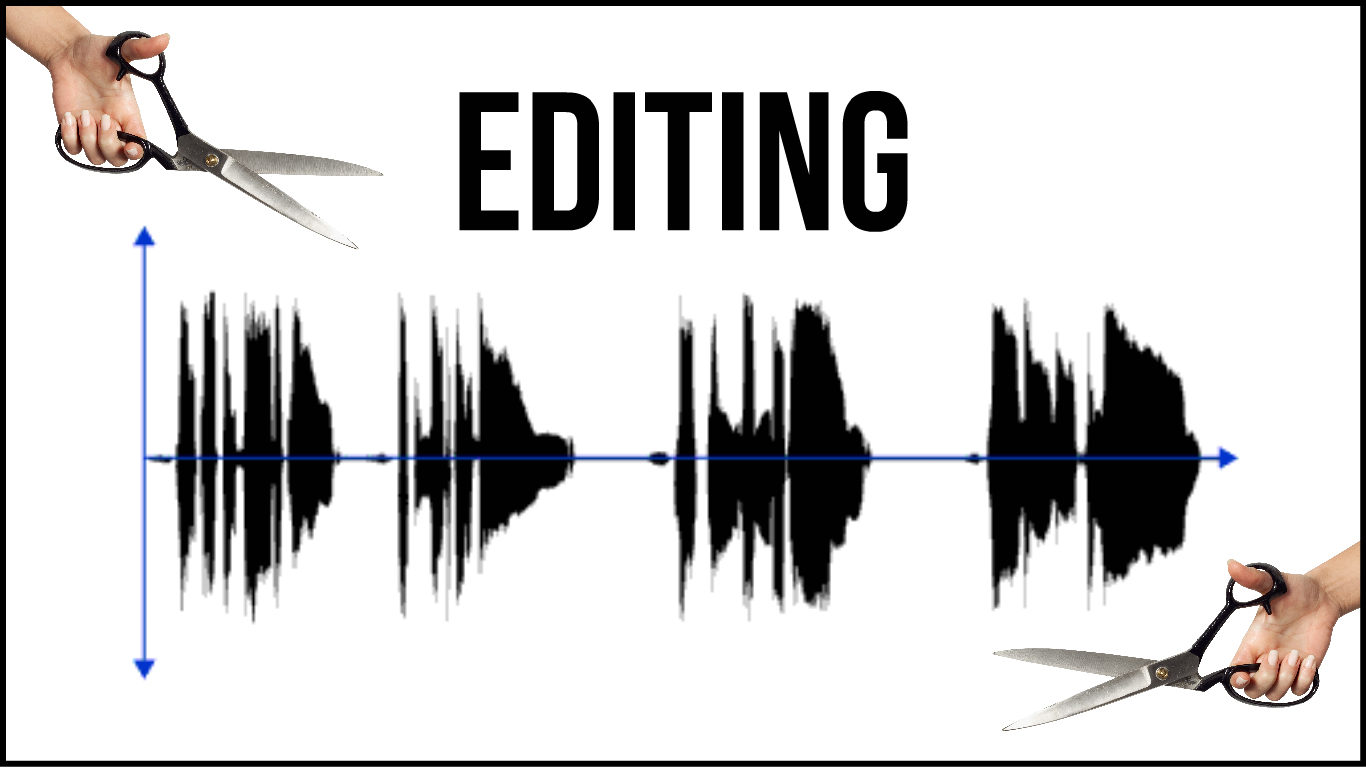
After comping, the next step in polishing a vocal is Timing Correction.
What is it?
The main reason for editing the timing of a vocal is to make sure they’re tightly locked in with the rest of the instruments, and are aiding (rather than detracting from) the overall feel of the track.
In the simplest terms possible: Vocals which aren’t properly in sync with their instrumental surroundings are difficult to sing along to… Which is a big no-no when you’re trying to achieve a hit song!
Here’s a quick demonstration on one of the many methods which can be used to correct the timing issues within a vocal recording:
Now that you’re more familiar with the process, here’s some of my top vocal timing advice:
NOTE: There isn’t really a “best” way to correct the timing of a vocal. This is primarily due to the fact that every DAW comes with a slightly different set of tools, and can in return be better suited towards certain workflows than others. If you’re just getting started, your best bet is to try out/research the options available to you and determine which method works best given your situation.
There are however a few considerations to be made…
Manual vs. automatic:
I personally prefer to quantise my vocals manually.
Although it can be a fairly tedious and mind-numbing process, I find that this approach allows for the greatest level of individual control and the highest quality results.
“Automatic” vocal correction suites such as Melodyne are also a good option when it comes to performing this task, however I personally prefer the more simplistic and natural sounding “slice, move and fill in the gaps” approach shown in the video above.
Quantise in context:
Similar to the “pitch reference” concept I talked about during the comping section, it’s important that you have a good frame of timing reference to work alongside while quantising a vocal.
A simple click track will usually do the trick… But I find that aligning vocals to the edited drum track can result in a tighter, more cohesive end product.
What about flex-time/elastic audio/time stretching?
Time-stretching is a really useful tool for a lot of audio editing applications… However, I try to avoid using it all all costs when it comes to an instrument as delicate as vocals.
The primary reason for this, (in my opinion) is the fact that the human ear is designed to accurately recognise the natural sound of a human voice.
I personally find that the digital artifacts which come about from the process of stretching a voice are too “obviously fake” to let slip. I would much rather put in the extra time and effort towards preserving the natural timbre of a performance.
NOTE: All of this being said,time stretching can still be an awesome tool for fixing such issues on your less important “non-lead” vocals. Here’s a great demonstration of flex-time vocal timing correction on a vocal double within Logic Pro X:
END OF PART 1:
In order to prevent your brain from overheating from too much information, that’s all we’ll be covering this week.
Tune in next time for Part 2 of “Prepare For Perfection”, in which I’ll be covering some massive topics such as tuning, aligning and volume automation!
Final Words:
This concludes “Prepare For Perfection – Getting Vocals Ready To Mix (Part 1).” I hope that this article has given you some new ideas to try out during your next project. Be sure to comment below if any of this information has helped you out, or if you have any questions.
Stay tuned for more production/mixing related articles in the not-so-distant future!
Nail The Mix is our online mixing school that gives you REAL multi-tracks from REAL bands, plus a mixing class from the producer who recorded it. Past guests include Periphery, Chelsea Grin, Machine Head and State Champs. Join now for instant access!



 Nail The Mix is our online mixing school that gives you REAL multi-tracks from REAL bands, plus a mixing class from the producer who recorded it. Past guests include Periphery, Chelsea Grin, Machine Head and State Champs. Join now for instant access!