urmadmin, Author at Unstoppable Recording Machine - Page 18 of 45

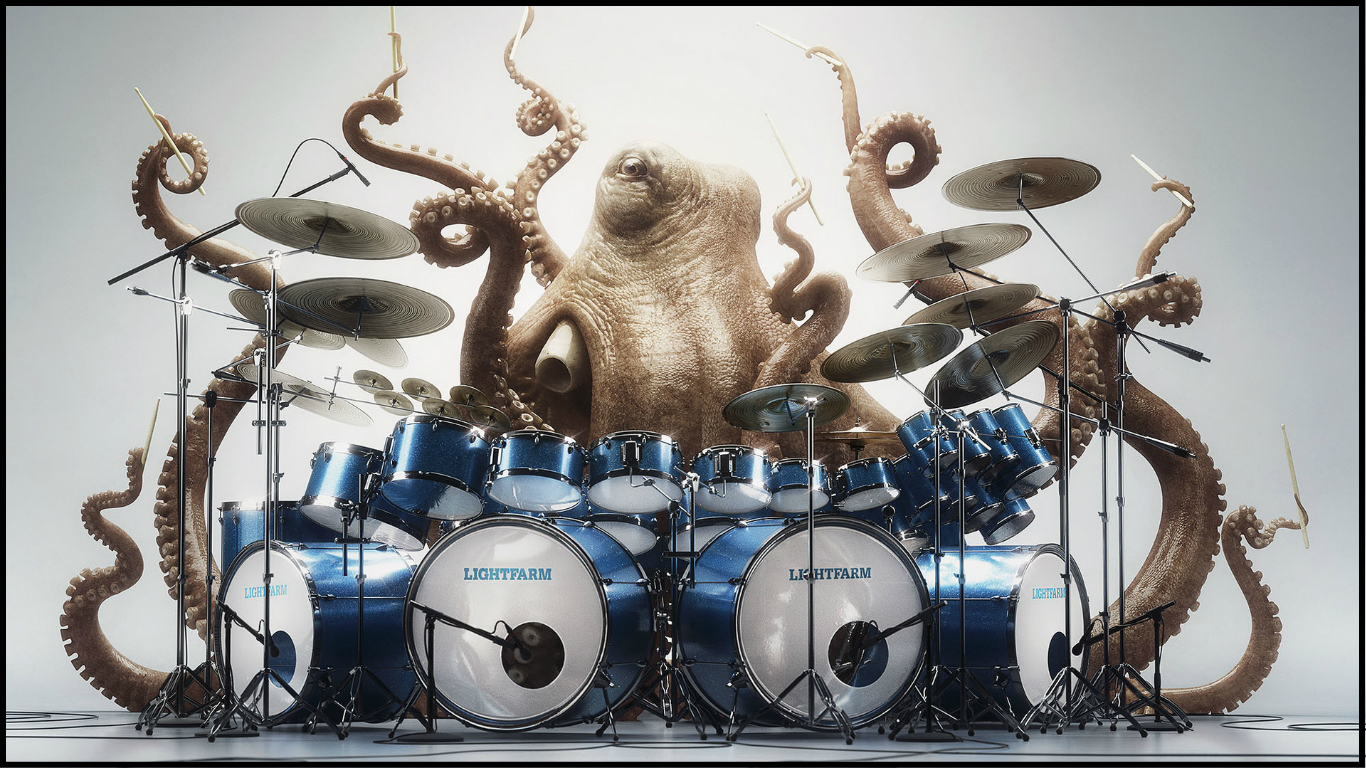
5 Drum Programming Tips For Maximum Realism

Introduction:

Knowing how to program a basic drum groove for a quick demo is one thing. But knowing how to program complex performances that are realistic enough to completely fool a listener is a different ball game altogether…

In this week’s URM Blog, I’ll be guiding you through 5 tips that will help take your drum programming skills to the next level, while also giving you a better understanding of how drummers operate in general:

1 – LEARN THE BASIC TECHNIQUES! (RIMSHOTS, FLAMS & CYMBAL CHOKES)

1 LEARN THE BASICS

In order to program drum parts that sound like they’re being played by a real drummer, you first need to learn some of the basic techniques that a drummer would use in a performance.

Here are 3 of these techniques you should definitely know about:

In simple terms…

  • Rimshots: Hitting the head and rim of a drum simultaneously by angling the drum stick accordingly, resulting in a louder note with a lot more “ring” to it. (Commonly used in heavy music for an impactful snare sound on the backbeat)
  • Flams: Two notes played in quick succession in order to emulate an almost “sustained” sounding single note. (Often used in slower drum fills in order to greatly accentuate certain snare & tom hits)
  • Cymbal Chokes: When a sustaining cymbal is suddenly grabbed by the drummer’s hand in order to produce a muted “choke” sound. (Generally used when an instant drop-out to silence is required at the end of a section)

AUDIO EXAMPLE: Here’s a quick programmed drum example I threw together in order to blatantly showcase all 3 of the techniques mentioned above.


2 – AVOID THE HIGHEST VELOCITIES!

2 AVOID THE HIGHEST VELO

The very top sample layers in most drum libraries are often the result of the drummer hitting as hard as humanly possible, meaning they don’t actually sound very realistic if used too frequently in a typical song context…

I personally find that in most drum software packages, the hits around the 110-120 velocity range are often much more akin to what you’d actually expect to hear from a good drummer hitting a kit “realistically hard” in the studio.

But don’t just take my word for it…

VIDEO: In the following clip, drum-tone extraordinaire Adam “Nolly” Getgood (Periphery, Architects, Devin Townsend Project) demonstrates his approach to dialing-in realistic midi drums via careful velocity selection on a per-hit basis.

Want more amazing production tips from Nolly? Click here to purchase his full, 8-hour-long NailTheMix masterclass session, in which he explains & demonstrates in full how he mixed Periphery’s “Prayer Position” to sound absolutely huge!

3 – DRUMMERS ONLY HAVE 4 LIMBS… DUH!

3 FOUR LIMBS

Given the fact human beings only have two hands and two feet, if you’ve programmed a part that would require the drummer to hit 3 (or more) drums/cymbals simultaneously, it’s probably not gonna sound very realistic…

But the part I’ve written doesn’t sound powerful enough with only two drums being hit… I FEEL LIKE IT NEEDS MORE!”

Well, chances are if your parts don’t sound big enough, you’re probably doing something wrong to begin with!

Here are a few basic pointers on this topic:

  • Too big too early on: A lot of this stuff is just basic common sense… If all of your drums are hitting at 127-velocity at the very beginning of the song, there’s simply no headroom left for things to get any bigger later on where necessary. Back things off at the start, and make sure you’re leaving some room for dynamic growth as the song progresses!
  • Try layering some one-shot samples: Don’t wanna compromise the realism of your main performance by adding in lots of extra drum hits? Just gently layer-in some additional samples to reinforce what’s already there! – Ex: Blend in a snare “crack” sample with a greatly accentuated attack-transient for some extra punch in the choruses!

VIDEO: In the following video, The Pro Audio Files’ mixing guru Matthew Weiss demonstrates how you can blend several drum samples together in order to create the perfect drum sound you have in your head.

  • Take another look at your arrangement: Assuming you’ve already mixed your drums to perfection, if they’re still not sounding big enough in certain sections, you might wanna take a look at how they’re interacting with the rest of your instruments.

VIDEO: Take Alice In Chains’ mega track “A Looking In View” for example. In my opinion, the intro to this song is one of the heaviest of all time. However, upon further inspection you’ll realise that it’s not just the drums which are creating the bone-crushing heaviness, but rather the drums playing in unison with the low, chuggy bass and guitar riffs.

4 – THE DOMINANT (LEADING) HAND

4 THE DOMINANT HAND

Ideally, drummers should be practicing so that both of their hands and feet are pretty equally matched in terms of speed and strength. In reality, this is rarely the case, and the majority of people you’ll come across in the studio will usually have a “dominant side” based on whether they’re right, or left-handed.

This being said, these “dynamic inconsistencies” between a drummer’s limbs aren’t always a bad thing… And by emulating them (to a certain extent), we can make our programmed parts sound significantly more realistic.

Here’s a basic practical application example of what I mean:

  • When programming fast 16th & 32nd note drum fills, try turning down the velocities of all the left-hand notes so that they’re slightly lower than the “leading” right-hand hits. (By anywhere between 5-25 velocity points depending on the particular drum software you’re using)
  • By doing this, you’re emulating a drummer’s tendency to accentuate their strongest hand… And in the process, actually adding in a huge amount of additional dynamic variation between notes.

PS. This trick is probably the #1 method for eliminating the “machine gun” effect which people tend to associate with poorly-programmed midi drums!

5 – THE HUMAN ELEMENT: IMPERFECTION

5 THE HUMAN ELEMENT

It’s important to strive for perfection in everything you do… But the truth is: “Absolute perfection” doesn’t always sound the best!

Even the most proficient drummer in the world can’t match the exact, digital precision of a computer algorithm. This being said, if they were to take turns playing the same beat one after another, I CAN GUARANTEE that most people would prefer the human performance over the machine’s.

Apply some “Humanisation” to your drum parts:

  • The process of taking a 100% perfect, yet pretty sterile sounding performance and injecting some randomised imperfections into it in order to make it sound more realistic is called “Humanisation”.
  • In Reaper, you can simply select the entire midi performance and hit the “H” key on the keyboard in order to humanise the timing and velocity of each note.
  • Being a drummer myself, I often prefer to write in my dynamics by hand, and primarily just use humanisation to randomise the timing ever so slightly.
  • I find that using a timing-humanisation setting between 2-5% (depending on the tempo of the track you’re working with) does the trick in most cases. This can instantly transform an overly-digital sounding performance into a much more vibey one.
CONCLUSION:

7 CONCLUSION

Programming realistic midi drums is all about finding a good balance between digital accuracy and human imperfection.

The single best piece of advice I can possibly give towards helping you find this balance for yourself is:

Put in the hours, study your favourite drummers, and try to replicate your favourite drum parts. In time, you’ll gain understanding, and with understanding, you’ll gain the freedom to channel your own creativity!

Final Words:

This concludes “5 Drum Programming Tips For Maximum Realism”. I hope that this article has given you some new ideas to try out during your next project. Be sure to comment below if any of this information has helped you out, or if you have any questions.

Stay tuned for more production/mixing related articles in the not-so-distant future!


Want mix tips from URM Academy? Read them here!

Nail The MixNail The Mix is our online mixing school that gives you REAL multi-tracks from REAL bands, plus a mixing class from the producer who recorded it. Past guests include Periphery, Chelsea Grin, Machine Head and State Champs. Join now for instant access!

Why you DON’T need to advertise your studio! [The Career Builder Show]

THIS is the most effective marketing tool any producer can have!

If you’re thinking about running Facebook or Google ads for your studio… STOP! Because the cold truth is that the single most effective way for producers to build their name, get new clients, and climb the ladder of success is WORD OF MOUTH, not advertising.

You might be thinking, “But I see your ads all the time!! If you guys use them, why shouldn’t I use them too?” The difference is that we are a company that sells a PRODUCT, and you are an individual who is offering a creative service – and these two categories play by completely different rules.

Why you DON’T need to advertise your recording studio [ THE CAREER BUILDER SHOW ]

There’s ONE thing that dwarfs everything else when it comes to getting new clients for your studio: word of mouth! Joey Sturgis breaks down exactly why it’s so important, and how to generate word of mouth for YOUR studio.

Joey Sturgis explains why word of mouth is SO important for producers, and how it was the key to his own career taking off the way it did

Advertising is great for products, or for services where the person providing the service is basically interchangeable and disposable like say house painters or ambulance chasing lawyers. But producers aren’t disposable! We want our clients to choose us based on our unique creative ideas, not because they Googled for “recording studio Orlando” and clicked on the first thing they saw… how good of a client do you think THAT person is going to be? Are those REALLY the kind of people you want to be going after?

Think about it: have you EVER heard a top producer say “I owe all my success to this one Google Adwords campaign I ran years ago!!” No, you haven’t – it’s ALWAYS something like Joey’s story in the video: “Well, I did this one album and everybody loved it, they looked up who recorded it, then they started calling me!” Because THAT is how this business works – it’s about doing great work, and building relationships NOT running ads.

So if you’re looking to build your career as a producer, that’s where you should be focusing – anything else is a distraction!


Nail The MixNail The Mix is our online mixing school that gives you REAL multi-tracks from REAL bands, plus a mixing class from the producer who recorded it. Past guests include Periphery, Gojira, Meshuggah, Machine Head, A Day To Remember and Bring Me The Horizon. Join now for instant access!

10 Quick Tips For A Quick Mix (Ft. Billy Decker & Chris Young)

Introduction:

Believe it or not, spending huge amounts of time on a mix doesn’t guarantee good results. In fact, a lot of the greatest engineers are actually the ones who work the fastest!

On that bombshell…

Here Are 10 Quick-Tips That Will Speed Up Your Mixing Process And Set You Well On Your Way Towards Becoming A Master Mixer Yourself:
1 – Create Mix Templates & Plugin Presets!

1 Mix Templates

VIDEO: During his NailTheMix masterclass a few months back, 14-time-chart-topping “speed-mixer” Billy Decker explained and demonstrated his exact approach to using templates while powering through FIVE songs in a single sitting. Here’s a short excerpt from the course:

Click Here to purchase Billy Decker’s full, 9-HOUR-LONG mixing Masterclass and gain access to the raw Multitracks for 5 awesome songs! (Including Chris Young’s Massive #1 Hit “Think Of You”)

2 – EQ By Gut, Not By Numbers!

2 EQ By Gut

Don’t get too caught up with super-specific frequencies or exact compressor settings while mixing, otherwise you’ll only end up digging yourself into a pit of overthinking every decision.

Instead, quickly assess the most obvious issues in each sound by actually using your ears, then make quick, broad, musical moves to address each problem in the simplest way possible.

NOTE: Check out my “Are You Overthinking EQ?” URM article for some great advice on equalisation, and how to prevent it from ruining your mixes!

3 – Keep Your Ears Fresh! (Take Regular Breaks)

3 Fresh Ears

Mixing is all about mental reference points. Before you can determine whether something is “bright” or “dark”, you first need to ask the question “compared to what?”.

The problem is, the accuracy of your sonic reference points can start to skew as your ears slowly become fatigued.

Ex: Something which sounded blatantly dark and muddy when you first sat down to mix, might start sounding “all right” after a few hours of blasting your speakers. (As your ears have falsely acclimatized to what they’re hearing)

The first listen of the day is the most honest one.”Me, 2018

Preventing ear fatigue – and the unavoidable shift in perspective that comes with it – is actually really simple: DON’T MONITOR TOO LOUDLY, AND TAKE REGULAR BREAKS WHILE MIXING!

4 – Bake-It-In At The Source!

4 Bake It In

Fun Fact: Did you know that Black Sabbath’s groundbreaking albums “Black Sabbath” and “Paranoid” were fully recorded and mixed in a matter of 2-3 days?!?!

Oh how times have changed… Back in the 70s, bands would just rock up to the studio with their material, dial-in some sounds they thought were cool, and quickly bash out their songs live to-tape!

Make it so you like it, cause if you like it, they’ll like it.” – Chris Lord Alge

When recording a song, if you always choose to play it safe and delay all of the important tonal decisions until later on, then when the time comes to mix, you won’t actually be doing any mixing, you’ll be spending hours upon hours obsessing over getting the sounds which you should have finalised ages ago!

Take some risks while recording. If something is technically “wrong” or “imperfect”, but sounds great, then screw it – DO IT ANYWAY!

5 – Commit As You Go!

5 Commit As You Go

A simple, yet really effective method of preventing yourself from going back to re-do things over-and-over again while mixing is to render/bounce-down your sounds as you go.

Take amp sims for instance:

I personally find that if I have the option to go back and tweak my raw tones every five minutes with a “what if?” mentality, I usually will… (Even if I really loved them to begin with!)

My preventative solution? – As soon as I’m really digging the way a tone sounds, I’ll commit to it 100% by rendering the channel and removing the DI from the session. This way, I’m getting rid of the temptation to keep on messing with it, and can instead shift my focus towards more important things than whether the gain knob sounded better set at 69% or 70%…

6 – Mix Into Your Mastering Chain!

6 Mastering Chain

Imagine you’ve spent several hours getting a mix to be exactly the way you want. Why would you then go and throw a truckload (or a “bus” load…) of additional processing across the whole thing and risk ruining your entire balance?

This Is Where Top-Down Mixing Comes Into Play:

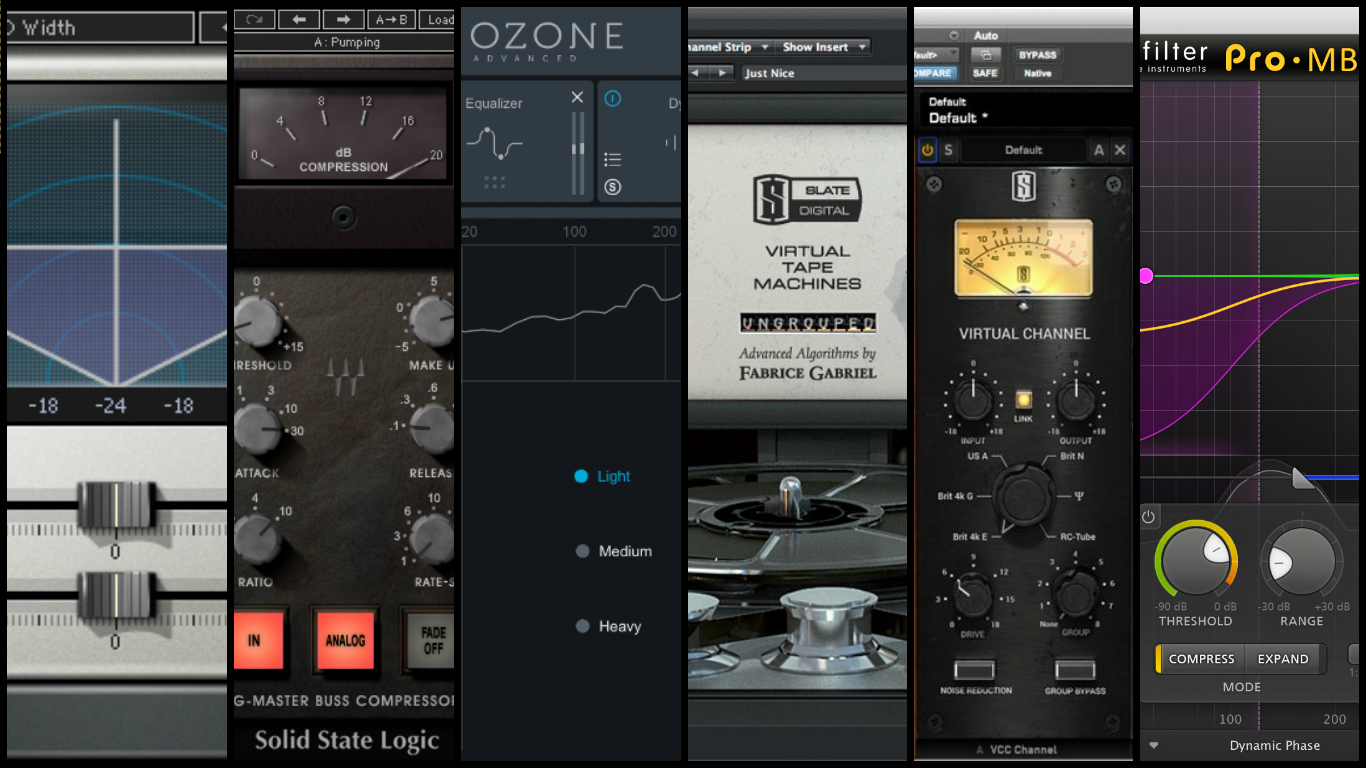
NOTE: Never heard of “Top-Down” mixing before? Check out my Top-Down Mixing (ft. Emmure)” URM article from a few months back for an in-depth guide on this awesome technique!

Simply put: Top-down mixing is when you apply some general “mastering-esque” processing across your 2-buss at the very beginning of your mix in order to start with a more “finished” sound, while also emulating the effects that mastering will have on your track.

By adopting this workflow from the get-go, and mixing each instrument to sound as good a possible in-spite of any mix-buss limiting & compression we might have going on, we’re effectively able to counteract the negative effects that after-the-fact mastering would have had on our transients, resulting in a much punchier final mix.

7 – Invest In A Channelstrip Plugin!

7 Channelstrips

Owning a lot of plugins won’t make you a better mixer. On the contrary… Having too many fancy tools at your disposal can often cause more harm than good!

The biggest problem with buying a bunch of shiny new toys when you first start out as mixer is the temptation to use EVERY. SINGLE. ONE OF THEM.

Just because you can use infinite bands of varying “character” EQ and 12 different flavours of compression on a single instrument doesn’t mean you should…

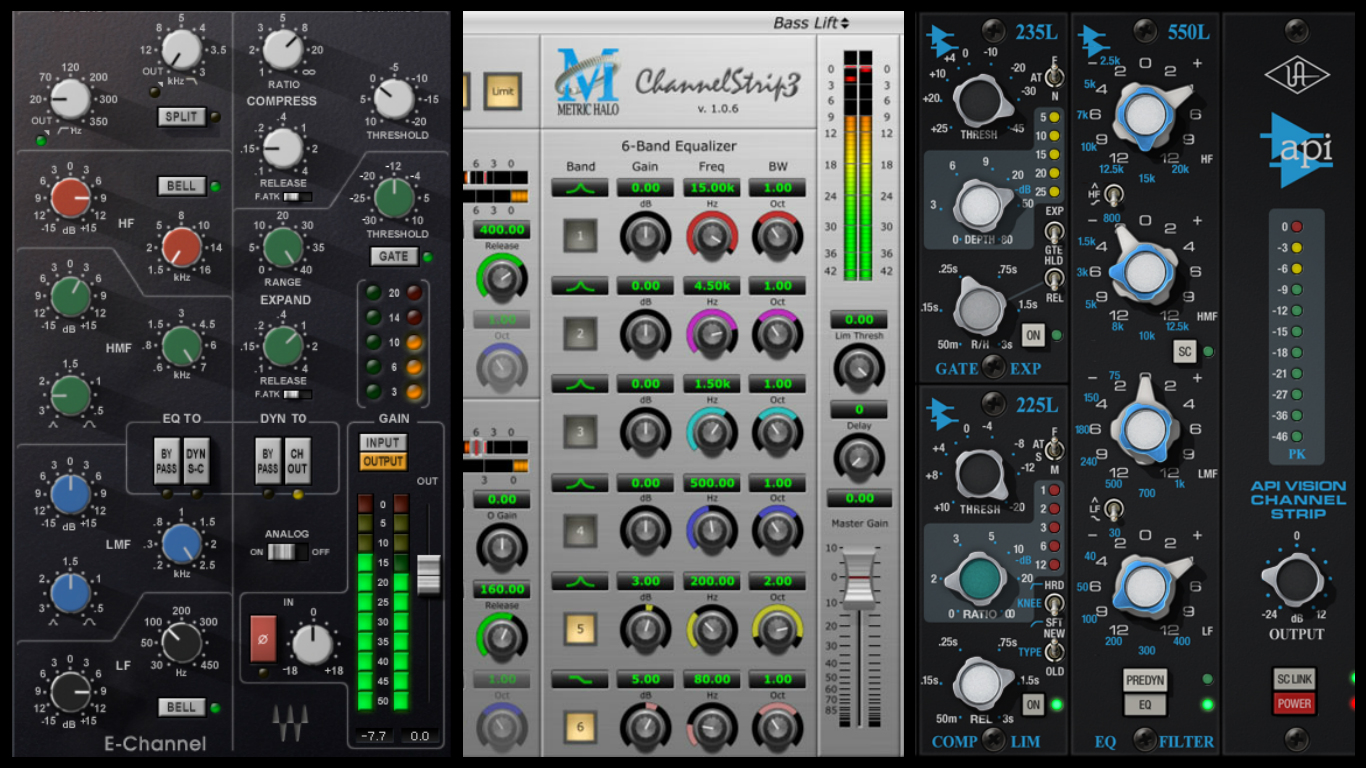
All-in-one processing suites such as the Waves SSL E-Channel and Metric Halo Channelstrip are the perfect solution to this problem, as they prevent you from over-processing things, and teach you to do more with less.

NOTE: Don’t think a single channelstrip is enough to achieve a great mix? Just watch pretty much any our previous NailTheMix masterclasses… If industry pros like Henrik Udd, Kyle Black, Billy Decker and Andrew Wade can do it, so can you!

8 – Combine & Conquer! (Use Buss Processing)

8 Buss Processing

Similar musical elements within the same mix will often require a level of similar processing.

Take backing vocals for instance: If all of your vocal layers in a track were recorded through the same microphone/preamp chain, by the same singer, in the same room, on the same day, why would waste your precious time and CPU allocation on EQ’ing and Compressing each one of them separately…?

A better solution is to simply buss all of them together in one place and process them as a single, tightly-knit stereo unit! This way, you have far fewer plugins cluttering up your session, and can prevent yourself from wasting time micromanaging every single sound individually.

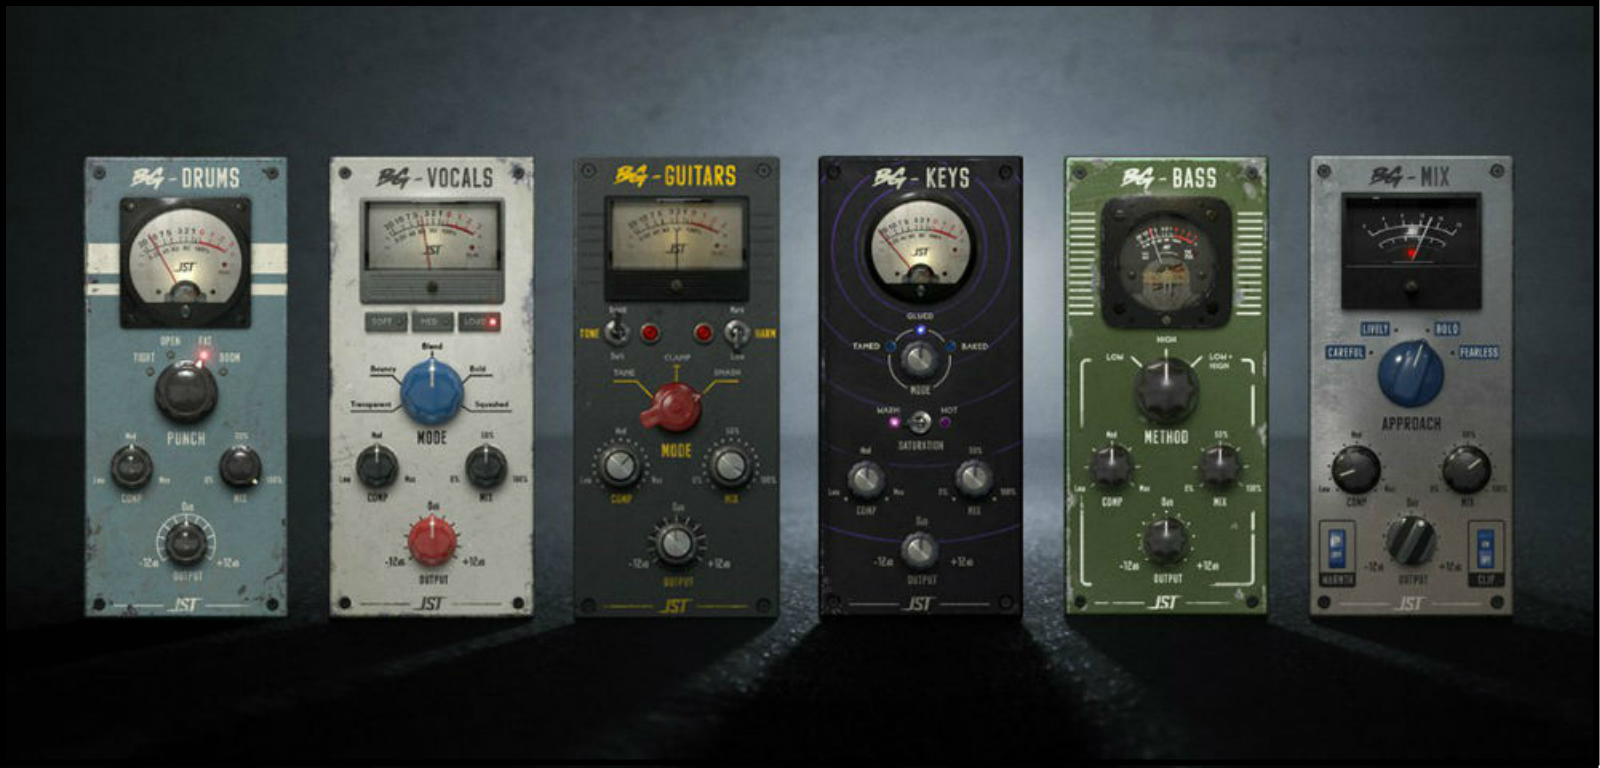
NOTE: The new “Bus Glue” series of plugins from Joey Sturgis Tones are a great set of tools designed around this exact purpose. Check them out HERE (Bus Glue – Joey Sturgis Edition), and HERE (Bus Glue – Joel Wanasek Edition).

9 – Take The “Hands On” Approach! (Consider Getting A Control Surface…)

9 Hands On Approach

Q – How do top engineers like Chris Lord-Alge, Andy Wallace and Randy Staub manage to pump out their mixes in such a short period of time?

A – Because they’re working on a console, not a mouse and keyboard!

Don’t get me wrong, of course it’s possible to create a great mix using a regular computer interface. But you can’t deny that having to drag a mouse pointer is much more finicky and tedious than being able to quickly reach for some knobs and make several instant tweaks simultaneously…

At this point you’re probably thinking:

Sure, but it’s not like a have a few-hundred-thousand-$ spare lying around to splash out on an SSL console!?!?”

FRET NOT!

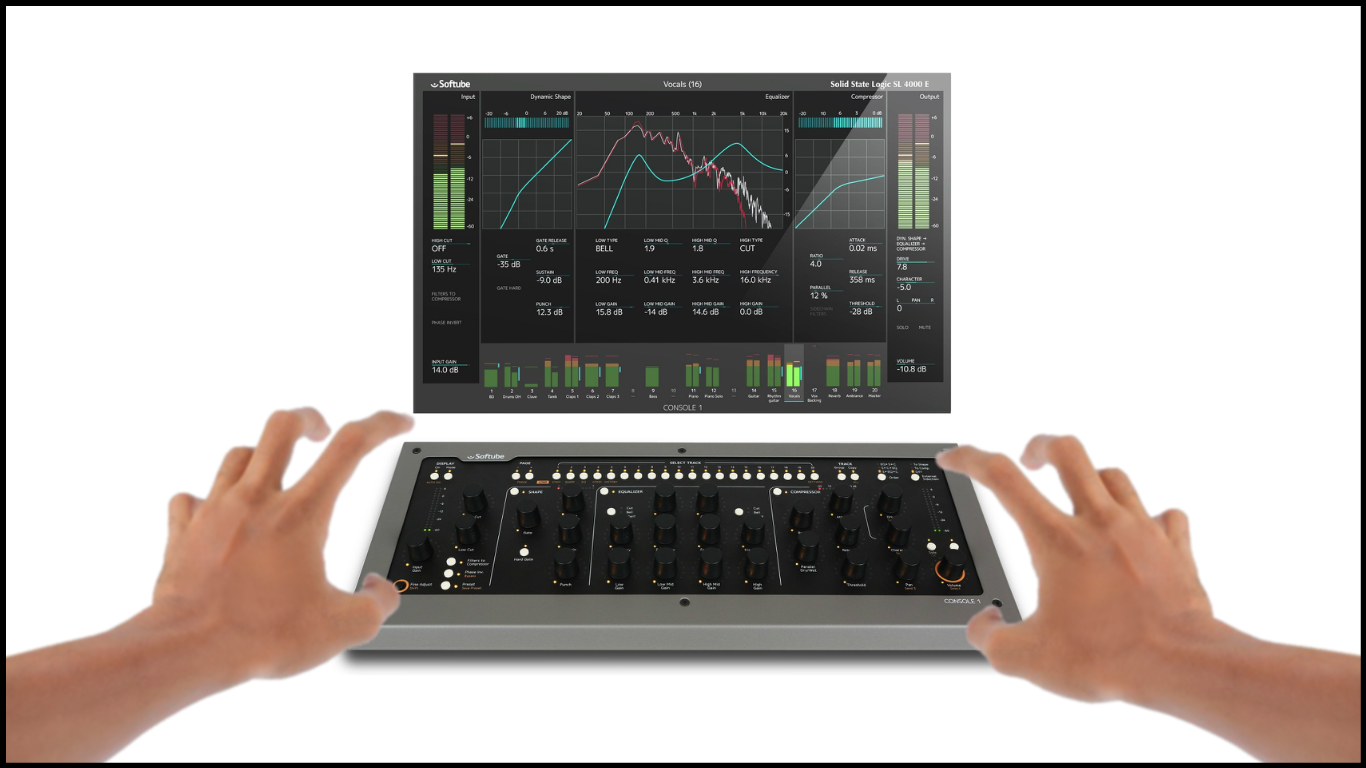
There’s a new and exciting alternative on the market which will give you access to the awesome sound & feel of a great analog mixing desk for less than $500!

VIDEO: Meet the Softube Console 1!

10 – CONCLUSION – DON’T OVERTHINK IT!

10 Art Not Science

Remember: Your average listener couldn’t care less about most of the minor technical things you tend to obsess about on a daily basis… They just want to hear a bangin’ song that makes them feel great!

Enough said…

Final Words:

This concludes “10 Quick Tips For A Quick Mix”. I hope that this article has given you some new ideas to try out during your next project. Be sure to comment below if any of this information has helped you out, or if you have any questions.

Stay tuned for more production/mixing related articles in the not-so-distant future!


Want mix tips from URM Academy? Read them here!

Nail The MixNail The Mix is our online mixing school that gives you REAL multi-tracks from REAL bands, plus a mixing class from the producer who recorded it. Past guests include Periphery, Chelsea Grin, Machine Head and State Champs. Join now for instant access!

The key to a long career in music [The Career Builder Show]

You don’t have to like the trends…

But you DO have to understand them– because the music industry is constantly changing, and if you can’t stay on top of the trends, then your clients will have no choice but to work with someone who DOES!

The KEY to a long career in music [ THE CAREER BUILDER SHOW ]

You don’t have to LIKE every new trend that comes along in music, but you better UNDERSTAND them if you want to stick around – because if you don’t, your clients will be forced to work with someone who does!

Here’s the truth: your long-term success as a producer depends on your ability to reinvent yourself, to stay relevant no matter which way the wind is blowing. And that starts by being curious and open-minded, always searching out what’s new and (even if you don’t like it at first) understanding why people love it.

So make it a habit to take a big step outside of your comfort zone, and if you don’t get it, figure it out FAST!


Nail The MixNail The Mix is our online mixing school that gives you REAL multi-tracks from REAL bands, plus a mixing class from the producer who recorded it. Past guests include Periphery, Gojira, Meshuggah, Machine Head, A Day To Remember and State Champs. Join now for instant access!

3 Steps To A Better Bass Tone (Ft. John Browne & Monuments)

Introduction:

1 Bass In Space

FACT: You can’t expect to magically EQ a terrible bass sound into a great one during the mix… YOUR TONE NEEDS TO BE GOOD FROM THE START!

If you’ve always had trouble when it comes to mixing the low-end in your productions, chances are, you’re probably doing something wrong during the recording stage…

On that note…

Here are 3 all-important factors which can make a night-and-day difference to the quality of your raw bass recordings:
1 – The Tone Is In The Hands… But It’s Also In The Amp!

2 The Tone

One of the key elements to a really great rock or metal bass sound is the gritty mid-range character which comes from using a great amp or pedal through a great cab.

VIDEO: In the following NailTheMix excerpt, Monuments guitarist John Browne runs us through his process for dialing in a killer bass tone using in-the-box amp & cab simulation.

Click Here to purchase the full, unprocessed multitrack files for “I, The Creator” by Monuments, and gain access to John Browne’s 7 hour-long mixing masterclass


What Can We Learn From This Clip?

The “right” bass tone is one that fits best in the particular song your working on. This being the case, it’s a given that on a song-by-song basis, you’ll need to experiment with a few different amp & cab combinations before coming across the magic combination that sits “just right”.

Not sure where to start when it comes to choosing a good digital bass rig? Here are a few of my personal favourites for you to check out:

FREE BASS PLUGINS:
  • Ignite Audio SHB: An awesome, simple, free alternative to dishing out tons of cash for a fancy paid amp suite.

3 Ignite SHB

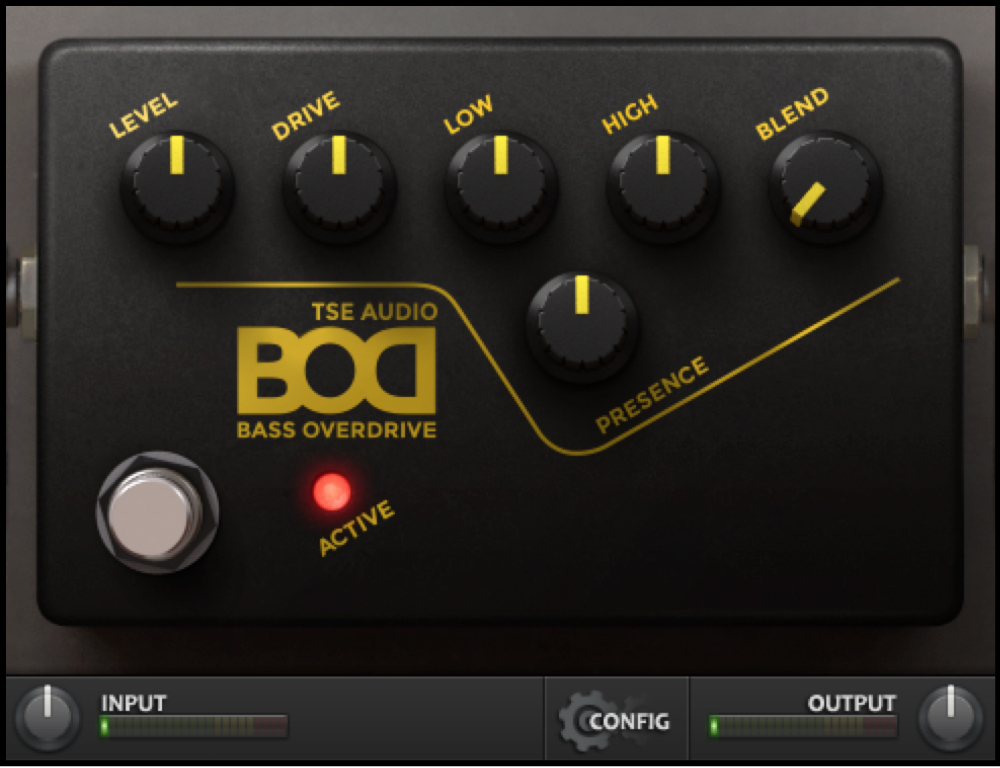
  • TSE BOD V3: An excellent plugin emulation of the classic Sansamp bass driver pedal.

4 TSE BOD

PS. Both of these plugins only emulate the AMPLIFIER section of a bass rig, and work best when paired with some good speaker simulation to bleed off some of the high-end. My go-to IR’s for this purpose are Ownhammer’s “AMPEG BASS” pack. Check out my “Recording Guitars” URM Blog series for more information on using cab simulation software.

PAID BASS PLUGINS:
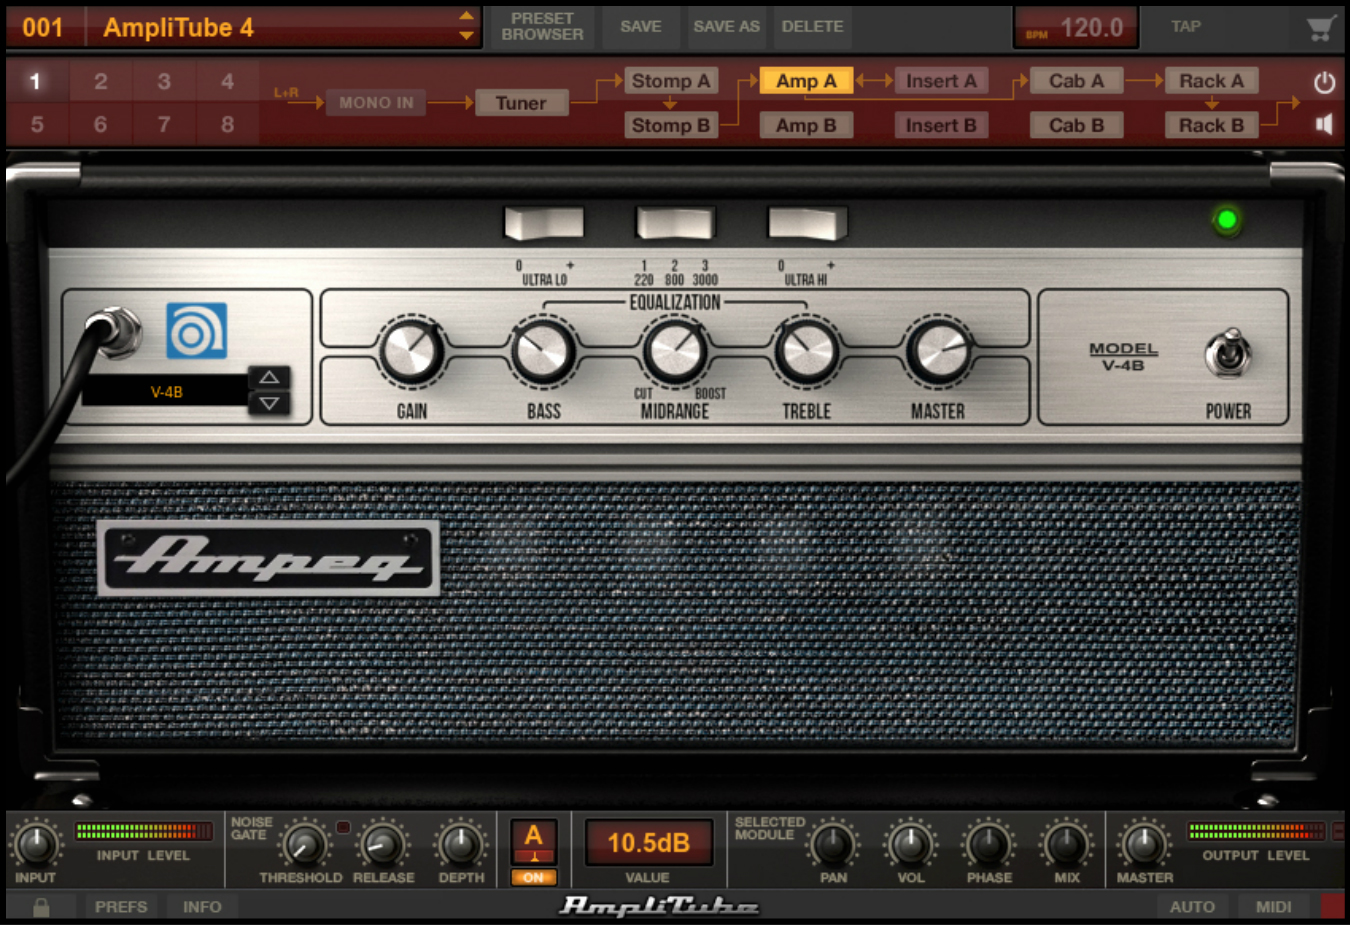
  • Amplitube Ampeg SVX Series: In my opinion, the best bass tone solution on the digital market. The first edition of this plugin was already good, but the second edition is truly phenomenal – Well worth the price of admission!

5 Ampeg SVX

EXTRA – GUITAR AMP SIMS:

It’s extremely common in heavy music to split/filter the bass DI into two separate tracks (low & high), and use a guitar amplifier to distort the high-end on it’s own. (So that the low-end remains completely clean)

To that end, here are a few guitar amp sims which work well for this purpose:

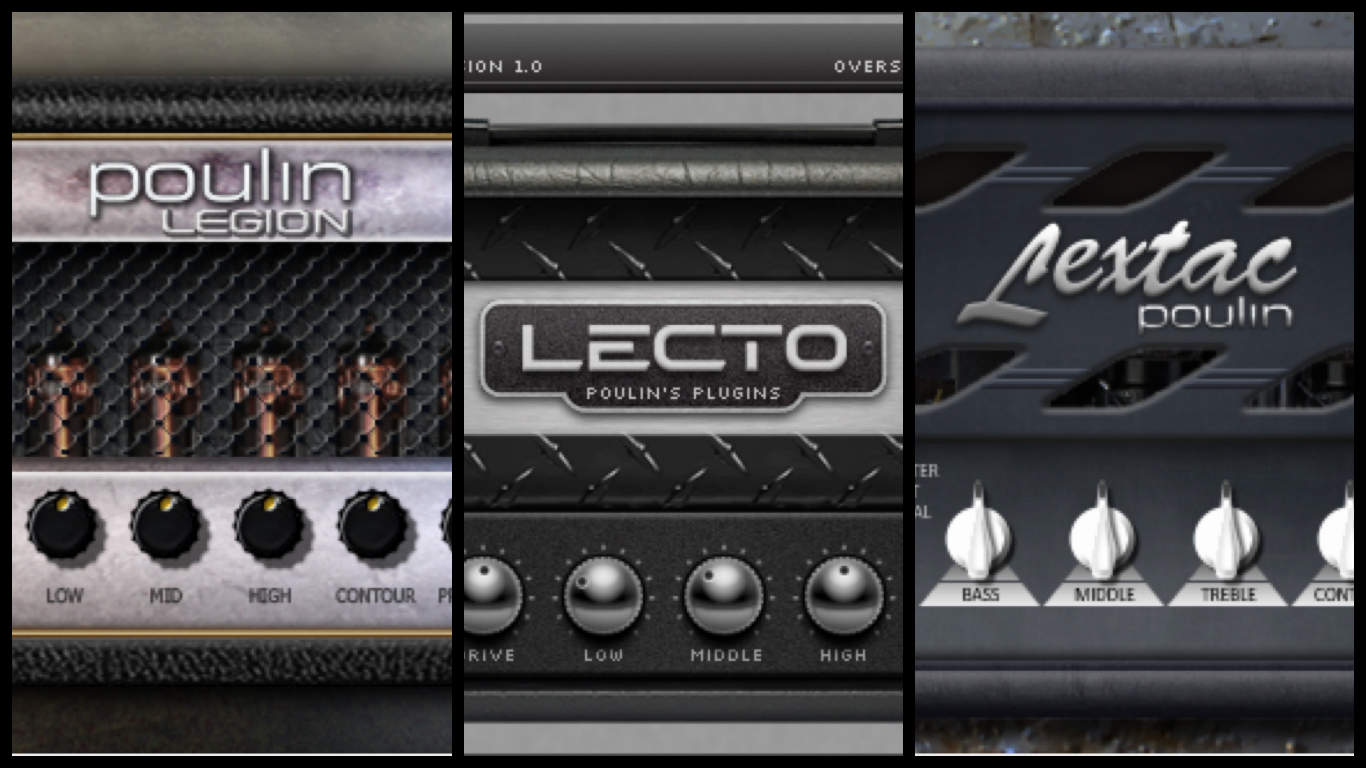
  • LePou Plugins (Free): These plugins have been around for ages, but still sound really good for both guitar, and bass distortion applications when paired with a great speaker IR.

6 LePou Plugins

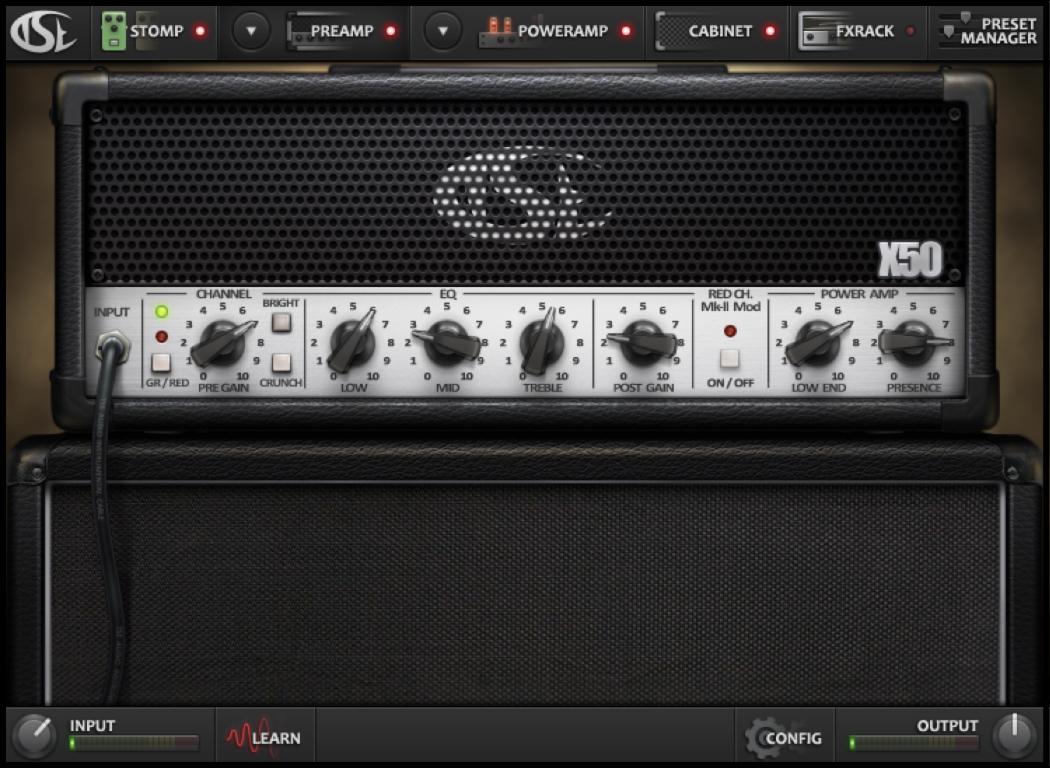
  • TSE X50v2 (Paid): An excellent software emulation of a Peavey 5150, and one of best the solutions for a great in-the-box tone. This plugin also comes pre-loaded with an excellent selection of cab IR’s from several great 3rd party developers.

7 TSE X50v2

2 – Not All Strings Are Created Equal

8 King Of Strings

As it is with a lot of things in music production, there’s no such thing as a “one size fits all” pack of bass strings that will work perfectly in every context.

This being the case, it’s important that you do some research and experimentation towards figuring out which pack will work best for YOUR particular tonal needs.

In the meantime, here’s a tonally-categorised list of some of MY personal favourites to start you off on your journey of discovery:

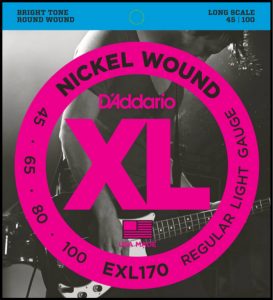
Versatile – D’Addario XL Nickel Wound: These are my primary choice for an “all round” versatile bass setup that can comfortably slot into most genres.

9 XL Nickel
  • I personally tend to prefer bass strings/tones which err on the brighter side of the spectrum. I would rather just roll-off some high-end via the tone knob on the instrument when necessary than be stuck with a fairly “limiting” set of dark flatwound strings.
  • Generally speaking, round-wound strings are better suited to genres of music where a bright, “piano-like” high-end presence is desired (Modern Rock, Metal). Flatwound strings are better suited to genres which call for a warm, round low-end thump (Vintage Rock, Motown).
  • In my experience, D’Addario’s XL series strings seem to retain their brightest for a while longer than the competitor brand equivalents. Given the fact that bass strings are quite expensive, this can add up to a pretty decent cash saving in the long run.

Bright & Aggressive – D’Addario XL Pro Steels: The brightest set of strings that D’Addario have to offer, and one of the most popular choices for recording heavy music.

10 XL Pro Steel
  • These strings are extremely bright and aggressive in the upper-mids/treble and pack a tight, defined punch in the low-end. (Perfectly suited for Thrash, Death Metal, Djent etc.)

Bright & Balanced – Dean Markley Blue Steel: When it came to metal bass tone, I’d been a champion for D’addario’s “Pro Steel” strings for many years – Until an excellent producer friend of mine (Max Morton) recommended I try out Dean Markley’s “Blue Steel” that is…

Never heard of Dean Markley? Neither had I… But don’t knock em till you’ve tried em!

11 Blue Steel

  • Just hear me out for a second: As much as I love the brightness of Pro Steels, I’ve always thought them to be a little too harsh in the 2-3kHz range for certain musical applications, and always resented having to change to a different set of strings whenever a “mellow-er” tone was required.
  • Blue Steel” are basically a non-harsh equivalent of the D’Addarios… With an added “throaty” character in the upper mids which can cut through any mix like a knife through butter.
  • They’re bright, super punchy, and sound like pure heaven when slapped hard through a great amp!
  • Last, but not least: They actually cost less than the competition by a decent chunk!
VIDEO: Here’s an excellent example of the Blue Steel bass strings in a heavy metal context. (Recorded/Mixed by none other than Max Morton himself)
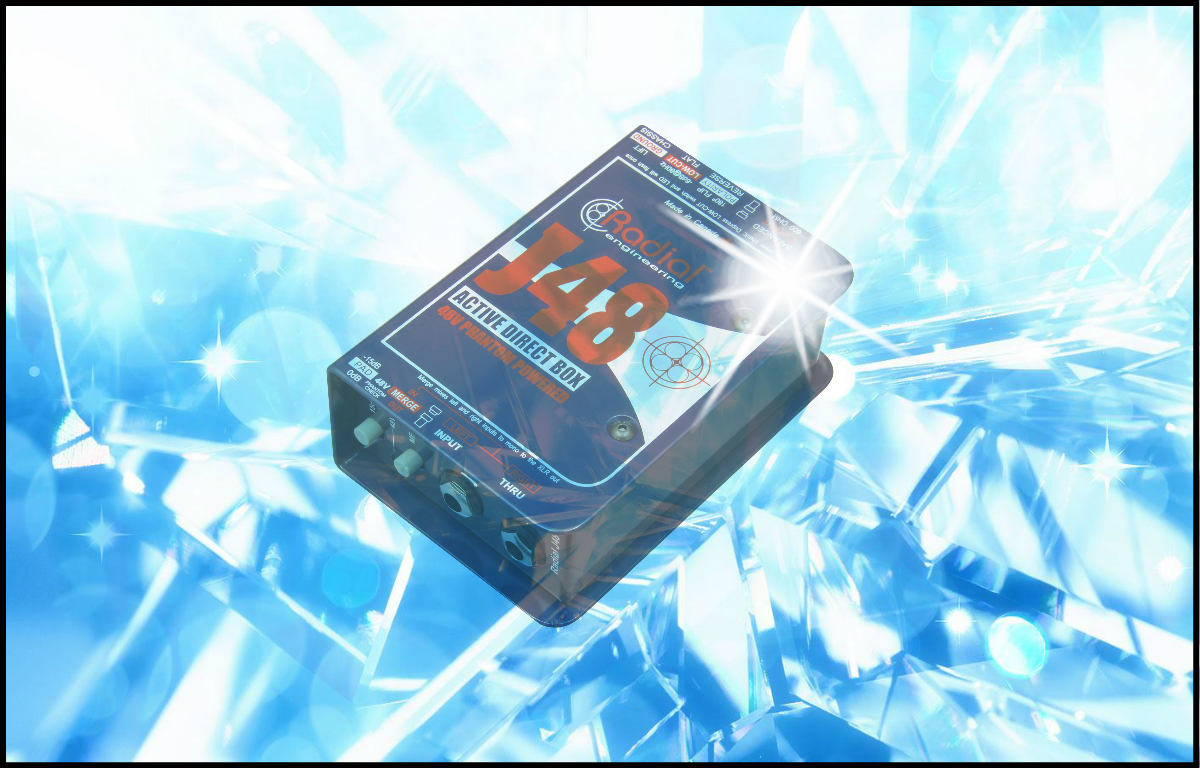
3 – A Crystal Clear Capture (DI Boxes)

12 Crystal Clear

Why record a DI?

VIDEO: Check out this awesome clip, in which Tesseract bassist Amos Williams demonstrates the key elements of his bass tone, and talks about the importance of using a good DI box.

Expanding on what Amos is talking about in the clip above, here are a few simple reasons why you should consider recording bass through a DI Box:

Impedance Matching (Extended Frequency Spectrum): Consider this: If an audio manufacturer is building their low-end audio interface for $50, how much money do you think they spent on the instrument input? – My guess is $5-10 AT MOST…

  • Unfortunately, this low cost is usually reflected in the sound quality of said components in the form of a blurry, reduced-spectrum representation of the low and high frequency information.
  • A better solution is to bypass them entirely.  Instead use a high-quality external DI box with far-superior impedance matching (due to the better construction quality and components) to bridge your instrument signal into a decent microphone preamp.
  • The result? A clearer high-end, punchier low-end, and improved capture of the transient content of the performance.

More Input Headroom: The instrument inputs on Low-end audio interfaces often don’t have enough headroom to deal with high-output active bass pickups.

  • Using a DI Box with a built-in volume pad to effectively turn down and convert your instrument signal into a balanced feed that can then be connected to the microphone preamp on your interface is a simple way of getting around this issue.

Tonal Flexibility: Recording a DI signal gives you the option to reamp and audition different amp/cab setups later on in production process… Meaning you’re not stuck with a single tone that you’re unable to change without re-tracking the whole performance.

Accurate Editing: It’s much easier to edit a bass performance before it’s been distorted to hell and back, as it will appear as a dynamic, transient waveform on your screen rather than a solid block of spiky fizz.

Neighbour Friendly: Cranking a loud, subby bass rig for hours on end is bound to get your neighbours all riled up… Save them, and yourself some trouble, just record a DI instead!

CONCLUSION:

13 Conclusion

I’ll admit it… The instrument which caused me the most grief and frustration when I first started out as a mixer was without a doubt: The Bass Guitar. Why? Because I didn’t realise that good bass tone comes from the recording, not the mixing…

Follow the recording advice in this Blog… And stop trying to wrangle the crappy bass guitar with the 3 year-old strings which you’ve recorded through a tiny amp in your mom’s closet into a decent sound after-the-fact.

IT’S NEVER GONNA HAPPEN!!!

Final Words:

This concludes “3 Steps To A Better Bass Tone”. I hope that this article has given you some new ideas to try out during your next project. Be sure to comment below if any of this information has helped you out, or if you have any questions.

Stay tuned for more production/mixing related articles in the not-so-distant future!


Want mix tips from URM Academy? Read them here!

Nail The MixNail The Mix is our online mixing school that gives you REAL multi-tracks from REAL bands, plus a mixing class from the producer who recorded it. Past guests include Periphery, Chelsea Grin, Machine Head and State Champs. Join now for instant access!