
Top-Down Mixing (Ft. Emmure)
urmadmin
Introduction:
Sick of the individual instruments in your mixes not gelling together properly?!?
Tired of your drums losing all of their punch during mastering?!?
Ever wish that there was a quicker, more efficient way of getting your mixes from “raw and boring” to “polished and exciting”?!?
Sounds like you need some Top-Down Mixing in your workflow!
What is “Top-Down” Mixing?
Simply put: Top-down mixing is when you apply some general “tone-shaping” FX across busses/groups in order to cut down on time spent dialing in individual mix elements which most likely call for a certain degree of similar processing anyway.
In the following NailTheMix excerpt, EMMURE producers/mixers WZRD BLD and Jeff Dunne demonstrate the importance of having a top-down approach in their mixing workflow:
Why work this way?
Stop fighting against yourself: A lot of us are guilty of just slapping some plugins across the master buss once our mix is done with a delusional “cherry on top” mentality.
- The problem with applying dynamics processing such as limiters and buss compressors onto an already-finished mix is the fact that they can really affect your transient information.
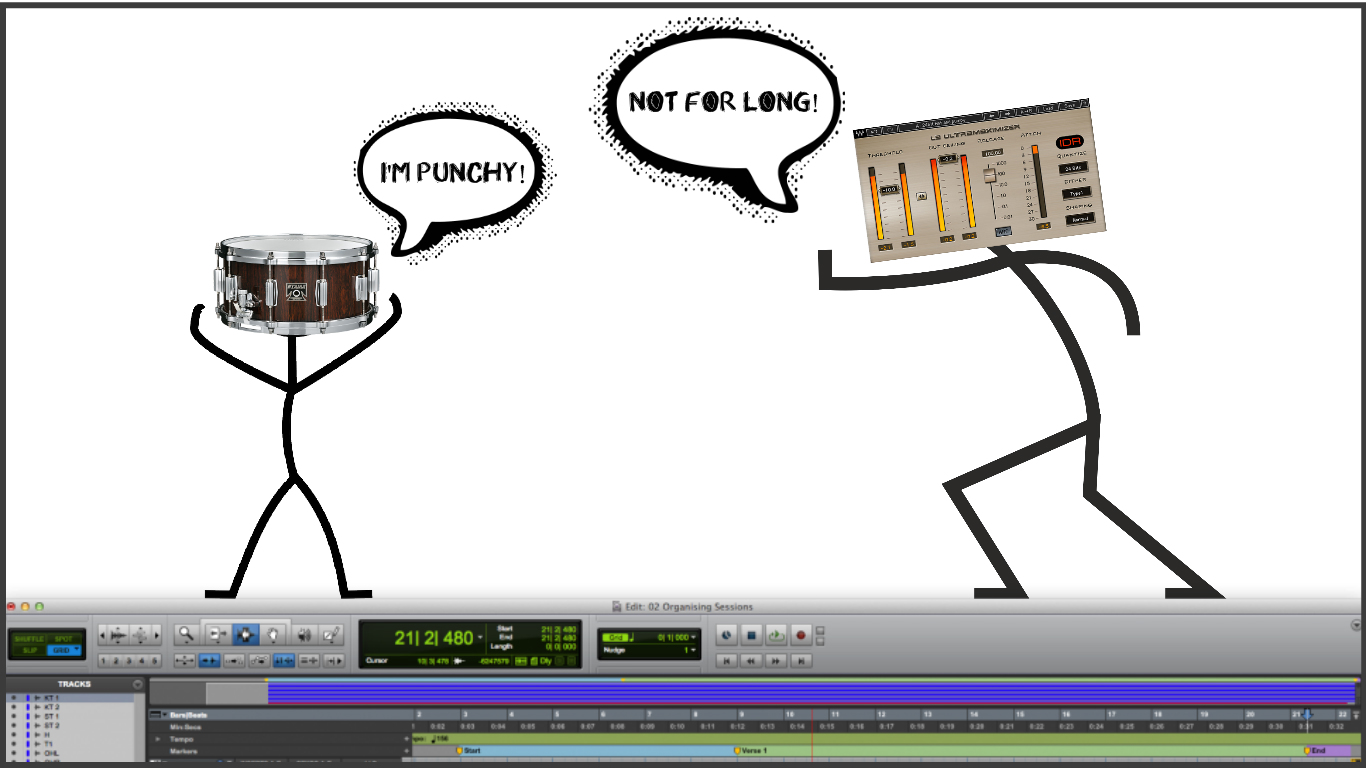
- Let’s say you’ve spent hours mixing a song to the point that you’re really happy with how the drums are punching you in the face. Throwing on a limiter at this point will probably just end up killing most of the “smack” you’ve worked so hard on achieving, as well as causing the drums to lose their desired volume balance within the mix.
- A better approach is to work on getting your drums to hit hard while the master limiter is already engaged in order to prevent any unpleasant surprises post-mastering.
NOTE: In the cases where taking a “haphazard” master buss approach results in a marginal improvement anyway, chances are it would’ve worked even better if you’d just mixed into it from the beginning…
Closer to “mixed” from the get-go: Our ears are fickle. After listening to a few minutes of a raw mix that initially sounded dark and lifeless, they’ll slowly start to acclimatise… Eventually ignoring a lot of the issues which were blatantly apparent to begin with.
“Commercial mixes are so much brighter than any raw tracks you’ll ever receive that inevitably almost every track is going to need some kind of low and high-end enhancement in order to compete with a mastered sound.” – Adam “Nolly” Getgood
- For this very reason, it’s important that you’re not spending too much time listening to your individual instruments in the context of an unmixed arrangement. Otherwise you’ll run the risk of deceiving yourself into thinking everything sounds better than it really does after fifteen minutes or so.

- Applying some general polishing EQ across your master buss the moment you begin a mix can instantly help push your mix from “raw” to “decent”… And in return, prevent your ears from settling on anything too mediocre from the get go.
NOTE: A pretty standard approach to master buss EQ is to apply a sort of “smiley face curve” which accentuates the highs and lows, effectively having the same effect as scooping some of the midrange. Guys like CLA and Andrew Scheps have been known to use Pultec style EQ’s for this purpose. Click here to learn more!
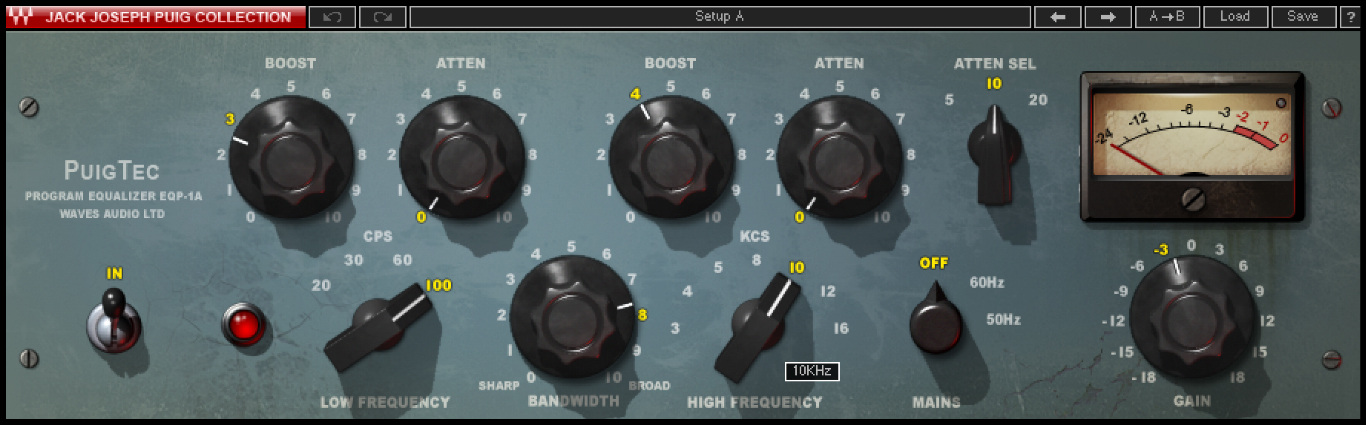
Example “smiley face” master buss EQ settings on a Pultec style EQ.
TOP-DOWN MIXING TIPS:
Figure out what most of your mixes seem to need, come up with a good all-round starting point:
- A lot of engineers have “go-to” drum samples and tones that they tend to reach for in certain musical situations.
- Example: If you often find yourself gravitating towards the same few drum samples for a great rock drum sound, it only makes sense to come up with a good “ballpark” processing chain preset which’ll help you get them from A-Z a bit quicker.

- I’m not necessarily saying you should use the exact same settings every time you decide to go for a particular sound, but rather that you can use them as a good starting point and tweak them slightly to better fit the musical context.
You don’t have to over-do it, but don’t be afraid to crank it either:
- You’ll often see random “pros” on forums talking about how you should never have to boost/cut/compress more than a few dB at most while mixing, and never ever go anywhere near those numbers during mastering.

- I CALL ABSOLUTE NONSENSE!
- Watch any single one of the NailTheMix live mixing sessions and it’s clear to see that the actual professionals aren’t particularly concerned with the numbers, and simply do whatever it takes to achieve the sounds they’re after. (Whether it takes 20dB of processing or only 2dB of processing…)
NOTE: Take the Periphery NailTheMix session for instance – During his master buss rundown at the start of the live mix-through event, Nolly demonstrated how he applies a fairly substantial 5-6dB of upper-mid/high-end boost across the whole mix before even beginning to mess with any of the individual instrument channels. The result? AN INCREDIBLE MIX!
Click here to purchase and watch Nolly’s full Periphery NailTheMix course.
- My point is… Trying out bold settings that might seem crazy to others is often how unique and interesting sounds are born! Trust your ears, not your eyes. If it sounds good, it is good!
Consider using separate instrument and vocal busses:
- Although I’ve personally been a fan of the “top-down” approach for years, it wasn’t until I began sending my vocals and instruments into separate mix busses that I really achieved the results I was looking for.
- The primary reason for this was the interaction between the vocals and drums, and how they were reacting to my buss compression.
- By keeping the vocals separate from every else, I’m able to keep them on top of the mix without their volume ducking every time the snare hits. On the flipside, this also prevents the rest of the instruments from ducking every time the vocals jump up in volume.
NOTE: There are a million ways to set up your mix routing/bussing, and there’s no such thing as “the right way”. My best advice would be to do your research, and come up with something that works well given the particular tools you have at your disposal.
CONCLUSION:
Top-Down mixing is just one of the many tricks which can really have a huge impact on your ability to get great results fast in the studio.
If you want to further develop your skills as a mixer and eventually build a successful audio career, it’s hugely important that you’re always on the search for new methods of improving your workflow for better time management and efficiency.
Final Words:
This concludes “TOP-DOWN MIXING (Ft. Emmure)”. I hope that this article has given you some new ideas to try out during your next project. Be sure to comment below if any of this information has helped you out, or if you have any questions.
Stay tuned for more production/mixing related articles in the not-so-distant future!
Want mix tips from URM Academy? Read them here!
 Nail The Mix is our online mixing school that gives you REAL multi-tracks from REAL bands, plus a mixing class from the producer who recorded it. Past guests include Periphery, Chelsea Grin, Machine Head and State Champs. Join now for instant access!

