Almost every producer struggles with time management, and for good reason: our industry is oftentimes feast or famine, where you’re either terrified because you have no work, or you have way more work than you can handle!
Learning how to manage your time during the up and down times is a key skill for producers to master as their careers grow, because getting overwhelmed and making careless mistakes doesn’t help you OR your clients.
How do you keep your existing clients happy while still hustling to get new ones? How do you ask for more time on a project without making your client mad? When is the right time to turn down a project?
Find out the answers to all of those questions and more in this episode of The Career Builder Show!
Nail The Mix is our online mixing school that gives you REAL multi-tracks from REAL bands, plus a mixing class from the producer who recorded it. Past guests include Periphery, Gojira, Meshuggah, Machine Head, A Day To Remember and Bring Me The Horizon. Join now for instant access!
Eyal Levi takes you on a guided tour in of this epic session from Jason Richardson’s solo album. This session was featured on Nail The Mix back in 2017, and it was so sick we decided that you deserved a full unboxing 🙂
It was originally produced and mixed by Taylor Larson and features Luke Holland on drums with guest appearances by Mark Holcomb of Periphery and Lukas Magyar of Veil of Maya – and let me tell you, this session is a TREAT, especially the drums which are absolutely pristine (believe it or not this mix has very few samples in it).
Eyal Levi takes you on a guided tour in Pro Tools of this epic session from Jason Richardson’s solo album. It was originally produced and mixed by Taylor Larson and features Luke Holland on drums with guest appearances by Mark Holcomb of Periphery and Lukas Magyar of Veil of Maya (Eyal took too much cold medicine in the video and said Spencer).
You’ll see a lot of interesting stuff in this one such as THREE (!) guitar tones on each side, the trademark Taylor Larson drum sound, a very intricate performance by Luke Holland, and lots and lot of layers of synths and other post-production… lots of fun to be had with this one!
Nail The Mix is our online mixing school that gives you REAL multi-tracks from REAL bands, plus a mixing class from the producer who recorded it. Past guests include Periphery, Gojira, Meshuggah, Machine Head, A Day To Remember and Bring Me The Horizon. Join now for instant access!
This month on Nail The Mix we’ve got Kane Churko mixing “Anonymous” by Gemini Syndrome— you know him for his work with bands like Papa Roach, In This Moment and Five Finger Death Punch among many others.
And holy crap, this is a big session!! It’s got well over 150 tracks (and if you think that’s excessive, then watch and find out why it isn’t) including over 60 layers of vocals alone.
Eyal Levi takes you on a guided tour of the raw multi-tracks for Gemini Syndrome’s “Anonymous” in Pro Tools from their album “Memento Mori” produced and mixed by Kane Churko. This session is a BEAST, with well over 150 tracks (and if you think that’s excessive, then watch and find out why it isn’t).
Working with such a big session has its own challenge, and it’s worth signing up for this month just to learn how to deal with so many tracks (and this month includes a mini-lesson specifically on how to manage the massive session).
But more than that, it’s a master class in arrangement – you’ll see exactly why every single track in the session serves a very specific purpose – this isn’t size for size’s sake.
The huge vocal stacks are key to that huge, radio rock sound; the synths are subtle but add tons of size and depth, and the samples and other elements give it a slightly electronic touch without ever losing sight of the fact that it’s a rock song…
Kane is truly one of the very best in the business when it comes to production and arrangement, and after watching this you’ll see why we say that!
Nail The Mix is our online mixing school that gives you REAL multi-tracks from REAL bands, plus a mixing class from the producer who recorded it. Past guests include Periphery, Gojira, Meshuggah, Machine Head, A Day To Remember and Bring Me The Horizon. Join now for instant access!
The vocals are the most important element in 90% of the mixes you’ll come across, and can mean the difference between a song that connects with the listener, or a songthat makes them want to reach for the “skip” button…
On that note, in this two-part blog series I’ll be guiding you through the A-Z of everything you should keep in mind when recording your vocals:
PART 2 (N-Z):
N – Noise: Vocals are an extremely dynamic instrument, and with this being the case, it’s crucial that your recording space is free from any ambient noise (industrial noise, traffic, nature sounds, etc…) that might ruin your otherwise perfect takes.
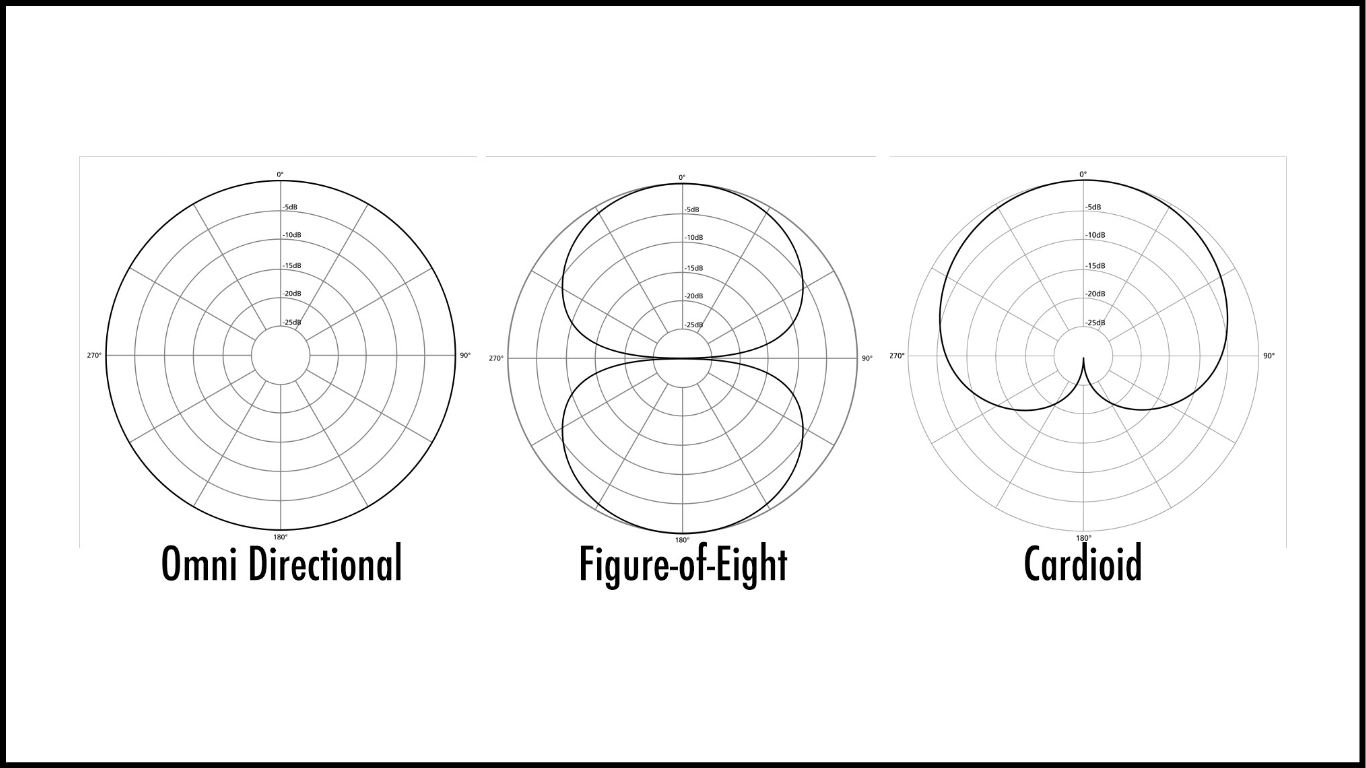
O – Omni: Although cardioid is the most commonly used polar-pattern for recording vocals, switching to omni can often be a better alternative if you have a suitable recording space:
Due to its non-directional nature, the “Omni” pickup pattern isn’t subject to the proximity effect, meaning it can be extremely handy if you’re faced with an overly boomy voice or instrument which you don’t want to over-accentuate.
The catch however, is that you’ll be picking up a lot more of the room sound in the process.
Simply put: Omni is a definitely an option worth considering if you have access to well-treated tracking space, or are willing to live with a little extra ambience in your vocal recordings!
P – Proximity Effect: The proximity effect is the technical term for the exponential increase in low-end energy that occurs when a source is moved closer to a directional microphone:
In the context of recording vocals, the proximity effect allows you to alter the amount of low-end energy that’s being picked up by the capsule via simply getting the singer to perform closer, or further away from the microphone.
A basic rule of thumb for the proximity effect is: The thinner the source, the closer you can afford to mic it. (And vice versa)
Q – Questions: A key component in getting the best performance out of pretty much any musician lies in their ability to feel relaxed and comfortable in the studio environment. Especially with singers!
Every once and a while, asking the vocalist you’re recording whether there’s anything you can do to improve their headphone mix or help them feel more comfortable is great way of building trust and allowing them to give a better performance.
On a similar note, consistently addressing any questions or concerns the singer brings up throughout the duration of the process in a non-condescending manner will go a long way towards building a good rapport and helping them feel valued, so always be on your best behaviour!
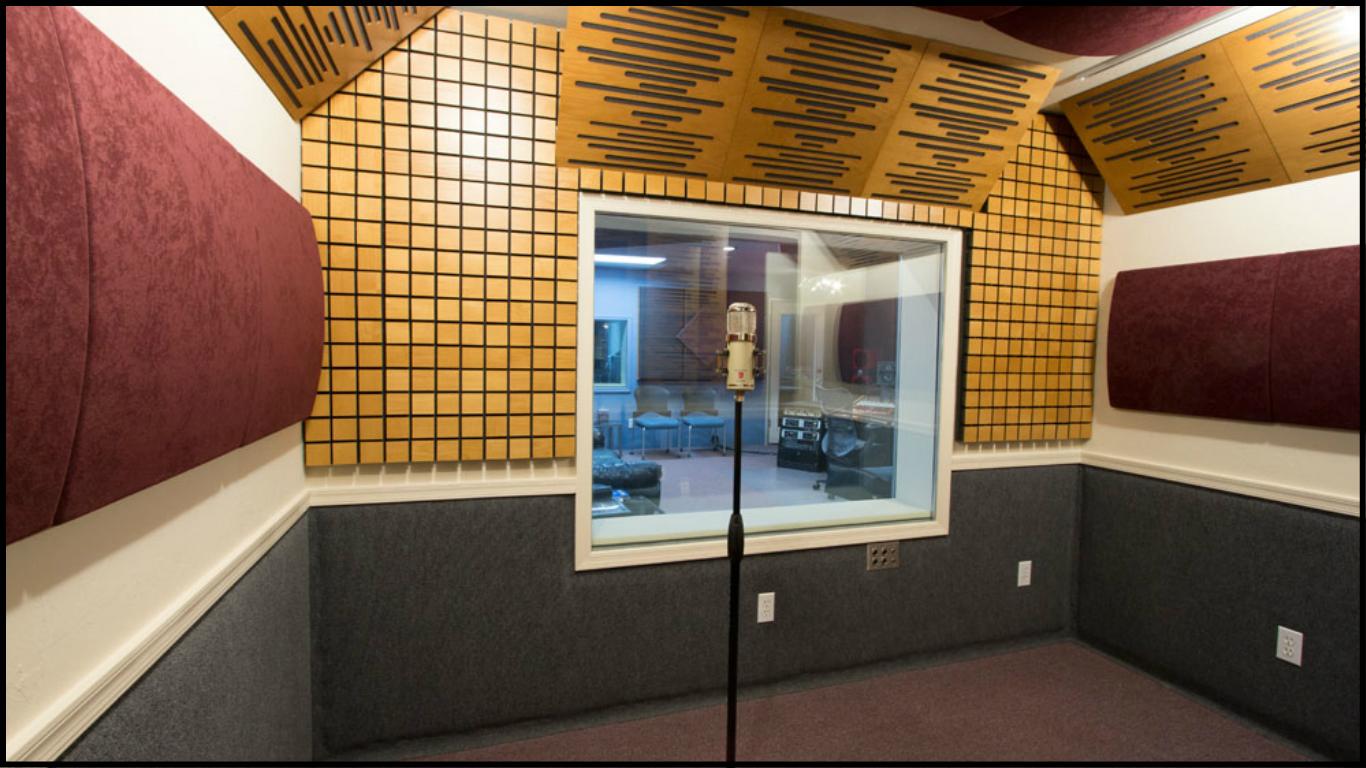
R – Room / Reflections: The most important factor of all while recording vocals is the amount of room sound the microphone is picking up in relation to the direct vocal:
VIDEO: Check out the following clip, in which audio education legend Bobby Owsinski (The Mixing Engineer’s Handbook) talks about how you can go about treating a room for capturing the best recordings at the lowest cost:
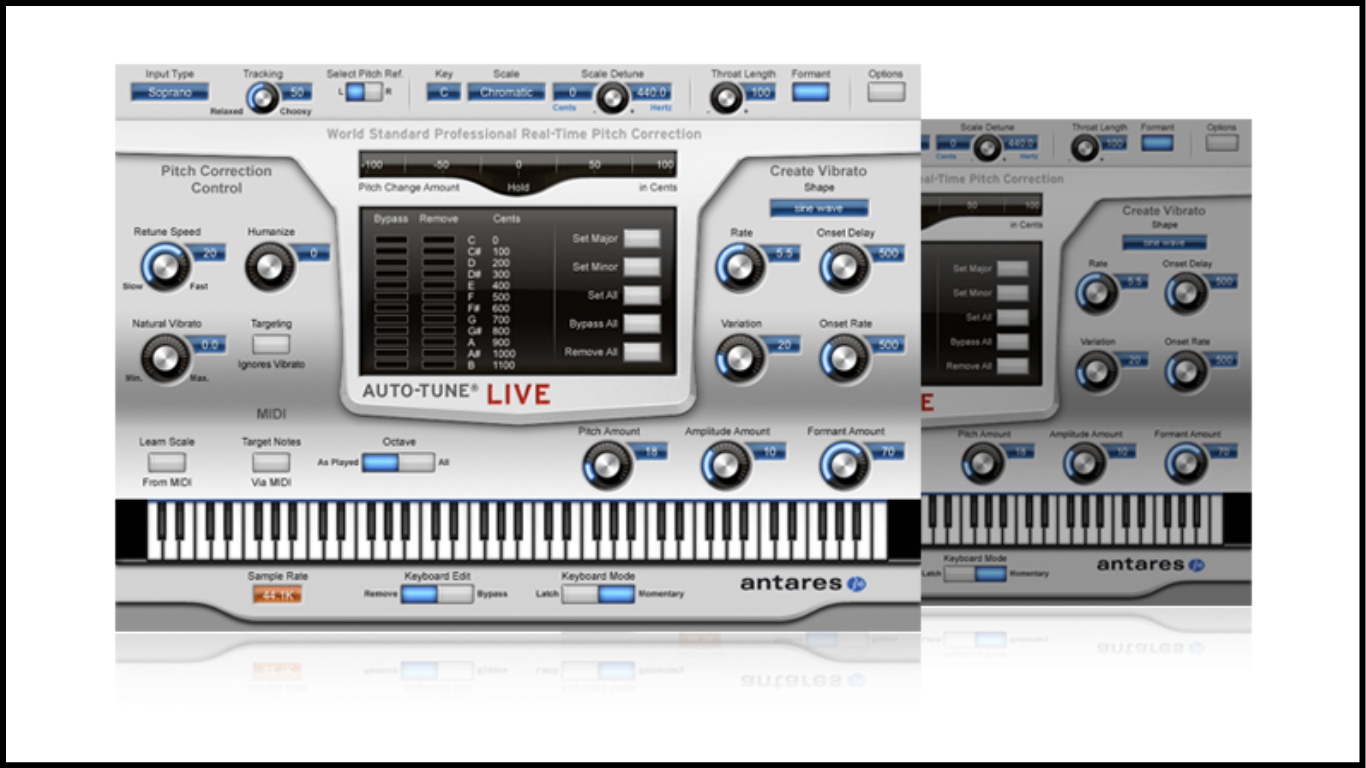
T – Tuning: Some people like to track their vocals through auto-tune in order to simulate how the final vocal is going to react to tuning. I personally think this is a terrible idea, and strongly believe that you should always start by trying to get them as close to perfect as possible through sheer will power and persistence.
PS. This being said, I do thoroughly recommend tuning your lead vocals before recording your backing vocals, as it’ll give the singer a perfect point of pitch reference to sing along to.
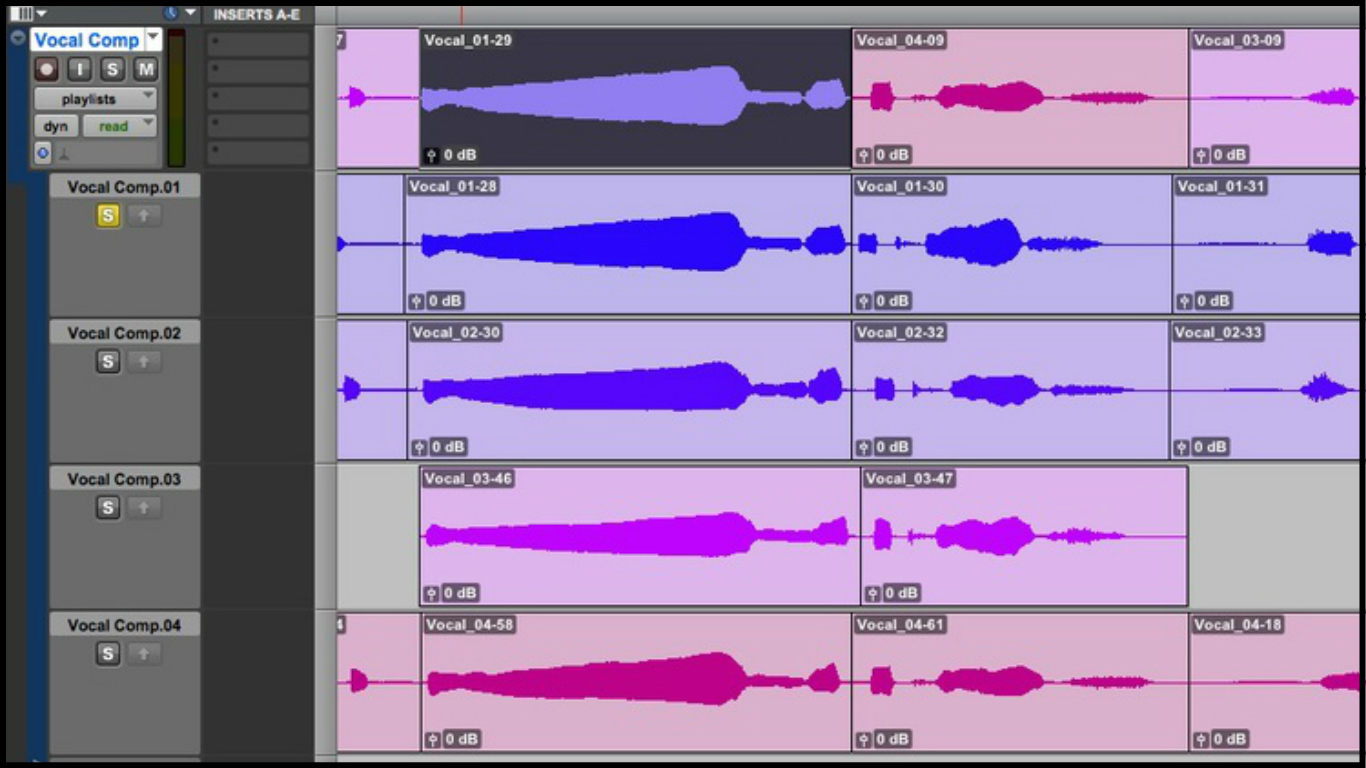
U – Unison: When recording additional vocal layers, it’s important that the singer is matching the word-placement of the lead vocals as tightly as possible:
If you have the luxury of spreading your vocal tracking across multiple days, you might want to consider recording and comping the lead vocal before the singer comes in to record their backing vocals, as this way they’ll be trying to match the “finalised” performance rather than some random, unedited take.
V – Volume: In the same way that it’s crucial to get the singer’s headphone balance right during recording, it’s also important that you’re not listening too loudly for long durations while on tracking duty – Your ears are your biggest asset as an engineer, so make sure you’re protecting them!
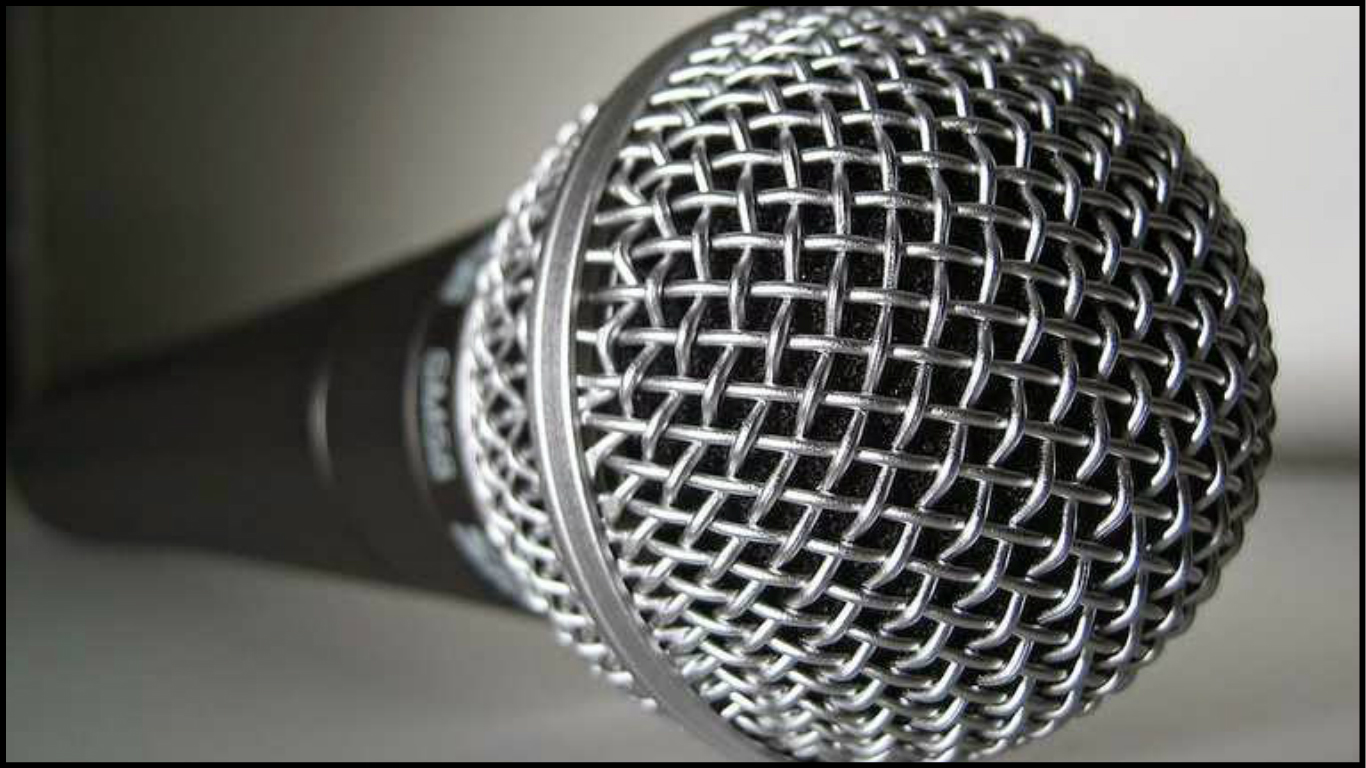
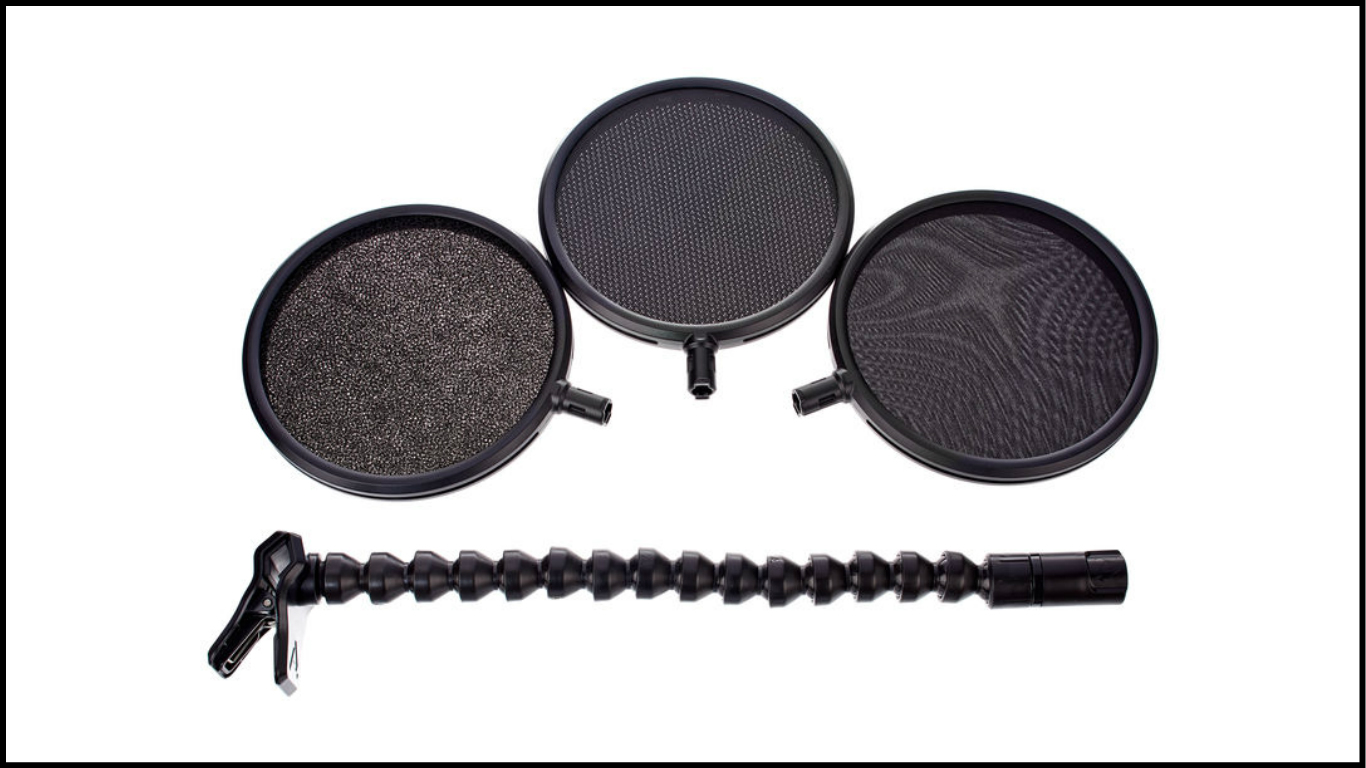
W – Windscreens & Pop Filters: When a plosive sound (p,b,t,d,k,g) hits a microphone capsule directly, it causes a distorted low-end “Pop”. This is where a “Pop filter” comes into play:
The purpose of a pop filter is to diffuse the blasts of air which are coming out of the singer’s mouth so that they don’t impact the microphone as aggressively.
Standard pop filters come in two material variations: Fabric, and Metal. Some people like to argue that using a metal pop filter helps retain more high-end in the vocal, however the difference is so minuscule that it’s not really worth worrying about.
Some microphones, such as the dynamic Shure SM7B come with a built-in “windscreen”, and don’t necessarily require any further air-diffusion to prevent plosive low-end “pops”. (Although some people do prefer to unscrew the Shure screen and pair the “naked” microphone with a regular pop filter instead)
Simply put: There’s never really any reason to not use a filter/screen while recording vocals, so you might as well just use one.
X – X Axis (Horizontal Angle): Although it’s most common to record vocals at a straight-on angle, there are a number of reasons why you might want to try moving the microphone slightly off-axis instead:
Placing a microphone slightly to the right/left of a singer’s mouth at a 45-degree angle prevents it from being hit by plosive bursts of air which might otherwise cause the capsule to distort.
This placement has the added benefit of also reducing the amount of sibilance captured by the mic, as high-frequency information is very directional, and the singer’s mouth won’t be aiming at the capsule directly.
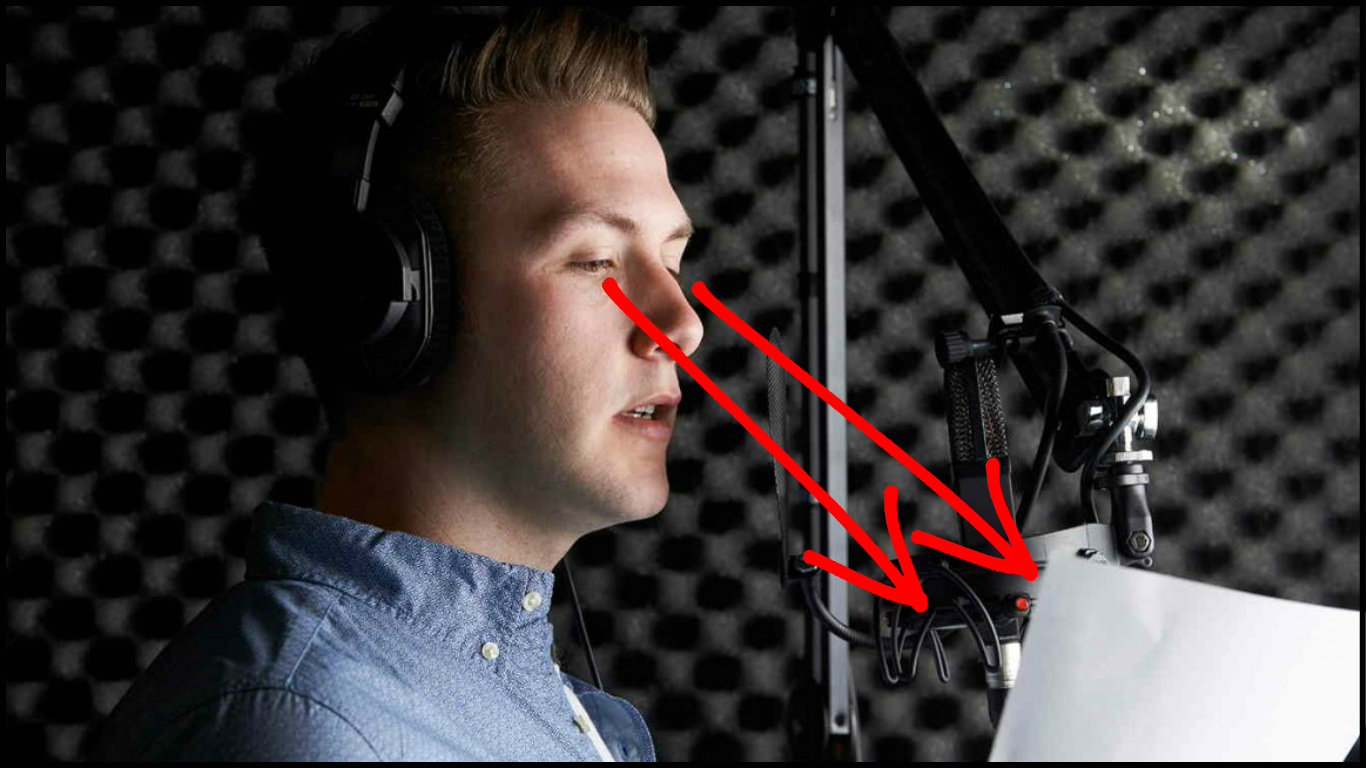
Y – Y Axis (Vertical Angle): The angle at which the microphone is pointing up/down towards the singer’s mouth can also have a huge impact on their ability to perform. Here’s a short excerpt from my URM interview with Voicehacks founder Mary Zimmer on the subject:
“Stop getting vocalists to aim upwards into the microphone while recording! It’s well intended by the engineers, but actually causes their throat to respond to the thought of looking upwards. The result is the singer’s larynx shooting up in a non-relaxed position, making it much harder to sing…”
“It’s way easier for a singer to sing a high note while looking DOWN! This being the case, I want all engineers to stop putting the microphone above the singer, and instead to place it straight in-front, or slightly below their mouth at a 45-degree angle.” – Mary Zimmer
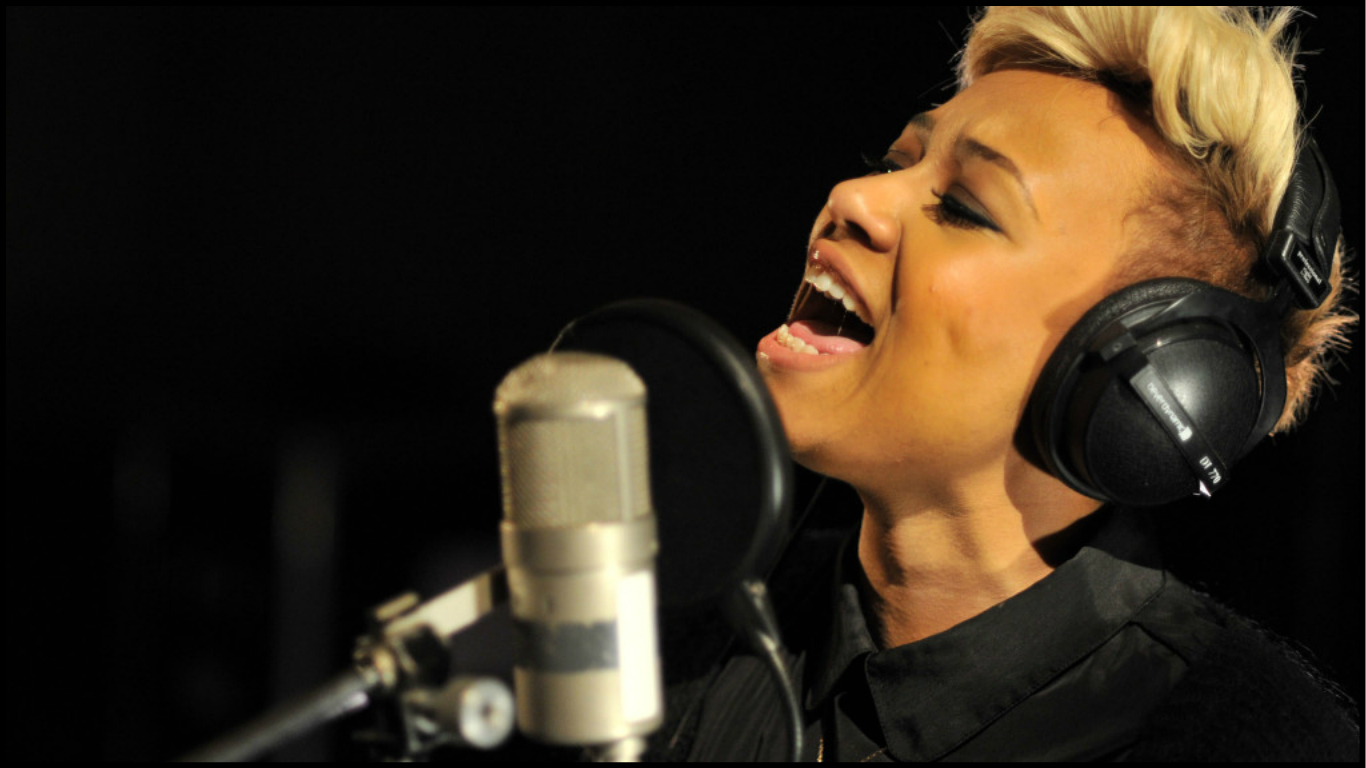
Z – Zone: Although it may seem silly, some singers give their best vocal performances when recording in an environment that matches the vibe of their lyrics:
For this reason, it’s important not to just brush-off their requests as “unnecessary”, and to always try and accommodate the needs of the person you’re working with for the greater good of the song. (Anyway, who doesn’t love a good candle-lit tracking session?!?)
CONCLUSION:
If you were to make a list of your favourite songs of all time, how many of them would make it on there based primarily on the vocals? My guess? Probably a lot of them.
This simply comes down to the fact that the human voice is able to convey feeling and emotion unlike any other instrument, and therefore has the power to transform a song into something truly special when operated, and captured to its full potential.
Given what’s at stake, always make sure you’re putting in the necessary time and effort towards making sure you’re vocals are as good as can possibly be!
FINAL WORDS:
This concludes “The A-Z Of Recording Vocals (Part 2)”. I hope that this article has given you some new ideas to try out during your next project. Be sure to comment below if any of this information has helped you out, or if you have any questions.
Nail The Mix is our online mixing school that gives you REAL multi-tracks from REAL bands, plus a mixing class from the producer who recorded it. Past guests include Periphery, Chelsea Grin, Machine Head and State Champs. Join now for instant access!
The vocals are the most important element in 90% of the mixes you’ll come across, and can mean the difference between a song that connects with the listener, or a songthat makes them want to reach for the “skip” button.
On that note, in this two-part blog series I’ll be guiding you through the A-Z of everything you should keep in mind when recording your vocals:
PART 1 (A-M):
A – Ambience: Some singers find hearing their voice totally bone-dry in the headphones slightly disconcerting. In these cases, simply sending them through some lush reverb or delay that matches the tempo and vibe of the song can often do wonders towards helping them perform more comfortably!
B – Bleed: There’s nothing more annoying than spending hours-upon-hours recording vocals, only to realise that there’s an obnoxious *click* sound bleeding through every take when you solo them the next day.
The solution to this problem is simple: Figure out how much headphone bleed you can get away with for the particular song you’re working on BEFORE you start tracking!
It’s important to note that a little bit of bleed isn’t usually a huge problem, as if you can’t hear it in the mix, it doesn’t matter anyway…
This being said, the threshold of how much bleed is “acceptable” can change depending on musical context. Ex: You can get away with a lot more headphone leakage in a blaring rock track than you can in a dynamic ballad…
C – Click: It’s crucial that the singer you’re recording is able to follow the rhythmic feel of the track as tightly as possible, or you’ll just end up having to painstakingly quantise every syllable of their performance later on…
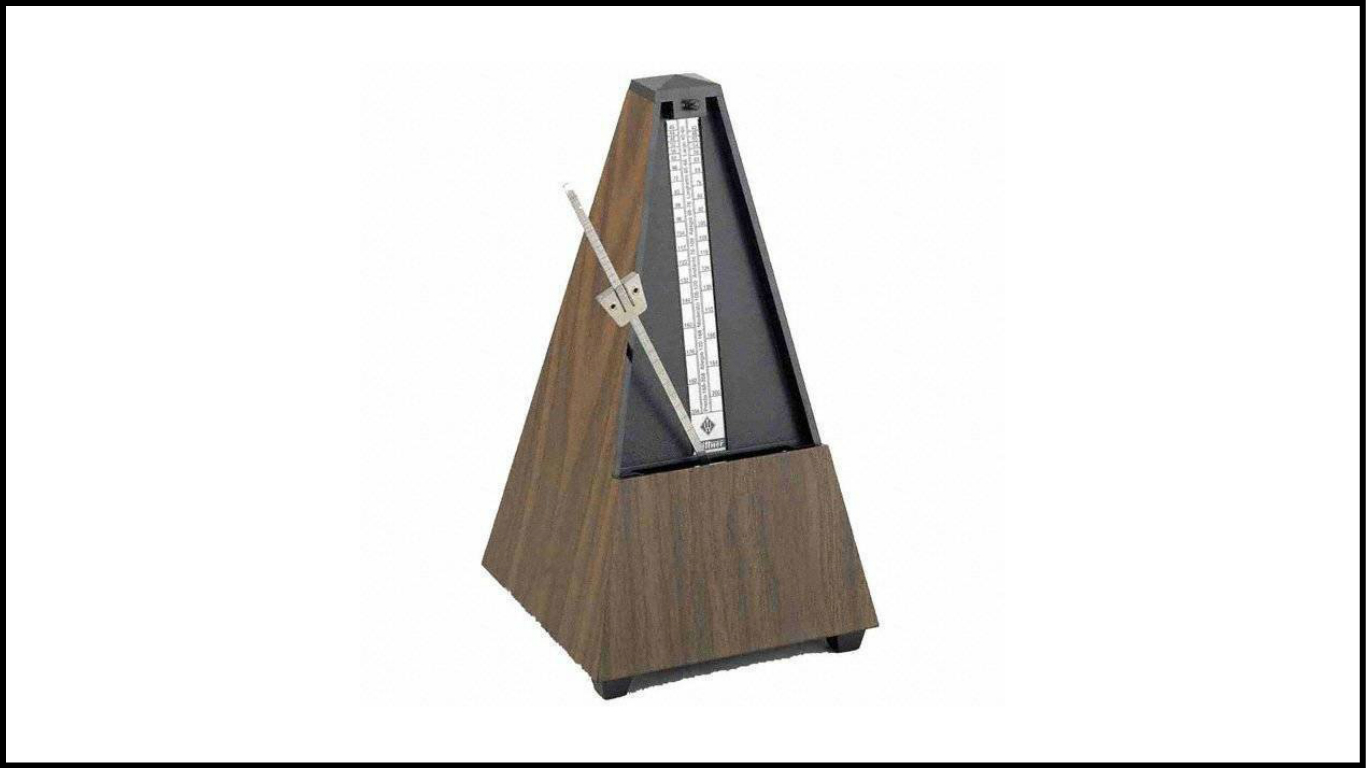
Although the most common method of helping a vocalist keep time is to just use a standard quarter-note click track (a metronome), I personally find that most singers have an easier time locking in with a “real” rhythmic instrument that sounds less “sterile”.
The next time you’re recording vocals (or anything else for that matter…), try programming in a simple 8th/16th note drum beat or percussion part for them to groove along with instead. I know it sounds basic, but you’ll be surprised at just how much of a difference it can make for some people!
D – Distance: The distance at which the vocalist sings into the microphone can drastically change the sound of the recording:
Think of the distance between the singer and the microphone as the wet/dry balance between their voice and the reflections in the room – The further they are from the mic, the more room sound is going to be captured in ratio to their direct vocal, and vice versa.
Although you’ll generally want to avoid capturing too much room ambience in your lead vocals, recording BV’s and doubles from a few steps back can really help differentiate them slightly and push them further into the mix.
E – Emotion: A great vocal take isn’t just about perfect pitch and timing, it’s also about conveying the emotions behind the lyrics so that they connect with a listener. Make sure you’re not snuffing out the passion of the singer or message of the lyrics in the pursuit of technical perfection!
F – Fatigue: Singing/screaming non-stop for hours-on-end can be quite punishing on the vocal cords if done carelessly. Here are a few basic pointers on preserving a singer’s voice:
Avoid coffee, black tea and other “hard” caffeinated drinks before singing, as they can really dry up the vocal cords. Mint tea on the other hand, can be extremely beneficial during, and after singing, as it opens up the throat while also helping prevent hoarseness.
Take regular breaks! If the singer is having to sing the same lines over and over again for too long then their ability to perform enthusiastically and on-pitch can really begin to suffer. Remember that you’re making art, not just trying to fulfill a “take quota”!
Speaking of “take quotas”, making sure you’re not recording too many takes isn’t just about cutting the singer’s voice some slack, it’s also about preventing option paralysis when the time comes for you to comp them all together…
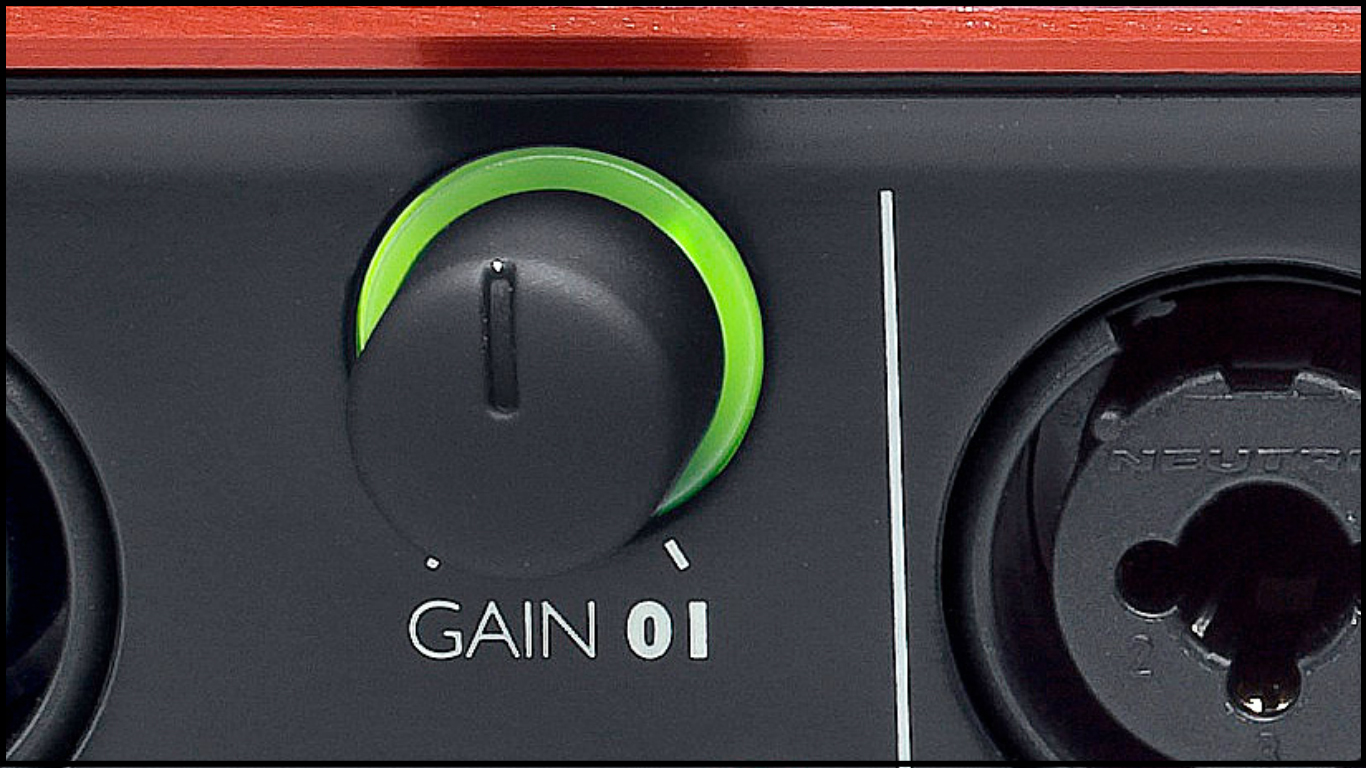
G – Gain (Input Level): Digital clipping is a difficult problem to fix after-the-fact, and is much more audible on vocals than it is with drums or electric guitars:
Do yourself a favour: Back off the input gain so that the loudest parts of the vocalist’s performance are hovering in the yellow, this’ll give you more than enough dynamic headroom to capture every nuance of the performance, and will guarantee a “clean-capture” from beginning to end!
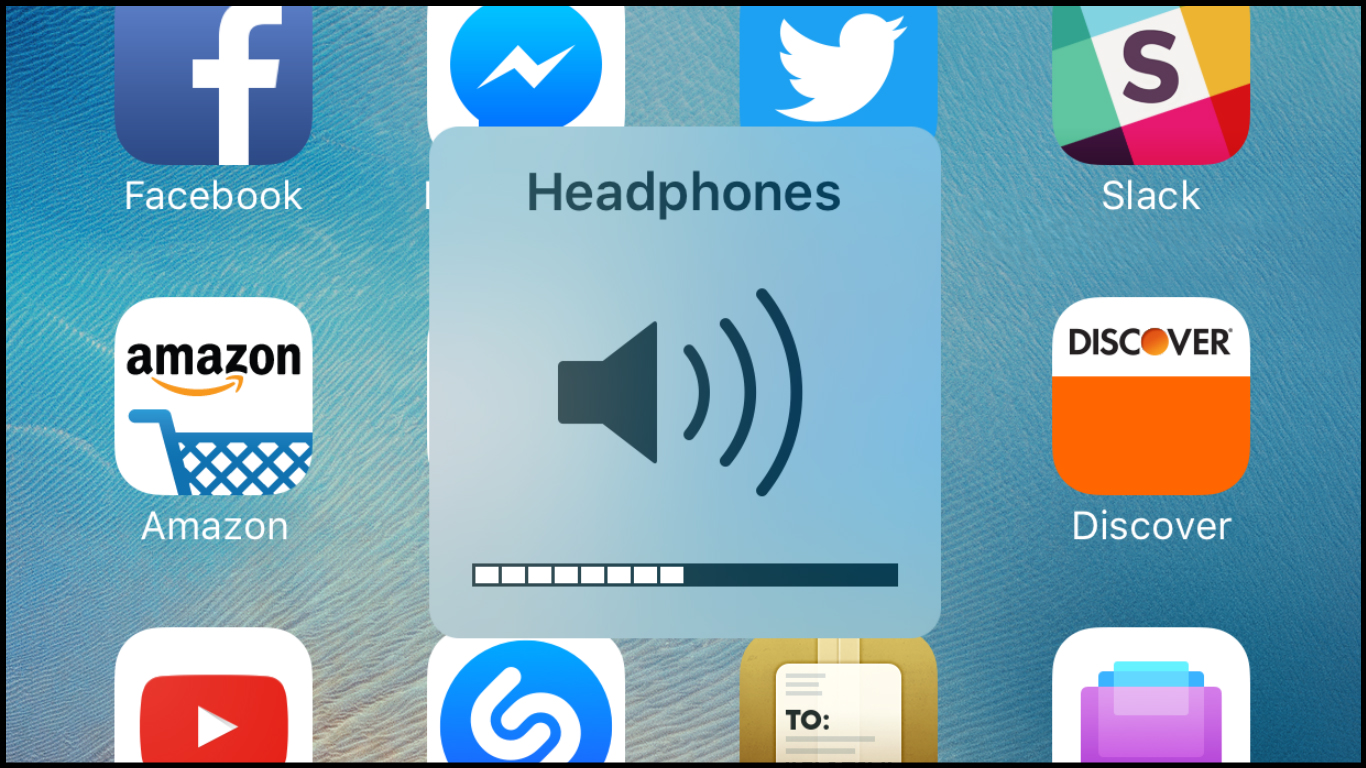
H – Headphone Balance: Believe it or not, a vocalist’s headphone balance can have a huge impact on the quality of their performance:
If the singer’s voice is too loud in their headphones, they might sing softer in order to compensate, resulting in weak takes which lack power and conviction. If the singer can’t hear themselves properly in the cans, they might end up singing too loudly, putting unnecessary strain on their vocal cords and tiring themselves out too quickly.
Another key factor is the level of the instrumental: If the overall mix is too loud, it can end up fatiguing the singer’s ears and preventing them from pitching accurately. On the other hand, if the overall mix is too low, they might have trouble keeping time or hearing the melodies…
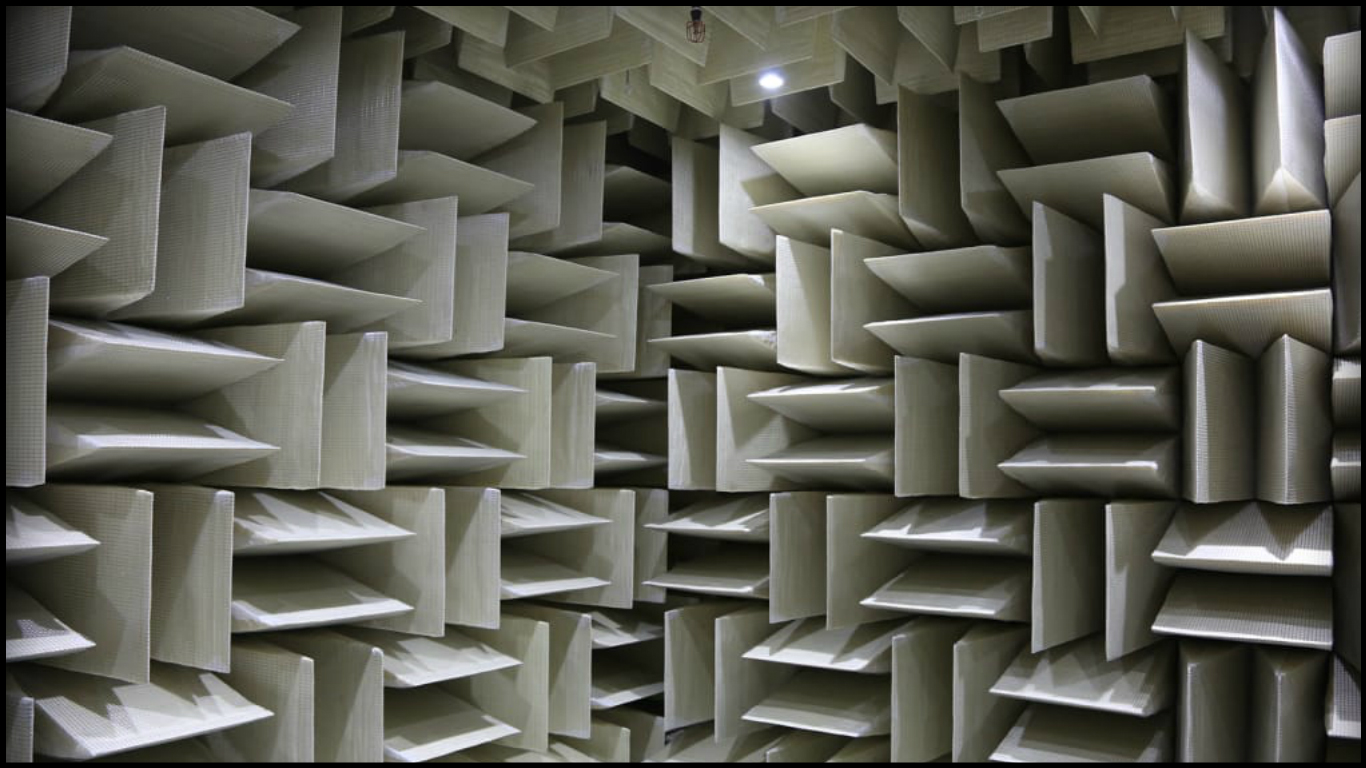
I – Isolation: Recording loud vocals for long periods of time is bound to annoy your neighbours if you do it often enough:
Although it’s possible to somewhat reduce your outgoing “noise pollution” via the tight-sealing of windows and doors, doing it properly is a huge undertaking which can cost a pretty penny.
My advice: If you’re getting noise complaints, start by trying to come to a mutual agreement on “recording hours” that work for everyone involved. If that doesn’t work, just find another place to record…
J – Jargon (Terminology): Don’t automatically assume that the singer you’re working with understands all of your fancy “studio language”. Always make sure that you’re explaining yourself in a clear and concise way that helps them give the best performance possible!
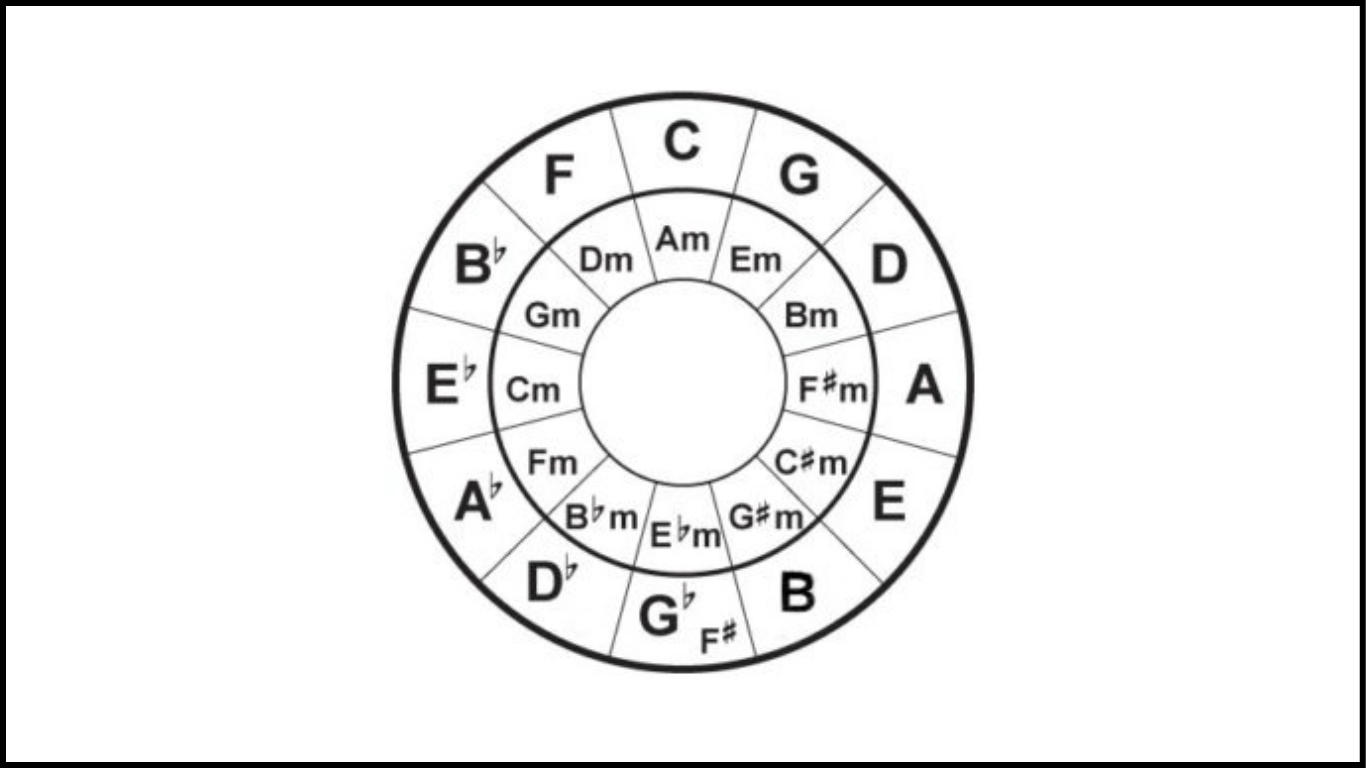
K – Key: The key of a song is extremely important, as it can mean the difference between the vocalist singing comfortably, or delivering a forced and fatigued sounding overall performance. Spare yourself the future pain and frustration, figure it out during pre-production!
L – Lyrics: It’s important that the singer knows their lyrics well before they ever step foot in the studio, as having to follow a lyric sheet or phone/tablet during recording is bound to negatively affect their ability to focus on giving a good performance.
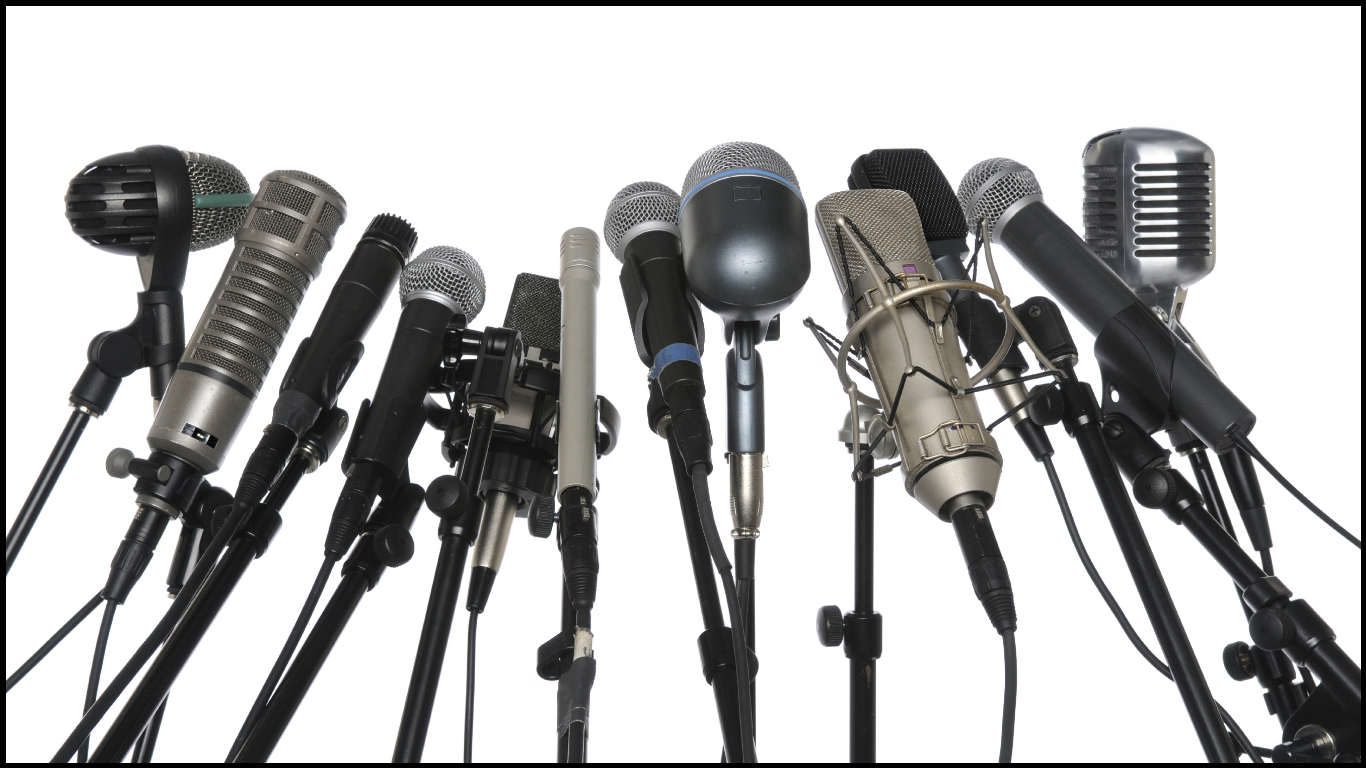
M – Microphone Choice: There is no “one size fits all” when it comes to microphones…
If you’re lucky enough to have access to several, always put in the time and effort towards figuring out which mic best-suits the particular voice you’re working with.
This being said, It’s also not as big of an issue as some of the self proclaimed “professionals” on the audio forums and Facebook groups would like to have you believe.
Simply put: A decent microphone will produce decent results on pretty much any voice. Stop using your gear as an excuse and just get on with making some music!
CONCLUSION:
If you were to make a list of your favourite songs of all time, how many of them would make it on there based primarily on the vocals? My guess? Probably a lot of them…
This simply comes down to the fact that the human voice is able to convey feeling and emotion unlike any other instrument, and therefore has the power to transform a song into something truly special when operated, and captured to its full potential.
Given what’s at stake, always make sure you’re putting in the necessary time and effort towards making sure you’re vocals are as good as can possibly be!
FINAL WORDS:
This concludes “The A-Z Of Recording Vocals (Part 1)”. I hope that this article has given you some new ideas to try out during your next project. Be sure to comment below if any of this information has helped you out, or if you have any questions.
Nail The Mix is our online mixing school that gives you REAL multi-tracks from REAL bands, plus a mixing class from the producer who recorded it. Past guests include Periphery, Chelsea Grin, Machine Head and State Champs. Join now for instant access!
![Joey’s Time Management Tips! [ The Career Builder Show ]](https://urm.academy/wp-content/uploads/2018/07/Ad_CBS_Ep17_TimeManagement_thumbnail-100x56.jpg)
 Nail The Mix is our online mixing school that gives you REAL multi-tracks from REAL bands, plus a mixing class from the producer who recorded it. Past guests include Periphery, Gojira, Meshuggah, Machine Head, A Day To Remember and Bring Me The Horizon. Join now for instant access!