Matt Brown is a producer, engineer, mixer, and professional drummer who serves as the head recording engineer at Solar Studios in Orlando. His multi-faceted career includes work as an expert drum tech, a touring drummer for artists like Brian Howe of Bad Company and the band 10 Years, and session work with classic rock figures like Pat Travers. Currently, he’s deep into a long-term project engineering and playing on a record for Jon Anderson of Yes, which features legendary musicians from the band’s history.
In This Episode
Matt Brown sits down for a chill but super insightful chat about what it really takes to build a career in audio. He shares how growing up in his dad’s studio shaped his unique philosophy on sound, defining a drummer’s “voice” as something that goes way beyond just the notes they play. He gets into the nitty-gritty of how he completely renovated his current studio on an insane budget of less than $6,000, proving you don’t need a million bucks to get pro results. Matt also recounts the highs and lows of his journey—from landing massive record deals in the 2000s to losing major touring gigs overnight and having to hustle his way back from scratch. This episode is packed with real-world advice on developing multiple skills, staying resilient, and understanding that the key to success is being driven and simply refusing to quit.
Ever heard the saying: “The Vocals Are The Center Of A Mix” ?
Well… It’s 100% true.
However, we’re not talking about a static, bone-dry, boring vocal in this case, but rather a vocal that’s swimming in pure emotion, slotting-in perfectly with the ambient vibe of the track in which it’s placed.
The key to achieving such a difficult task?: VOCAL FX
VOCAL FX: Take Your Listeners On A Journey…
A killer example of brilliant vocal production is Architects’ “Gone With The Wind”:
In this short snippet from his 5-Hour-Long NailTheMix Live Session, Architects producer Henrik Udd manages to surround singer Sam Carter’s brilliant performance with a dark, brooding, ethereal blanket of creative FX that fit the musical context and subject-matter of the song perfectly.
Would the vocals still have been good without all the fancy effects? Probably, but I highly doubt they would have had the same emotional impact…
Moving On… Let’s take a look at some of the primary FX you can use to bring vocals to life in your own mixes:
Reverb: Probably the most commonly-used (and widely-known) audio effect of all time, and for good reason: Every single sound that makes it’s way into our ears is actually the combination of a direct source & the reverberated acoustic space in which we’re hearing it!
This being the case… It’s only logical that adding some sort of ambient effect to a dry-recorded vocal would sound more appealing to our ears. (It’s what they’re used to in nature after-all…)
I like to approach my vocal reverb in two stages:
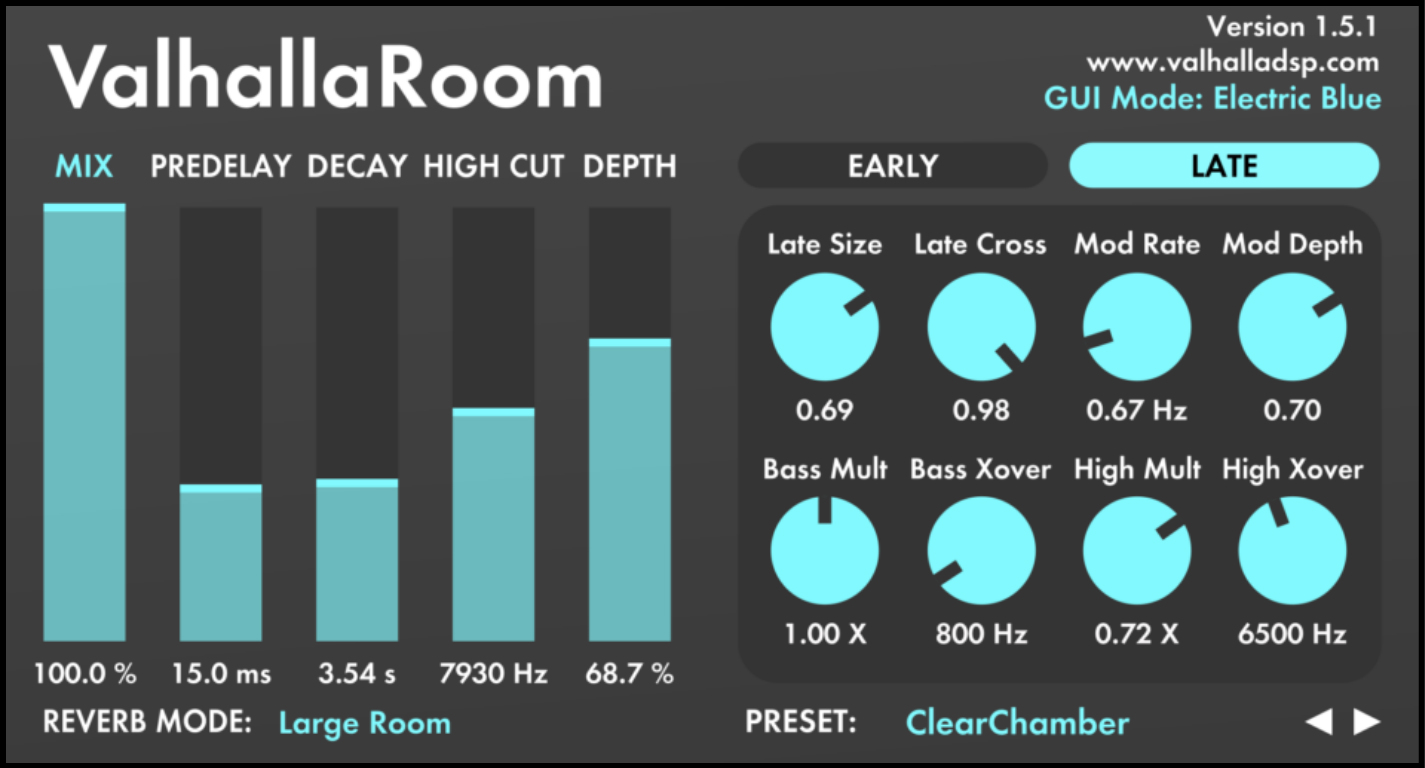
RoomVerb: Usually a short-decayed “Room” algorithm. (Under 1 second)
The purpose of this FX send isn’t necessarily to be an obvious effect, but rather to subtly thicken and widen the vocal while simultaneously making it sound more “real”.
I’ll often push the fader for this effect up to a level where it’s felt rather than heard… And then automate it up/down depending on how far back in the mix I want the vocal to sound per-section of the song.
My go-to tools for this purpose are ValhallaDSP’s “Room” plugin or one of the “Studio” settings on Slate Digital’s “Verbsuite” Bricasti M7 emulation.
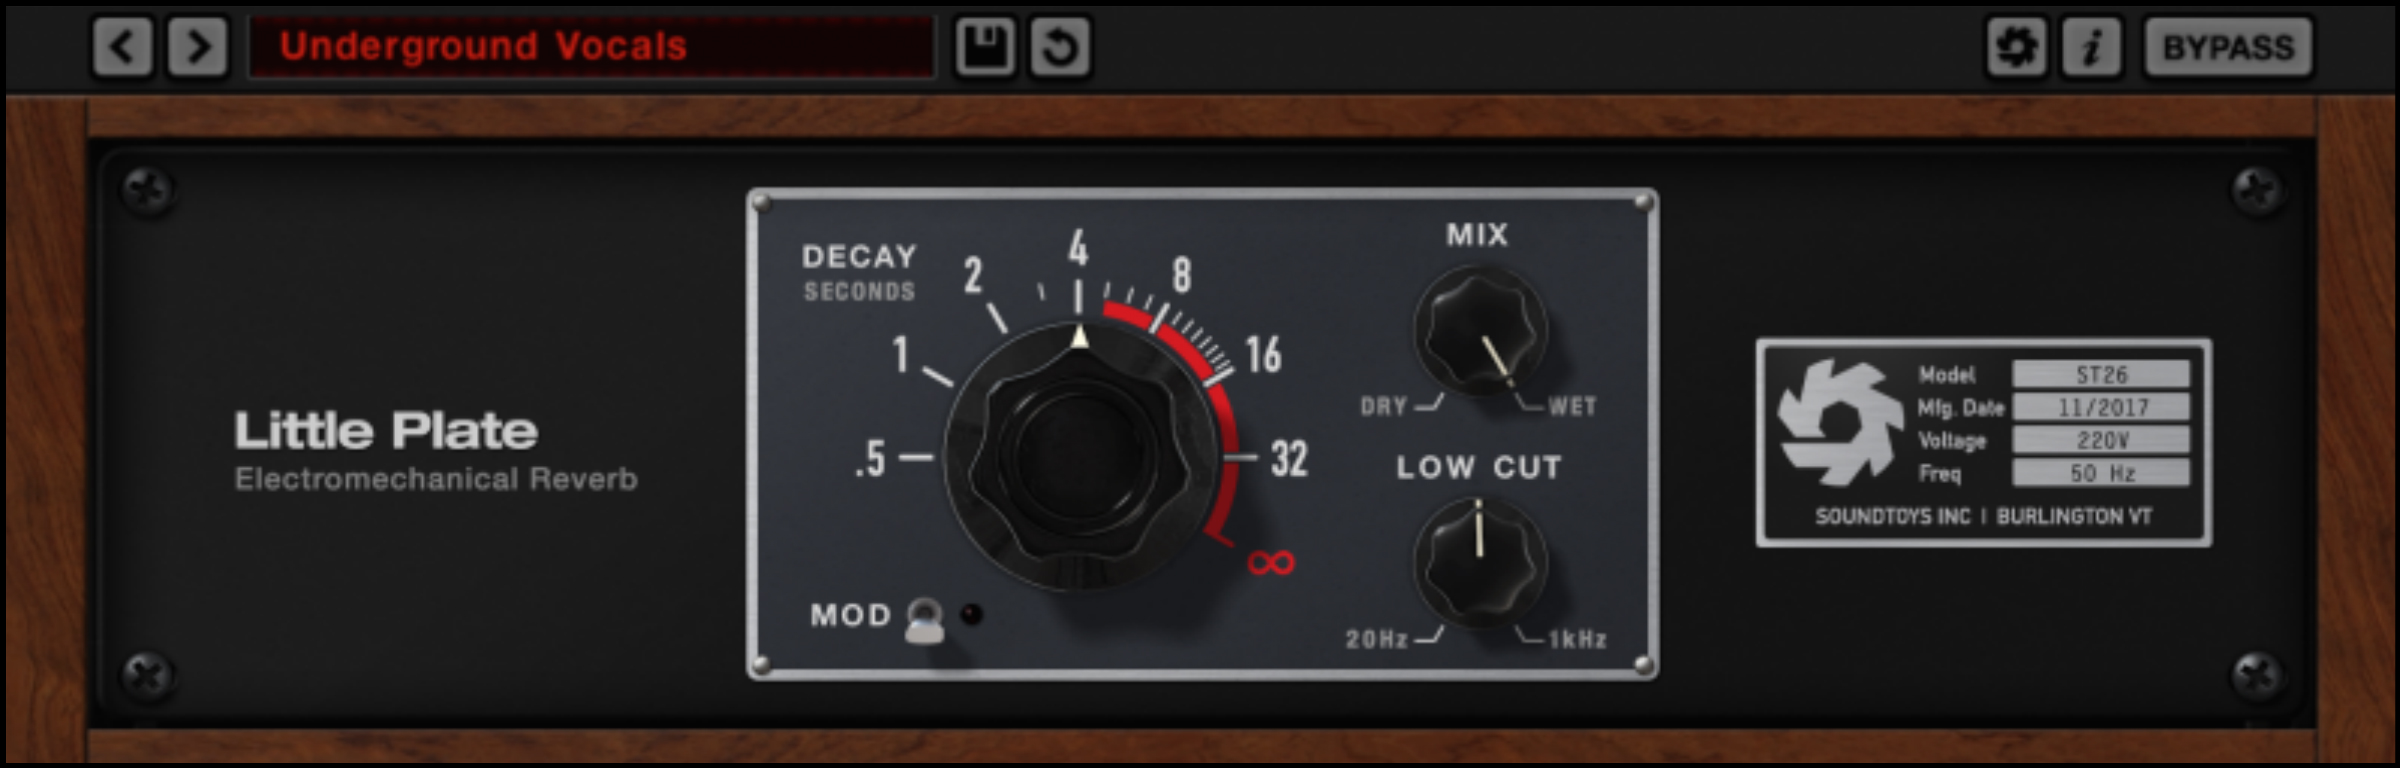
LongVerb: Usually a “Hall” or “Plate” algorithm with a longer trail-out. (1-3 Seconds)
Unlike the subtle room-ambience, this effect is meant to be heard. (But take it easy…)
There is no “correct amount” when it comes to reverb, only what is appropriate for the song/genre. Use your ears, and make sure you’re not detracting from the performance.
Filtering out any unnecessary low-end rumble / high-end hiss from your reverb sends, as well as timing them to the BPM of the track will go a long way towards opening up some free space for everything else.
My favourite plugins for this particular task are ValhallaDSP’s “VintageVerb” / “Room” and Soundtoys’ “Little Plate”.
Delay: Personally, I often prefer using delays over reverbs for the purpose of adding depth and space to vocals. (On vox and lead instruments at least…)
A few reasons for this preference:
Filtered delays tend to take up a lot less space in a mix than reverbs.
Well-timed delays can really help aid the rhythmic feel of a track by filling in the gaps between phrases with some nice syncopated word repetitions.
They’re just really fun and interesting to listen to!
A few tips on vocal delay:
Slim them down: You can really afford to roll-off a lot of the highs and lows from your delay sends in a dense mix, as the mids are where they’re gonna primarily work their magic anyways.
NOTE: I’ll often set my filters as high/low as 500Hz and 3-5kHz if I feel I can get away with it. Make sure you’re not filtering just for the sake of doing it though. You can obviously get away with having much larger-bandwidth delays in a sparse arrangement in order to fill-up some of the otherwise empty space!
Always set up your delay-send levels in context of the full mix. What sounds like a lot in solo might actually be perfect in context. (And vice versa… )
Make sure you’re not overdoing it. Using too many delay subdivisions and panning them all over the place in the stereo spectrum is bound to become distracting (and possibly a little nauseating) for your listeners.
Although syncing delays to the BPM of a track for perfectly-timed repetitions is fairly common-practice, tweaking them so they’re slightly faster or slower will actually help them cut through and be heard more clearly. (Due to the fact that they won’t get as hidden behind everything else which has been perfectly edited and quantised to the grid.)
NOTE:Want to learn how to filter and time your FX to fit perfectly with your track? Check out my “20 Simple Mixing Tricks” Blog series from a while back:
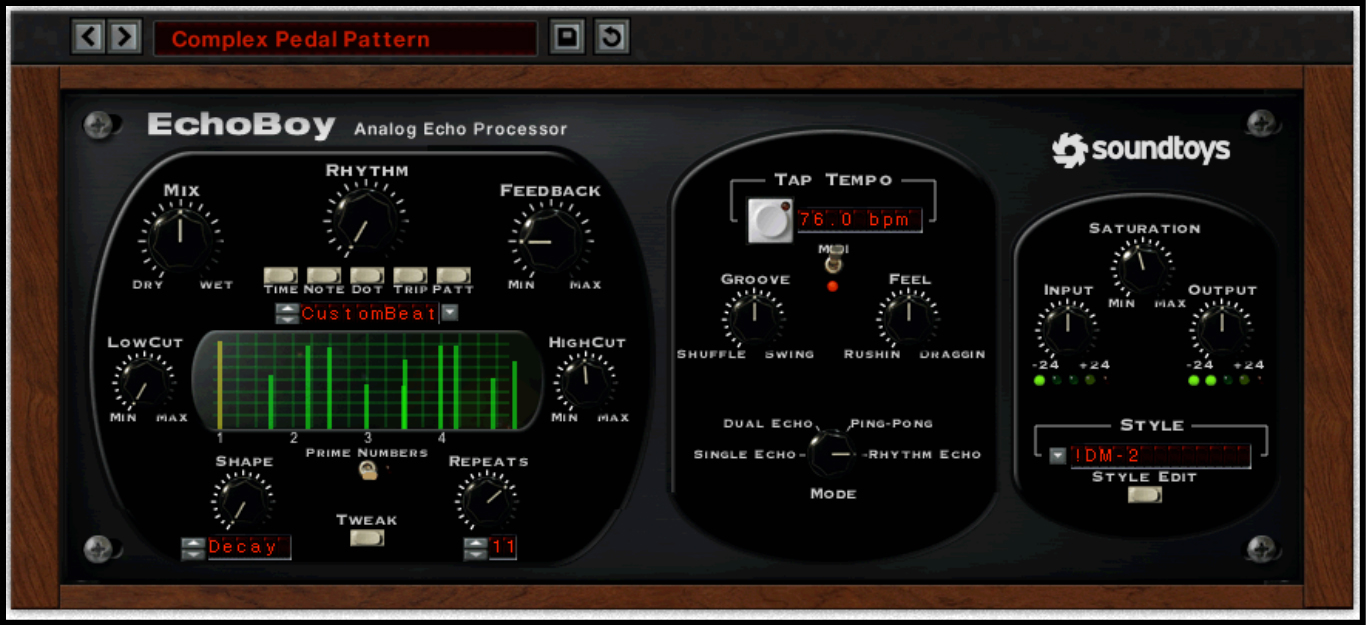
My favourite tools for this effect are Soundtoys’ “Echoboy”, Slate Digital’s “Repeater” and Waves’ “H-Delay”.
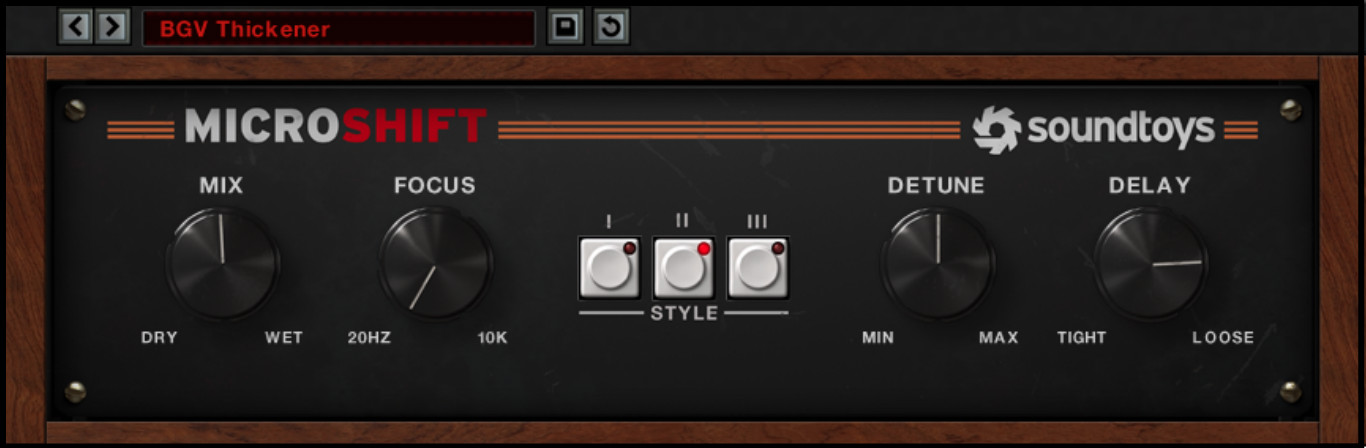
MicroPitchShift: Listen to any song which was recorded in the 80s and you’re bound to come across this exact effect – As the name suggests, “Micro” pitch shifting is actually just a subtle form of chorusing.
There are a few awesome reasons as to why you might want to invest in a processor that can achieve this sort of effect:
This effect is basically the sound of “pop” vocals. It’s instantly recognisable, and simply makes things sound more polished and professional.
Give your vocals a nice high-end sheen in the side channels. (Filtering out the some of lows from your send to this FX effectively turns it into a “Side Sparkle”, Parallel-EQ fader!)
Make your vocal reverbs and delays super-wide and lush by sending them to this effect. (Or sending this effect into them…)
NOTE: There’s not much more to say on this particular effect, but the one thing I will say is that the key to using it effectively on vocals is to use it sparingly.
My favourite plugins for achieving this effect are Soundtoys’ “Microshift”, Eventide’s “H3000 Factory”, and Waves’ “Doubler”.
Lo-Fi (Tonal Bandwidth):Big, small, dark, bright… All of these terms are relative, and only exist as long we have a point of reference for what they represent.
Say what now…?
In order for something to sound “big”, you first need to know what “small” sounds like!
Ahh… But how does this apply to audio?
Well, we can use this concept to make certain elements within a mix seem bigger and more impactful than they really are in contrast to whatever came before them. For example:If you want your chorus lead-vocals to sound massive, make the verse & pre-chorus vocals slightly smaller in comparison!
Our ears know what a human voice is meant to sound like… But at the same time, have the memory of a goldfish.
In the context of EQ, this means that if we feed our ears a vocal recording that’s been heavily band-pass filtered (the lows and highs removed), they’ll realise something isn’t quite right, but will adapt and get used to the situation fairly quickly.
If we then suddenly re-introduce the missing lows & highs back into the signal, our ears can tell that there’s been a substantial improvement, and that it now sounds a lot closer to what they expect a voice to normally sound like. (Allowing them to breath a welcome sigh of relief!)
CONCLUSION:
Honestly, one of the biggest things that separates a pro mixer from a beginner is their proper usage of ambience and spatial FX.
It’s not always a case of there being a lack-of said FX in low-quality mixes either… Going overboard with these kinds of tools can just as easily cause problems if they’re too distracting to the listener…
Whatever you do, just make sure that you’re giving the most important element in your mix the time and attention they deserve (and need) in order to truly shine.
Final Words:
This concludes “Vocal FX Mastery (Ft. Architects)”. I hope that this article has given you some new ideas to try out during your next project. Be sure to comment below if any of this information has helped you out, or if you have any questions.
Stay tuned for more production/mixing related articles in the not-so-distant future!
Nail The Mix is our online mixing school that gives you REAL multi-tracks from REAL bands, plus a mixing class from the producer who recorded it. Past guests include Periphery, Chelsea Grin, Machine Head and State Champs. Join now for instant access!
Arthur Rizk is a producer and mixer out of Philadelphia who has become a go-to name in modern metal and hardcore. He’s known for his work with bands like Power Trip, Code Orange, and Trapped Under Ice, and recently handled the killer-sounding Cavalera Conspiracy record, Psychosis. On top of his studio work, he’s also a shredder himself, playing guitar in the band Summerlands.
In This Episode
Arthur Rizk sits down for a super chill chat about his journey from being a basement-dwelling guitar nerd to a sought-after producer. He gets into why learning through hands-on experimentation—and not being afraid to use cheap, “shitty” gear—was more valuable to him early on than burying his head in textbooks. Arthur shares some of his go-to unconventional recording techniques, like his “parallel crapping” method for creating huge, unique room sounds. The conversation also dives deep into the hustle, covering essential career advice for producers, like how to network without being a fanboy, the right way to approach bands you want to work with (hint: go for the ones without managers), and the mindset required to turn your passion into a sustainable career. It’s a great look at how creativity, hard work, and a bit of weirdness can help you carve out your own space in the industry.
Clifton Miles is a producer and mix engineer who runs Dead Room Recording Studios in San Antonio, Texas. After getting his start on a Tascam Portastudio trying to recreate the sounds of bands like Pantera and Hatebreed, he pursued a career in car sales. During the 2008 recession, a dip in income gave him the push he needed to go all-in on his true passion and pursue audio full-time, building his studio from the ground up.
In This Episode
Clifton Miles shares one of the most incredible stories of perseverance you’ll ever hear. Just as his audio journey was beginning, he was diagnosed with a benign brain tumor that required surgery, resulting in the complete and permanent loss of hearing in his right ear. He talks about the recovery, the six months he thought his career was over, and the “fuck it” mentality that drove him to pursue professional audio anyway. He gets into the technical weeds of how he compensates for mixing with one ear, using meters, mono referencing, and a learned sense of what a balanced stereo field should feel like. It’s a heavy, inspiring conversation about overcoming a seemingly insurmountable obstacle, why he keeps his hearing loss a secret from most clients, and how he turned what could have been a career-ending “curse” into a unique and powerful tool.
There are hundreds, even thousands of fancy terms, tools and tricks to explore and play-around with when first starting out, often causing people to skip past some of the crucial fundamentals which are actually far more important.
Back To Basics…
One of these fundamentalsis the fact that a good source recording won’t require much post-processing to begin with.
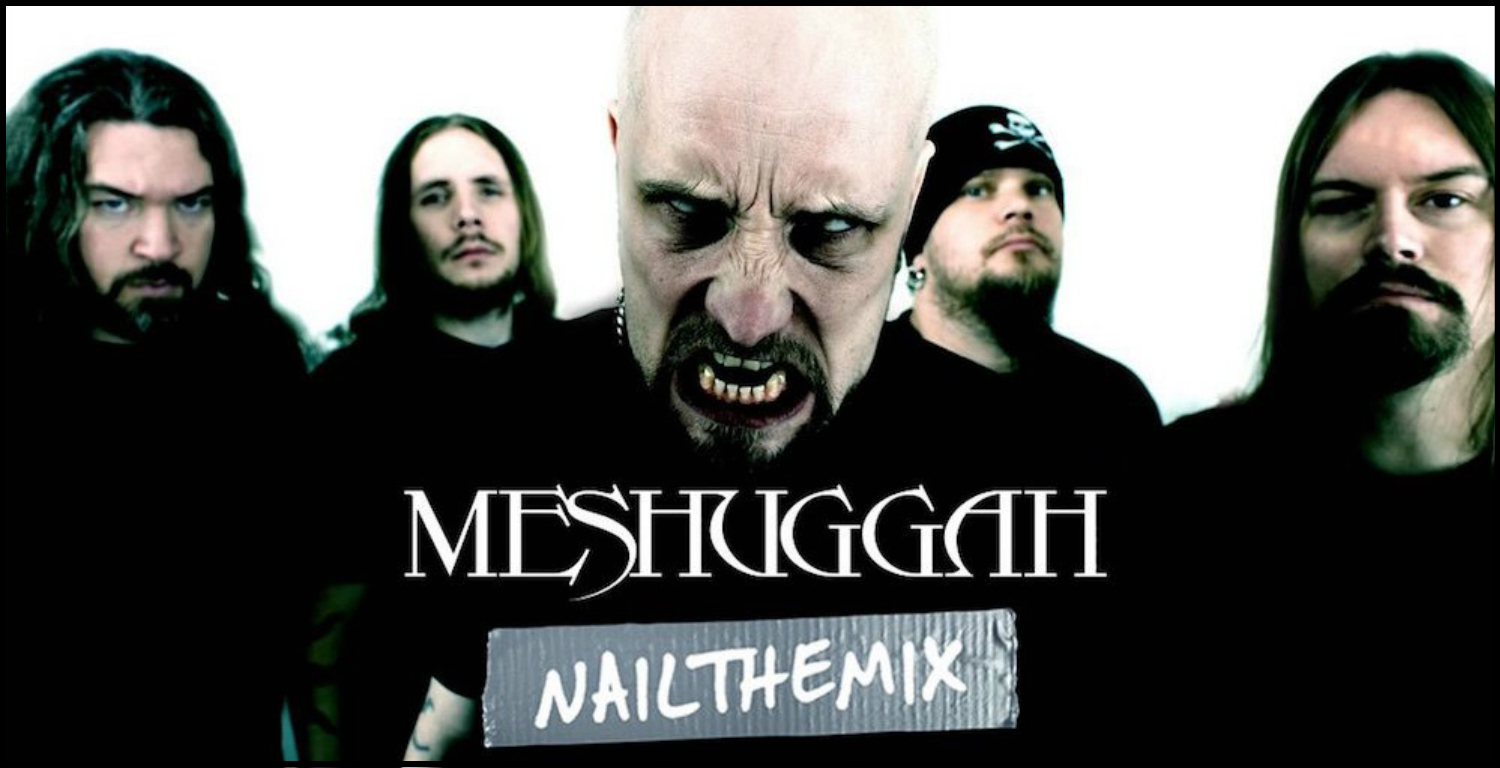
A perfect example of the “Power of the Source” is The bass tone on Meshuggah’s “Future Breed Machine”
Before delving into some of my tips on “getting it right at the source”, let’s take a moment to talk about Meshuggah:
Observation: Every musical element within a Meshuggah track is distinctly “Meshuggah-y” and brutal sounding from the get-go.
“HOW THOUGH?!?”
Well… In the case of the legendary “Future Breed”, I’m willing to bet that Daniel, and each of the guys in the band knew exactly how they wanted the instruments to end up sounding in the final product, and that they crafted / recorded / committed the tones from day one with the intention of them being “the sound”.
As a result of these visionary, goal oriented recording decisions, Daniel Bergstrand is able to mix one of the highest-regarded songs in heavy metal to perfection while relying mostly on basic desk-EQ.
“Make it so you like it, because if you like it, they’ll like it” – Chris Lord Alge
Learning to make these types of bold tonal decisions on-the-spot during recording rather than always delaying them for “future you” to deal with is a surefire way of creating something unique and interesting, as well as preventing option-paralysis when it comes for mixing.
Another “Perfect Recording” example is Meshuggah’s “MonstroCity”: 20 Years later, different album, different engineer, different studio, different gear, same high standards of recording quality and lack of over-processing (resulting in another incredible mix):
Now that you’re aware of what’s at stake, here are some tips towards capturing better source material for your own productions:
Learn To Reference (But don’t over-do it!): If you want, let’s say… your raw rhythm guitar tones to sound bright enough to compete with a full-track without needing any additional EQ in the mix, youneed to have an accurate point of reference for what “bright” sounds like while you’re dialing them in.
Briefly listening through a few similar-genre tracks from other engineers and comparing the general tonal balance of their final tones to yours can help give you a better understanding of what they need to sound like in order to work well in the context of a whole mix.
Remember though: Referencing doesn’t mean blindly copying, it means taking inspiration from.
NOTE: I personally like to reference various productions from Andy Sneap and Adam “Nolly” Getgood when it comes to dialing in electric guitars.
Choose The Right Sound For The Part/Song: Unfortunately (but also thankfully!), there’s no such thing as “one size fits all” when it comes to music. The fact that a certain tone or setting worked well for a particular song doesn’t mean it’s gonna workequally as well for another…
You can’t just copy other people’s sound presets and expect them to slot right into an entirely different musical context without, at the very least, some “adaptive tweaking”
Don’t come up with tones/sounds in solo! Make sure you’re always checking to see how things fit together in the mix… Unless you want to spend countless hours trying to carve out space during mixing.
NOTE: In the case of drums, for example: As funny as it sounds, often doing something as simple as switching to a more appropriate kick or snare drum sample can make all the difference in the world towards gelling the drums into your mix!
TRULY Learn How To Use Your Microphones: More often than not, our go-to solution when trying to figure out how to mic up an instrument/source is to Google the “best” placement positions.
How do you think those engineers you’re blindly choosing to copy came up with those “best” positions to begin with? Was it some kind of super-technical rocket math…? Was it divine inspiration…? Were the secret plans hidden inside a noisy little droid…?
Nope…
They probably just set up the mic and moved it around until they were happy with the sound… THAT SIMPLE!
Stop wasting your time searching for magic audio solutions and just start using your ears. It’ll help you unlock a whole new world of sonic possibilities, and you can thank me later.
NOTE: I can honestly tell you that the first time I was truly blown away by one of my acoustic guitar recordings was the time I decided to abandon my “go-to” position and experiment with the mic.
“The Tone Is In The Hand” / “Crap In, Crap Out”: Music Production is a long chain of events eventually culminating into a final, unified product. If the very first links in the chain are weak, it really doesn’t matter what the rest of it looks like… It’s fundamentally flawed.
A lot of this basically comes down to how the instrument you’re recording is being played. (Remember the best guitar>amp combination in the world will still sound like garbage in the hands of a terrible guitarist.)
Playing-technique related issues are rarely fixed overnight, and are more likely to take months/years to perfect. Realistically, the best you can do in such recording situations is to make-do with the hand you’re dealt… And simply do whatever it takes to make the situation workable. (Often through having to resort to drastic after-the-fact corrective measures)
This being said, fix it in the mix shouldn’t be a valid option/excuse if you can actually help it. If you’re ever in a position where you could drastically improve the sound of something through some simple re-tracking or re-amping if you wanted to, don’t be lazy, just do it!
CONCLUSION:
Mixing is(or should be) about applying the bare minimum of processing necessary to make an already-great-sounding recording sound even better.
Mixing isn’t(or shouldn’t be) about hopelessly trying to u-turn aterrible recording into something amazing through ungodly amounts of processing and “studio magic”.
To bring this week’s article to a close, here’s a good music production philosophy to live by:
“Record as if there’s no such thing as mixing, and don’t ruin your well-recorded material by over-mixing” – Me, 2017
Final Words:
This concludes “Get It Right At The Source! (Ft. Meshuggah)” I hope that this article has given you some new ideas to try out during your next project. Be sure to comment below if any of this information has helped you out, or if you have any questions.
Stay tuned for more production/mixing related articles in the not-so-distant future!
Nail The Mix is our online mixing school that gives you REAL multi-tracks from REAL bands, plus a mixing class from the producer who recorded it. Past guests include Periphery, Chelsea Grin, Machine Head and State Champs. Join now for instant access!