
Prepare For Perfection – Getting Vocals Ready To Mix (Part 1)
Finn McKenty
Introduction:
Vocals are the most important element in a mix, yet, ironically, also the most prone to sounding terrible when over-processed or heavily messed with.
Luckily, the real secret to getting a great vocal sound doesn’t lie in the mixing stage, but rather in the recording and mix preparation stages.
In this two-part URM Blog series I’ll be guiding you through some of the initial steps you can take towards transforming your raw vocal recordings into well-oiled melodic machines, and hopefully help prevent them from having to rely on fancy mixing tricks to sound great.

The Problem?
With all of the amazing modern studio tools available to us nowadays, we’re currently able to replace and re-amp most recorded sounds with fairly minimal effort.
As much as it’s still important to make sure you’re recording every instruments as well as possible before falling back on these types of tricks, the one instrument which really relies on the initial quality of the raw recordings is Vocals.
The Fix!
When it comes to dealing with less-than-adequate vocals, the best plan of action is summed up pretty accurately in the following quote:
“If I had six hours to chop down a tree, I’d spend the first four sharpening the axe.” – Abraham Lincoln (Possibly…)
The pre-mix “Vocal Sharpening” tools I’ll be talking about in this series consist of the following:
Part 1:
- Comping
- Editing/Quantising
Part 2:
- Tuning
- Aligning
- Automation
NOTE: I won’t be covering vocal recording in this blog, and assume that you’ve already got some fairly decent vocal takes to work with before moving on to the topics I’m about to discuss. If you’re struggling to capture great vocals in the first place, make sure to check out my past URM articles on the subject:
RECORDING VOCALS? ALWAYS DO THESE 5 THINGS
MIXING SECRETS – VOLUME 1: VOCALS
Now that we’ve got the preliminary stuff out of the way, let’s dive straight in!
1 – Comping (Combining takes)
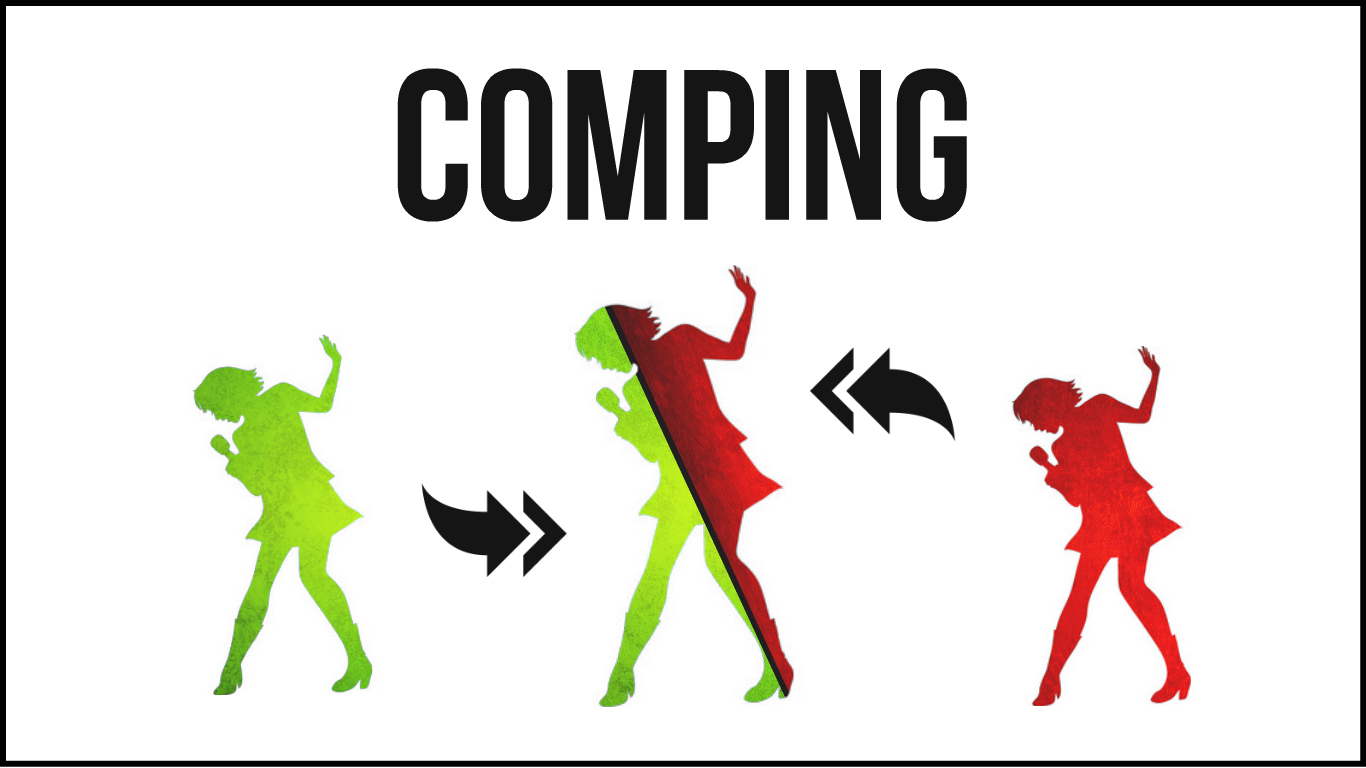
What is it?
The first (and arguably most crucial) step you can take towards achieving an awesome vocal track in the editing stage is Comping. AKA: Taking the best parts from multiple takes and combining them into one “Ultimate Performance”.
Check out the following video by Grammy-award-winning engineer Kenny Gioia for an easy-to-understand demonstration of how the process works:
Now that you get the basic concept, here are some crucial tips towards getting the best results out of your comping sessions:
Comp in context:
- While trying to decide which vocal take is most in tune, it’s extremely important that you have an accurate point of reference for what “in tune” really means.
- Unless you have perfect pitch (and you most likely don’t) you definitely want to be comping your vocals alongside an additional melodic element from the song in order to better judge what you’re actually hearing.
- Mid-range instruments such as keys and guitars are the most ideal candidates for this purpose, but pretty much anything consistent will work. Just make sure that you can trust the tuning integrity of whatever you choose to use.
PS. I personally wouldn’t use bass instruments for this task, as it’s more difficult to accurately judge pitch below a certain tonal range.
- Working in this way will prevent any unpleasant after-the-fact tuning realisations from occurring… While also allowing you to get the job done quickly with minimal self doubt.
Performance vs. perfection:
- A fair number of the legendary singers we hold in high esteem aren’t necessarily loved because they are/were technically perfect!
- In fact, I’d even argue that genuine emotion and unique vocal characteristics are the more important factors when it comes to determining whether a voice will truly connect with a listener or not.
NOTE: Check out the following video and you’ll hear exactly what I’m talking about:
- Based on these facts, we can determine that choosing the take which is most in tune may not always be the best course of action…
- Let’s say you have two vocal takes: One of them is perfectly in tune, but also very lifeless and sterile, while the other is slightly flat, but chock-full of rock-n-roll angst.
- In the case of a rock song, I may actually decide to use the second take and simply try to smooth-out the pitching issues later on. After all, character is what you’re really looking for when you think good ole’ fashioned hard rock!
NOTE: It’s important to remember that these “which take should I use” decisions are all genre and context dependant. In the case of a soft acoustic or pop song, it might be preferable to choose the more in-tune, subdued take.
Vocal variables:
- Beyond pitch, timing and character, another important variable to watch out for when combining audio from separate takes is general tonality.
- Vocal recording isn’t a perfect science, so there are bound to be a few technical inconsistencies between the individual performances you capture within a given period of time.
- These inconsistencies are caused by simple variables such as distance/angle to the microphone, vocal fatigue, red light syndrome (recording studio nerves), headphone balance, emotion, inspiration, etc.
- A few prime examples which I come across often are: The XX’nth take sounding very tired and dull compared to the 1st/2nd take. Or… A great singer with extensive studio experience consistently giving their best performance on their 1st take of each song. etc…
- My main point is: There can be drastic differences between takes, so make sure you’re not focusing too heavily on pitch or timing and neglecting blatant tonal mismatches/trends only to end up with a weird “franken-vocal” which makes no sense as a result!
2 – Editing/Quantising (Timing correction)
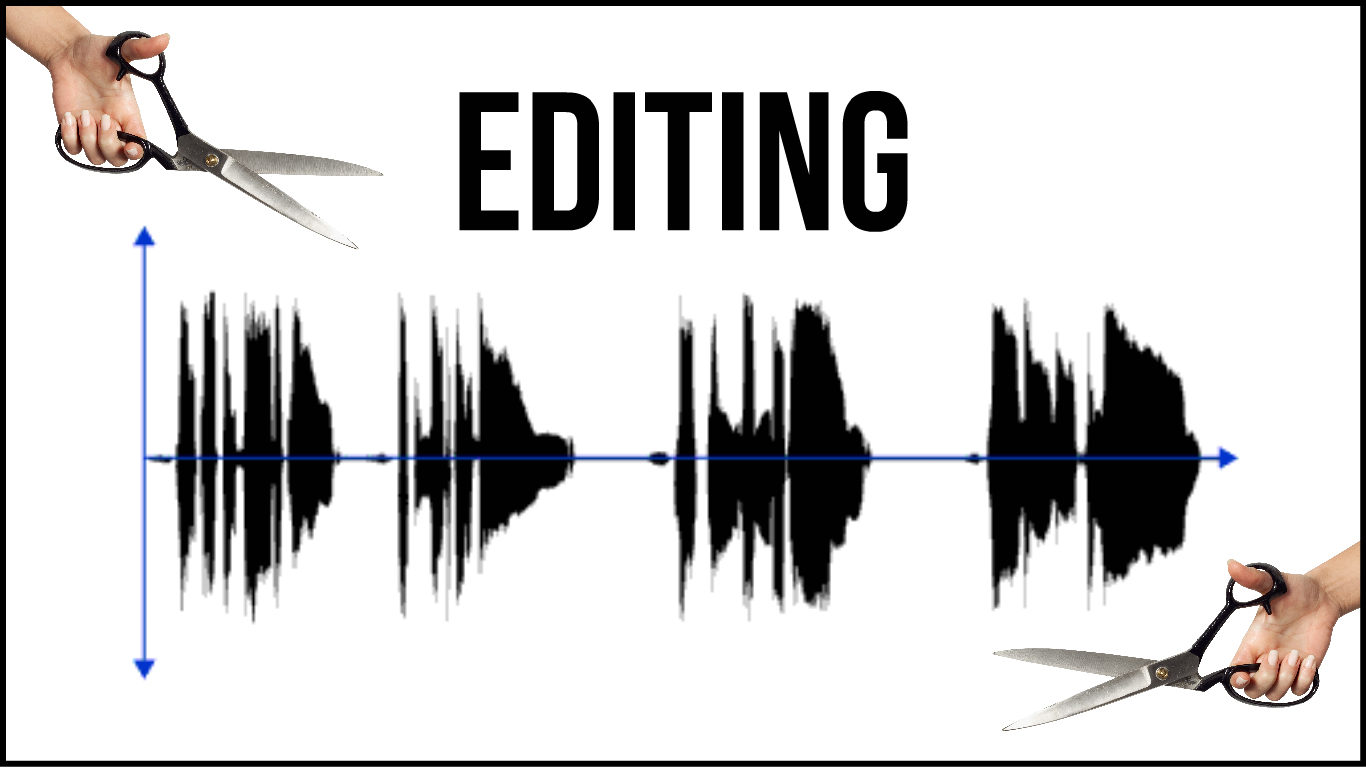
After comping, the next step in polishing a vocal is Timing Correction.
What is it?
The main reason for editing the timing of a vocal is to make sure they’re tightly locked in with the rest of the instruments, and are aiding (rather than detracting from) the overall feel of the track.
In the simplest terms possible: Vocals which aren’t properly in sync with their instrumental surroundings are difficult to sing along to… Which is a big no-no when you’re trying to achieve a hit song!
Here’s a quick demonstration on one of the many methods which can be used to correct the timing issues within a vocal recording:
Now that you’re more familiar with the process, here’s some of my top vocal timing advice:
NOTE: There isn’t really a “best” way to correct the timing of a vocal. This is primarily due to the fact that every DAW comes with a slightly different set of tools, and can in return be better suited towards certain workflows than others. If you’re just getting started, your best bet is to try out/research the options available to you and determine which method works best given your situation.
There are however a few considerations to be made…
Manual vs. automatic:
- I personally prefer to quantise my vocals manually.
- Although it can be a fairly tedious and mind-numbing process, I find that this approach allows for the greatest level of individual control and the highest quality results.
- “Automatic” vocal correction suites such as Melodyne are also a good option when it comes to performing this task, however I personally prefer the more simplistic and natural sounding “slice, move and fill in the gaps” approach shown in the video above.
Quantise in context:
- Similar to the “pitch reference” concept I talked about during the comping section, it’s important that you have a good frame of timing reference to work alongside while quantising a vocal.
- A simple click track will usually do the trick… But I find that aligning vocals to the edited drum track can result in a tighter, more cohesive end product.
What about flex-time/elastic audio/time stretching?
- Time-stretching is a really useful tool for a lot of audio editing applications… However, I try to avoid using it all all costs when it comes to an instrument as delicate as vocals.
- The primary reason for this, (in my opinion) is the fact that the human ear is designed to accurately recognise the natural sound of a human voice.
- I personally find that the digital artifacts which come about from the process of stretching a voice are too “obviously fake” to let slip. I would much rather put in the extra time and effort towards preserving the natural timbre of a performance.
NOTE: All of this being said, time stretching can still be an awesome tool for fixing such issues on your less important “non-lead” vocals. Here’s a great demonstration of flex-time vocal timing correction on a vocal double within Logic Pro X:
END OF PART 1:
In order to prevent your brain from overheating from too much information, that’s all we’ll be covering this week.
Tune in next time for Part 2 of “Prepare For Perfection”, in which I’ll be covering some massive topics such as tuning, aligning and volume automation!
Final Words:
This concludes “Prepare For Perfection – Getting Vocals Ready To Mix (Part 1).” I hope that this article has given you some new ideas to try out during your next project. Be sure to comment below if any of this information has helped you out, or if you have any questions.
Stay tuned for more production/mixing related articles in the not-so-distant future!
Want mix tips from URM Academy? Read them here!
 Nail The Mix is our online mixing school that gives you REAL multi-tracks from REAL bands, plus a mixing class from the producer who recorded it. Past guests include Periphery, Chelsea Grin, Machine Head and State Champs. Join now for instant access!

