
| By Thomas Brett |
Introduction:
Ever heard the saying: “The Vocals Are The Center Of A Mix” ?
Well… It’s 100% true.
However, we’re not talking about a static, bone-dry, boring vocal in this case, but rather a vocal that’s swimming in pure emotion, slotting-in perfectly with the ambient vibe of the track in which it’s placed.
The key to achieving such a difficult task?: VOCAL FX
VOCAL FX: Take Your Listeners On A Journey…

A killer example of brilliant vocal production is Architects’ “Gone With The Wind”:
Click Here to Purchase The Full Architects Session + Mixing Course
In this short snippet from his 5-Hour-Long NailTheMix Live Session, Architects producer Henrik Udd manages to surround singer Sam Carter’s brilliant performance with a dark, brooding, ethereal blanket of creative FX that fit the musical context and subject-matter of the song perfectly.
Would the vocals still have been good without all the fancy effects? Probably, but I highly doubt they would have had the same emotional impact…
Moving On… Let’s take a look at some of the primary FX you can use to bring vocals to life in your own mixes:
Reverb: Probably the most commonly-used (and widely-known) audio effect of all time, and for good reason: Every single sound that makes it’s way into our ears is actually the combination of a direct source & the reverberated acoustic space in which we’re hearing it!
This being the case… It’s only logical that adding some sort of ambient effect to a dry-recorded vocal would sound more appealing to our ears. (It’s what they’re used to in nature after-all…)
I like to approach my vocal reverb in two stages:
RoomVerb: Usually a short-decayed “Room” algorithm. (Under 1 second)
- The purpose of this FX send isn’t necessarily to be an obvious effect, but rather to subtly thicken and widen the vocal while simultaneously making it sound more “real”.
- I’ll often push the fader for this effect up to a level where it’s felt rather than heard… And then automate it up/down depending on how far back in the mix I want the vocal to sound per-section of the song.
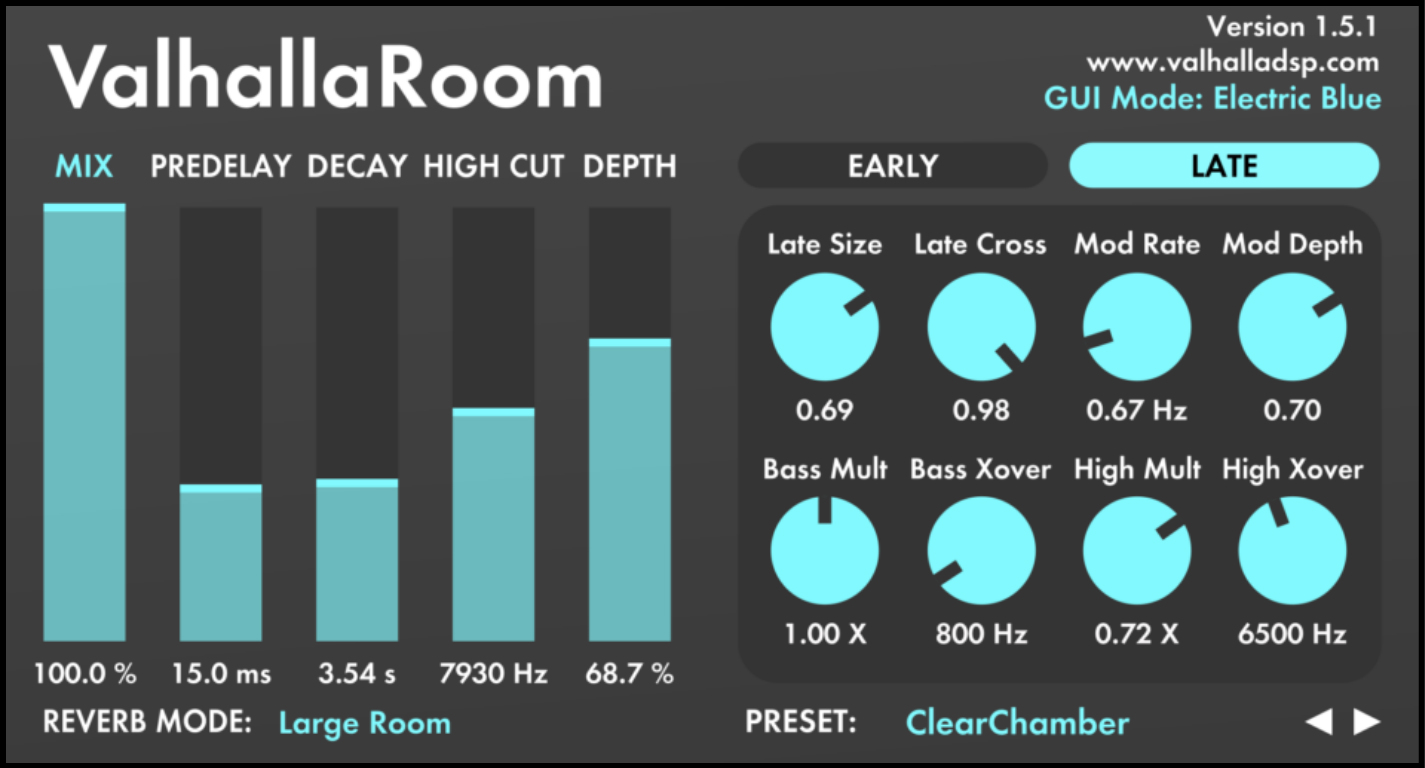
- My go-to tools for this purpose are ValhallaDSP’s “Room” plugin or one of the “Studio” settings on Slate Digital’s “Verbsuite” Bricasti M7 emulation.
LongVerb: Usually a “Hall” or “Plate” algorithm with a longer trail-out. (1-3 Seconds)
- Unlike the subtle room-ambience, this effect is meant to be heard. (But take it easy…)
- There is no “correct amount” when it comes to reverb, only what is appropriate for the song/genre. Use your ears, and make sure you’re not detracting from the performance.
- Filtering out any unnecessary low-end rumble / high-end hiss from your reverb sends, as well as timing them to the BPM of the track will go a long way towards opening up some free space for everything else.
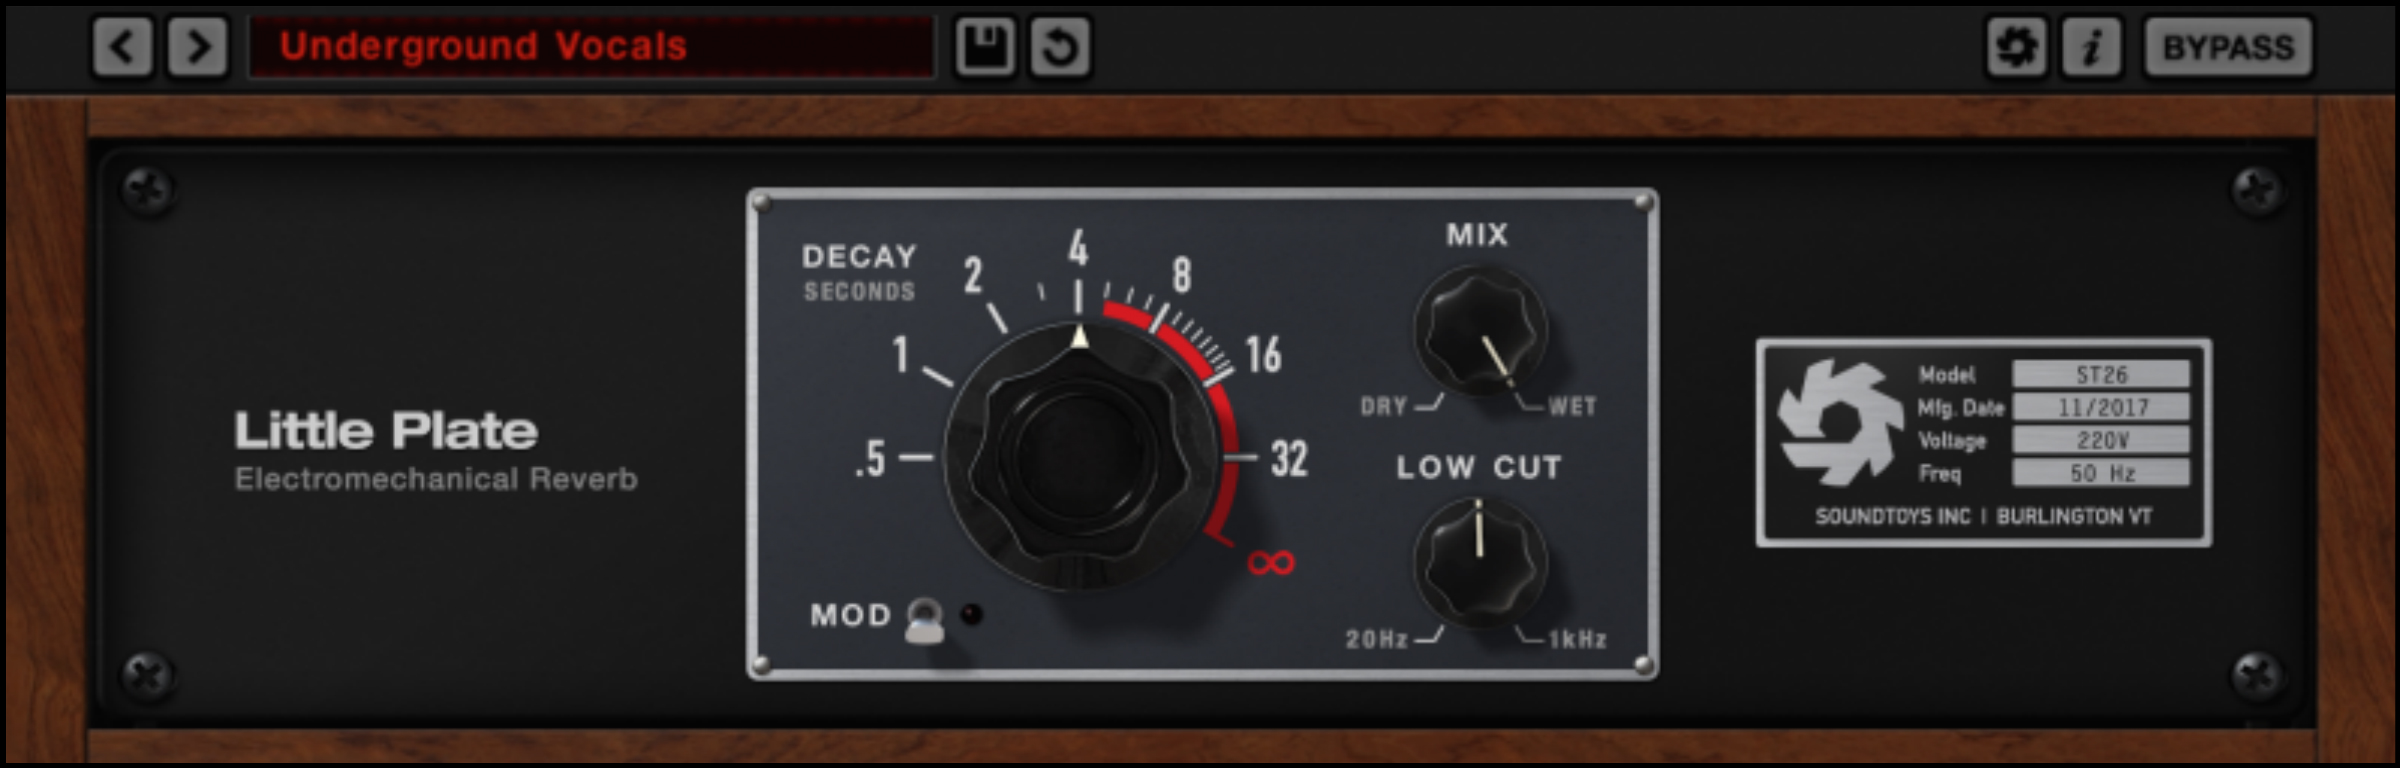
- My favourite plugins for this particular task are ValhallaDSP’s “VintageVerb” / “Room” and Soundtoys’ “Little Plate”.
Delay: Personally, I often prefer using delays over reverbs for the purpose of adding depth and space to vocals. (On vox and lead instruments at least…)
A few reasons for this preference:
- Filtered delays tend to take up a lot less space in a mix than reverbs.
- Well-timed delays can really help aid the rhythmic feel of a track by filling in the gaps between phrases with some nice syncopated word repetitions.
- They’re just really fun and interesting to listen to!
A few tips on vocal delay:
- Slim them down: You can really afford to roll-off a lot of the highs and lows from your delay sends in a dense mix, as the mids are where they’re gonna primarily work their magic anyways.
NOTE: I’ll often set my filters as high/low as 500Hz and 3-5kHz if I feel I can get away with it. Make sure you’re not filtering just for the sake of doing it though. You can obviously get away with having much larger-bandwidth delays in a sparse arrangement in order to fill-up some of the otherwise empty space!
- Always set up your delay-send levels in context of the full mix. What sounds like a lot in solo might actually be perfect in context. (And vice versa… )
- Make sure you’re not overdoing it. Using too many delay subdivisions and panning them all over the place in the stereo spectrum is bound to become distracting (and possibly a little nauseating) for your listeners.
- Although syncing delays to the BPM of a track for perfectly-timed repetitions is fairly common-practice, tweaking them so they’re slightly faster or slower will actually help them cut through and be heard more clearly. (Due to the fact that they won’t get as hidden behind everything else which has been perfectly edited and quantised to the grid.)
NOTE: Want to learn how to filter and time your FX to fit perfectly with your track? Check out my “20 Simple Mixing Tricks” Blog series from a while back:
20 Simple Tricks To Make Your Next Mix Freakin’ Sweet (Part 1)
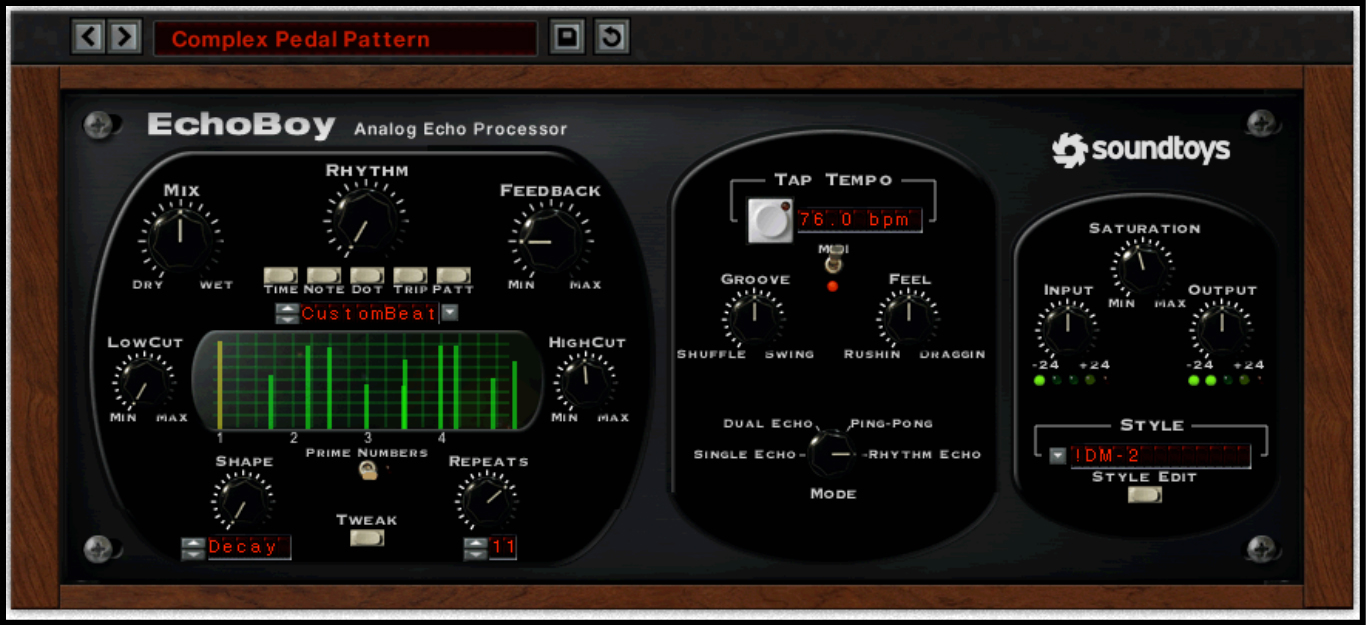
- My favourite tools for this effect are Soundtoys’ “Echoboy”, Slate Digital’s “Repeater” and Waves’ “H-Delay”.
MicroPitchShift: Listen to any song which was recorded in the 80s and you’re bound to come across this exact effect – As the name suggests, “Micro” pitch shifting is actually just a subtle form of chorusing.
There are a few awesome reasons as to why you might want to invest in a processor that can achieve this sort of effect:
- This effect is basically the sound of “pop” vocals. It’s instantly recognisable, and simply makes things sound more polished and professional.
- Give your vocals a nice high-end sheen in the side channels. (Filtering out the some of lows from your send to this FX effectively turns it into a “Side Sparkle”, Parallel-EQ fader!)
- Make your vocal reverbs and delays super-wide and lush by sending them to this effect. (Or sending this effect into them…)
NOTE: There’s not much more to say on this particular effect, but the one thing I will say is that the key to using it effectively on vocals is to use it sparingly.
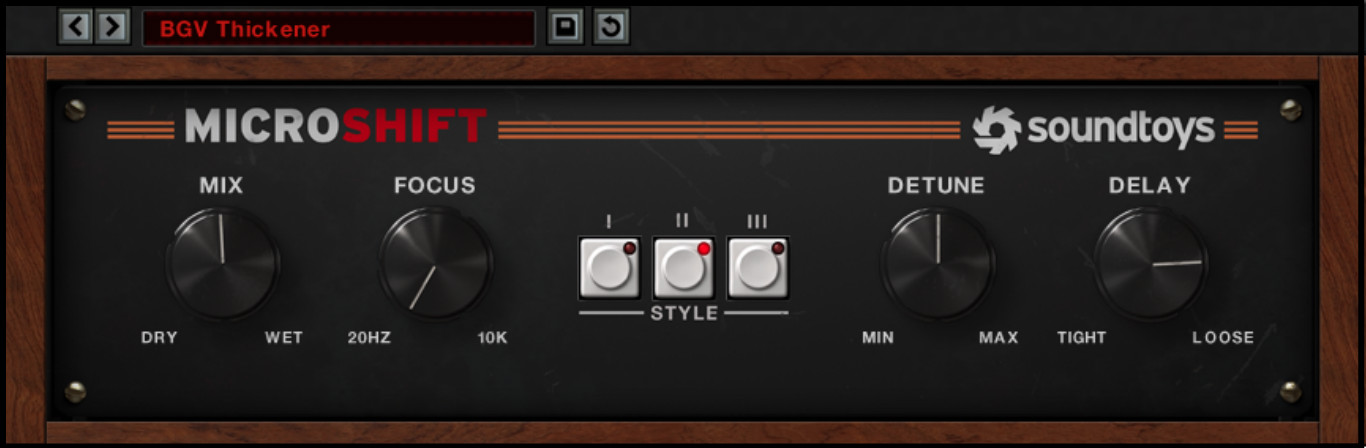
- My favourite plugins for achieving this effect are Soundtoys’ “Microshift”, Eventide’s “H3000 Factory”, and Waves’ “Doubler”.
Lo-Fi (Tonal Bandwidth): Big, small, dark, bright… All of these terms are relative, and only exist as long we have a point of reference for what they represent.
Say what now…?
In order for something to sound “big”, you first need to know what “small” sounds like!
Ahh… But how does this apply to audio?
Well, we can use this concept to make certain elements within a mix seem bigger and more impactful than they really are in contrast to whatever came before them. For example: If you want your chorus lead-vocals to sound massive, make the verse & pre-chorus vocals slightly smaller in comparison!
Our ears know what a human voice is meant to sound like… But at the same time, have the memory of a goldfish.
In the context of EQ, this means that if we feed our ears a vocal recording that’s been heavily band-pass filtered (the lows and highs removed), they’ll realise something isn’t quite right, but will adapt and get used to the situation fairly quickly.
If we then suddenly re-introduce the missing lows & highs back into the signal, our ears can tell that there’s been a substantial improvement, and that it now sounds a lot closer to what they expect a voice to normally sound like. (Allowing them to breath a welcome sigh of relief!)
CONCLUSION:
Honestly, one of the biggest things that separates a pro mixer from a beginner is their proper usage of ambience and spatial FX.
It’s not always a case of there being a lack-of said FX in low-quality mixes either… Going overboard with these kinds of tools can just as easily cause problems if they’re too distracting to the listener…
Whatever you do, just make sure that you’re giving the most important element in your mix the time and attention they deserve (and need) in order to truly shine.
Final Words:
This concludes “Vocal FX Mastery (Ft. Architects)”. I hope that this article has given you some new ideas to try out during your next project. Be sure to comment below if any of this information has helped you out, or if you have any questions.
Stay tuned for more production/mixing related articles in the not-so-distant future!
Thomas Brett is a producer, mixing engineer and songwriter at Brett Brothers recording studio in the UK. Check out the Brett Brothers studio website for more information and articles on all things mixing www.brettbrothersstudio.com
Want mix tips from Thomas Brett? Read them here!
 Nail The Mix is our online mixing school that gives you REAL multi-tracks from REAL bands, plus a mixing class from the producer who recorded it. Past guests include Periphery, Chelsea Grin, Machine Head and State Champs. Join now for instant access!
Comments 2
Hi there!! I was reading this blog while listening to this Architects album. I noticed how controlled the reflections and decay are. Is there any compression on the verb to tame the accumulation of harmonics due to the room size and gain some sustain without increasing the decay?
Sometimes it’s smart to put multi-band compression on a reverb if you are really going for control – but often times it’s not that necessary.