
Audio FAQs – Volume 1: Gear Essentials
urmadmin
Introduction To The Series
The world-wide-web is full of people asking questions and others giving answers. The problem is, it’s often difficult to tell which pieces of advice are actually worth listening to…
In this ongoing series of Blogs, we’ll answer some of the most frequently asked audio questions from around the internet in an attempt to stomp out some of the queries that have been burning holes in people’s minds.
This week, we’ll be looking at FAQs centered around some of the foundational gear knowledge which is crucial to get right when taking your first steps into the world of audio:
Volume 1: Gear Essentials
From first-hand experience, I know that recording & mixing can seem incredibly complex to somebody who’s just starting out. There are simply so many confusing terms and tools to learn about that it’s often difficult to know exactly where to begin…
This being the case:
Here are the answers to 5 gear-related FAQs that seem to pop up regularly:
FAQ #1 – Which Microphone Do I Buy?
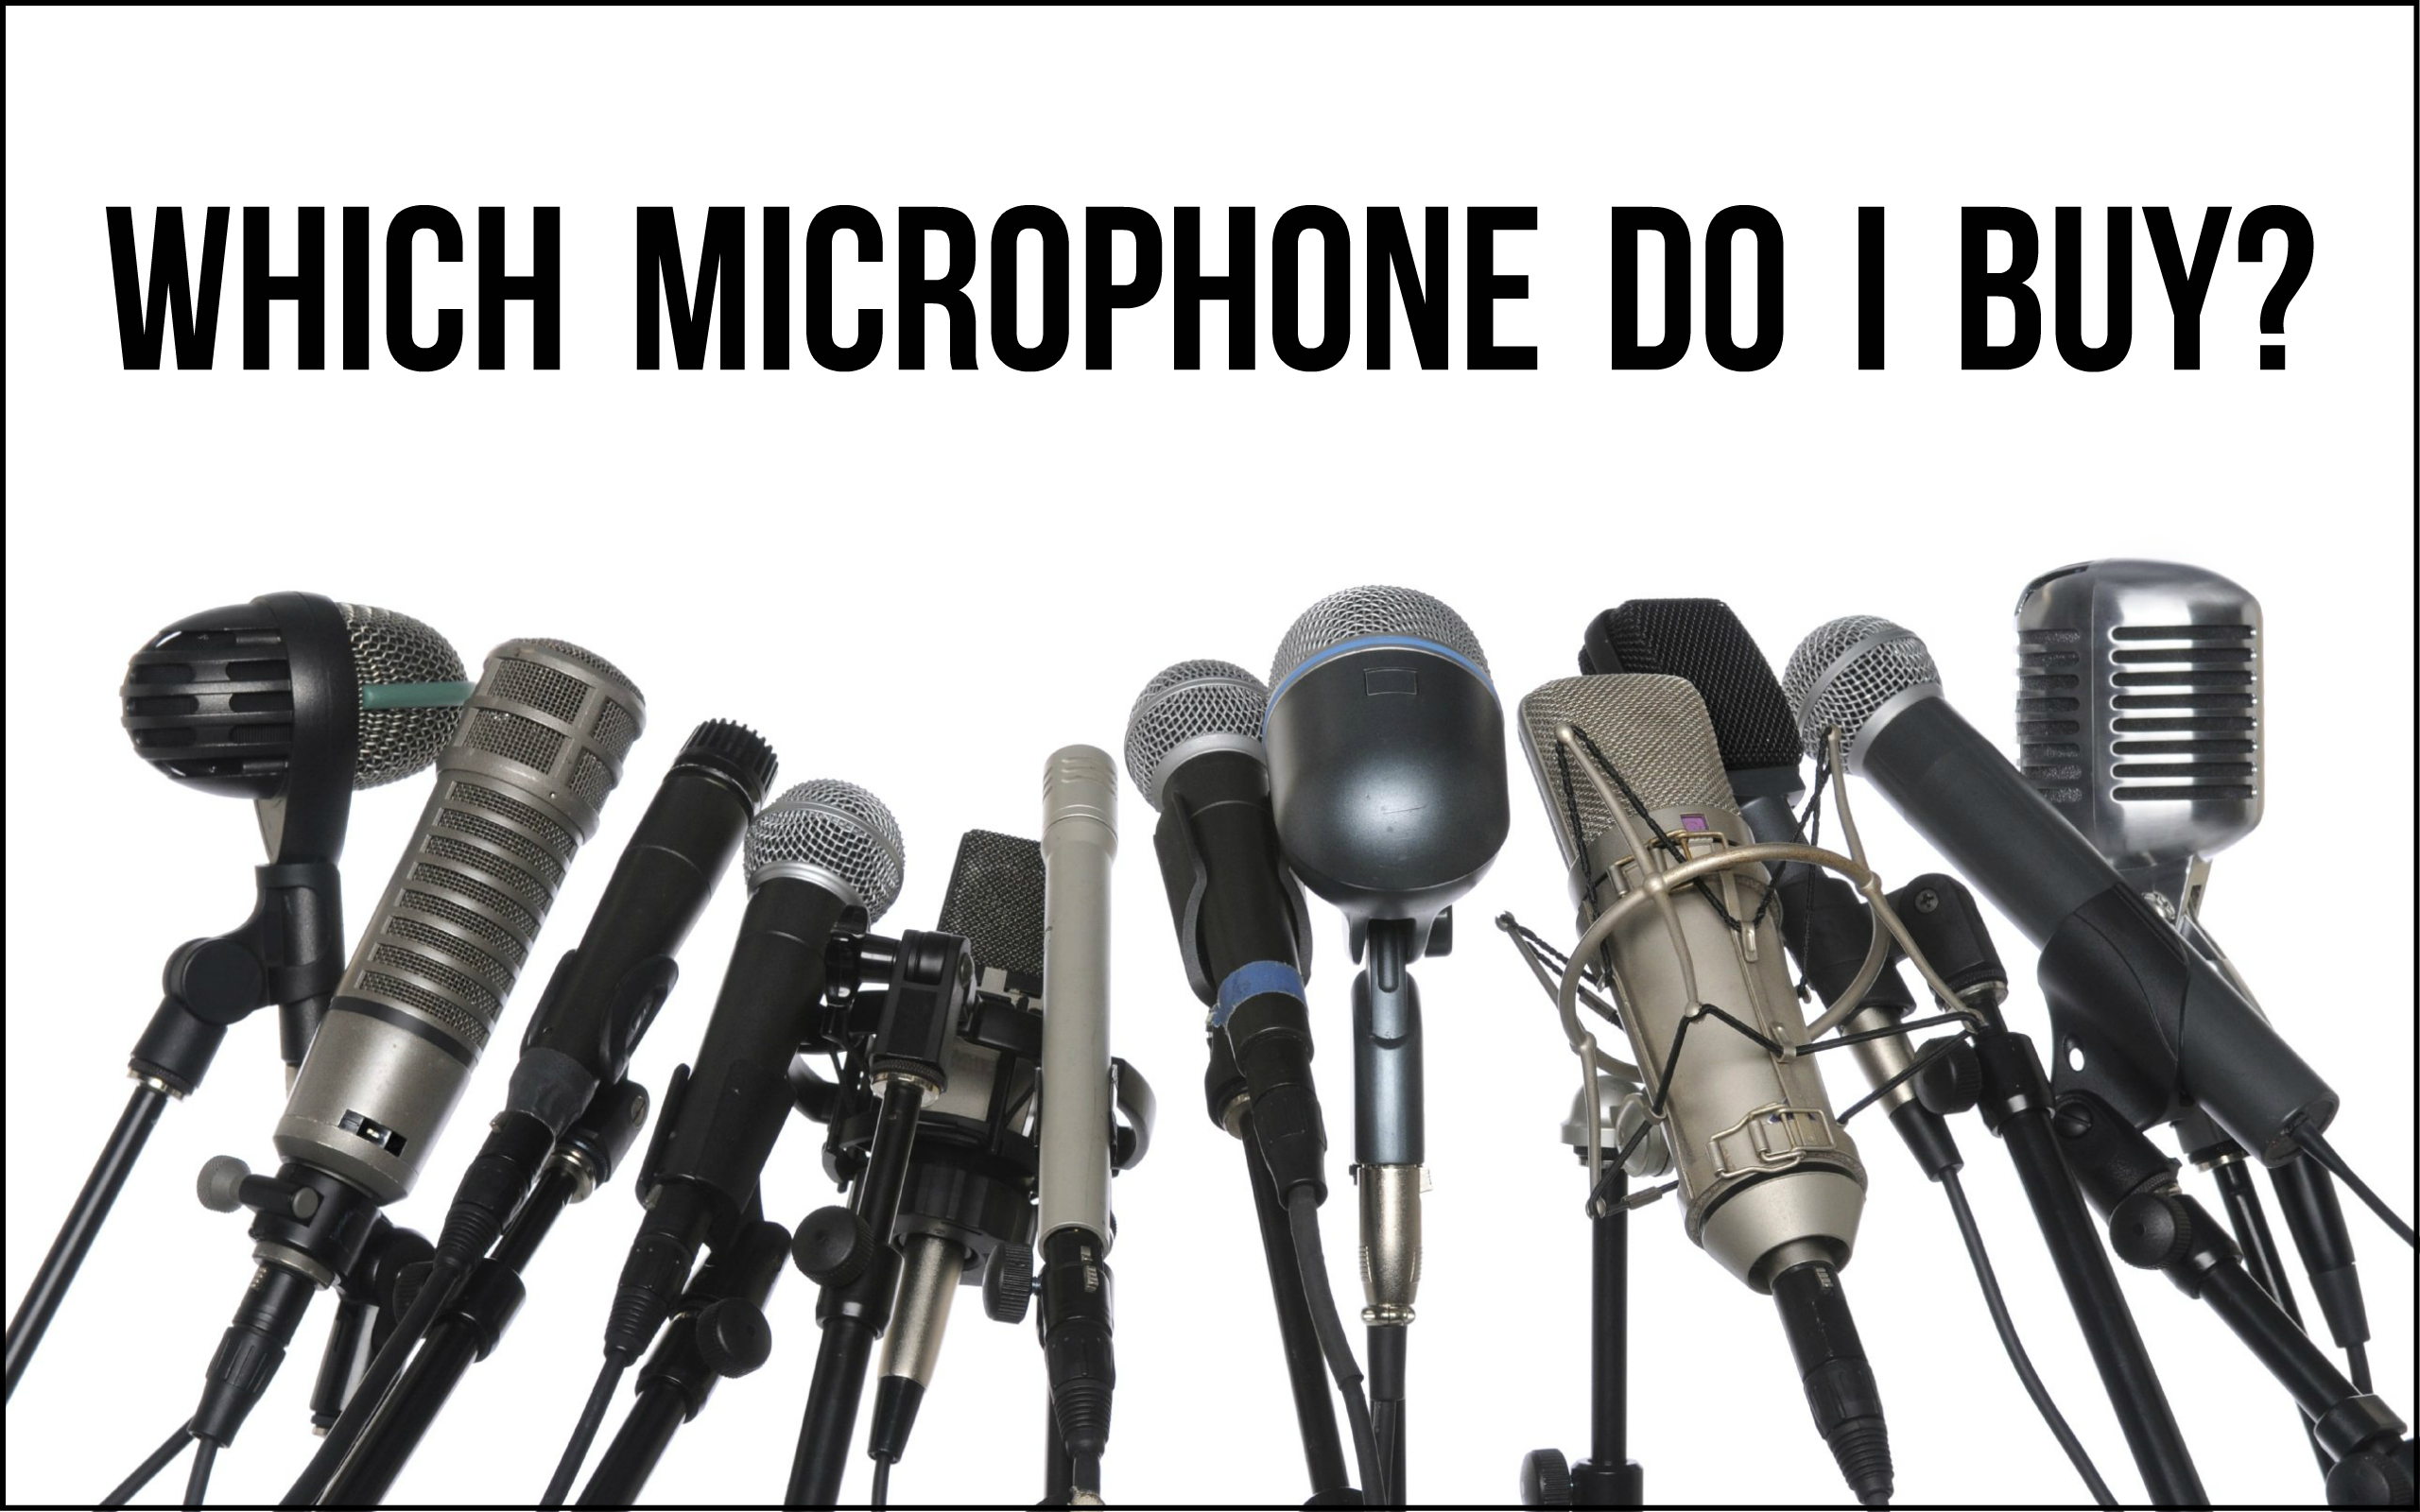
The Short Answer – It depends on what you’re planning to use it for. There isn’t really a “one-size-fits-all” solution when it comes to choosing a first microphone.
The Long Answer:
Picking a good microphone early on is one of the best steps you can take towards achieving great sounding recordings from the get-go. There are a few variables which come into play when trying to determine which one is the most suitable for your needs, so it’s important to do your research beforehand.
Here’s my #1 piece of advice when it comes to buying your first microphone:
SPEND WISELY:
- Don’t go overboard and spend thousands on your first microphone unless you’re also optimising the rest of your recording chain in order to do it justice!
- There isn’t much point in recording with a great microphone if you’re picking up excessive room resonance and sending your signal through poor quality preamps, converters and monitoring.
- You’re better off buying something more moderately priced, and using the excess money you’d be spending on upgrading the rest of your gear or recording room setup.
Here are a few great value microphone options that I’d personally recommend to someone starting out:
NOTE: The fact that these microphones are affordable doesn’t mean they’re bad by any means. I’d personally use any one of these options in a heartbeat without thinking twice about their sound quality.
- Rode NT1-A, Aston Origin & Audio Technica AT4040: These are three great all-round condenser microphones at different price points which will all work well for most vocals and instrument mic-ing applications.
- Shure SM7B: A great dynamic microphone option with excellent ambience rejection if you’re just looking for a solid vocal microphone.
- Shure SM57: You simply can’t go wrong with buying an SM57 alongside whichever main microphone you choose to go for. This inexpensive piece of kit will cover all of your guitar and snare mic’ing needs and probably last you decades.
NOTE: I didn’t talk about the technical differences between microphones in this particular article, as I’ve already discussed them in thoroughly in previous entries. Check out my “5 Recording Tips” series if you’re looking for an in-depth explanation on the different features they have to offer.
https://urm.academy/make-your-studio-session-50-better-with-these-5-tips-part-1/
FAQ #2 – Do Audio Interfaces Sound Different?
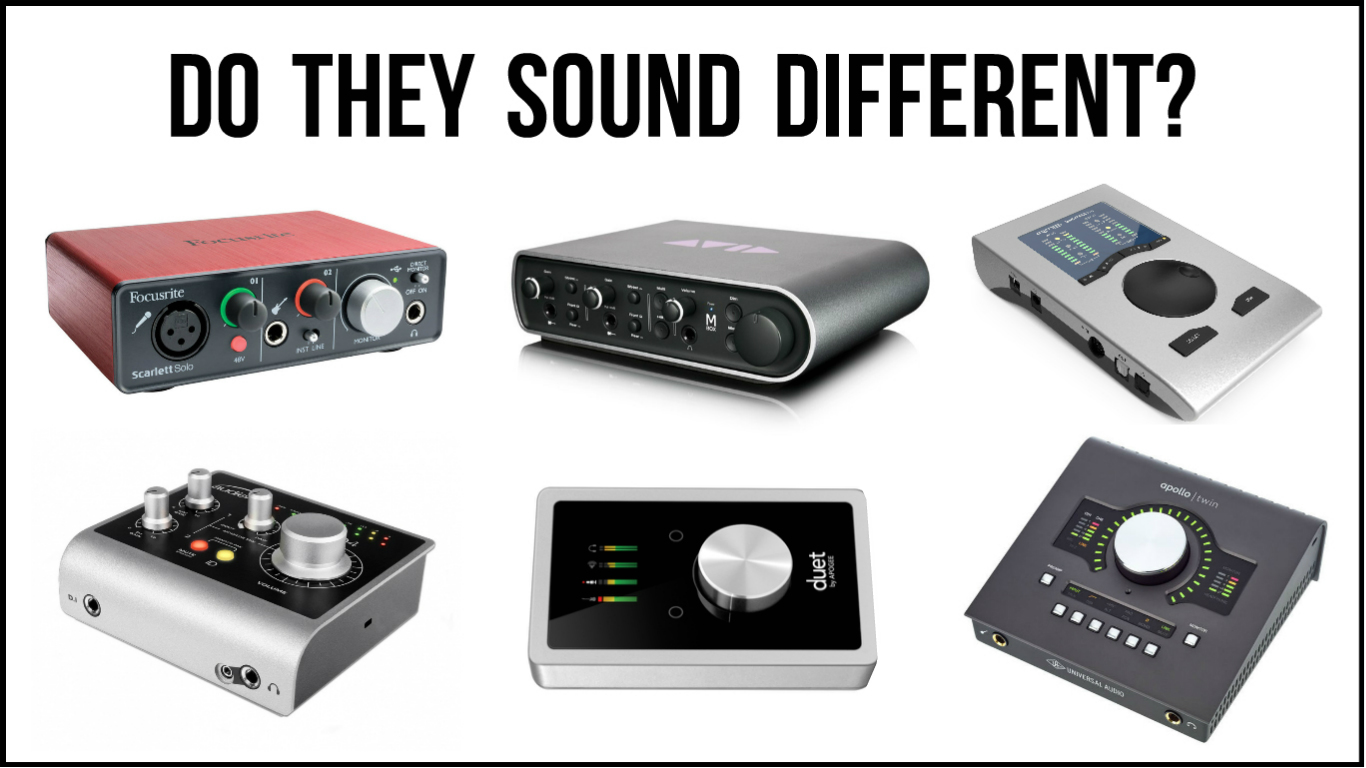
The Short Answer – Yes, they do.
The Long Answer:
Although most audio interfaces offer similar functions, certain variables such as construction quality can make a significant difference in their resulting audio.
Let’s take a look at some of the primary components that make up the sound of an audio interface:
Preamps: Microphone preamps are designed to boost your input signals up to usable levels which can then be forwarded for further processing.
- Luckily, the built-in preamps on budget interfaces nowadays are actually quite decent, and the fact that they tend to be fairly linear makes them an ideal candidate for applying simulation plugins further down the line.
NOTE: Check out my article on the subject for a guide to using preamp simulation software.
https://urm.academy/making-digital-sound-analog-the-best-of-both-worlds/
- Certain dynamic microphones such as the Shure SM7B require a lot of gain. So, it’s important to make sure the interface you go for has enough on tap to drive it to usable levels.
Converters: Given the fact that everything you record and listen back to is passing through your converters, it’s important to make sure the ones you’re working with are fairly good:
- A/D Converters: Recording through an interface with good A/D converters will help capture an accurate representation of the initial analog signal with minimal degradation.
- D/A Converters: Listening back to your recordings through high-quality D/A conversion allows you to hear every detail of what your music really sounds like with improved transient definition, punch and clarity.
Here’s a short list of great sub $1000 audio interfaces to check out in various price ranges:
- Focusrite Scarlett 2i2
- Audient ID14
- UAD Apollo interfaces
- Apogee Duet
- RME Fireface
NOTE: Check out my “Buy Smart” article from a few months back for as a guide to buying audio gear on a budget.
https://urm.academy/buy-smart-a-guide-to-buying-gear/
FAQ #3 – Will A Microphone Preamp Fix My Recordings?
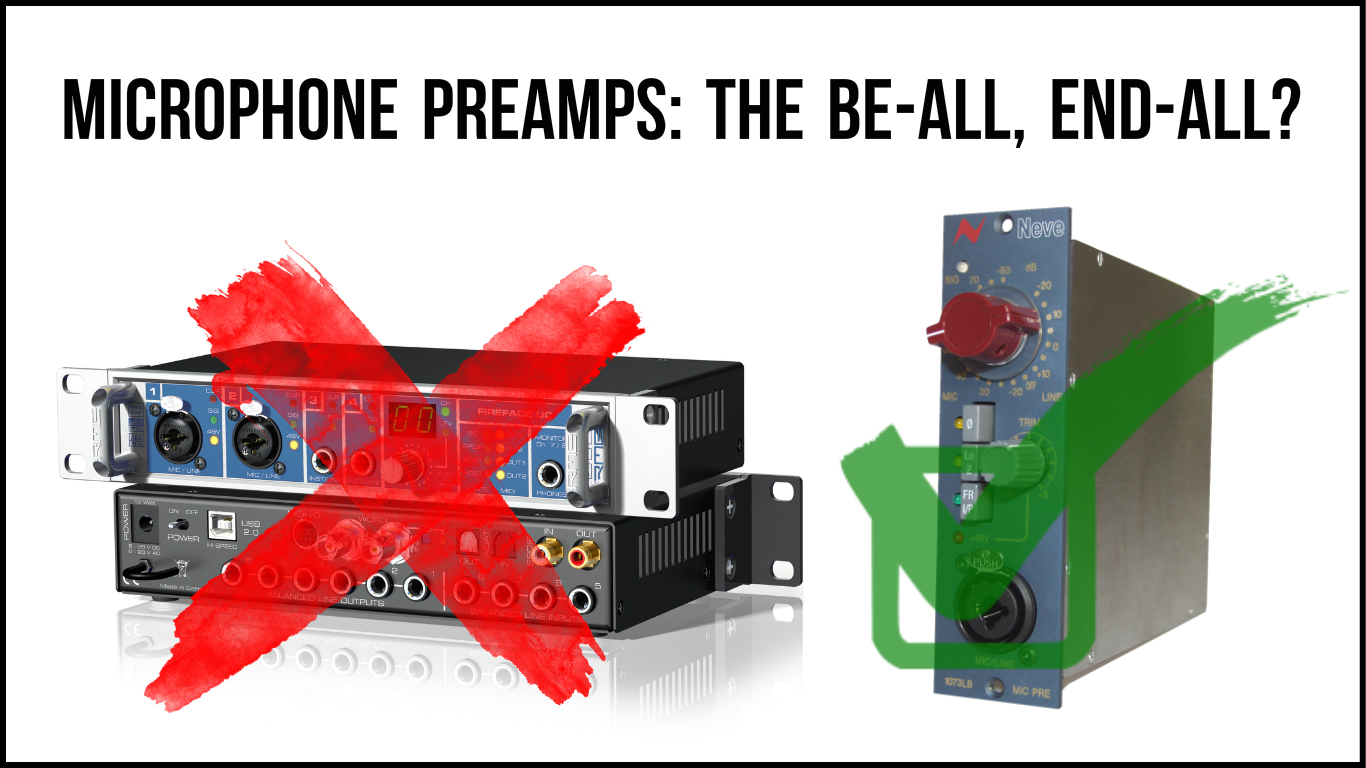
The Short Answer – If you’re blaming your lack of expensive gear for the low quality of your recordings, then gear probably isn’t the problem… Back to basics!
The Long Answer:
I’ll probably get a lot of flak for saying this, but… Microphone preamps are one of the most over-hyped pieces of gear in the world of audio.
Don’t get me wrong, preamps are important, and I love analysing and comparing the unique tonal characteristics of vintage analog gear just as much as the next guy…
(Check out my “Making Digital Sound Analog” Blog for a prime example!)
https://urm.academy/making-digital-sound-analog-the-best-of-both-worlds/
But the truth is: The effect that this type of expensive equipment imparts on recordings is often over-exaggerated!
How so?
It’s not uncommon to see audiophiles preaching about the subtle differences between preamps as an answer to a question asked by a newcomer who’s barely got a grasp on even the very basics of sound engineering…
Here’s a comparable scenario:
I’ve come across a similar situation several times in my years of studying audio in Universities where a lecturer might spend hours talking about and demonstrating the minuscule sonic changes between an analog summed mix and a digital summed mix, only to later find out that the students don’t even know how to dial-in a compressor or properly set up a microphone…
WHAT A WASTE OF TIME!
My main point on this subject is: Prioritise!
It’s true, a good dedicated microphone preamp is a definite improvement over the ones built-into your audio interface… But only by a few %. My advice would be to stop worrying about small details that won’t make a huge difference until you’ve nailed every other step of the process first!
If you’re unhappy with the way your recordings are sounding, it’s more likely that moving your microphone a few inches will get you closer to the results you’re after than looking for salvation in expensive gear.
When should I invest in a good preamp?
It’s simple. Once you’ve reached a point where you already own a great microphone, interface, room and monitoring setup… Cool! There’s no reason why you shouldn’t start saving up for a good microphone preamp that’ll give your recordings that extra final push.
FAQ #4 – Do I Need A DI BOX?
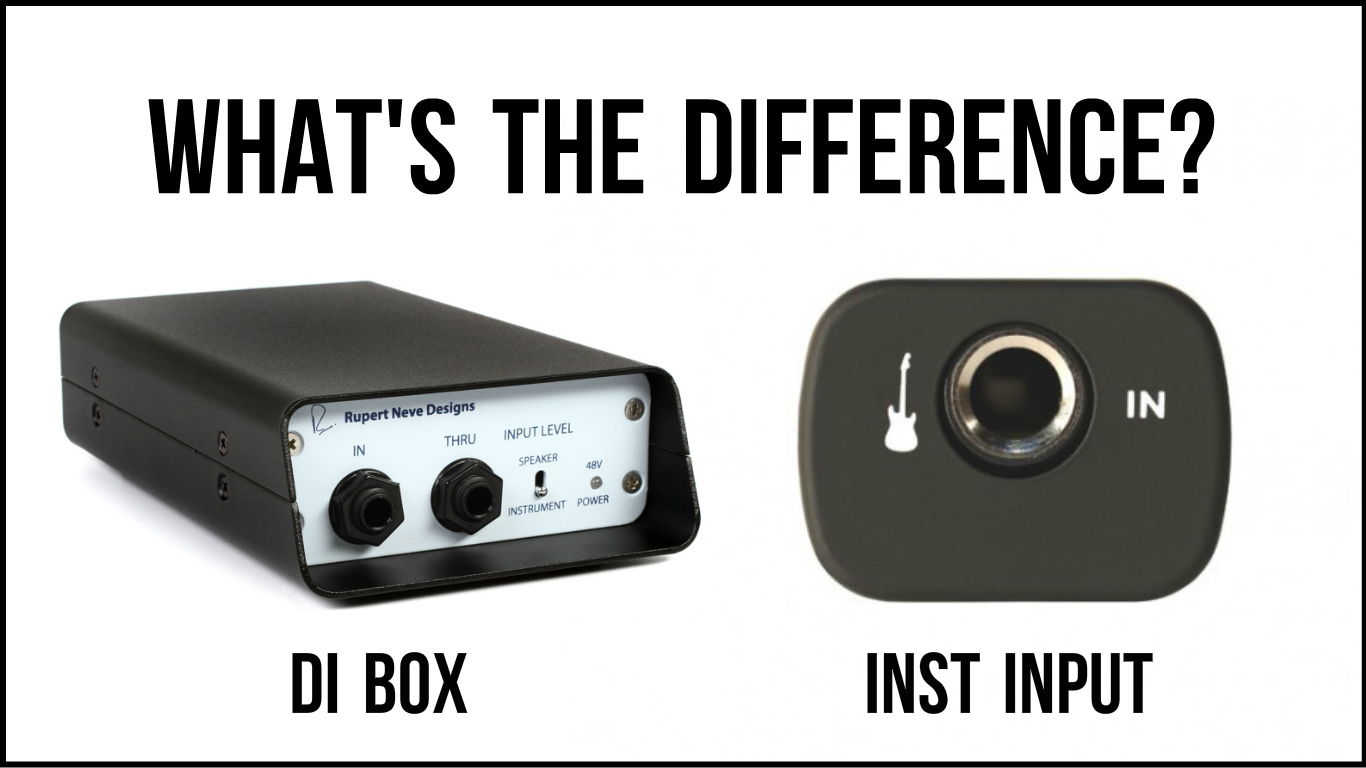
The Short Answer – You don’t absolutely “need” a DI Box, but getting one will most likely help improve the quality of your raw instrument tracks.
The Long Answer:
Most interfaces these days have built-in instrument (HI-Z) inputs which serve as an easy way of recording the raw DI from your instrument straight into your DAW.
The Problem:
Although the instrument inputs on high-end interfaces tend to be quite good, the same features on low-budget interfaces are often manufactured at extremely low costs. As a result, there is noticeable difference in sound quality between a DI recorded on a $100 interface and a DI recorded on a $1000 interface. This is where DI Boxes come into play.
Here are a few of the benefits to using a DI Box instead of the instrument input built-into a low-end interface:
Impedance Matching: Using an external DI Box offers improved impedance matching between instrument and interface compared to the cheap HI-Z inputs built-into budget audio interfaces (and even some of the high-end ones!)
- Proper impedance matching will translate to improved high-end clarity and punchier low-end in your DI recordings.
Accurate Transient Response: High-Quality DI boxes usually have more headroom on-tap, which will help towards accurately capturing the transient information of the instrument without clipping/ introducing unpleasant square wave distortion into the signal.
Balanced Signal Path: DI Boxes convert your instrument’s unbalanced output into a balanced signal, which will help keep any external electrical noise at bay.
- Maintaining a good signal/noise ratio is important in instances where the guitarist isn’t near the recording interface/desk. (This benefit applies mostly to live audio situations)
Pad Switch: Some low-end interfaces simply don’t have enough headroom to deal with the high-output of active pickups. Using a DI box with a pad switch is an easy way to get around this problem and prevent any unnecessary peaking.
DI Boxes – Conclusion:
Despite all of the reasons I’ve given above for investing in a good DI box, there isn’t really a night and day difference in quality between the two methods that’ll cause you to lose sleep at night.
I would however recommend you look into getting one in the long run if you rely heavily on DI Bass guitar and re-amping in your productions.
FAQ #5 – Is It Wrong To Mix On Headphones?
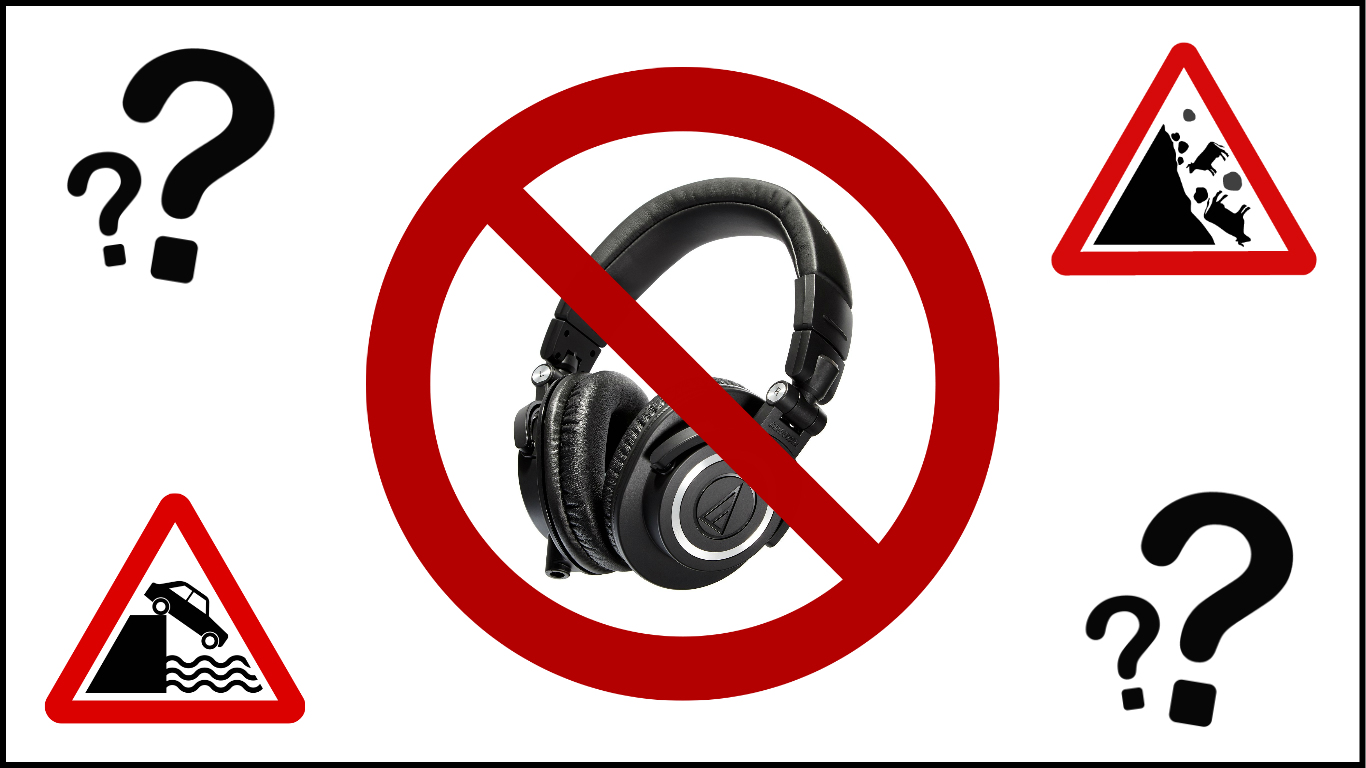
The Short Answer – It may not be the most ideal scenario, but it’s definitely not wrong!
The Long Answer:
It’s easy for a guy who’s sitting between a pair of expensive monitors in a professionally-treated “top-dollar” recording studio to post on the forums ranting about how mixing on headphones is “wrong”.
A more helpful piece of real world advice on the “headphones vs. monitors” argument would be to simply do whatever allows for the best results in your current situation!
Let’s take a look at some of the Pros and Cons of working on headphones in order to gain some further insight into the matter:
The Primary Cons Of Mixing On Headphones:
- Ambience: It’s difficult to judge depth and space accurately on headphones.
- Hyped Frequency Response: The frequency curve of your headphones will influence your EQ and balancing decisions, usually in a negative way.
- Ear Fatigue: Listening on headphones tends to tire the ears much quicker than monitors due to the close proximity to the speakers and tendency to crank them.
The Primary Pros Of Mixing On Headphones:
- Quiet Monitoring: Headphones allow you to work at any time of day without annoying your neighbours or family members.
- No Room Interference: You don’t have to worry about the influence of your room on what you’re hearing.
- A Cheaper Alternative For Beginners: A good pair of headphones is much more affordable than a good pair of studio monitors and proper room treatment for somebody on a low budget.
Now that we’ve laid out the good and the bad…
Here’s some quick advice for getting the best results while mixing on headphones:
Buy A Good Pair To Begin With: You really don’t have to spend much in order to get something that’ll do a really good job. Here are some great value options to consider:
- Audio Technica ATH-M50x
- AKG K702
- Beyerdynamic DT Series
- Sennheiser HD 600
Flatten Them Out: Make sure the headphones you’re listening through are as neutral as possible & use headphone correction software in order to smooth them out even further. This step is important towards making sure your mixes translate well across multiple systems.
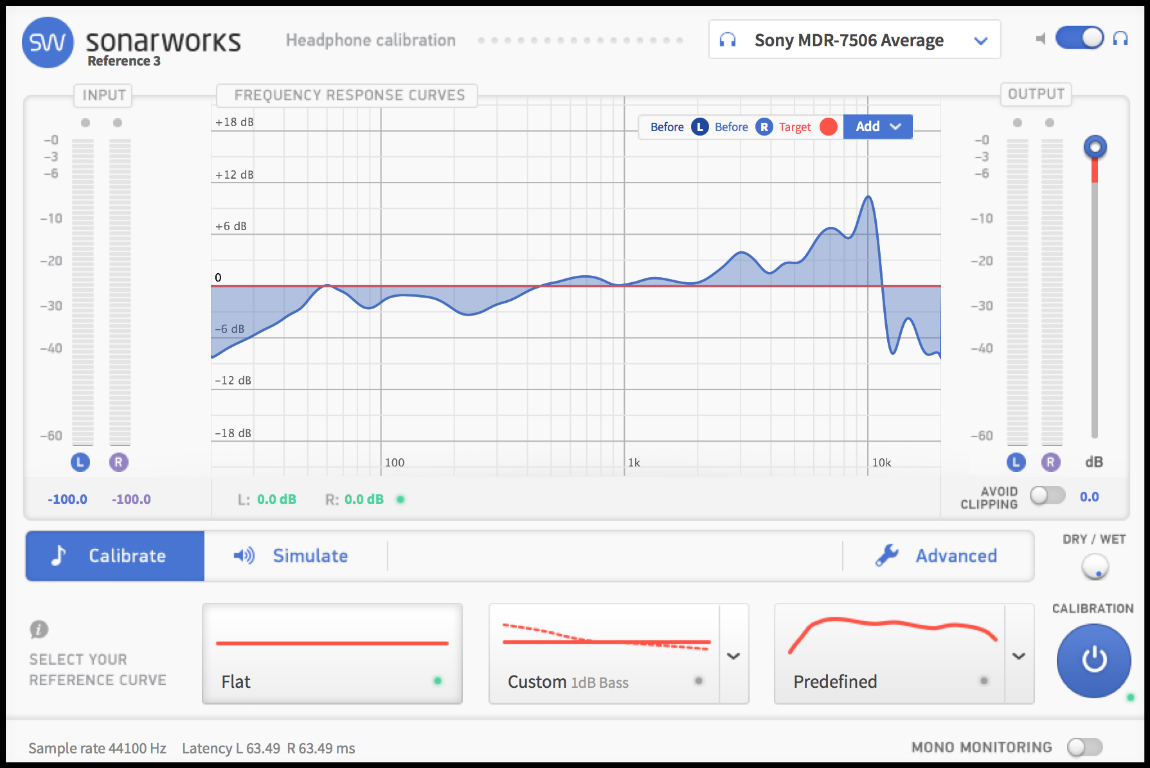
NOTE: Check out my “Common Mixing Mistakes” Blog from a few months back for a guide on headphone correction software.
https://urm.academy/common-mixing-mistakes-volume-1/
Turn Them Down: Listen at moderate volumes and take regular breaks in order to avoid ear fatigue early on and allow for longer mixing hours.
NOTE: Check out last week’s Blog “Learn From The Legends: Chris Lord-Alge” for some legendary advice on the benefits of mixing at low volumes.
https://urm.academy/learn-from-the-legends-volume-1-chris-lord-alge/
And Last, But Not Least…
Work Your Way Up: Being able to mix on good speakers in an ideal space is definitely the goal when it comes to creating mixes that will translate well across multiple playback systems. But don’t let that stop you from starting out small and improving your listening circumstances as you progress!
Audio FAQs – Volume 1 Conclusion:
Getting the basics right often has a far more significant effect on the overall quality of a production than the highly-technical tricks that engineers tend to spend a lot of time messing about with.
If you take away a single from this article then let it be this:
Make sure you’re putting in enough time and effort to nailing the essentials that seem simple before you attempt to move on to the more “interesting” bits!
FINAL WORDS:
This concludes “Audio FAQs – Volume 1: Gear Essentials.” I hope that this article has given you some new ideas to try out during your next project. Be sure to comment below if any of this information has helped you out, or if you have any questions.
Stay tuned for more production/mixing related articles in the not-so-distant future!
Want mix tips from URM Academy? Read them here!
 Nail The Mix is our online mixing school that gives you REAL multi-tracks from REAL bands, plus a mixing class from the producer who recorded it. Past guests include Periphery, Chelsea Grin, Machine Head and State Champs. Join now for instant access!

