| By Thomas Brett |
Introduction:

FACT: You can’t expect to magically EQ a terrible bass sound into a great one during the mix… YOUR TONE NEEDS TO BE GOOD FROM THE START!
If you’ve always had trouble when it comes to mixing the low-end in your productions, chances are, you’re probably doing something wrong during the recording stage…
On that note…
Here are 3 all-important factors which can make a night-and-day difference to the quality of your raw bass recordings:
1 – The Tone Is In The Hands… But It’s Also In The Amp!
One of the key elements to a really great rock or metal bass sound is the gritty mid-range character which comes from using a great amp or pedal through a great cab.
VIDEO: In the following NailTheMix excerpt, Monuments guitarist John Browne runs us through his process for dialing in a killer bass tone using in-the-box amp & cab simulation.
What Can We Learn From This Clip?
The “right” bass tone is one that fits best in the particular song your working on. This being the case, it’s a given that on a song-by-song basis, you’ll need to experiment with a few different amp & cab combinations before coming across the magic combination that sits “just right”.
Not sure where to start when it comes to choosing a good digital bass rig? Here are a few of my personal favourites for you to check out:
FREE BASS PLUGINS:
- Ignite Audio SHB: An awesome, simple, free alternative to dishing out tons of cash for a fancy paid amp suite.

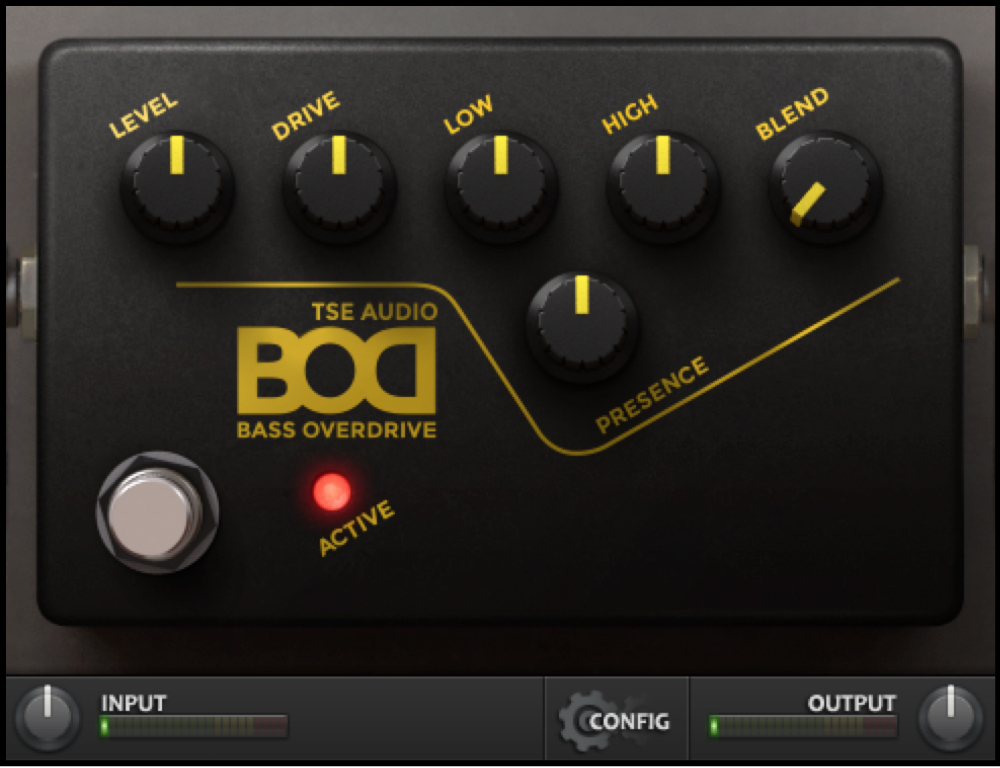
- TSE BOD V3: An excellent plugin emulation of the classic Sansamp bass driver pedal.
PS. Both of these plugins only emulate the AMPLIFIER section of a bass rig, and work best when paired with some good speaker simulation to bleed off some of the high-end. My go-to IR’s for this purpose are Ownhammer’s “AMPEG BASS” pack. Check out my “Recording Guitars” URM Blog series for more information on using cab simulation software.
PAID BASS PLUGINS:
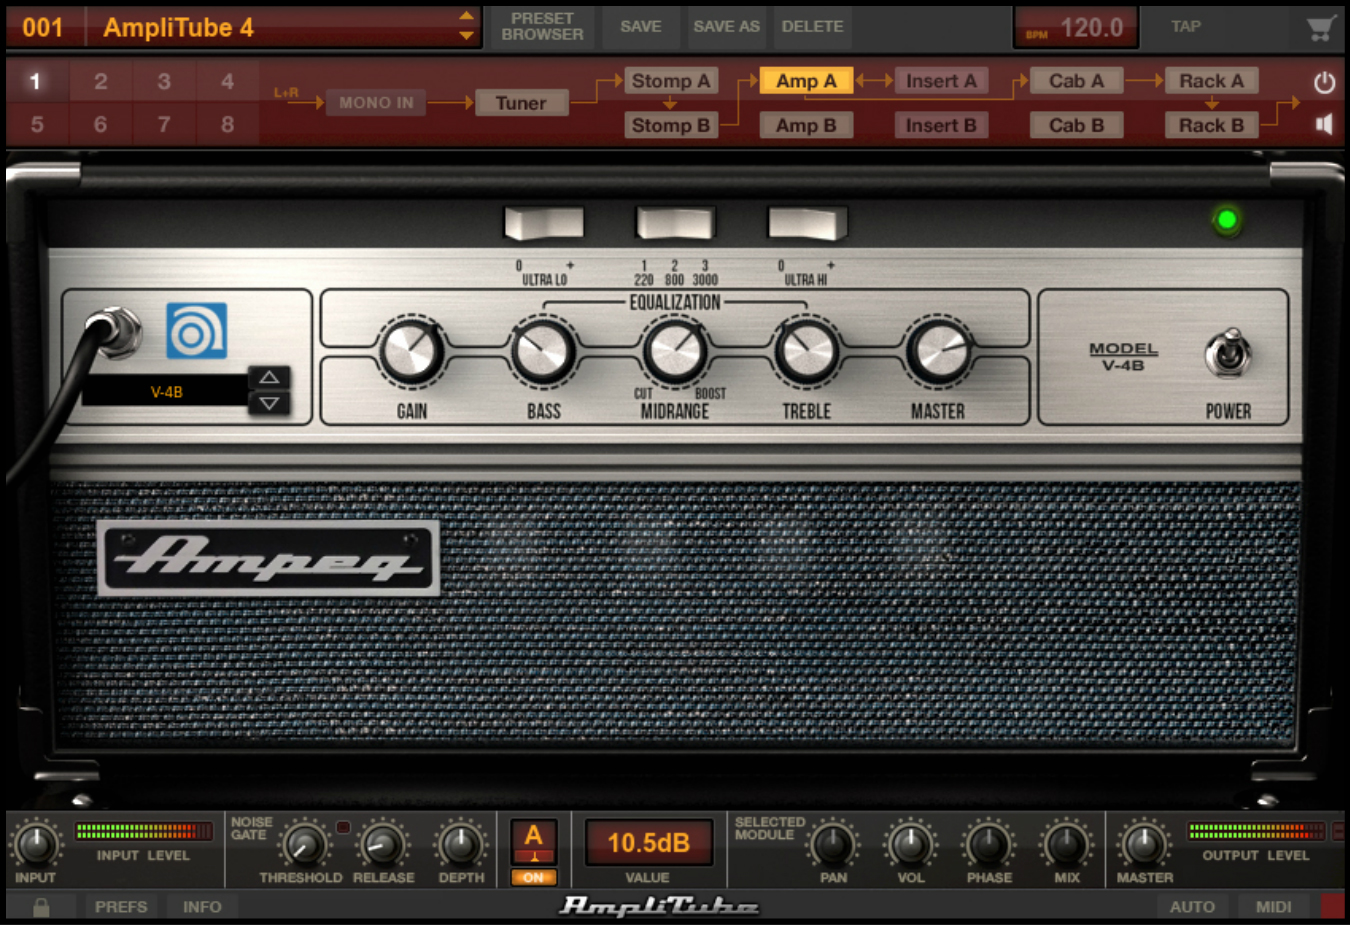
- Amplitube Ampeg SVX Series: In my opinion, the best bass tone solution on the digital market. The first edition of this plugin was already good, but the second edition is truly phenomenal – Well worth the price of admission!
EXTRA – GUITAR AMP SIMS:
It’s extremely common in heavy music to split/filter the bass DI into two separate tracks (low & high), and use a guitar amplifier to distort the high-end on it’s own. (So that the low-end remains completely clean)
To that end, here are a few guitar amp sims which work well for this purpose:
- LePou Plugins (Free): These plugins have been around for ages, but still sound really good for both guitar, and bass distortion applications when paired with a great speaker IR.

- TSE X50v2 (Paid): An excellent software emulation of a Peavey 5150, and one of best the solutions for a great in-the-box tone. This plugin also comes pre-loaded with an excellent selection of cab IR’s from several great 3rd party developers.

2 – Not All Strings Are Created Equal

As it is with a lot of things in music production, there’s no such thing as a “one size fits all” pack of bass strings that will work perfectly in every context.
This being the case, it’s important that you do some research and experimentation towards figuring out which pack will work best for YOUR particular tonal needs.
In the meantime, here’s a tonally-categorised list of some of MY personal favourites to start you off on your journey of discovery:
Versatile – D’Addario XL Nickel Wound: These are my primary choice for an “all round” versatile bass setup that can comfortably slot into most genres.
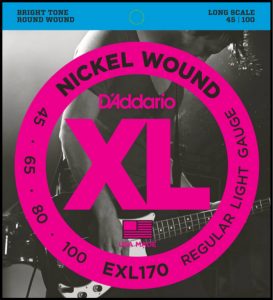
- I personally tend to prefer bass strings/tones which err on the brighter side of the spectrum. I would rather just roll-off some high-end via the tone knob on the instrument when necessary than be stuck with a fairly “limiting” set of dark flatwound strings.
- Generally speaking, round-wound strings are better suited to genres of music where a bright, “piano-like” high-end presence is desired (Modern Rock, Metal). Flatwound strings are better suited to genres which call for a warm, round low-end thump (Vintage Rock, Motown).
- In my experience, D’Addario’s XL series strings seem to retain their brightest for a while longer than the competitor brand equivalents. Given the fact that bass strings are quite expensive, this can add up to a pretty decent cash saving in the long run.
Bright & Aggressive – D’Addario XL Pro Steels: The brightest set of strings that D’Addario have to offer, and one of the most popular choices for recording heavy music.
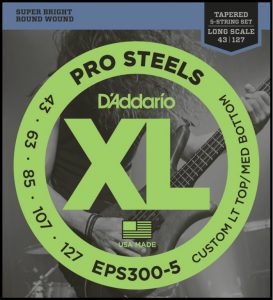
- These strings are extremely bright and aggressive in the upper-mids/treble and pack a tight, defined punch in the low-end. (Perfectly suited for Thrash, Death Metal, Djent etc.)
Bright & Balanced – Dean Markley Blue Steel: When it came to metal bass tone, I’d been a champion for D’addario’s “Pro Steel” strings for many years – Until an excellent producer friend of mine (Max Morton) recommended I try out Dean Markley’s “Blue Steel” that is…
Never heard of Dean Markley? Neither had I… But don’t knock em till you’ve tried em!
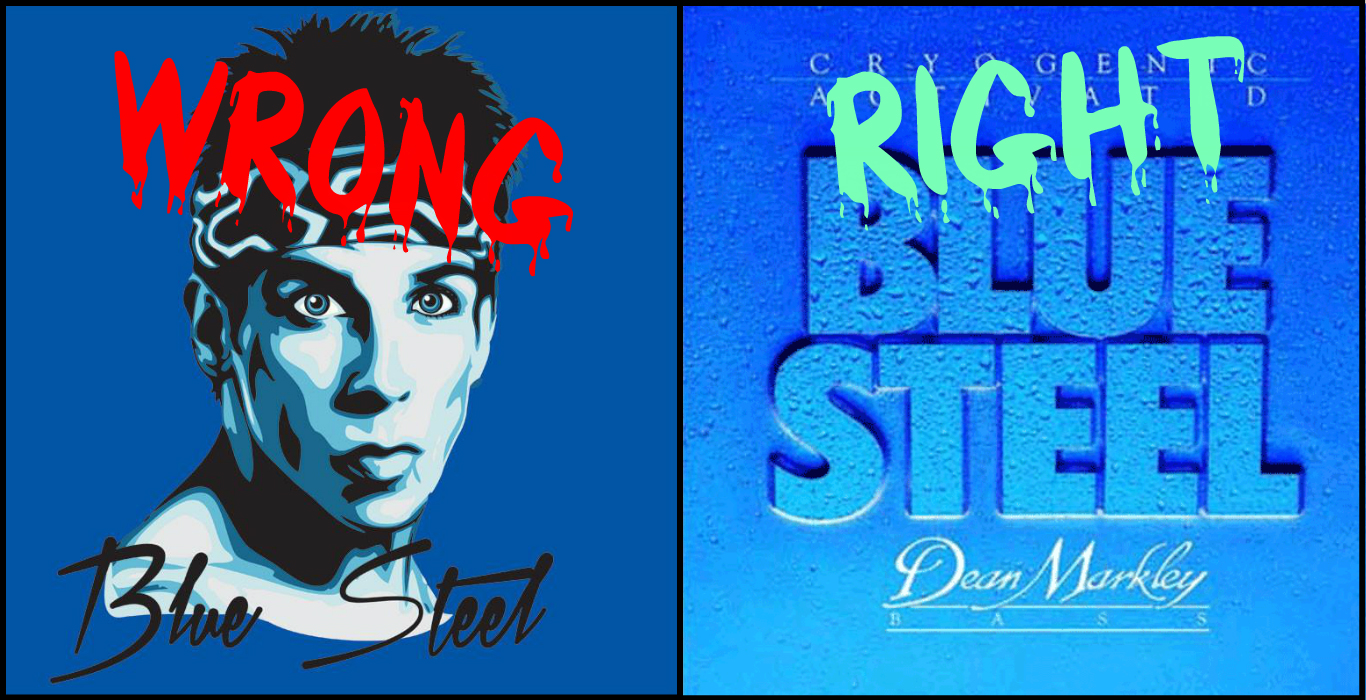
- Just hear me out for a second: As much as I love the brightness of Pro Steels, I’ve always thought them to be a little too harsh in the 2-3kHz range for certain musical applications, and always resented having to change to a different set of strings whenever a “mellow-er” tone was required.
- “Blue Steel” are basically a non-harsh equivalent of the D’Addarios… With an added “throaty” character in the upper mids which can cut through any mix like a knife through butter.
- They’re bright, super punchy, and sound like pure heaven when slapped hard through a great amp!
- Last, but not least: They actually cost less than the competition by a decent chunk!
VIDEO: Here’s an excellent example of the Blue Steel bass strings in a heavy metal context. (Recorded/Mixed by none other than Max Morton himself)
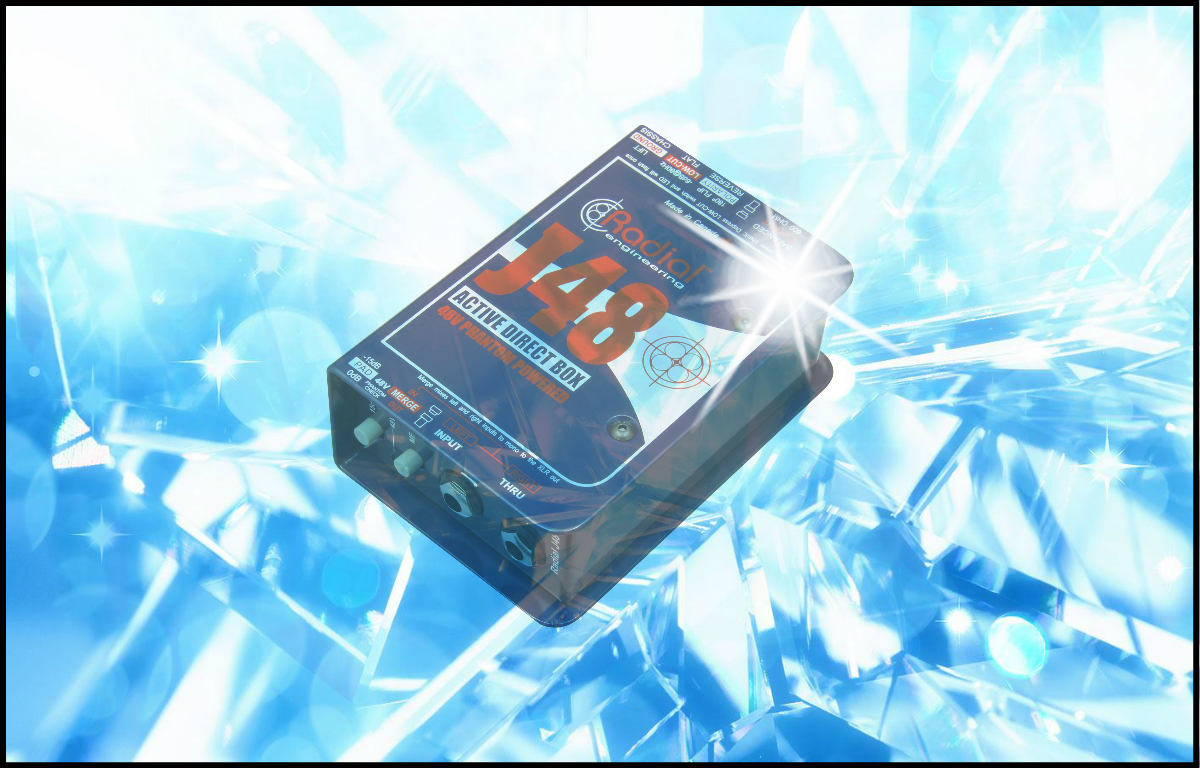
3 – A Crystal Clear Capture (DI Boxes)
Why record a DI?
VIDEO: Check out this awesome clip, in which Tesseract bassist Amos Williams demonstrates the key elements of his bass tone, and talks about the importance of using a good DI box.
Expanding on what Amos is talking about in the clip above, here are a few simple reasons why you should consider recording bass through a DI Box:
Impedance Matching (Extended Frequency Spectrum): Consider this: If an audio manufacturer is building their low-end audio interface for $50, how much money do you think they spent on the instrument input? – My guess is $5-10 AT MOST…
- Unfortunately, this low cost is usually reflected in the sound quality of said components in the form of a blurry, reduced-spectrum representation of the low and high frequency information.
- A better solution is to bypass them entirely. Instead use a high-quality external DI box with far-superior impedance matching (due to the better construction quality and components) to bridge your instrument signal into a decent microphone preamp.
- The result? A clearer high-end, punchier low-end, and improved capture of the transient content of the performance.
More Input Headroom: The instrument inputs on Low-end audio interfaces often don’t have enough headroom to deal with high-output active bass pickups.
- Using a DI Box with a built-in volume pad to effectively turn down and convert your instrument signal into a balanced feed that can then be connected to the microphone preamp on your interface is a simple way of getting around this issue.
Tonal Flexibility: Recording a DI signal gives you the option to reamp and audition different amp/cab setups later on in production process… Meaning you’re not stuck with a single tone that you’re unable to change without re-tracking the whole performance.
Accurate Editing: It’s much easier to edit a bass performance before it’s been distorted to hell and back, as it will appear as a dynamic, transient waveform on your screen rather than a solid block of spiky fizz.
Neighbour Friendly: Cranking a loud, subby bass rig for hours on end is bound to get your neighbours all riled up… Save them, and yourself some trouble, just record a DI instead!
CONCLUSION:

I’ll admit it… The instrument which caused me the most grief and frustration when I first started out as a mixer was without a doubt: The Bass Guitar. Why? Because I didn’t realise that good bass tone comes from the recording, not the mixing…
Follow the recording advice in this Blog… And stop trying to wrangle the crappy bass guitar with the 3 year-old strings which you’ve recorded through a tiny amp in your mom’s closet into a decent sound after-the-fact.
IT’S NEVER GONNA HAPPEN!!!
Final Words:
This concludes “3 Steps To A Better Bass Tone”. I hope that this article has given you some new ideas to try out during your next project. Be sure to comment below if any of this information has helped you out, or if you have any questions.
Stay tuned for more production/mixing related articles in the not-so-distant future!
Thomas Brett is a producer, mixing engineer and songwriter at Brett Brothers recording studio in the UK. Check out the Brett Brothers studio website for more information and articles on all things mixing www.brettbrothersstudio.com
Want mix tips from Thomas Brett? Read them here!
 Nail The Mix is our online mixing school that gives you REAL multi-tracks from REAL bands, plus a mixing class from the producer who recorded it. Past guests include Periphery, Chelsea Grin, Machine Head and State Champs. Join now for instant access!
Comments 1
Awesome article as usual.. Fender precision basses are also great for all around genres and “cut thru the mix” really well also from past experiences